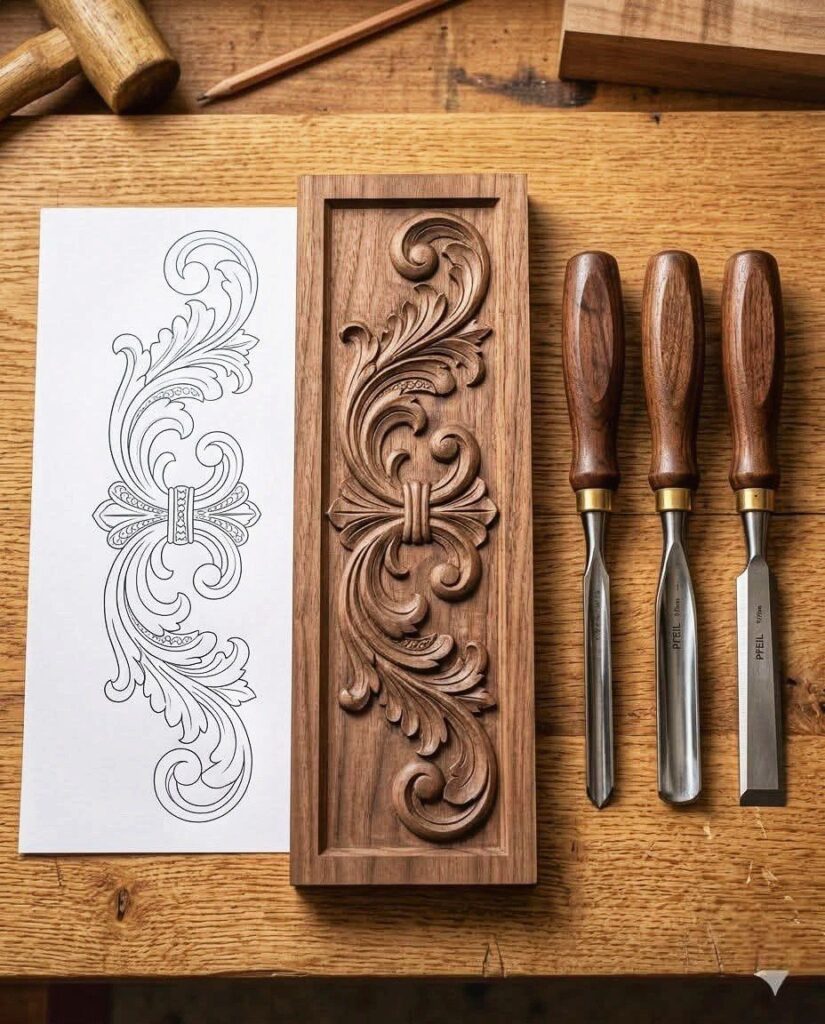
The patterns here run from a simple keychain blank that costs you minutes if a cut goes wrong to a relief-carved panel where a drifting line shows right away.
Start with the small, chunky shapes (a gnome, a spoon, a penguin in a winter hat) and save the seahorse and the acanthus scroll for after you trust your gouge.
1. Simple Keychains
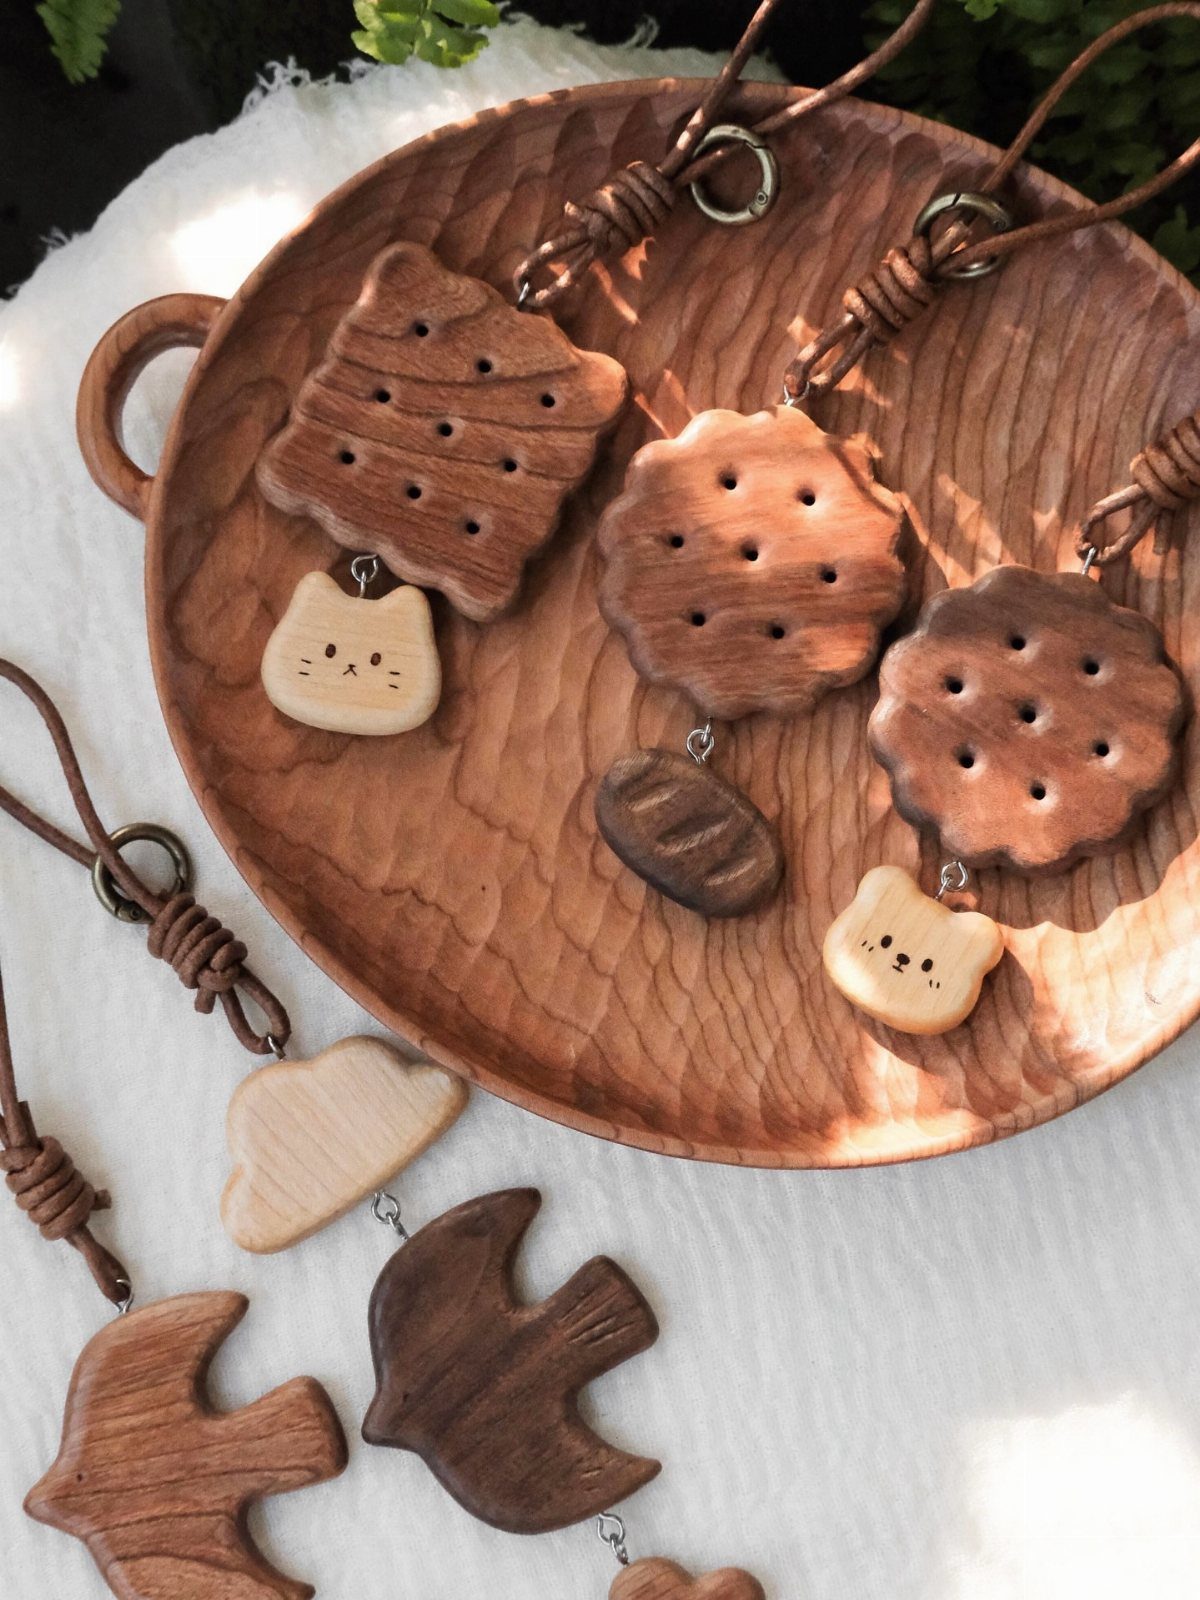
A keychain blank is about the cheapest way to practice a cut before committing to a bigger piece.
The small size means a cracker, cat or bird can be finished in a single sitting, so a mistake costs you minutes, not a weekend.
I would carve a handful in a row and give each a different shape. Rounded bellies, pointed ears and beak lines each ask for a different knife move, and by the fifth one your cuts get noticeably more confident.
Keep the outlines simple. Fine detail is where small charms go wrong.
2. Gnome
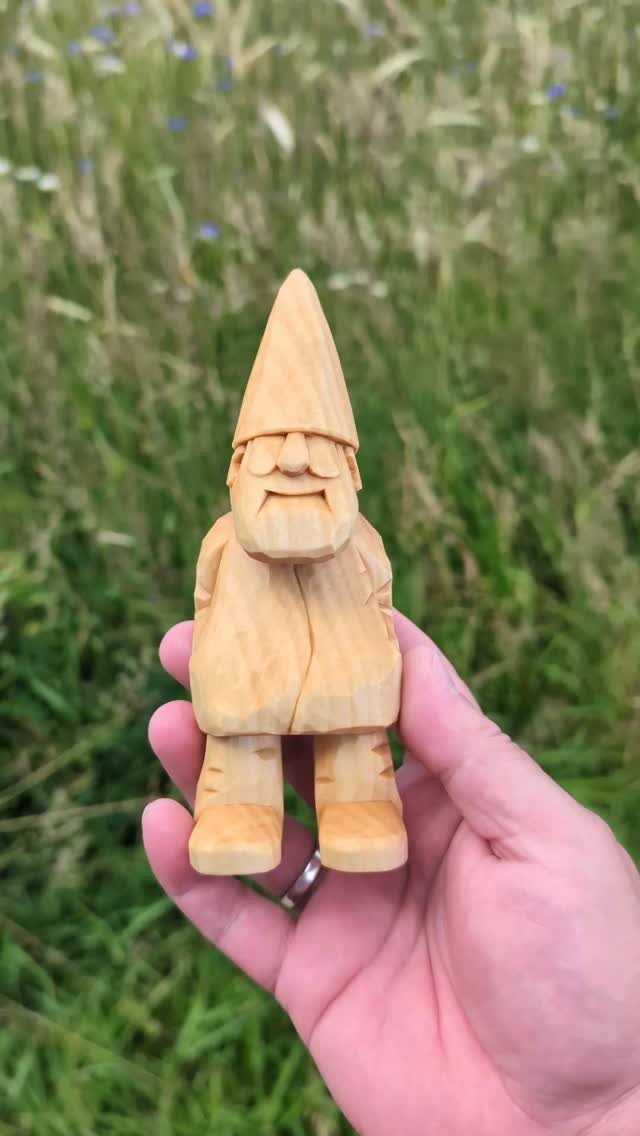
Proportion decides whether a gnome looks charming or lumpy. The pointed hat, the nose and the body each need their own share of the block, and the hat usually wants the most height.
Sketch the figure on the wood first and check it from the front and side before the first cut.
Carving a gnome is good practice for that kind of planning, and it rewards slow, small cuts around the face, where the detail is.
I would start with one gnome and treat it as a lesson, not a showpiece.
3. Free Wood Carving Patterns
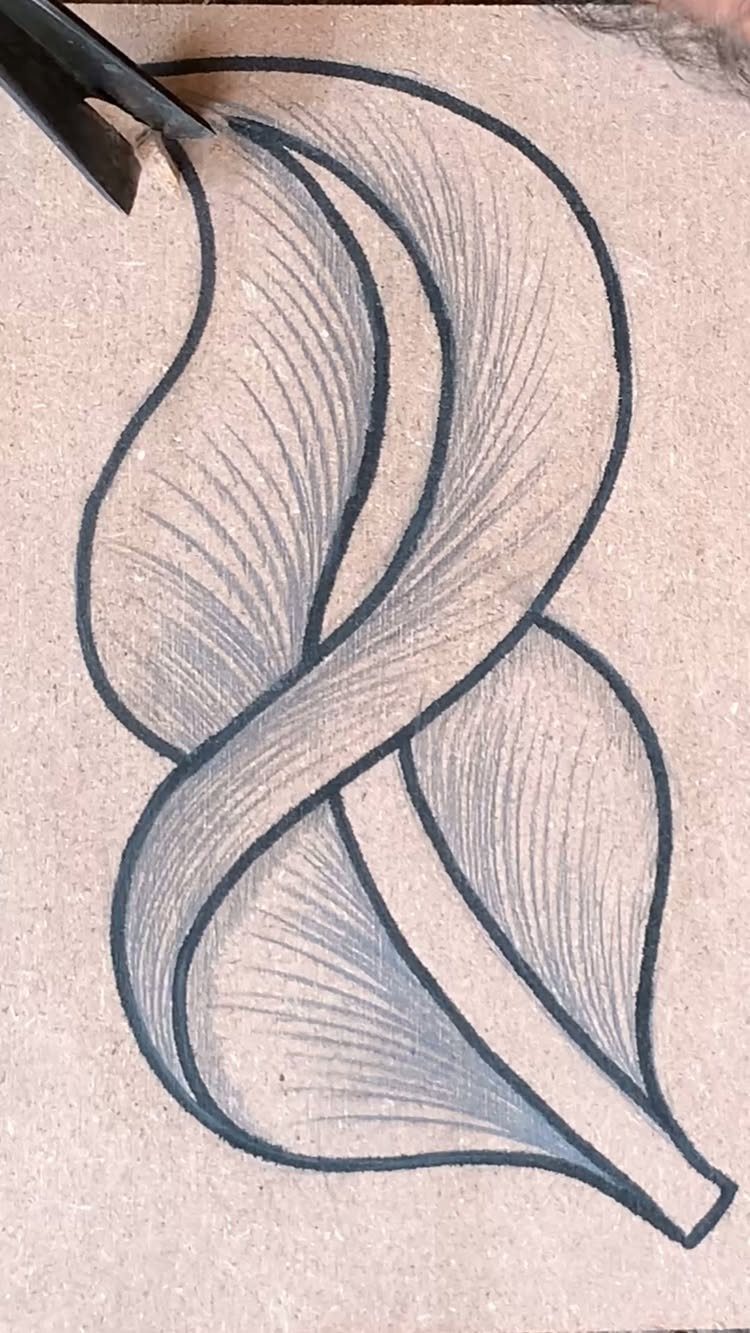
Free patterns are the easiest place to start when your budget is tight, and a flowing leaf outline is a good pick because the curves forgive small wobbles.
Print the design at the size you want and test it on scrap wood before using your good piece.
Check the line work as you choose. Clean, bold lines are easier to follow with a gouge than a crowded design with thin gaps.
The tradeoff with free sheets is uneven quality, so expect to redraw a line or two.
4. Geometric Wood Carving Patterns
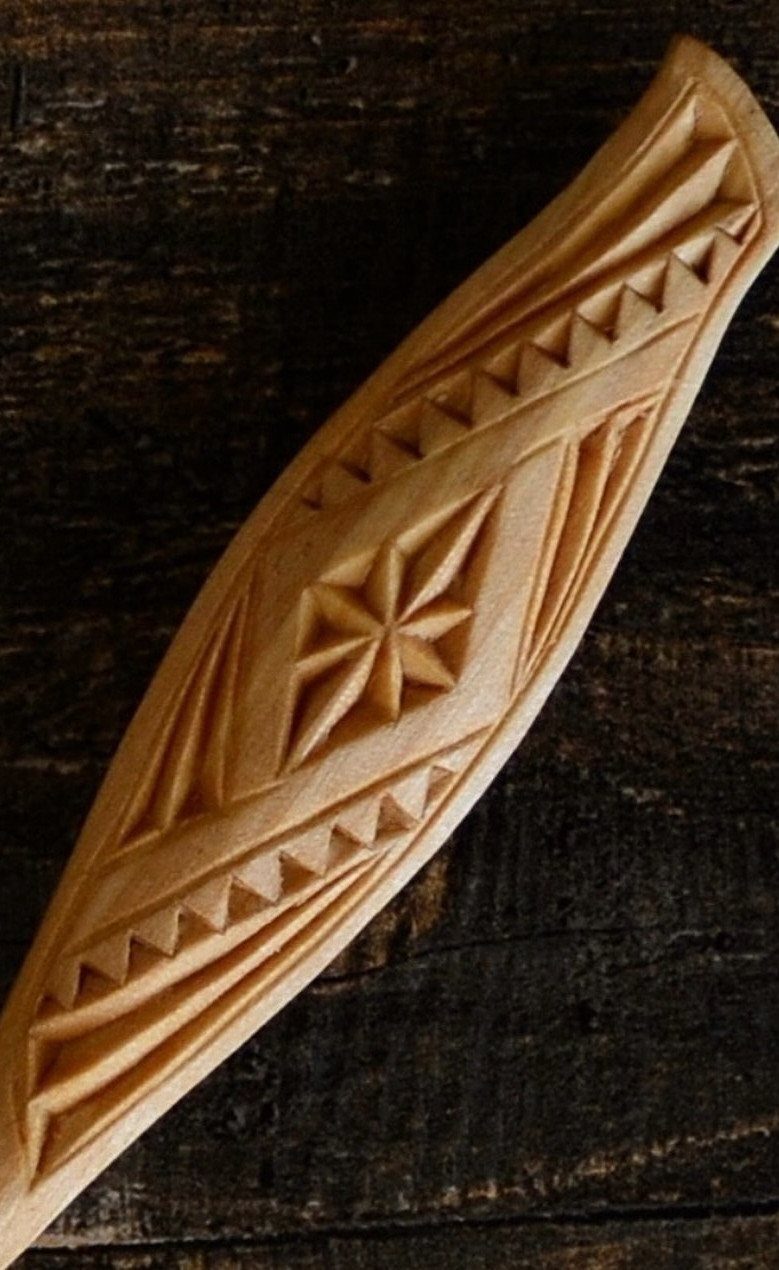
Starbursts, triangles and zigzag borders suit beginners because every cut repeats. Master one triangular notch and you can fill a whole border with it.
Mark your guide lines with a pencil and ruler before cutting, since even spacing is what makes geometric work look sharp. A crooked line shows far more here than in an organic design.
I like these patterns on handles and flat surfaces, where the repeated cuts have room to run. Light wood shows the shadows best.
5. Christmas Ornaments Wood Carving Patterns
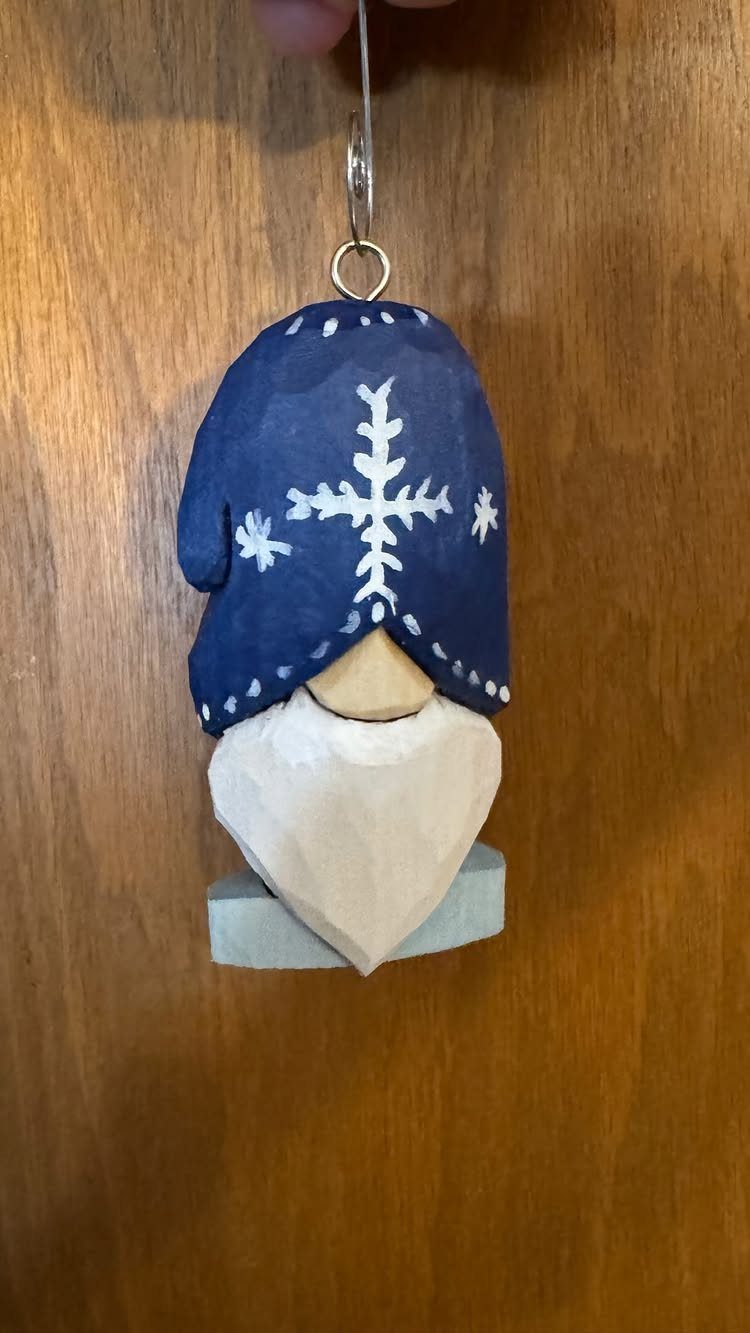
A bearded figure in a snowflake hat makes a good ornament because the hat gives you a flat panel to paint or carve. Drill the hanging hole before you start shaping, so the wood does not split on you later.
Keep the figure small and the cuts simple: beard lines, a nose, a hat brim. Painted details like the snowflake and blue hat are easier than deep carving at this size.
Make several at once and you have a stack of gifts done before the day is over.
6. Transferring Patterns with Carbon Paper
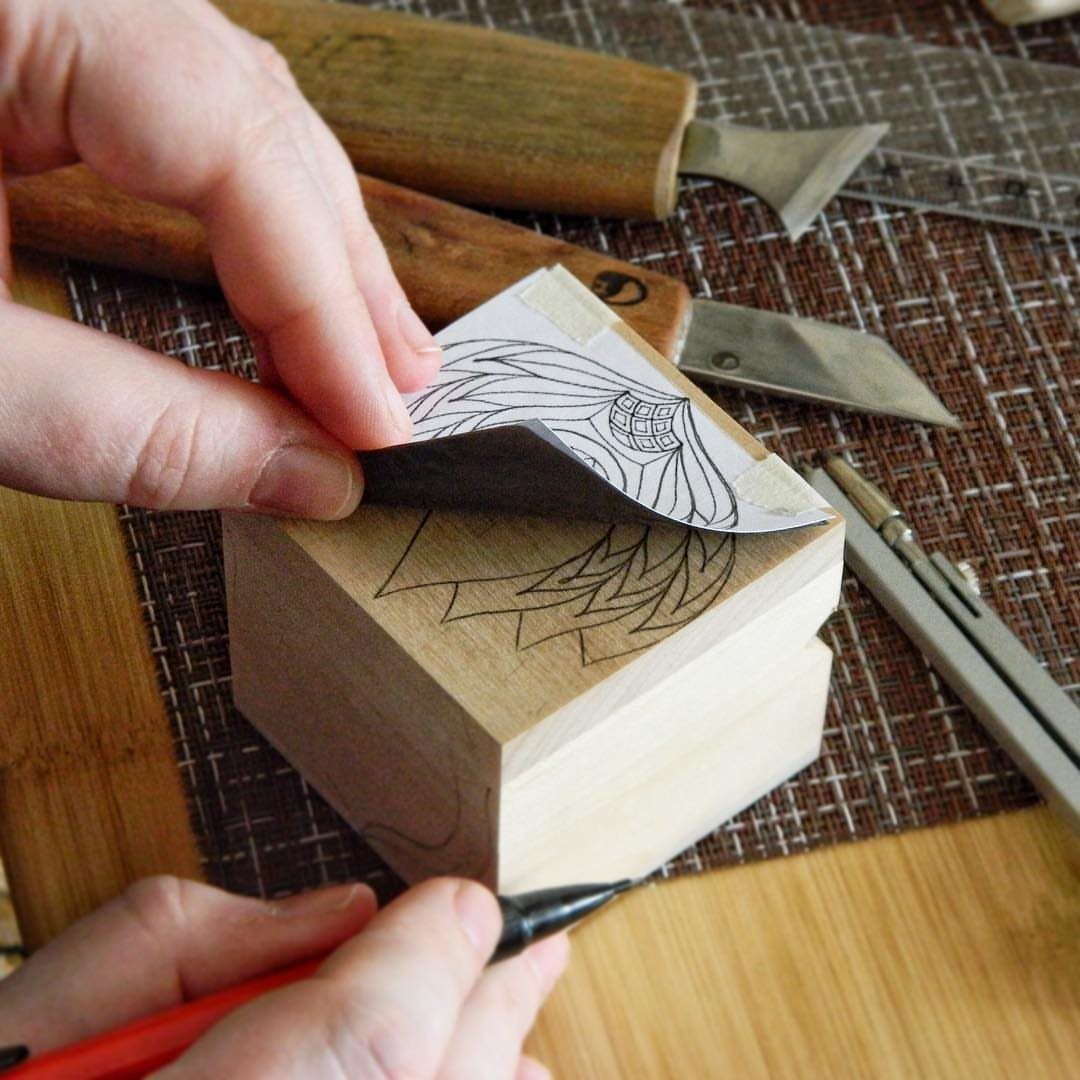
Carbon paper turns a printed design into a carvable one in about a minute. Slide the sheet, ink side down, between the paper template and the wood, then trace over the lines with a pencil using firm, even pressure.
Tape the template at one edge so you can lift a corner and check the transfer without losing your place. A floral design with many small petals benefits from this, since a slipped sheet ruins the alignment.
I like to go over the faint lines in pencil before cutting.
Transfer the pattern to the blank using your preferred method, and carve the piece using an assortment of knives, gouges, and V-tools. Take your time on the delicate areas.
7. Acanthus Leaf Scroll Pattern
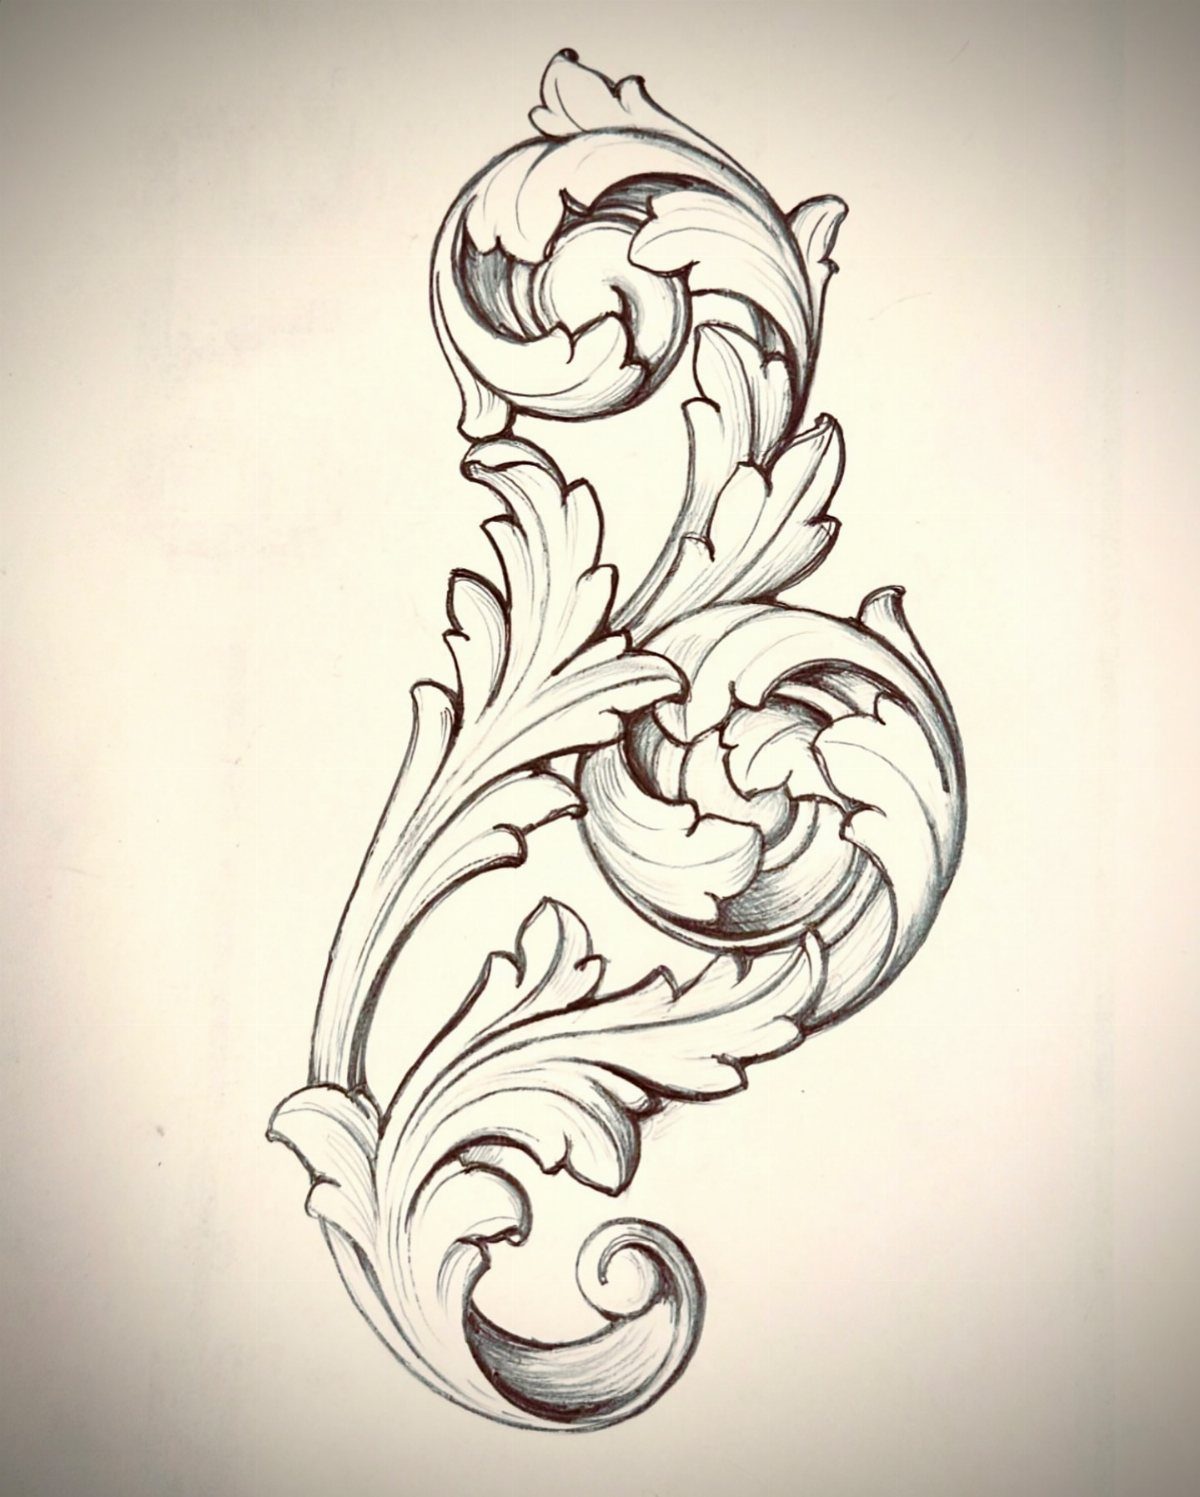
Acanthus scrolls look intimidating, but the design is a repeating curl, and once you can cut one lobe you can cut them all. Pick a pattern with clear, separated leaf tips so each cut has room to finish.
Transfer the drawing with carbon paper, then cut the outlines first and remove the background afterward. A line drawing like this one is easier to follow than a shaded design, since every line tells you where to cut.
Practice on scrap before the good board. Curves leave no place to hide a slip.
8. Miniature Woodland Animals
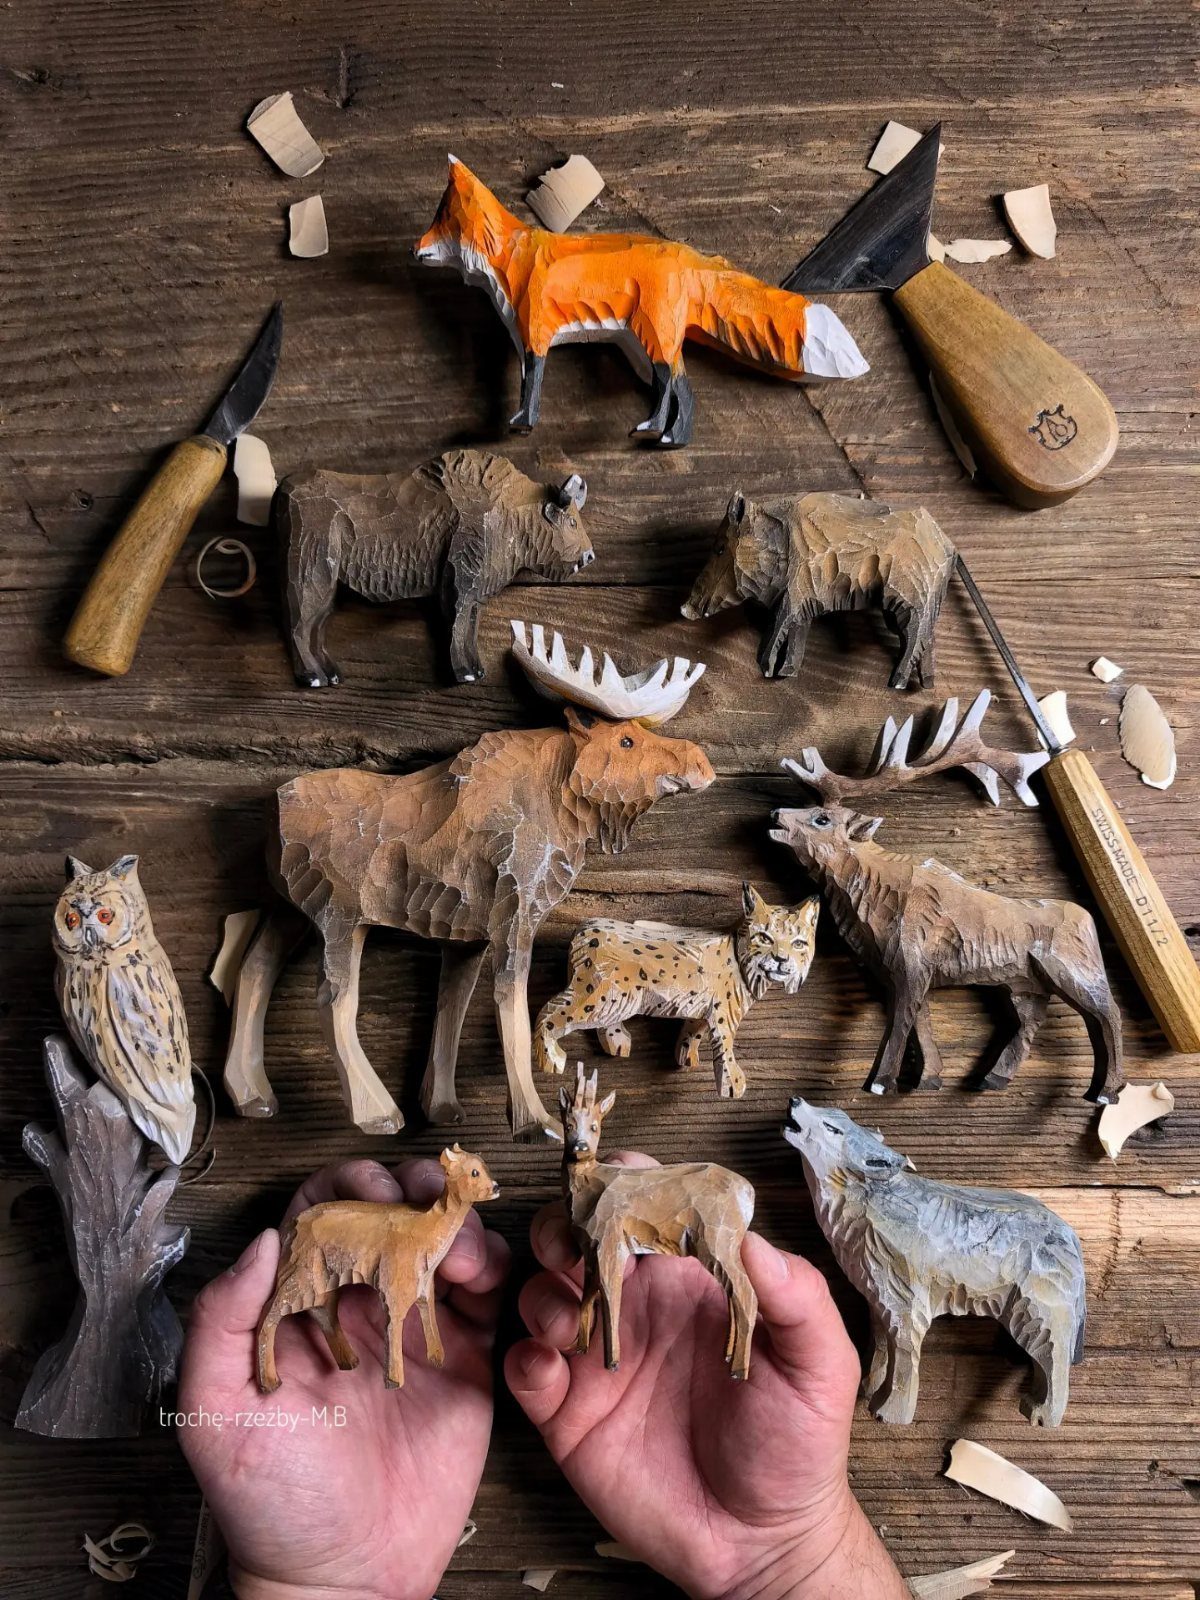
A set of small animals gives you a reason to carve something new each evening: a fox one day, a moose the next, a wolf after that.
Each shape asks for different cuts, so the set doubles as a skill builder.
Keep the bodies chunky and the legs short. Thin antlers and slim legs snap easily at this size, and a deer that stays in one piece beats a delicate one that doesn’t.
I would make a pair of one animal first, since the second always comes out better than the first.
9. Whittled Fisherman Figurine
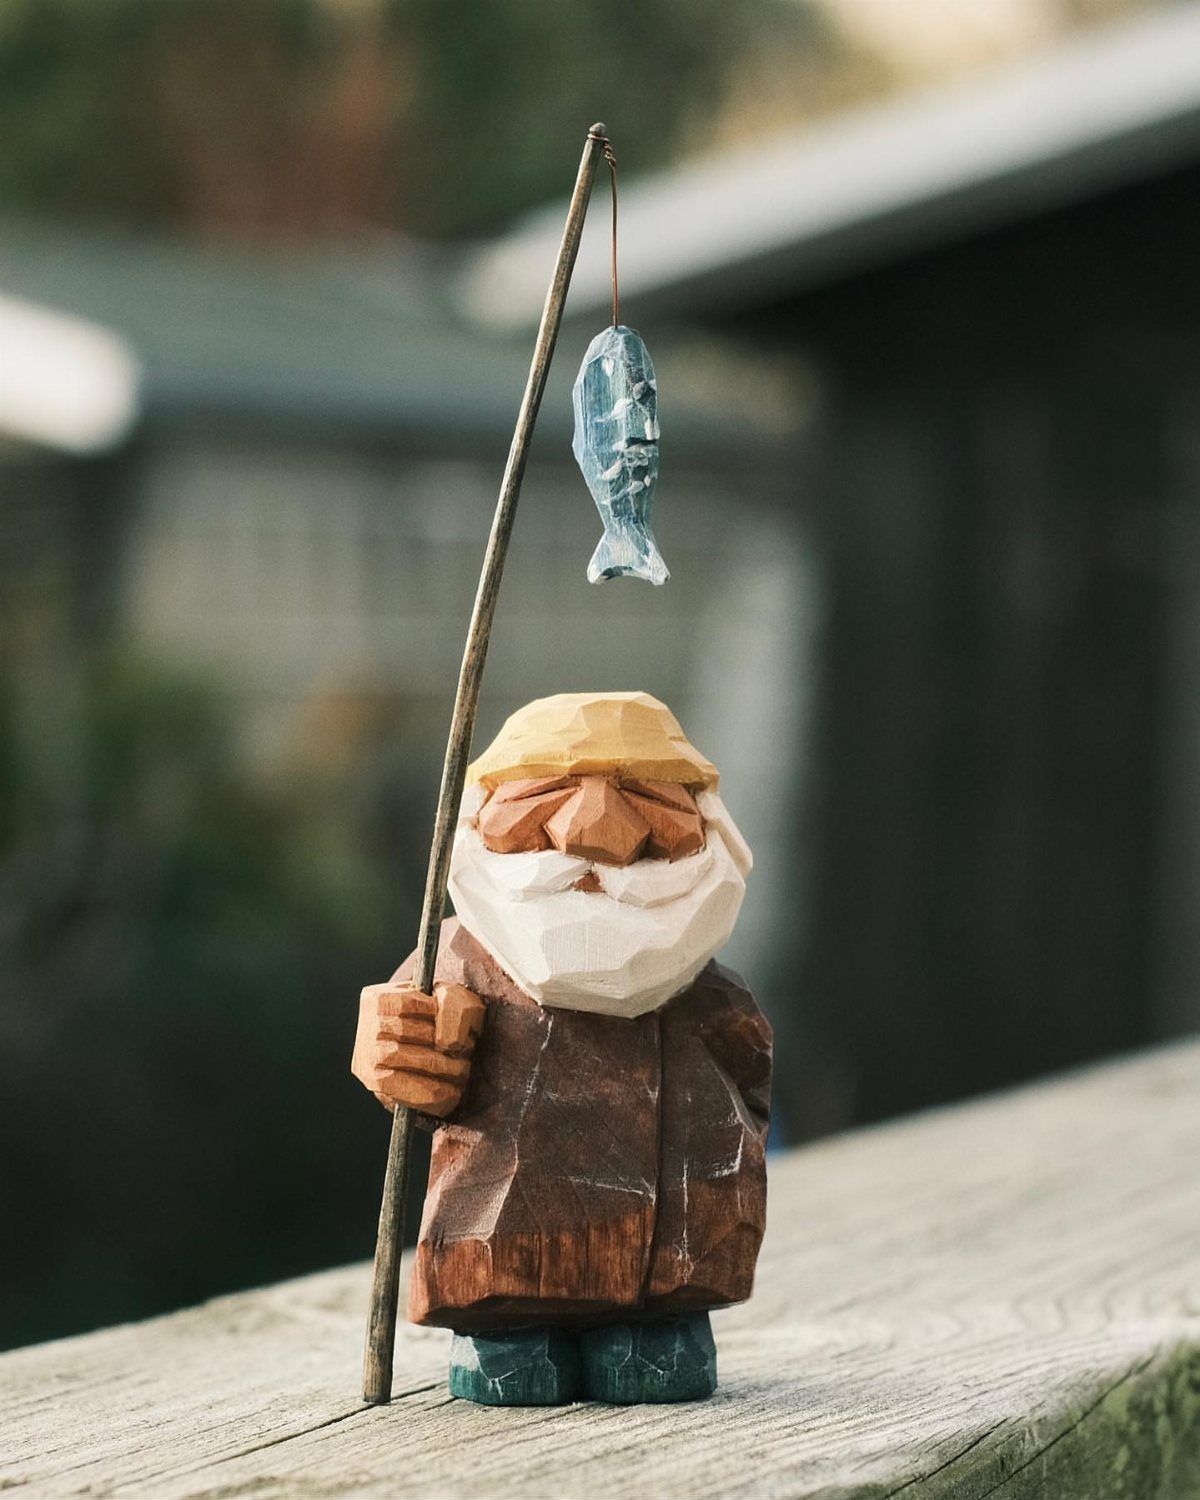
A fisherman packs a lot of character into one block: a beard, a brimmed hat, a heavy coat and a pole.
The pole is the weak point, so I would keep it thick, or carve it as a separate piece and glue it in place.
Block out the coat and hat as simple shapes before touching the face. Beard lines and a small fish can come last, once the body looks right from the front and side.
Paint the fish in a bright color and leave the coat as bare wood.
10. Hand-carved Wooden Spoons
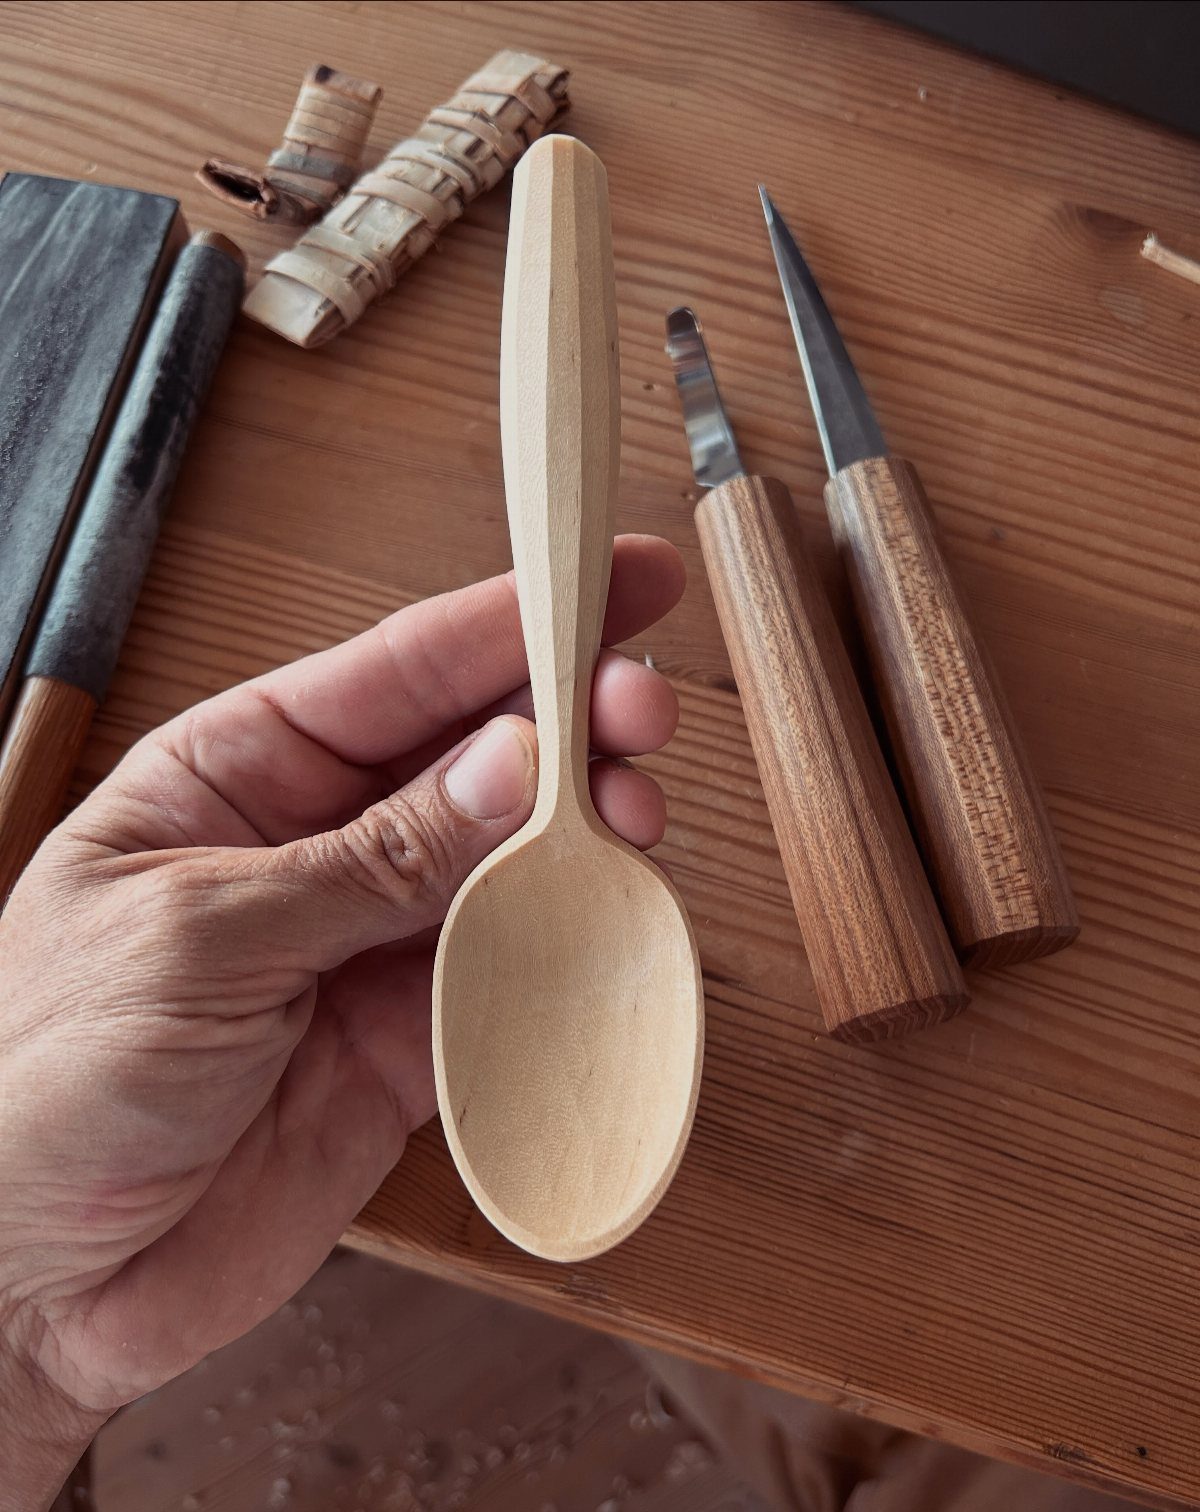
A spoon is a simple object that teaches grain direction fast. Cut with the grain along the handle and the shavings curl off cleanly; cut against it and the wood tears.
Rough out the outline first, then hollow the bowl with a gouge, working in small passes. Rushing the bowl is how spoons end up with thin, uneven walls.
Expect to spend more time on the bowl than on everything else combined. It is the part people notice, and the part that rewards patience.
11. Carved Wooden Seahorse Figurines
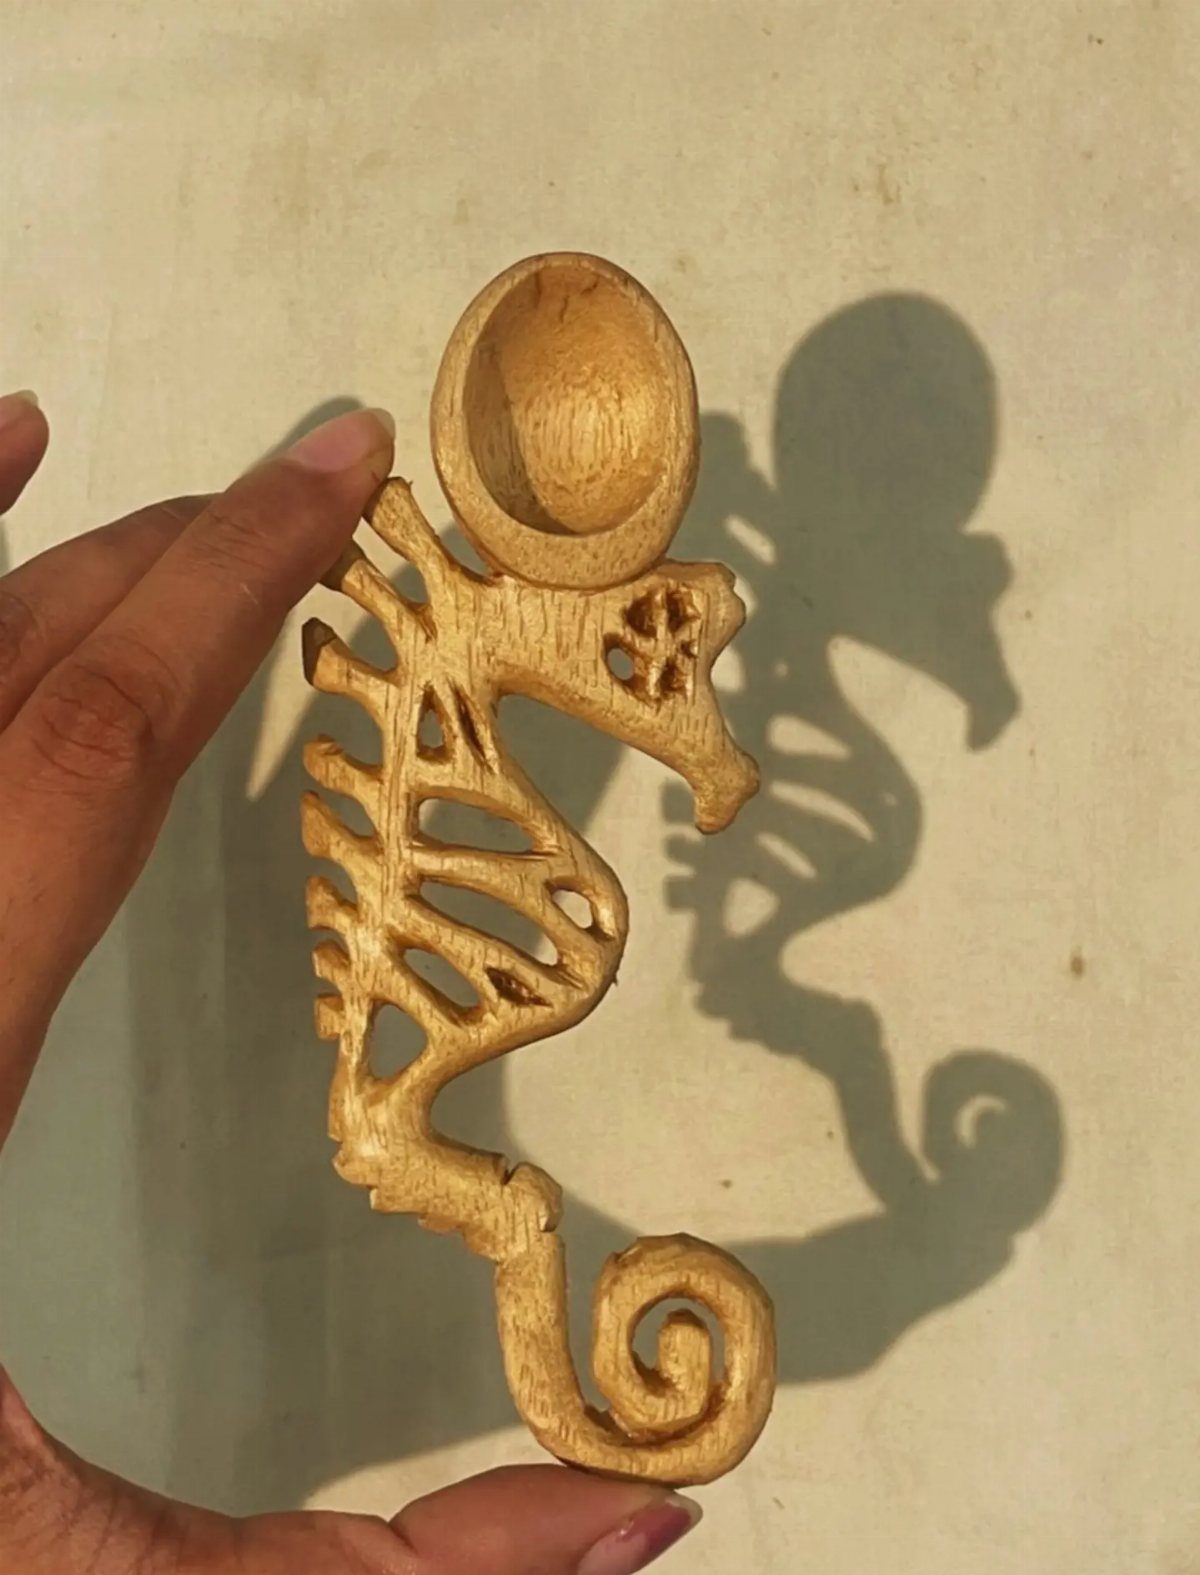
A seahorse curls into an S shape, and that curve is what makes it a satisfying carve.
Openwork, the cut-through holes along the body, gives the seahorse a lacy look, and every hole you drill or saw through thin wood is another spot where the grain can split.
Drill the openings first, then carve around them, so you aren’t forcing a blade through thin wood. Leave the walls between holes sturdy, because narrow bridges break.
If openwork feels like too much, a solid seahorse with shallow lines still reads clearly. Start there, then add holes on the next one.
12. Small Carved Wooden Vases
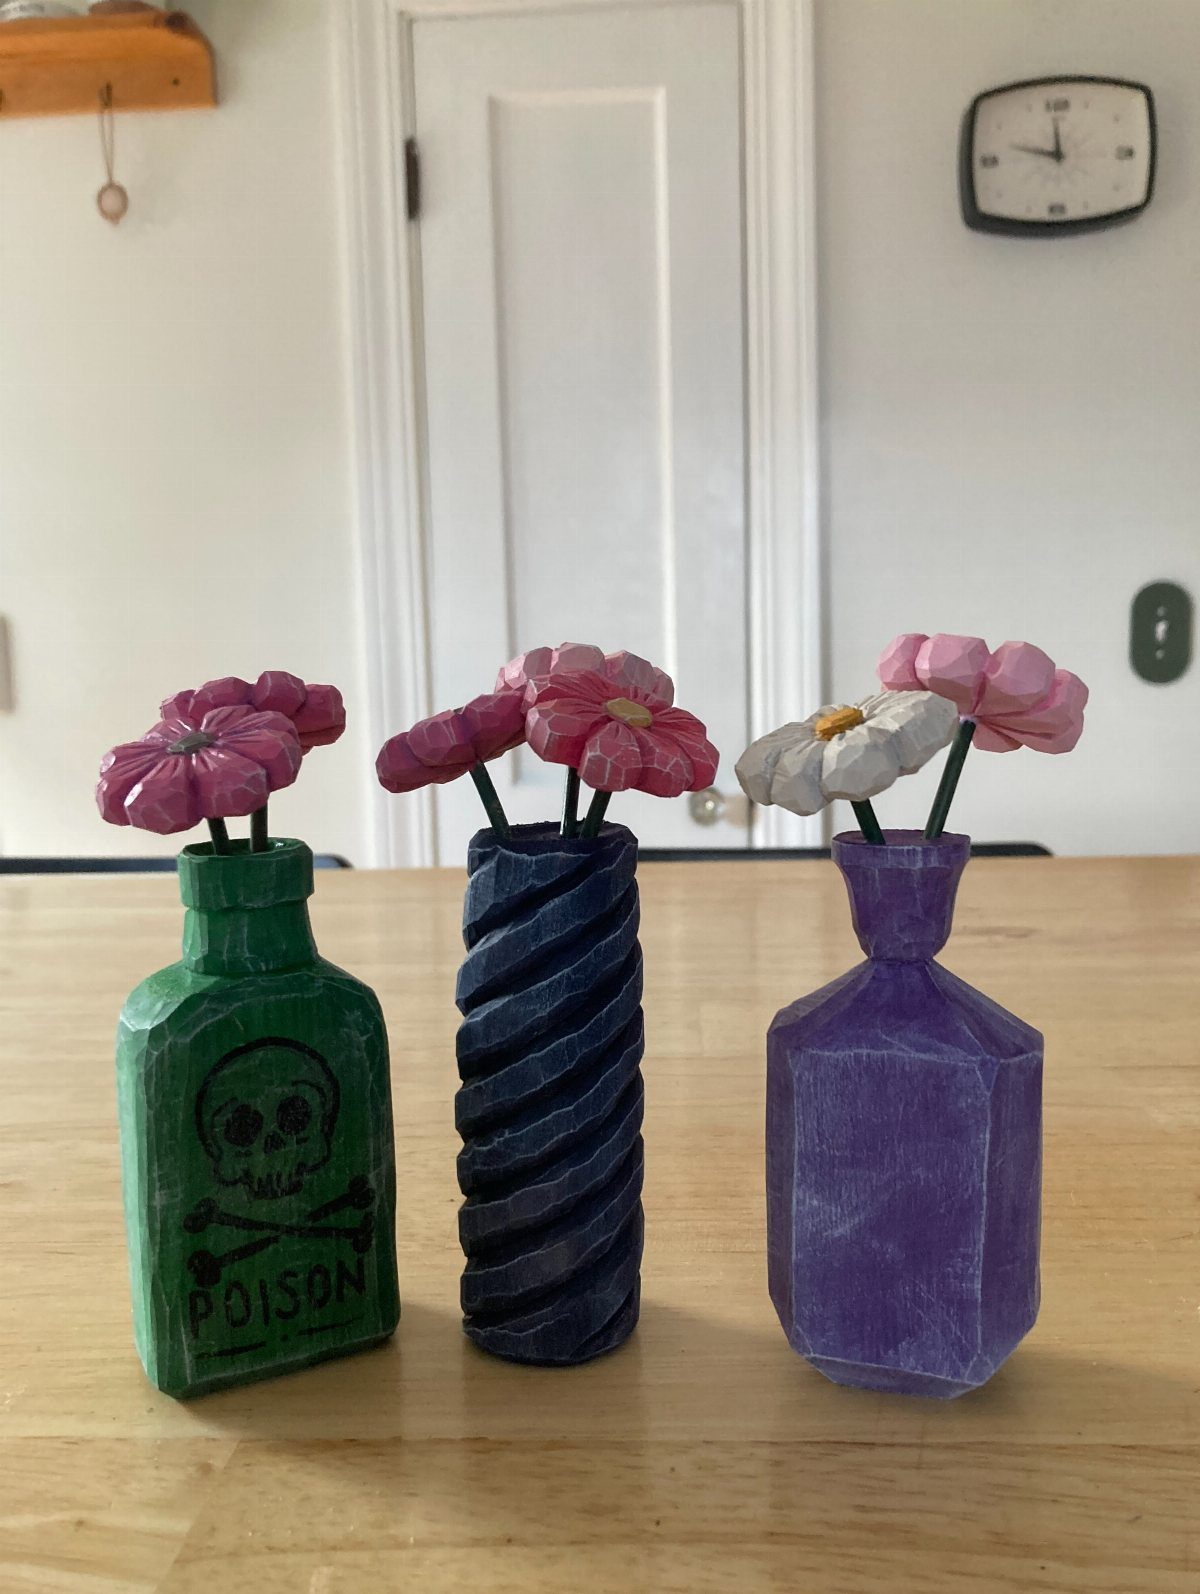
Tiny vases suit a limited budget because each one needs only a small block, and the paint does a lot of the decorating. Carve the outside first, then hollow the opening, leaving the walls thick enough to hold up.
Paint is where these get personality. A different color for each vase makes a set, and a small motif like a skull gives one piece its own story.
Carved flowers are worth trying too. Simple petal shapes on a thin stem are easier than they look.
13. Penguins in Winter Hats
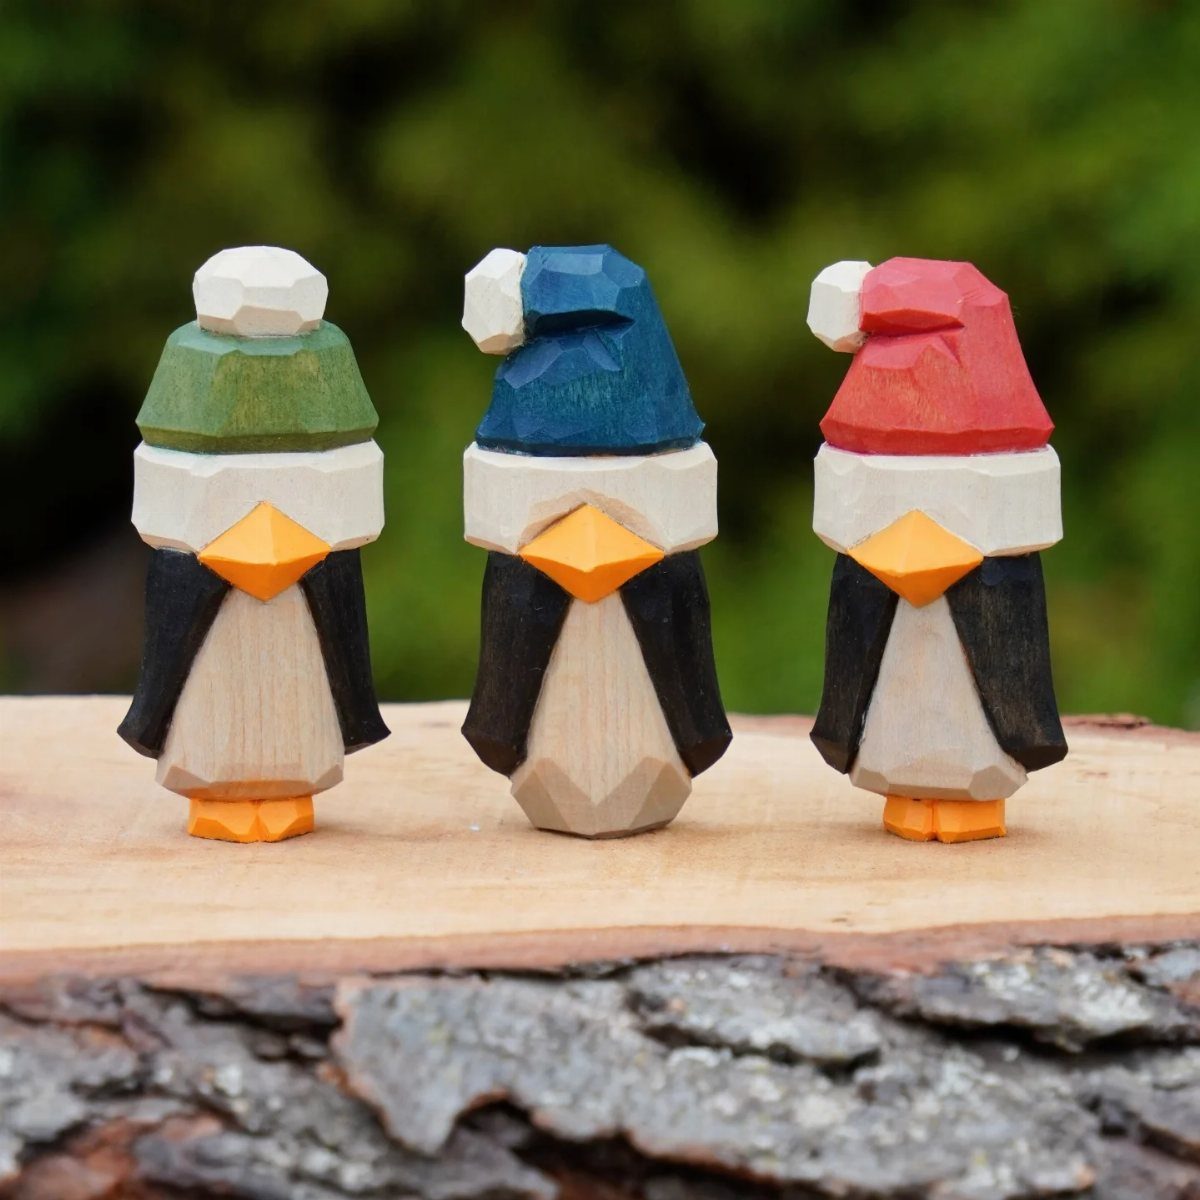
Three penguins with three hat colors make a ready-made set, and the hats do most of the decorating.
Carve the body as a simple rounded teardrop, then paint the knit-style hats in separate colors so each bird gets its own look.
Keep the flippers tucked close to the body. Thin, stuck-out wings snap easily at this size, and a chunky penguin survives handling better than a detailed one.
I would carve all three from the same block size so they stand together as a group. A log slice makes a good base.
14. Relief Carved Wooden Panels
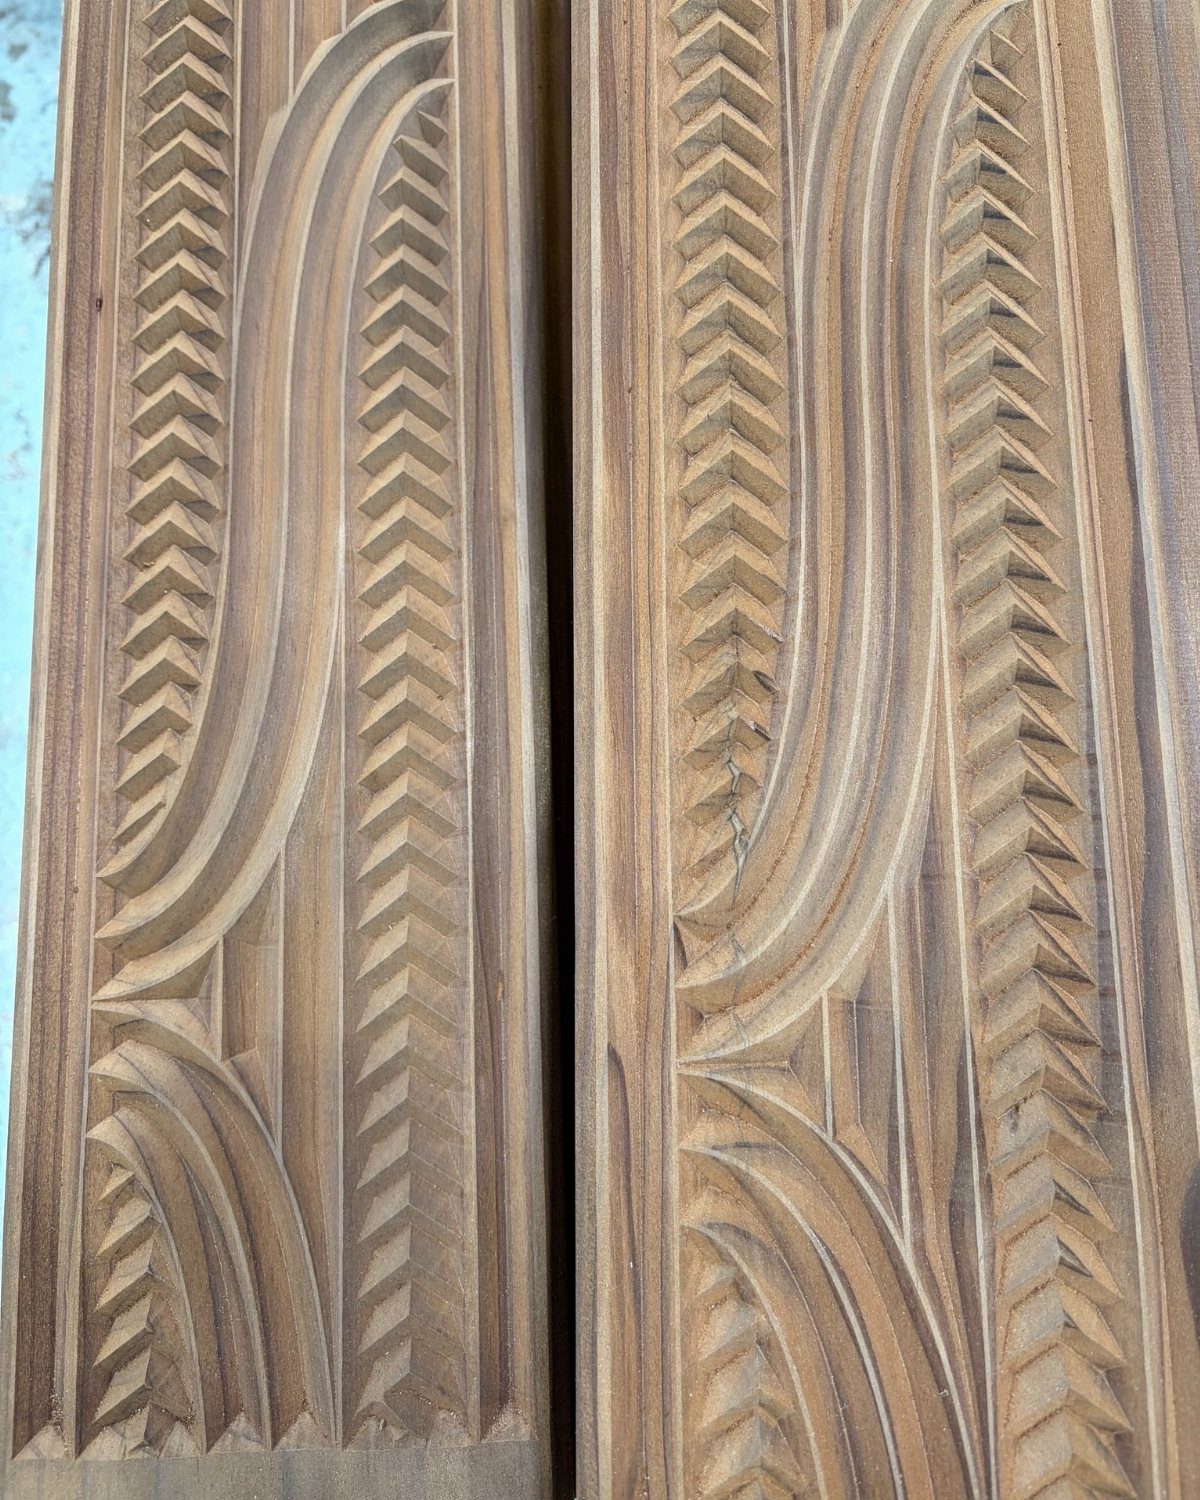
Mirrored curves and a row of repeating notches give a flat plank a lot of presence without any figure work. Every cut is a small repeat, so the design asks for steady hands more than skill.
Draw a center line first, then pencil one curve and flip the drawing to match the other side. Symmetry is what makes this style look deliberate, and a drifting line shows quickly.
Cut the chevron notches evenly spaced and the same depth. I would practice the notch on scrap before touching the board, since a plank is harder to forgive than a keychain.
Choosing the Right Patterns
Match the pattern to the cuts you can already make cleanly. A design that asks for one new skill is a stretch worth taking; a design that asks for five usually ends up in the scrap bin.
Sort what you collect by complexity and by subject, so you can pull out a simple pattern on a night when you only have an hour.
A cheap sketchbook earns its spot in the shop bag: sketch shapes that catch your eye, and photograph any carving you admire at a museum or craft show so you have a reference later.
A pattern that is too hard can be scaled back. Drop the fine detail, widen the gaps between lines and keep the main shapes.
Check the terms before you use a ready-made pattern. Many designers allow personal practice but prohibit selling what you carve from their work.
Safety in Wood Carving
Wear gloves with an anti-slip coating. Carving gloves stop a slip from becoming a trip to urgent care, and the textured palm helps the handle stay put in your grip.
Keep your edges sharp, because a dull knife takes more force and is more likely to slip. Clamp the workpiece to the bench so both hands stay behind the blade.
Cut away from your body every time, and keep the blade’s path clear of your free hand, your thigh, and your belly.
Sweep up shavings and sawdust as you go. A clean bench keeps wood chips from underfoot and keeps tools from getting lost in the mess.
Caring for Tools
Wipe each tool clean after every session. Sap and dust left on the steel hold moisture and invite rust.
Add a drop of machine oil to the metal parts to prevent corrosion, and store everything in a dry spot. A tool roll, case or wall holder keeps edges from knocking together.
A quick test on a scrap before each session tells you when an edge is dulling, well before a cut starts tearing the grain.
A quick test before each session catches a dulling edge early, and a sharp tool makes cleaner work.
Frequently Asked Questions
What is a wooden carving called?
A wooden carving is usually called a sculpture or a figurine. Small pieces like a gnome, a fisherman or a penguin fall under figurine, while flat decorated planks are relief carvings.
What are the names of some common wood carving tools?
Common tools include knives, chisels, gouges and a mallet. A sloyd knife handles rough shaping, a detail knife refines edges, and a hook knife scoops out spoon bowls.
For marking and tracing a pattern, a pencil, a ruler and a sheet of carbon or transfer paper finish off the kit.
What are the best woods for wood carving?
Basswood, linden and aspen are the best picks for beginners.
They are soft, easy to cut and hold small details well. Harder woods like oak and maple last longer but take more effort, so I’d save them for later projects.






