The free patterns here run from a kitchen spoon with a single flower to a hummingbird among leaves and blooms, and the difference is how many lines you have to keep from touching.
Detail level decides which one is yours: if your heat control is still wobbly, start with open spaces and bold outlines, like a set of 4 coasters with the same border, and save wildlife and layered florals for later.
Seasonal motifs forgive a shaky hand, while the fine feathers of a hummingbird or the tight detail of woodland wildlife will not.
1. Wood-Burned Kitchen Spoons
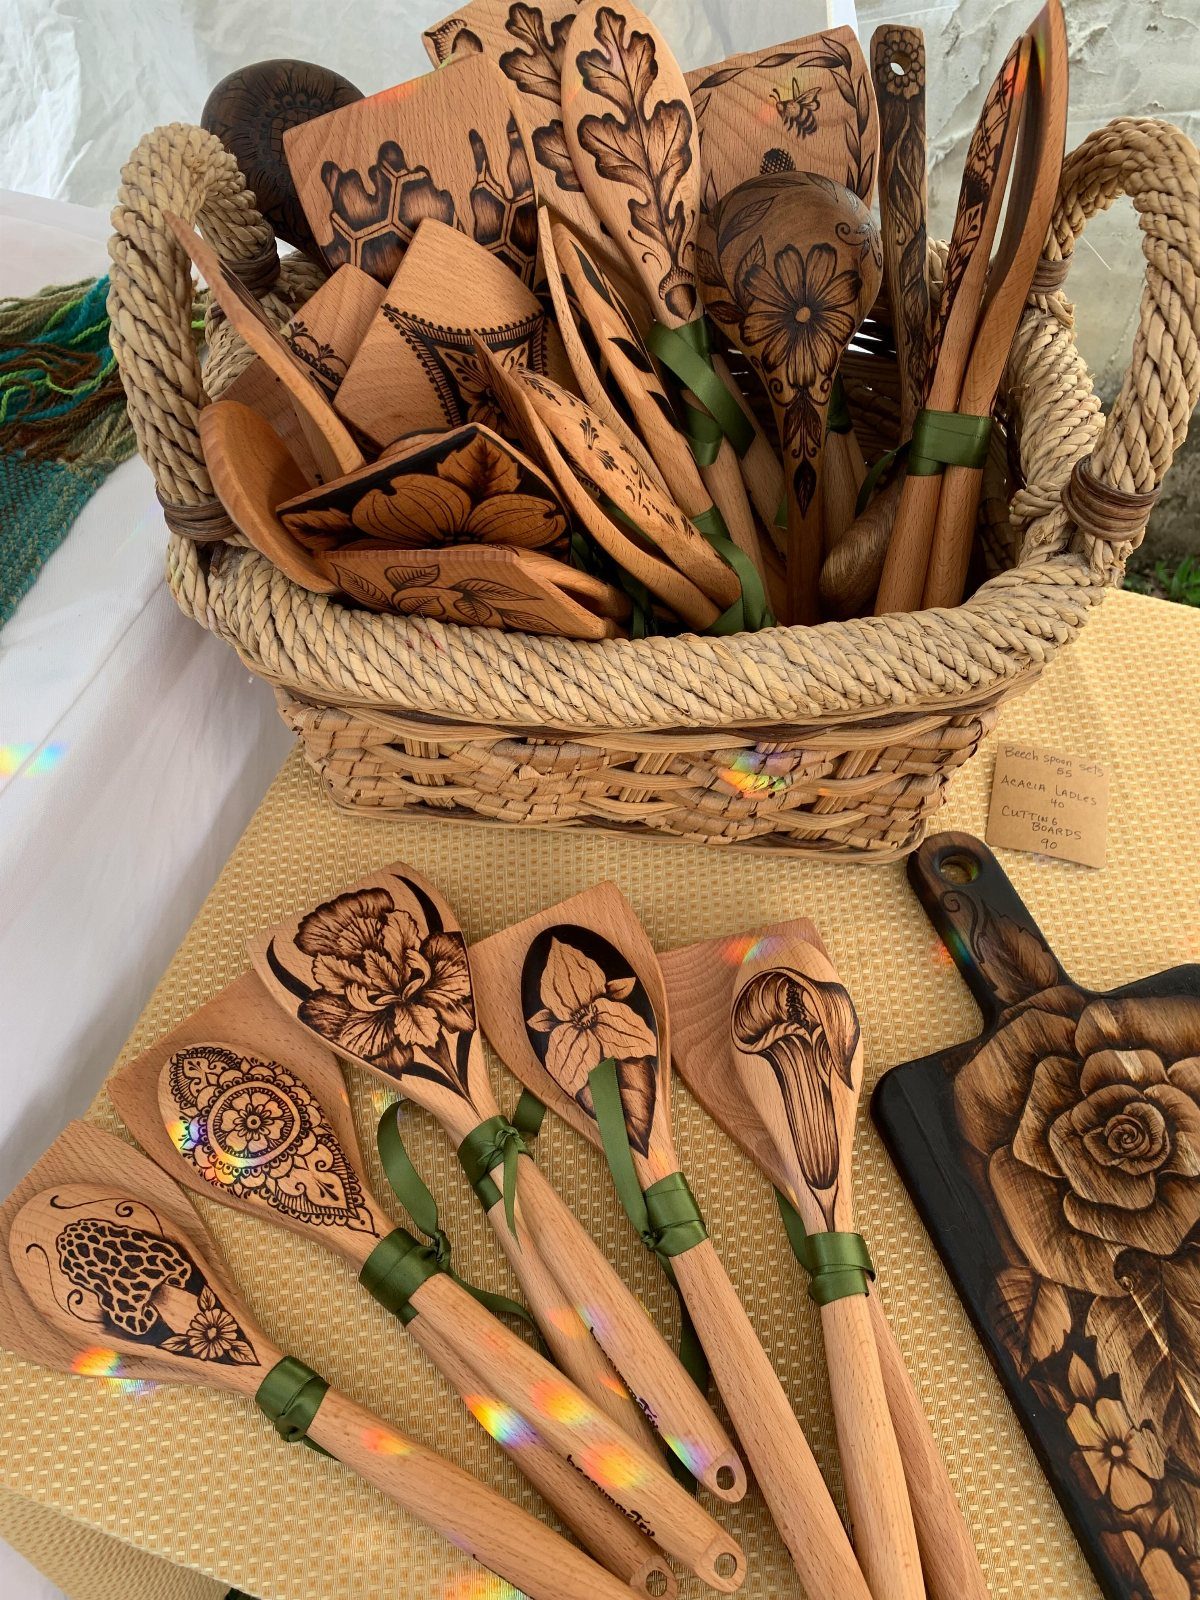
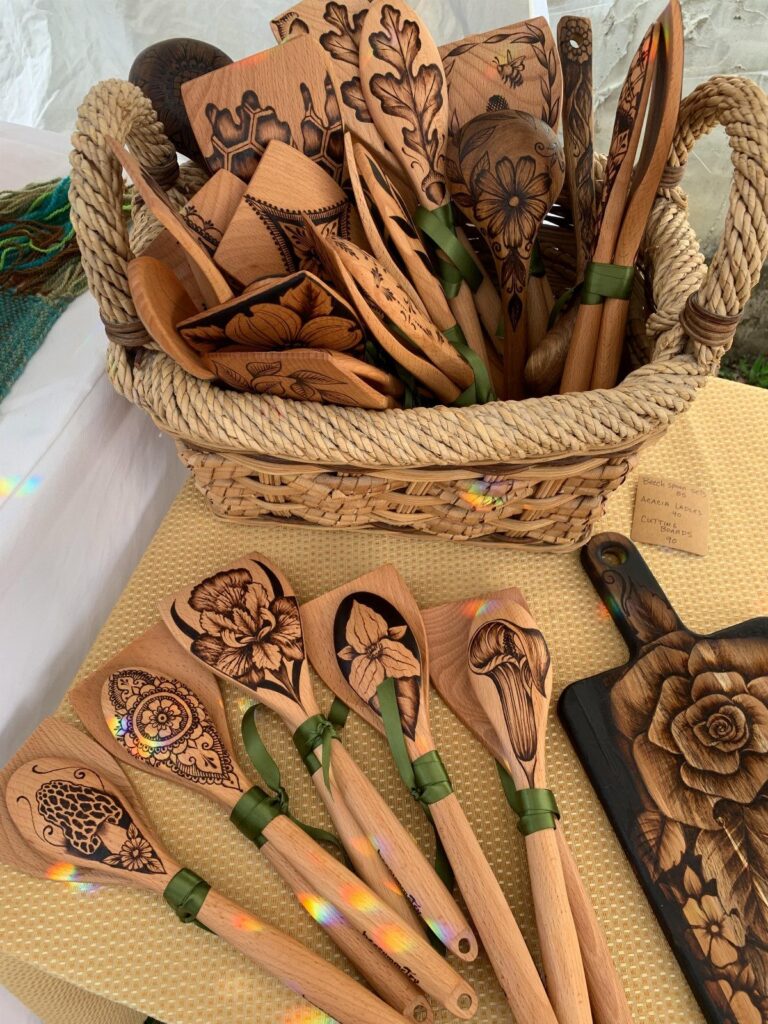
A wooden spoon is a good first surface for a beginner, because it is cheap, it is a shape you already know, and it ends up in the kitchen instead of a drawer of unfinished projects.
Floral and nature designs suit the narrow handle and the bowl of the spoon, so one simple flower with a stem and a few leaves is enough.
Make a set instead of a single piece. Spoons and a matching cutting board, like the ones in the basket, read as a gift, and repeating one motif teaches your hand more than a different pattern every time.
Keep the burning on the handle and the back of the bowl if the spoon will stir food.
2. Custom Wood-Burned Coasters
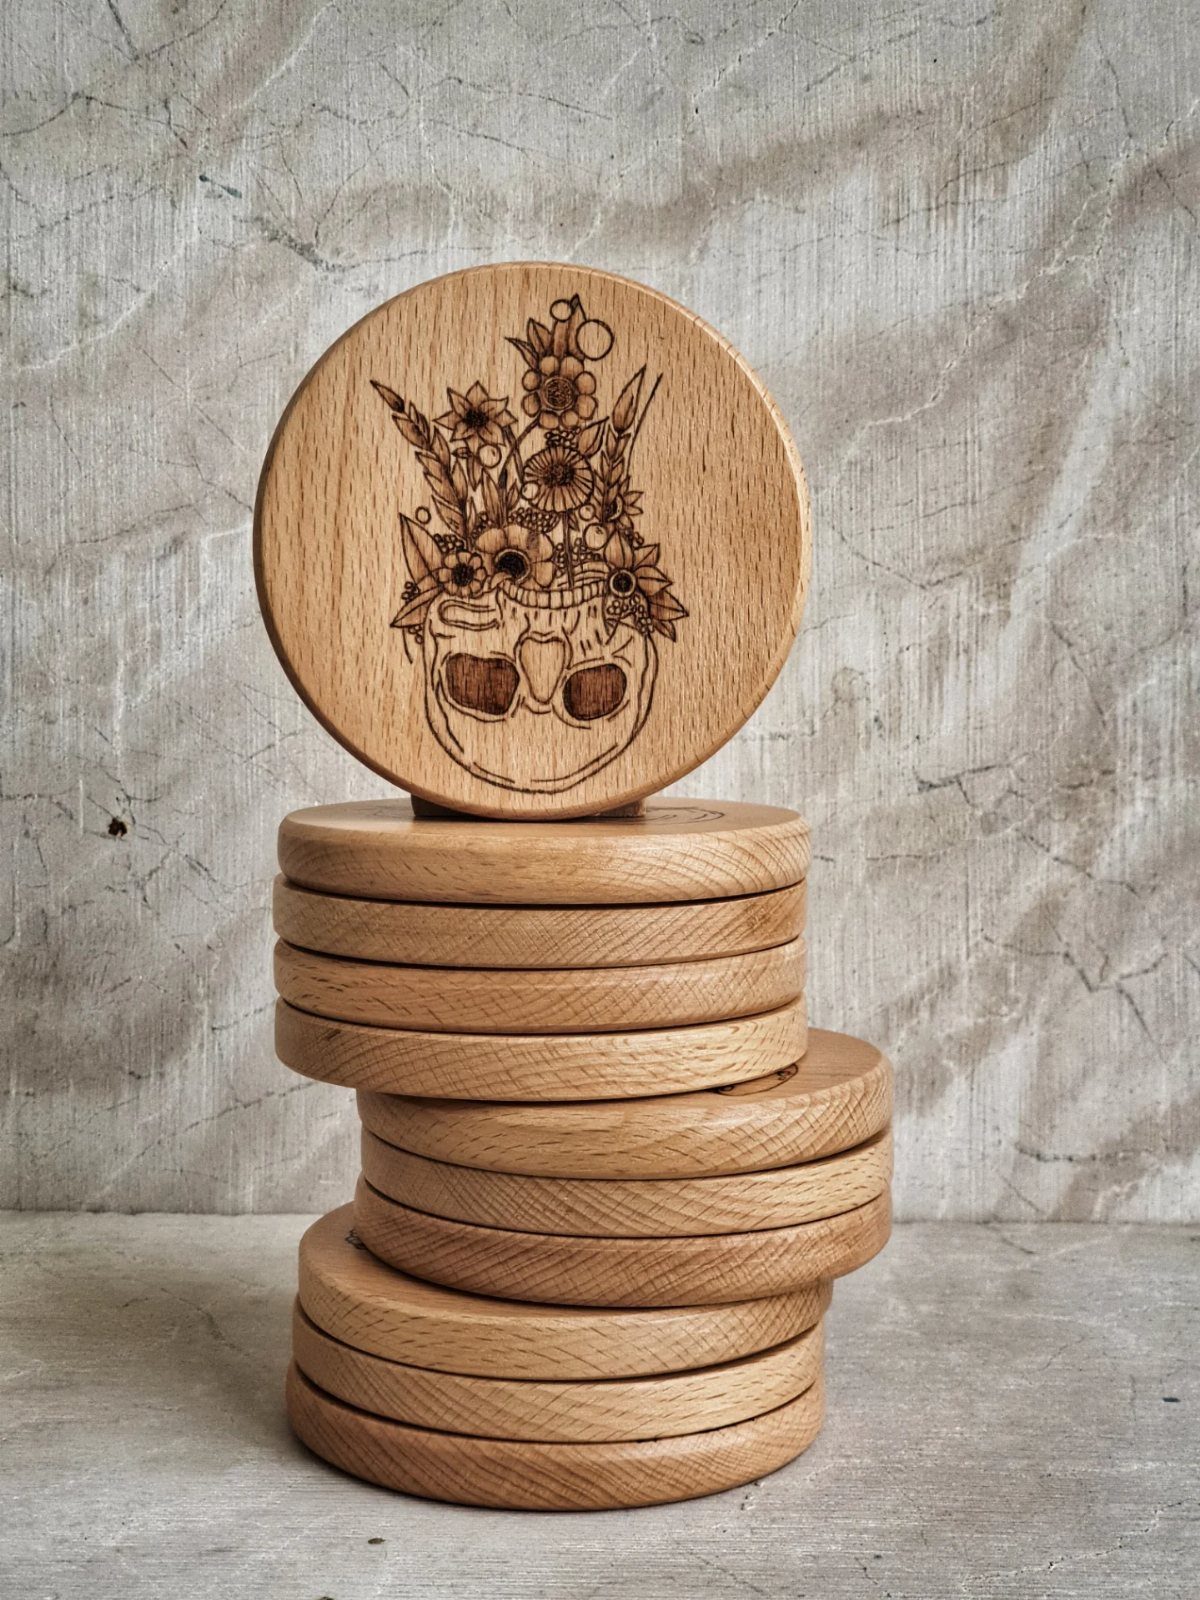
Coasters are small, flat and round, which makes them the easiest place to practice a free pattern. A whole design fits on one disc, so a mistake costs you a few minutes, not an afternoon.
Buy coasters in a stack of plain wood and burn only the top one at first, so a slipped line or a too-dark spot costs you 1 coaster instead of the whole set.
A floral skull is a good model for learning contrast: dark filled areas next to light, open petals. Pick one outline, fill it in, then add shading.
Finish a set of 4 with the same border and a different center on each. That gives you a gift that looks planned.
One of rachel’s most popular and recognizable designs for you to trace and use to practice pyrography! Burn club is a free club for wood burning artists of any and all skill levels.
3. Monograms and Initials
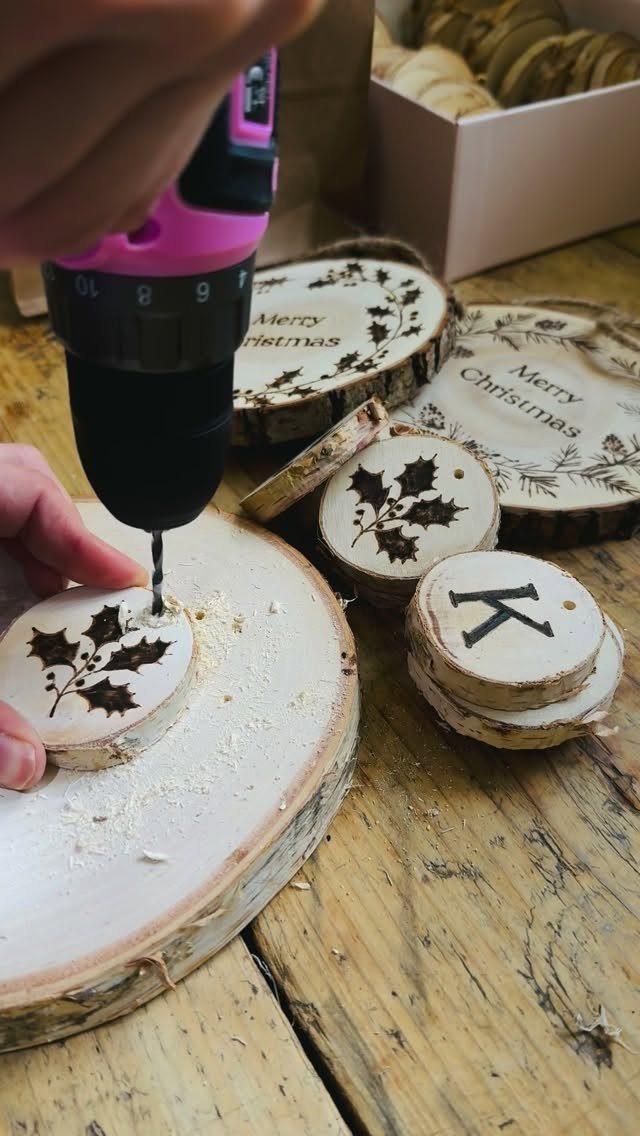
Initials are the pattern most people can personalize without drawing anything, since a single letter like the K on the slice is already a complete design.
Print a font you like, trace it onto the wood with graphite paper, and burn over the lines.
Wood slices work well for this. Drill the hanging hole before you burn, so a slip of the bit never lands on finished lettering.
Choose a bold, plain typeface for your first few. Thin script looks lovely, but every curve exposes a wobble in your line.
A short phrase such as "Merry Christmas" burned next to a monogram turns a plain wood slice into a holiday ornament.
4. Seasonal Motifs
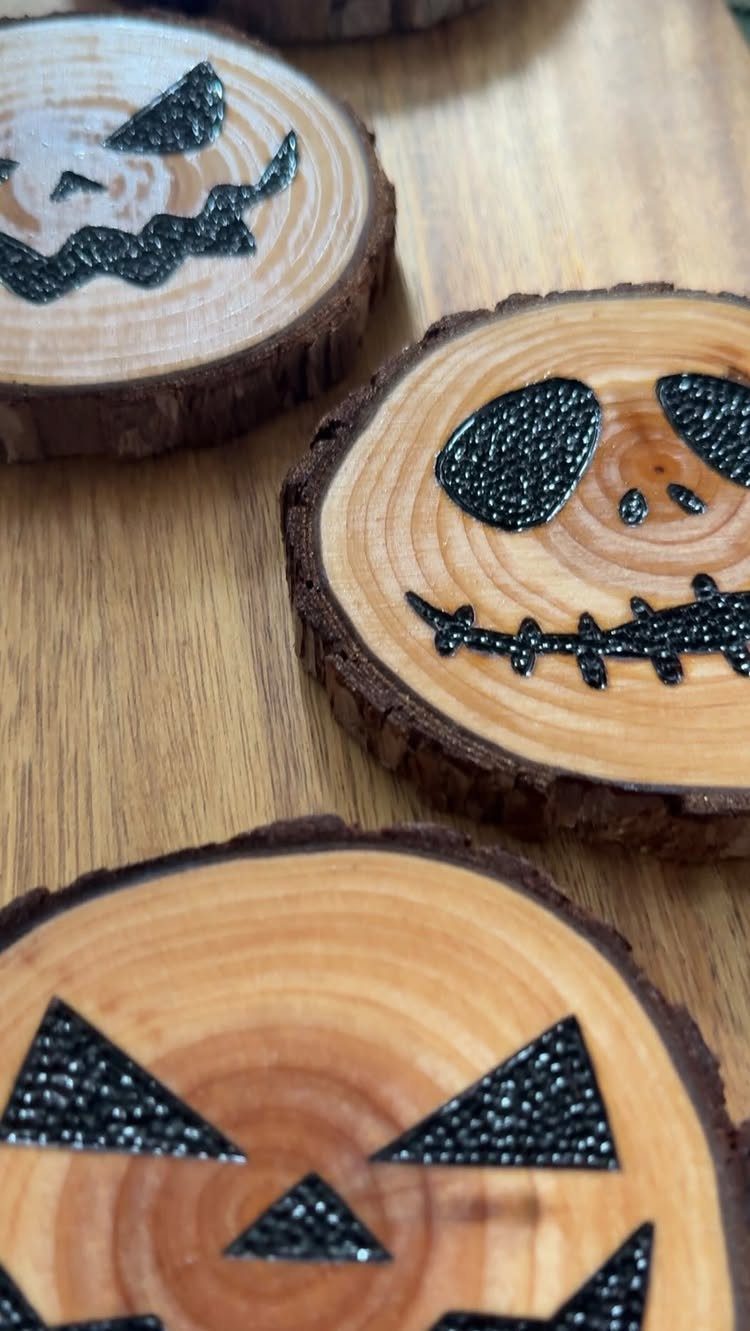
Jack-o’-lantern faces are about as forgiving as seasonal burning gets, since uneven lines read as part of the carved look.
Wide eyes, a crooked grin and a few teeth all read as a pumpkin, and a wobbly line only adds character.
On a round slice, the natural bark edge frames the design, so a simple outline already looks finished. Fill the eyes and mouth in solid and dark for the strongest contrast against light wood.
Once you have a pumpkin down, swap the motif for the next holiday and keep the same slice size. A small stack of seasonal pieces, made one afternoon at a time, covers the whole year.
5. Woodland Wildlife Designs
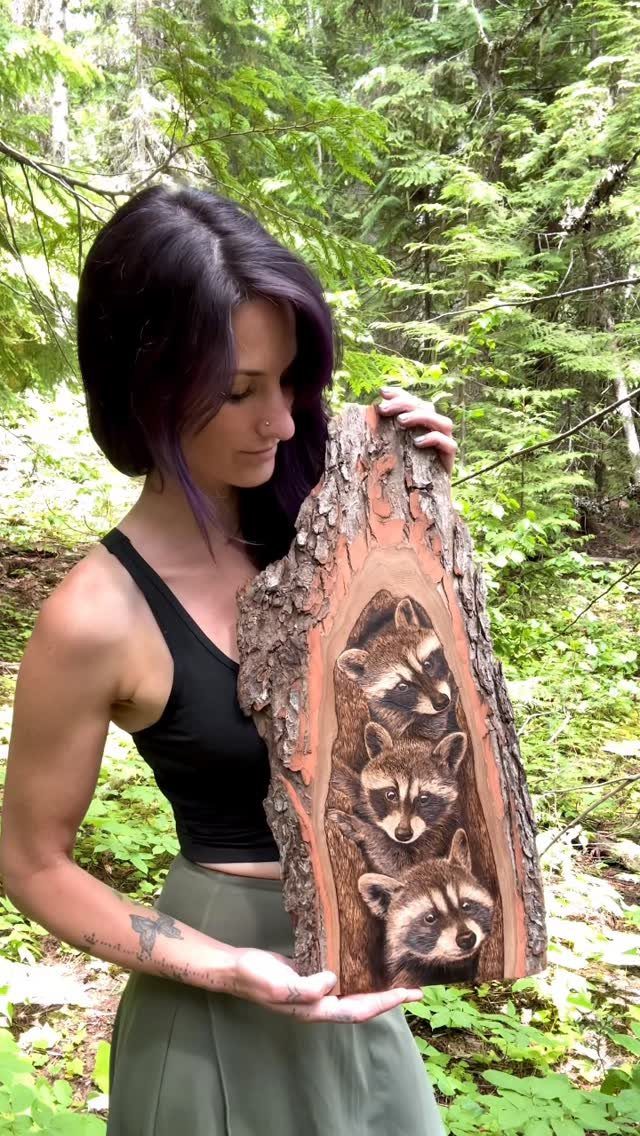
The fur comes from short, close strokes that follow the direction the hair grows.
Start with a single animal on a smaller piece of wood. A free pattern with clear outlines of the eyes, nose and ears gives you a map, and the eyes alone deserve the most patience.
Work from light to dark. Pale fur first, then deeper shading, because you can always burn more, but you cannot undo a heavy line.
6. Hummingbird and Floral Patterns
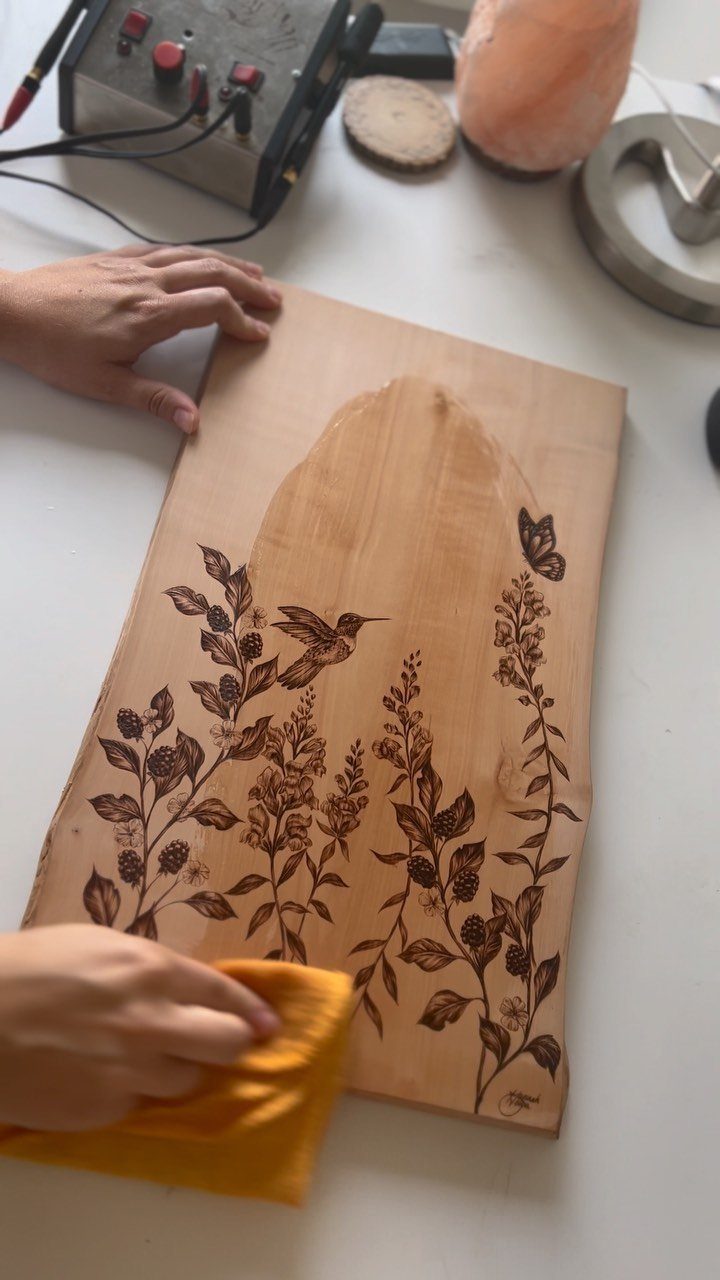
A hummingbird hovering among leaves and flowers is a delicate pattern that rewards slow work. The rectangular board gives the bird, a butterfly and the blooms room to breathe.
Burn the main subject first, then let the flowers and leaves fill the space around it. Keep the leaf lines light and the bird’s eye darker so it stays the focus.
Wipe the board with a dry cloth when you finish to clear the soot, because the true contrast of the burn only shows once the surface is clean.
I would choose a pale wood for this one, since fine lines disappear on a dark surface.
Choosing the Right Pattern
Detail level decides how a pattern turns out more than any other factor. Open spaces, bold outlines and repeated shapes give a beginner the strongest results, and a simple leaf cluster teaches line consistency better than a busy scene does.
A cabin or a mountain ridge gives you plenty of texture to burn, and you never have to fake photo-style shading to make it work. Wildlife, layered florals, mandalas and portrait-style designs belong later, once your heat control is steady.
Packing in more lines won’t give a pattern more depth, so pass on the crowded designs, even the ones that look striking on a screen.
Decide on the final size first, before you print or burn anything.
When a detail can’t be burned without running into the line beside it, print the pattern larger or redraw that spot in pencil with fewer strokes.
Transferring Designs
Set the pattern where you want it and hold it down with a few strips of low-tack tape.
No transfer paper? Transferring a pattern with graphite paper works, though it takes more cleanup.
Light lines matter here, since heavy graphite smudges into the surrounding wood while you burn.
A small folder of patterns you’ve already burned successfully is worth more than a huge stack of files nobody has tested.






