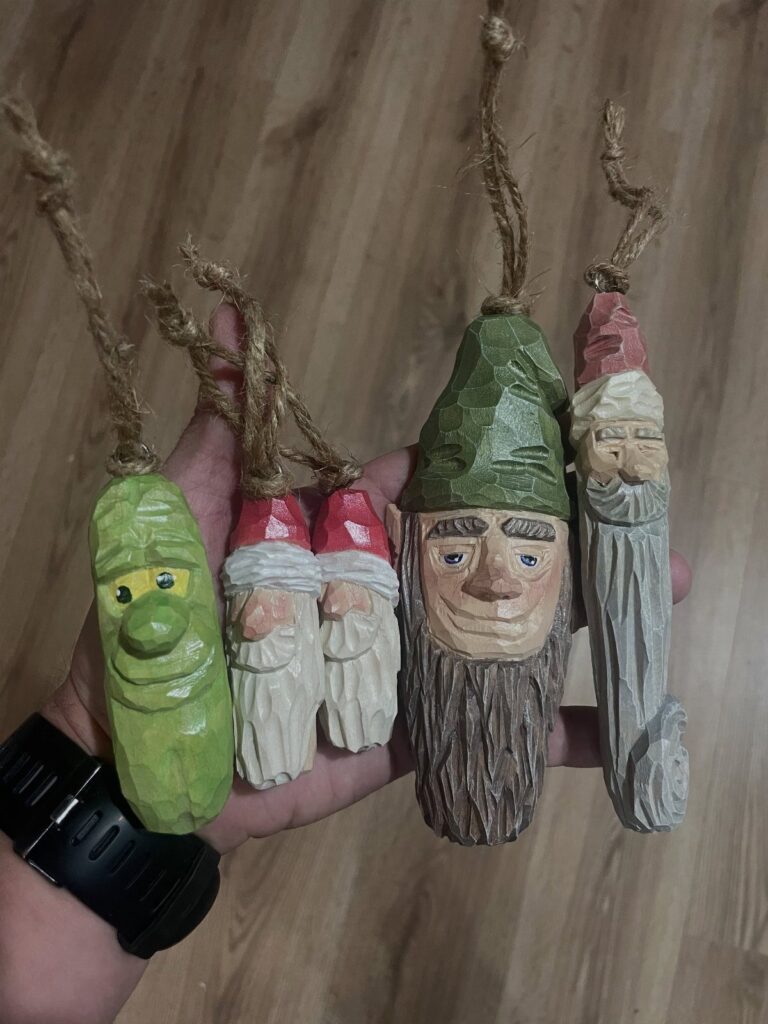
The projects here run from a pickle with a lopsided grin to an acanthus and skull relief that calls for sharp tools and patience, so your carving experience decides where you start.
If you’re new to the knife, start with a chunky shape that has nothing thin to snap off, like the pickle ornament, the bell or the red cardinal.
1. Whimsical Carved Pickle Ornaments
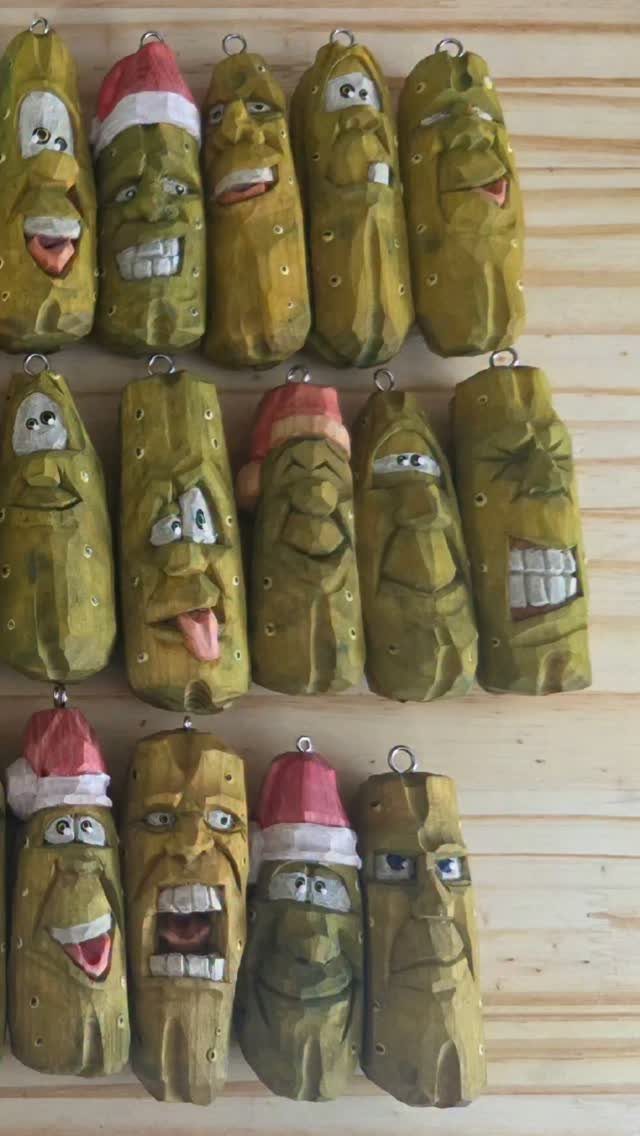
A pickle is a forgiving shape for a first carving: one long, slightly curved body, no fine limbs to snap off.
The personality lives in the face, so I’d vary the expressions across a batch, with raised brows on one and a lopsided grin on the next.
Paint matters more than the knife work here.
Green body, red hat, small dark eyes, and the set reads as a family. A dozen or so pickles on a wall or branch looks funnier than one alone.
2. Hand-Carved Wooden Santa Ornaments
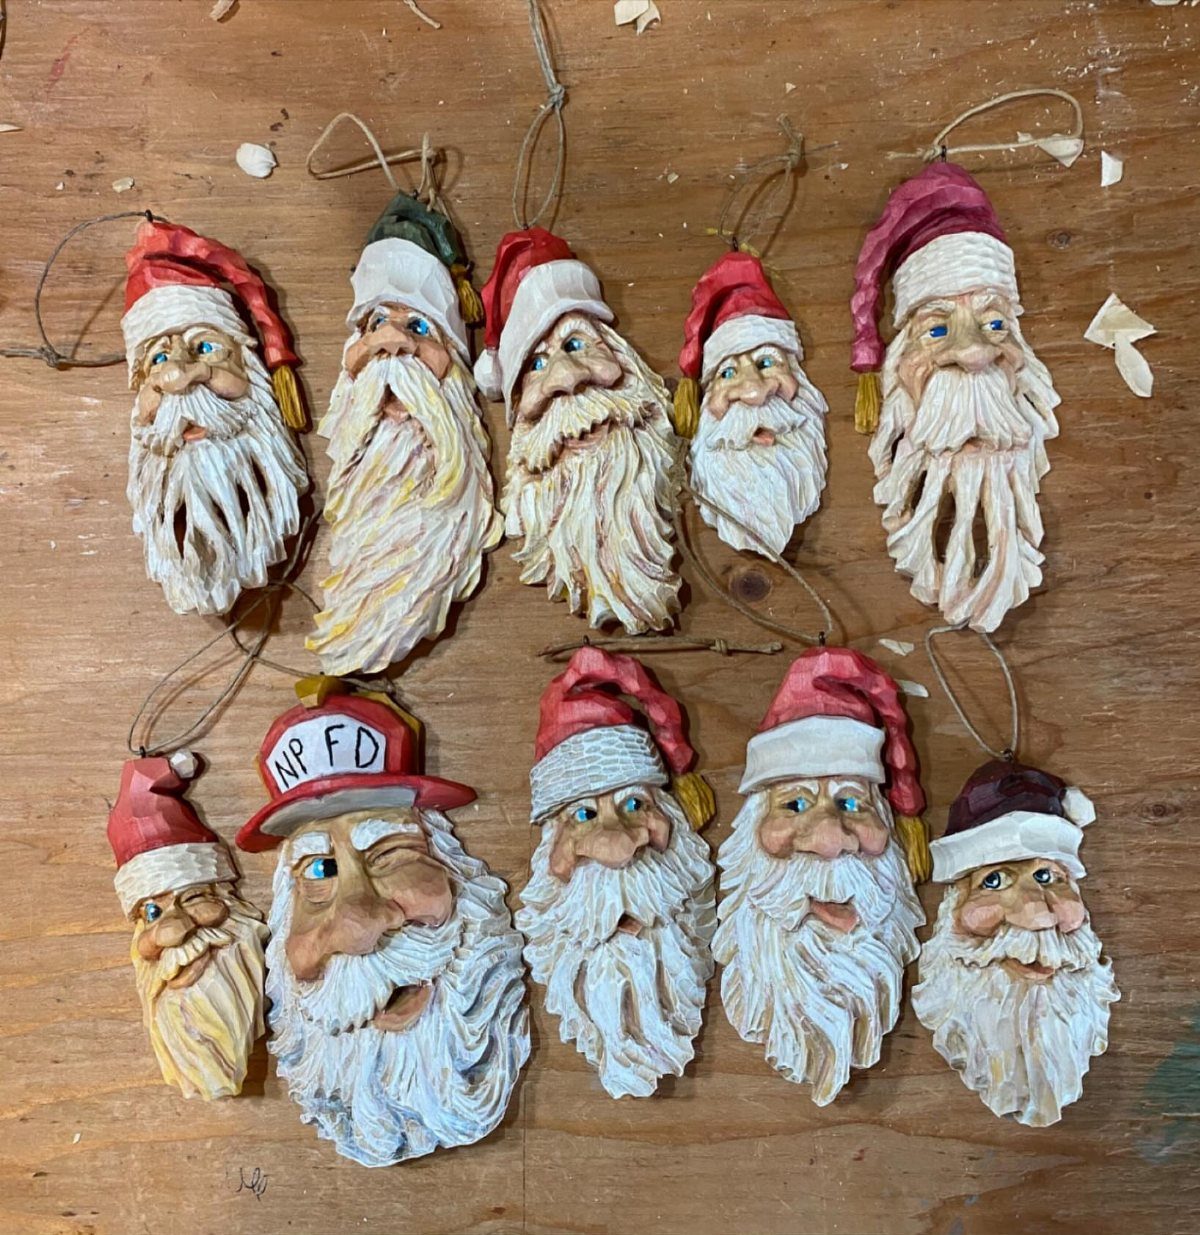
Small Santa faces suit a hand chisel because a few clean cuts define the nose, brow and beard. Leave the chisel marks visible; they give the beard its texture before any paint goes on.
Red hat, white beard, and the wood itself as the skin tone keeps the paint list short.
Carve a handful at once, since each face comes out a little different, and that variety is the charm. Mark the back of each one if you plan to gift them.
3. Carved Wooden Gnome Figures
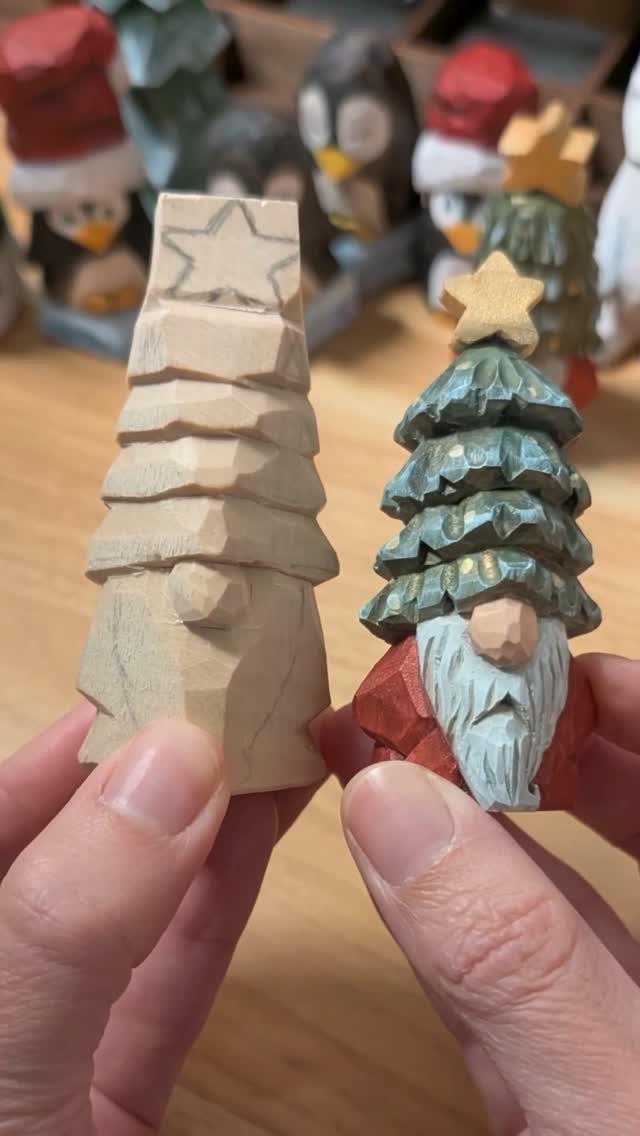
Gnomes let you choose between two finishes from one carving: leave the wood natural, or paint it green and red. I lean toward natural for the first one, because bare wood shows off your cuts and hides nothing.
Paint is the better choice once you want a set that matches. One maker’s beginner bundle includes a 28-step photo tutorial, a printable pattern and a painting guide, which is a handy shortcut if you’d rather not sketch your own.
4. Wooden Animal and Nature Pendants
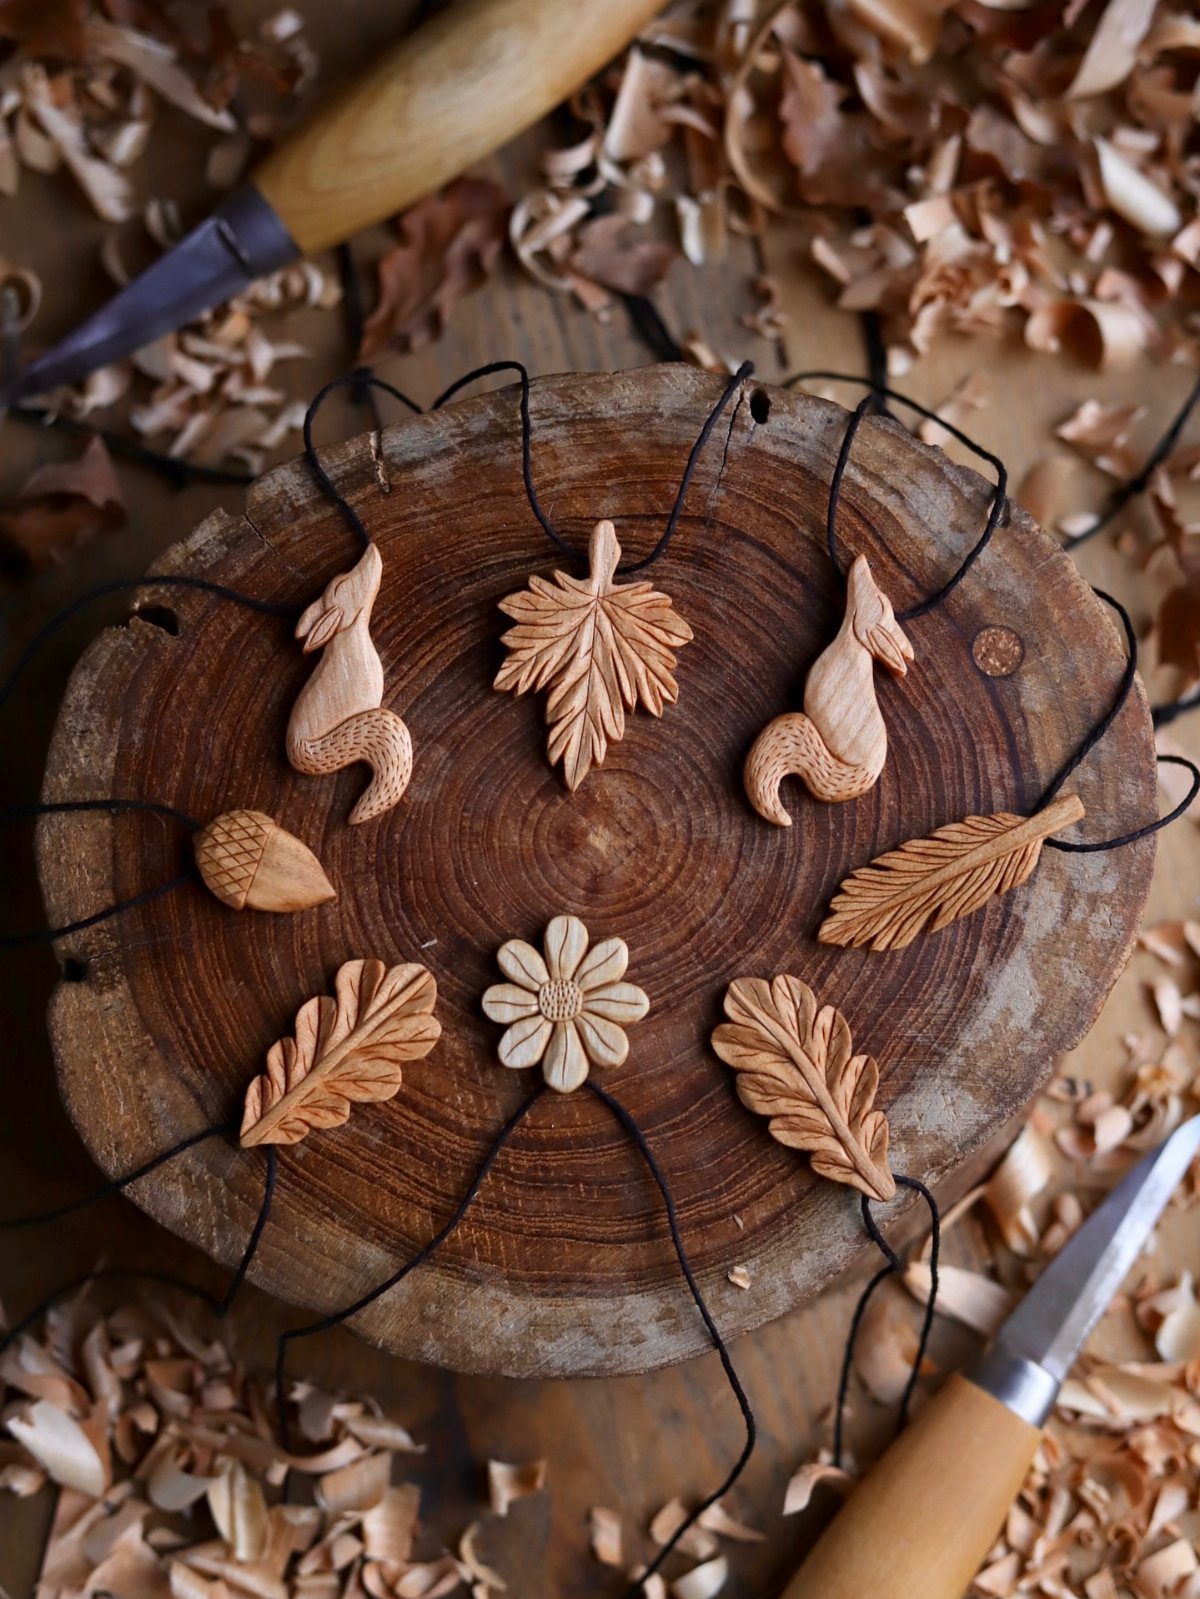
Pendants shaped like forest animals, acorns and leaves are small enough to finish in an afternoon. A leaf is the easiest starting point: a flat outline, a center vein and a few angled cuts.
Keep the shapes simple and chunky so the details read at pendant size.
Carve a mix of animals and plants, then hang them from a branch or a tree, or thread them on cord. A flat wood slice makes a good tray while you work and collects the shavings.
5. Carved Wooden Bell Ornament
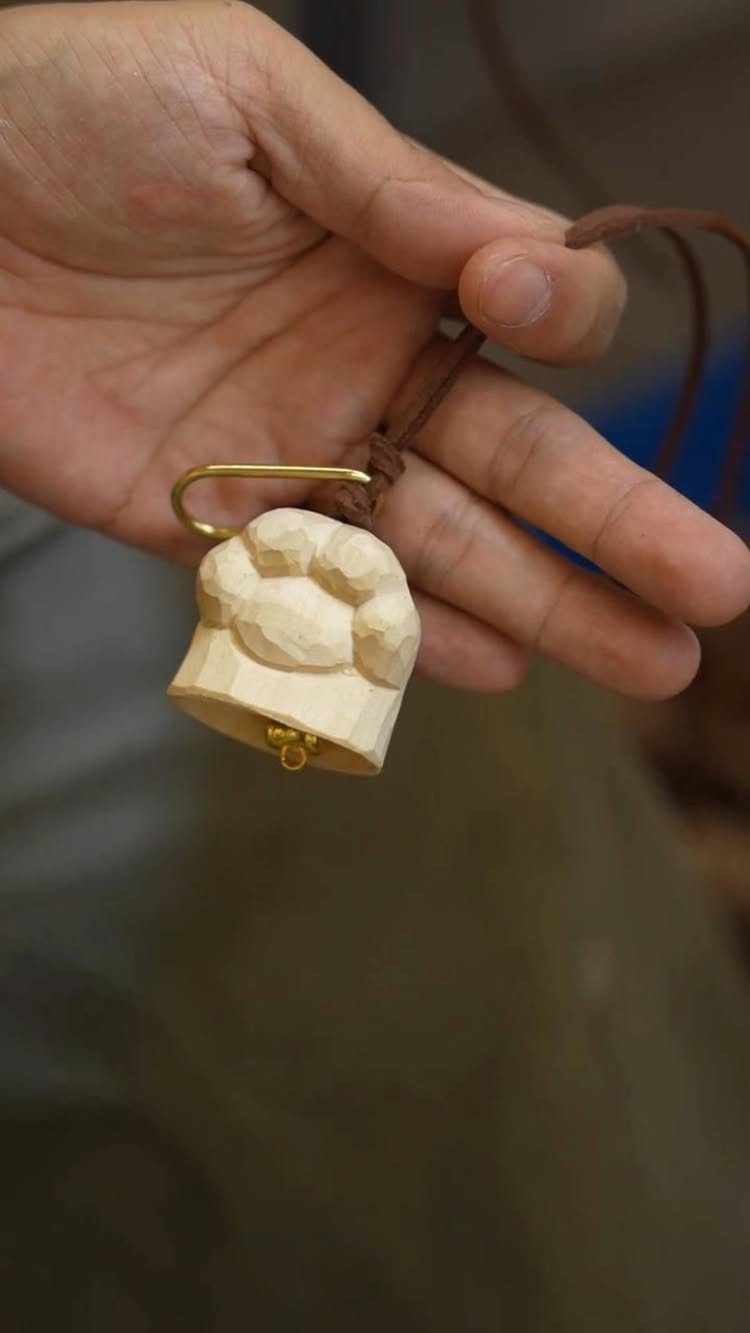
A carved bell is a neat way to practice rounded forms, since the dome and flared lip are one continuous curve. Work slowly across the grain so the rim doesn’t chip.
Light wood keeps it simple and lets the carving speak.
A brown leather cord with a gold-colored clasp turns it into a hanging piece or a pendant, and the contrast with pale wood looks clean. Sand lightly; a bell wants smooth sides more than sharp detail.
6. Acanthus and Skull Relief Carving
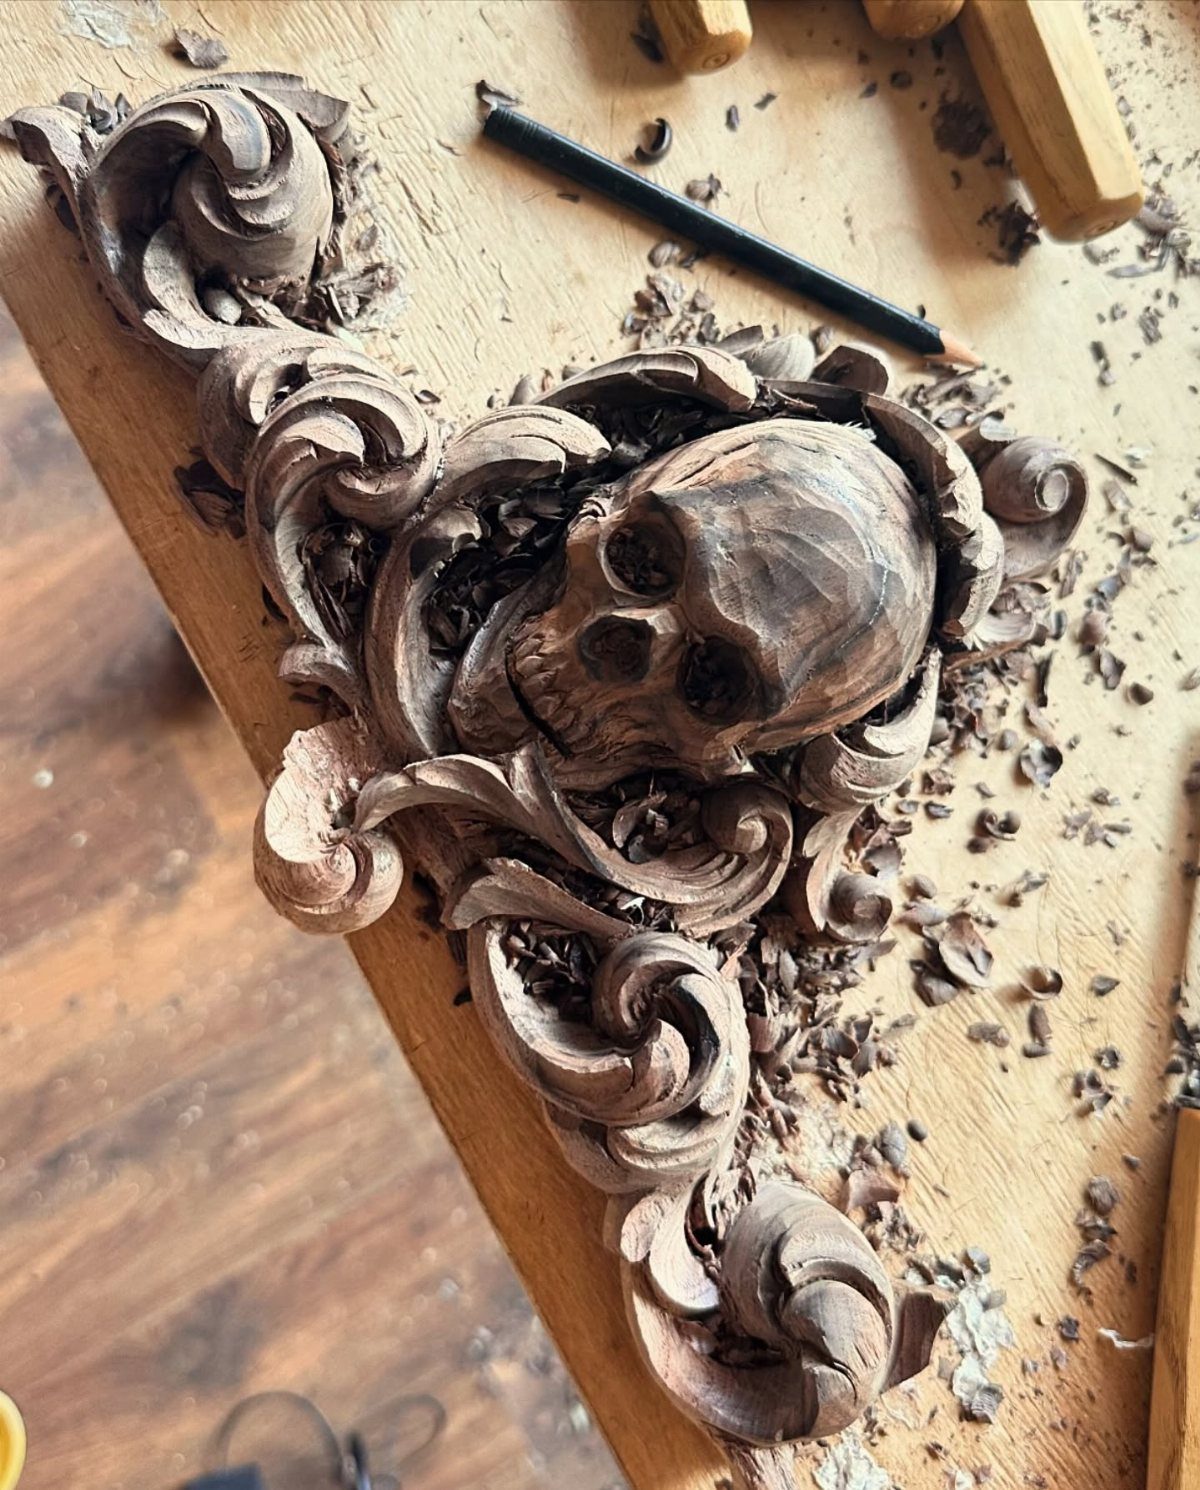
Acanthus scrolls around a skull is advanced relief carving, and I’d not start here. The leaves need clean, flowing curves, and the skull needs accurate proportions, so both demand sharp tools and patience.
Pencil the whole layout first and keep it on the wood as you cut.
Set the skull’s depth before you refine the scrolls, so the leaves wrap around it naturally. Practice a few acanthus leaves on scrap before committing to the final piece.
7. Carved Wooden Red Cardinal Hanging
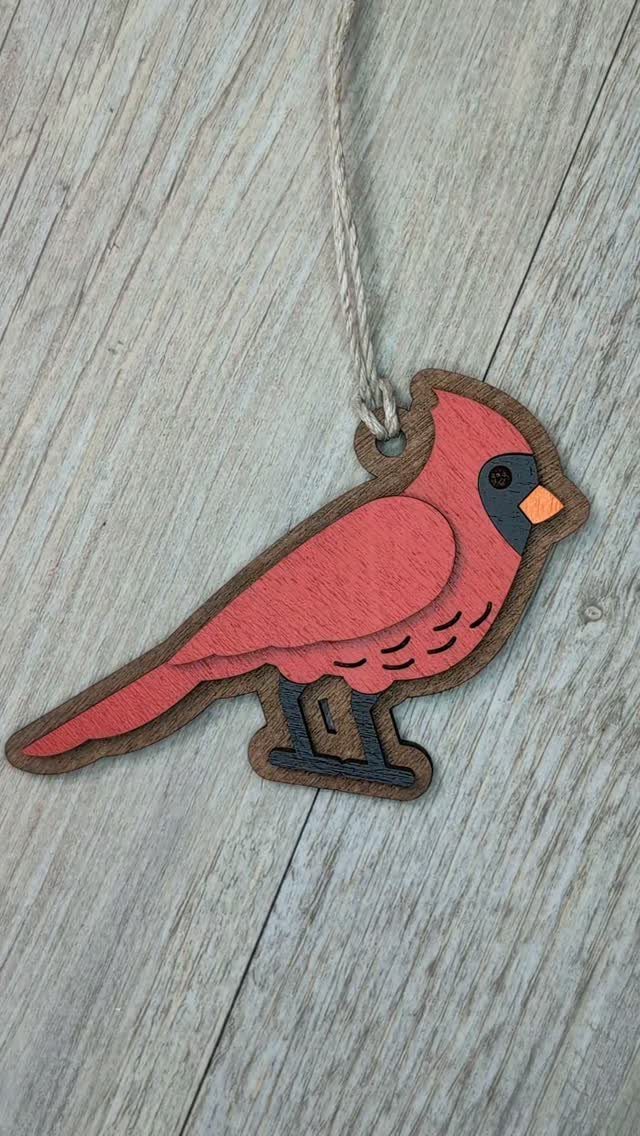
A cardinal works well as a hanging ornament because the whole bird reads from its color alone: red body, black face, orange beak.
That makes it a good candidate for paint over bare wood, and the black mask around the beak is the part to get crisp.
Carve a plump, rounded body with a small crest and keep the tail short, so nothing thin snaps off. Drill a tiny hole at the balance point on the back before painting, then loop twine through it.
Hang it against something plain, like weathered gray boards, so the red does the talking.
Custom Orders
Carved Decor takes custom orders, and a request goes smoother when it arrives complete. Send 3 things: the design, the dimensions and the wood type.
Dimensions matter most. A sketch with no measurements leaves the maker guessing at scale, so measure the spot where the piece will hang or sit before you write.
Wood choice shapes the design too. Wood is weakest across the grain, so delicate parts like thin stems or pointed tips should run along it.
A design with fine detail on end grain is much harder to carve, which is worth keeping in mind when you pick the layout.
Care Instructions
Carved pieces last longest in steady conditions. Keep the room between 50°F and 77°F, with stable humidity.
Place pieces at least 3 ft from radiators, heaters and fireplaces. Wood reacts to heat, and a spot that is too close can stress it.
Avoid direct sunlight, sudden temperature swings and water contact. Mechanical impact is the last hazard: a knock can snap a raised edge, so choose a spot away from doorways and busy shelves.
Wood Selection
Carved Decor works mainly in two certified solid hardwoods: beech (Fagus orientalis) and white oak (Quercus hartwissiana). Both are a sensible place to start if you are ordering.
Other species are possible for large volume orders. You would need to contact them with your project specifications and talk it through.
Whatever the species, look at the grain direction before you commit to a design.
Fragile parts hold up better when they follow the grain, and a carving blank built from several smaller boards can place the grain where each area needs it, for easier cutting and a more durable piece.
The nature of the wood being carved limits the scope of the carver in that wood is not equally strong in all directions: it is an anisotropic material.
Frequently Asked Questions
What do you soak wood in before carving?
Neither the sources I’m working from name a soaking liquid, so I won’t guess at one.
Soaking won’t help with strength, so the grain is what to plan around: thin stems and pointed tips snap easily when they run across it, so line them up with the fibers. Check the grain direction before you start cutting.
What wood is best for carving ornaments?
Beech and white oak are two certified solid hardwoods that a maker of carved decor works in mainly, so both are sensible picks. Light wood suits a simple piece like a bell, since it lets the carving show.






