Time and space decide which of these diy wooden projects is yours: a picture frame or a set of blocks fits an afternoon on a table, while a garden bench, dog house or potting bench takes more than that and needs outdoor-rated finish and a spot to stand in the weather.
Some of these cost next to nothing, like the rustic frames you can build from scrap, while the biggest is a wall unit made of stacked crates.
Start with how much floor or wall space you can give up and how many hours you have, then check the list against your tools; a saw and a drill or driver will handle almost all of the desk organizer.
1. Picture Frames
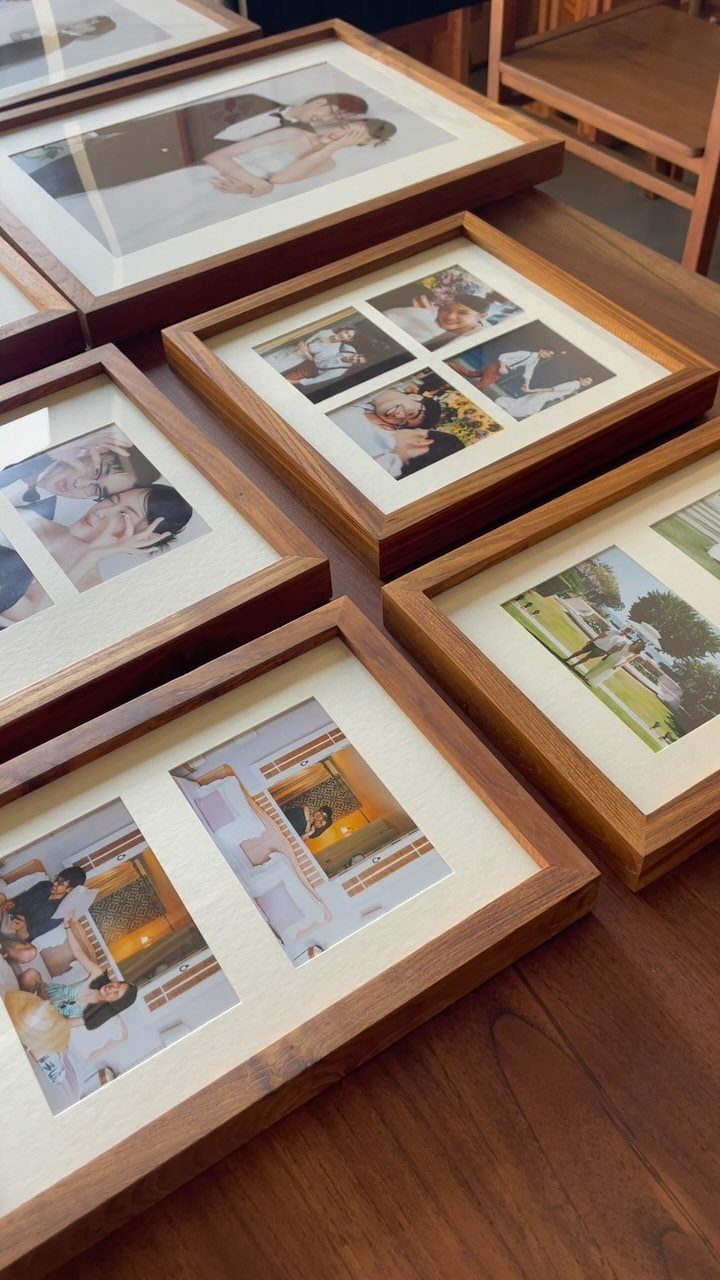
A frame is about the friendliest first project in woodworking, because you can size it to whatever photo or print is already sitting in a drawer.
White mats, like the ones in this set, keep the focus on the picture and let the wood read as a border.
I’d make several at once, with the same wood and different sizes, so they hang or stand as a group.
2. Floating Shelves
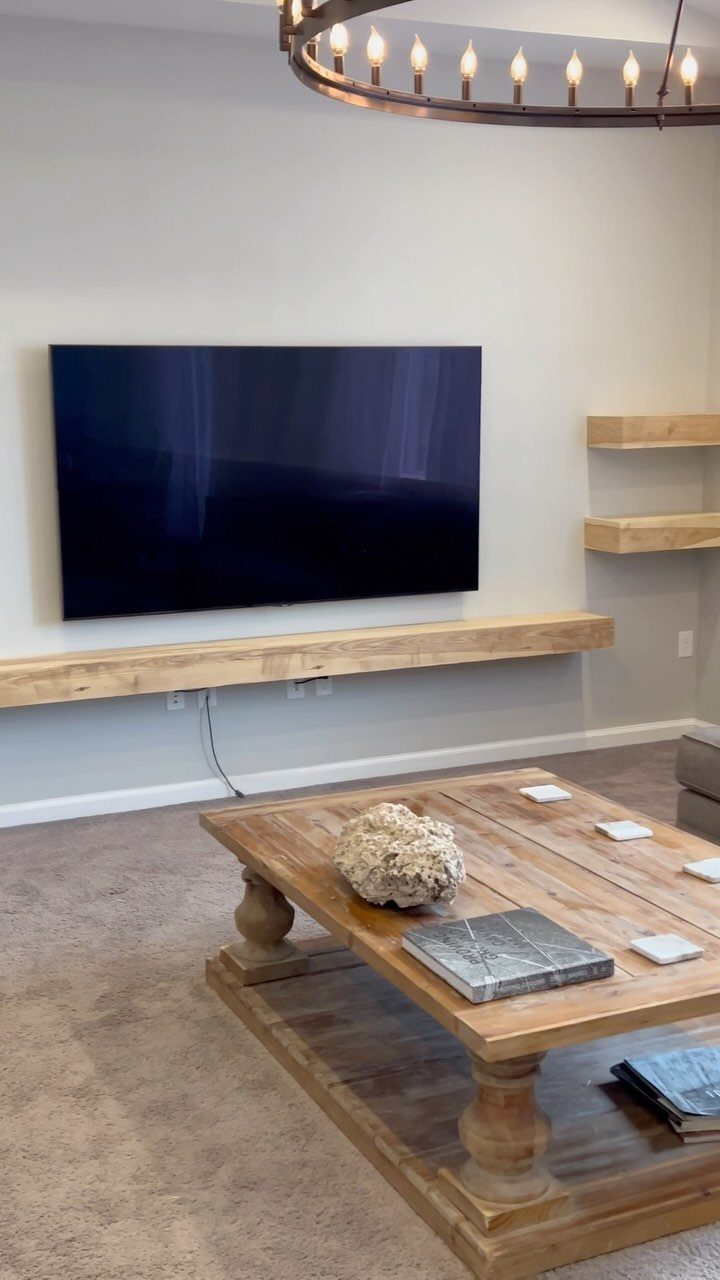
Floating shelves hide their hardware, so the board looks like it grows out of the wall.
Under a TV, a long shelf with a couple of shorter ones beside it gives you a display spot without adding furniture to the floor.
Varying the lengths looks more relaxed than matching them. Wood tone matters too: if you already have a coffee table nearby, keep the shelves in the same color family.
3. Coat Racks
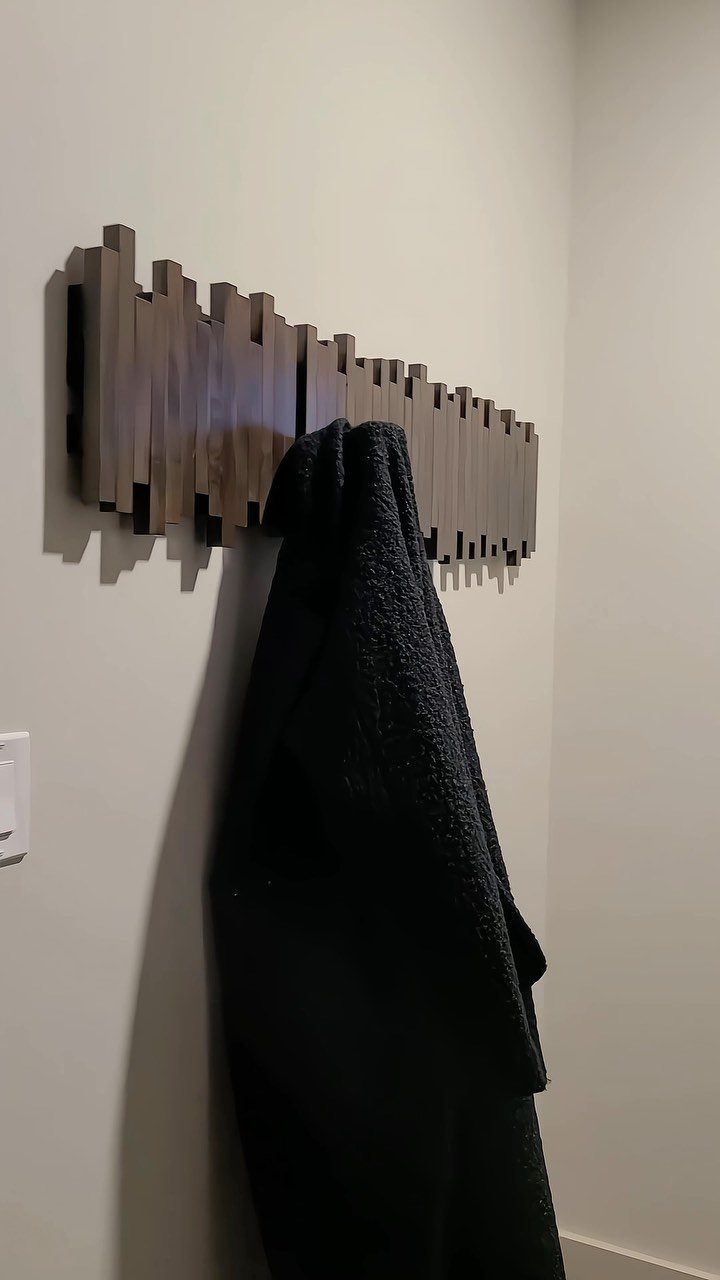
A coat rack made of angled wooden pieces works as wall art even when nothing hangs on it.
A dark brown stain on a geometric coat rack gives strong contrast, so it reads best against a pale wall in beige, cream or soft gray.
For an entryway, I’d pick a design with a few clear hanging points over one crowded with pegs, since coats and hats need room to hang apart.
4. Serving Trays
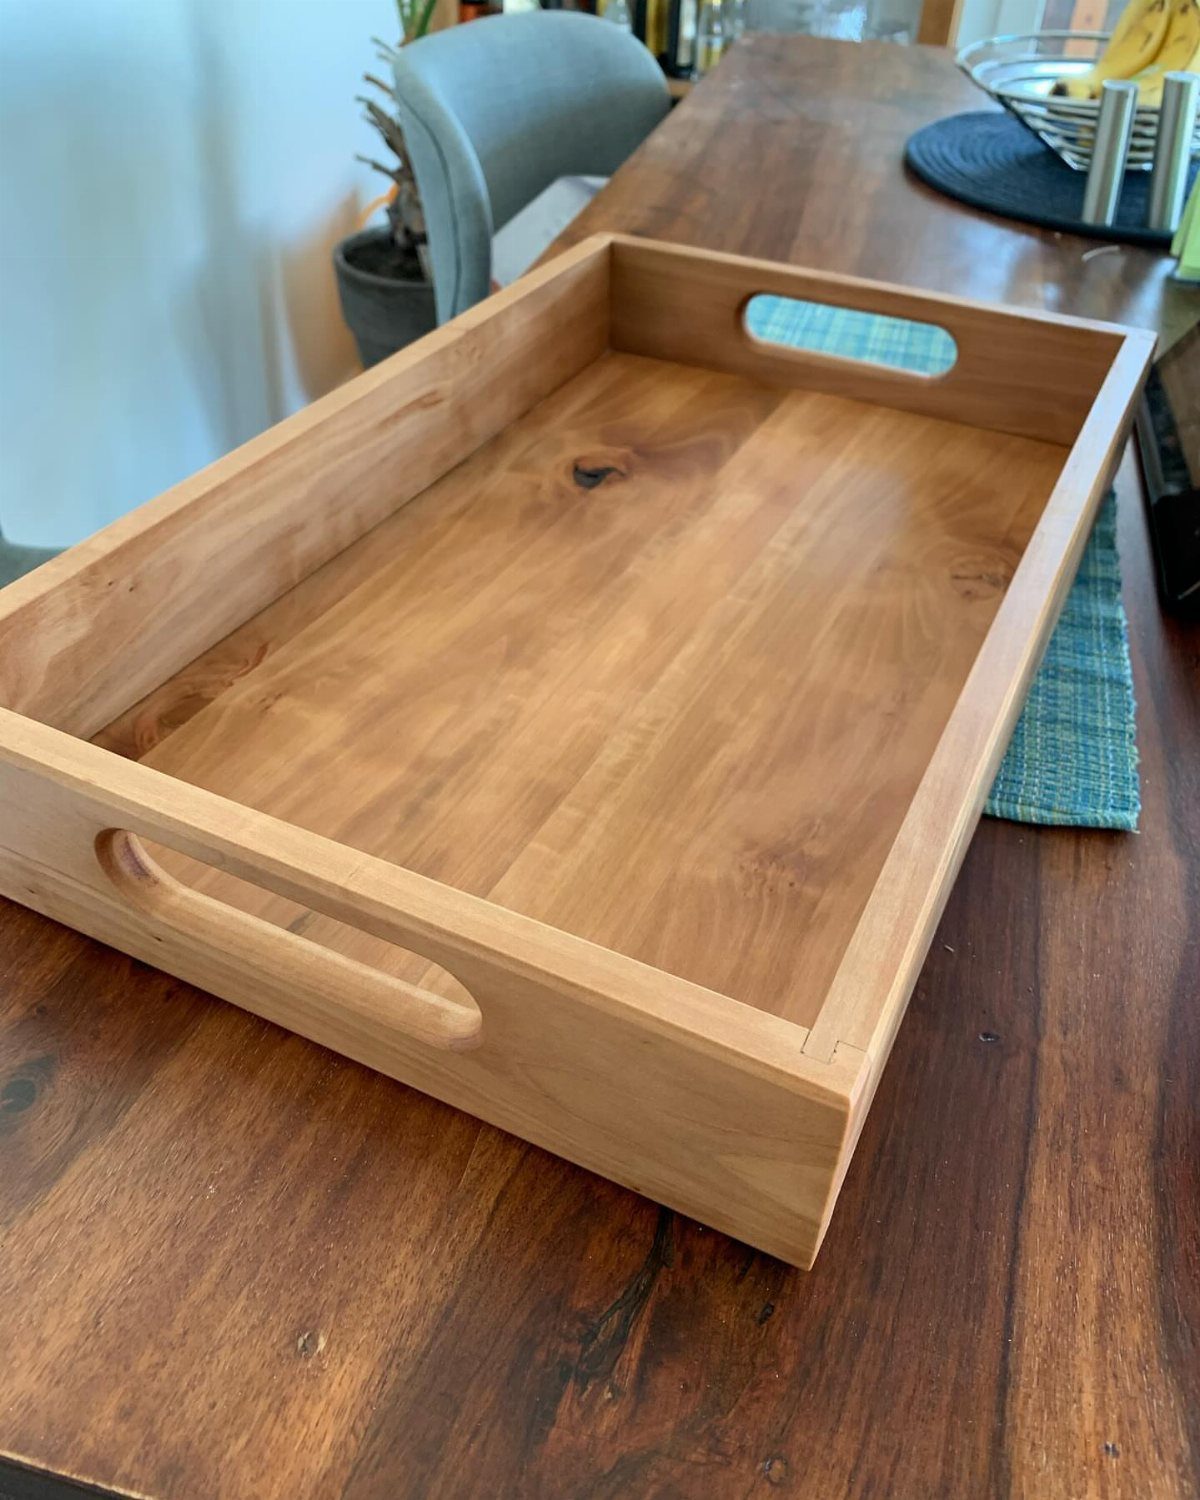
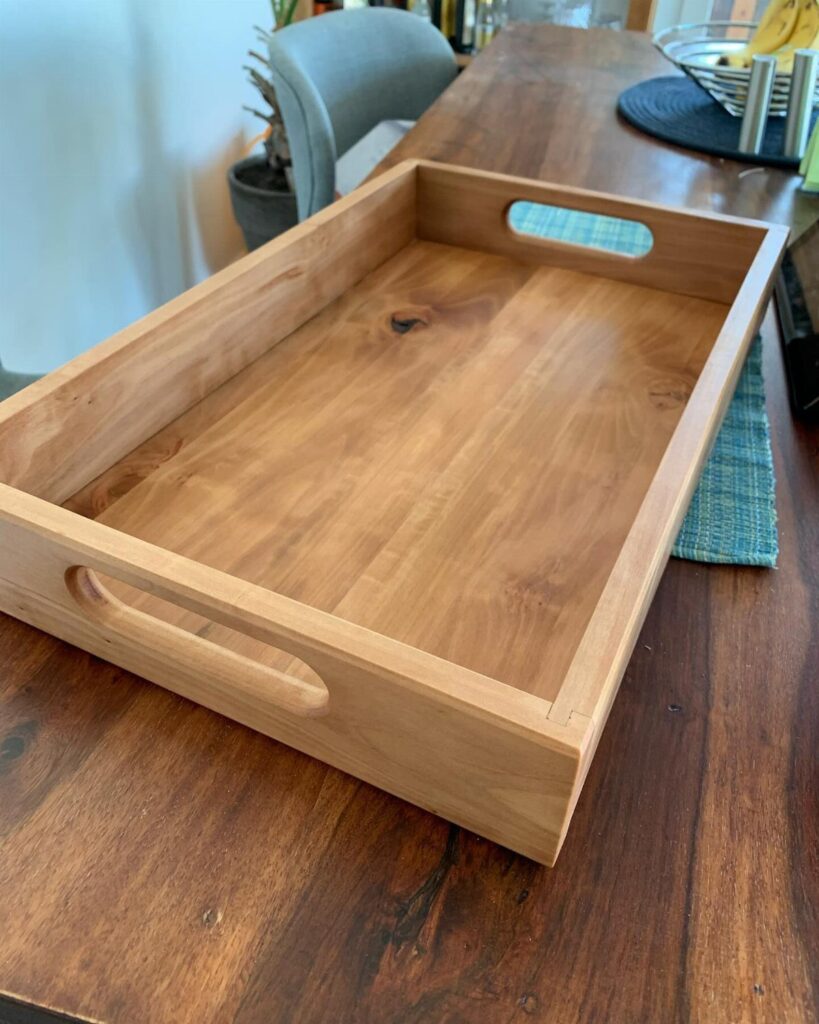
Cutout handles are what make a wooden tray easy to carry: no extra hardware, just openings in each end wide enough for your fingers. A rectangular tray like this one suits drinks, snacks or breakfast in bed.
Sand the handle openings smoothly, since your hands touch them every time. A dark finish hides a few spills and rings.
5. Wooden Garden Bench
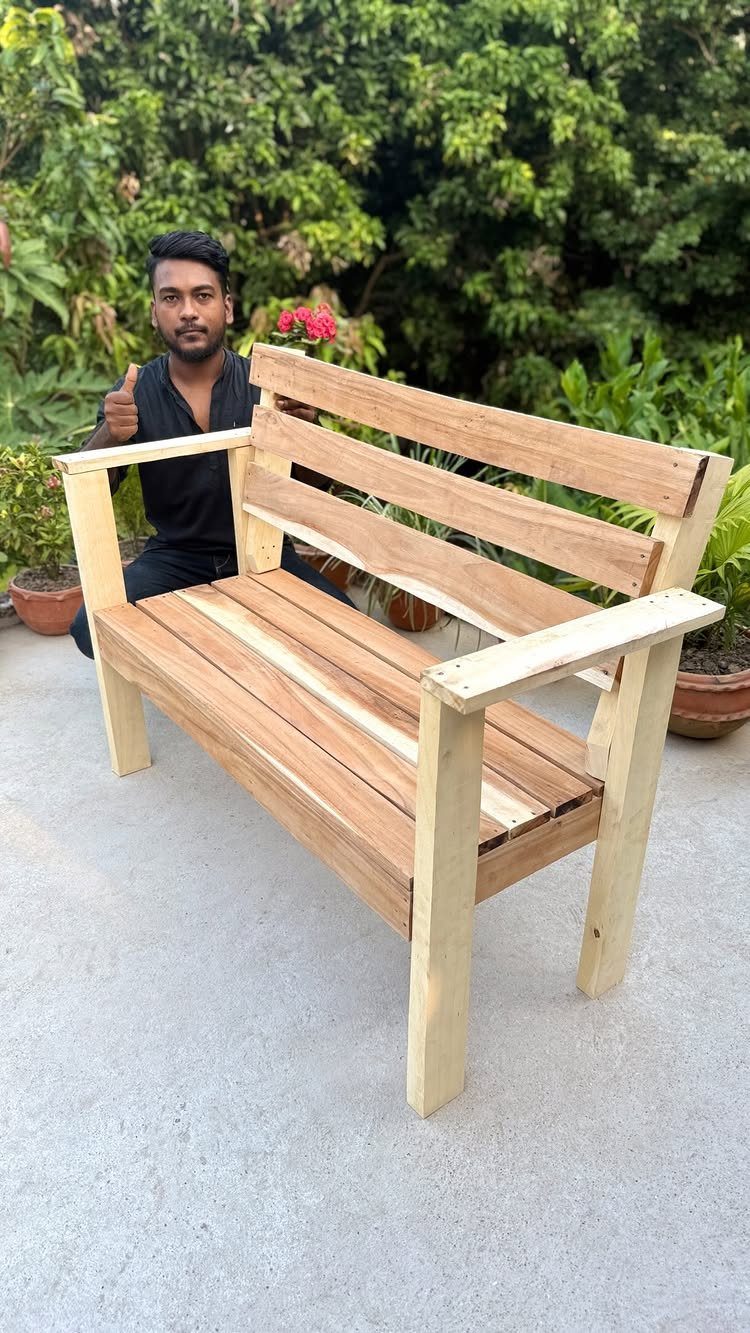
Slats make a garden bench forgiving to build: you repeat the same cut and spacing across the seat and back until it’s done. Outdoors on a patio, a slatted bench sits happily among potted plants.
It’s a bigger project than a frame, so I’d allow more than an afternoon. Use an outdoor-rated finish, since this one will live in the weather.
6. Desk Toolbox Organizer
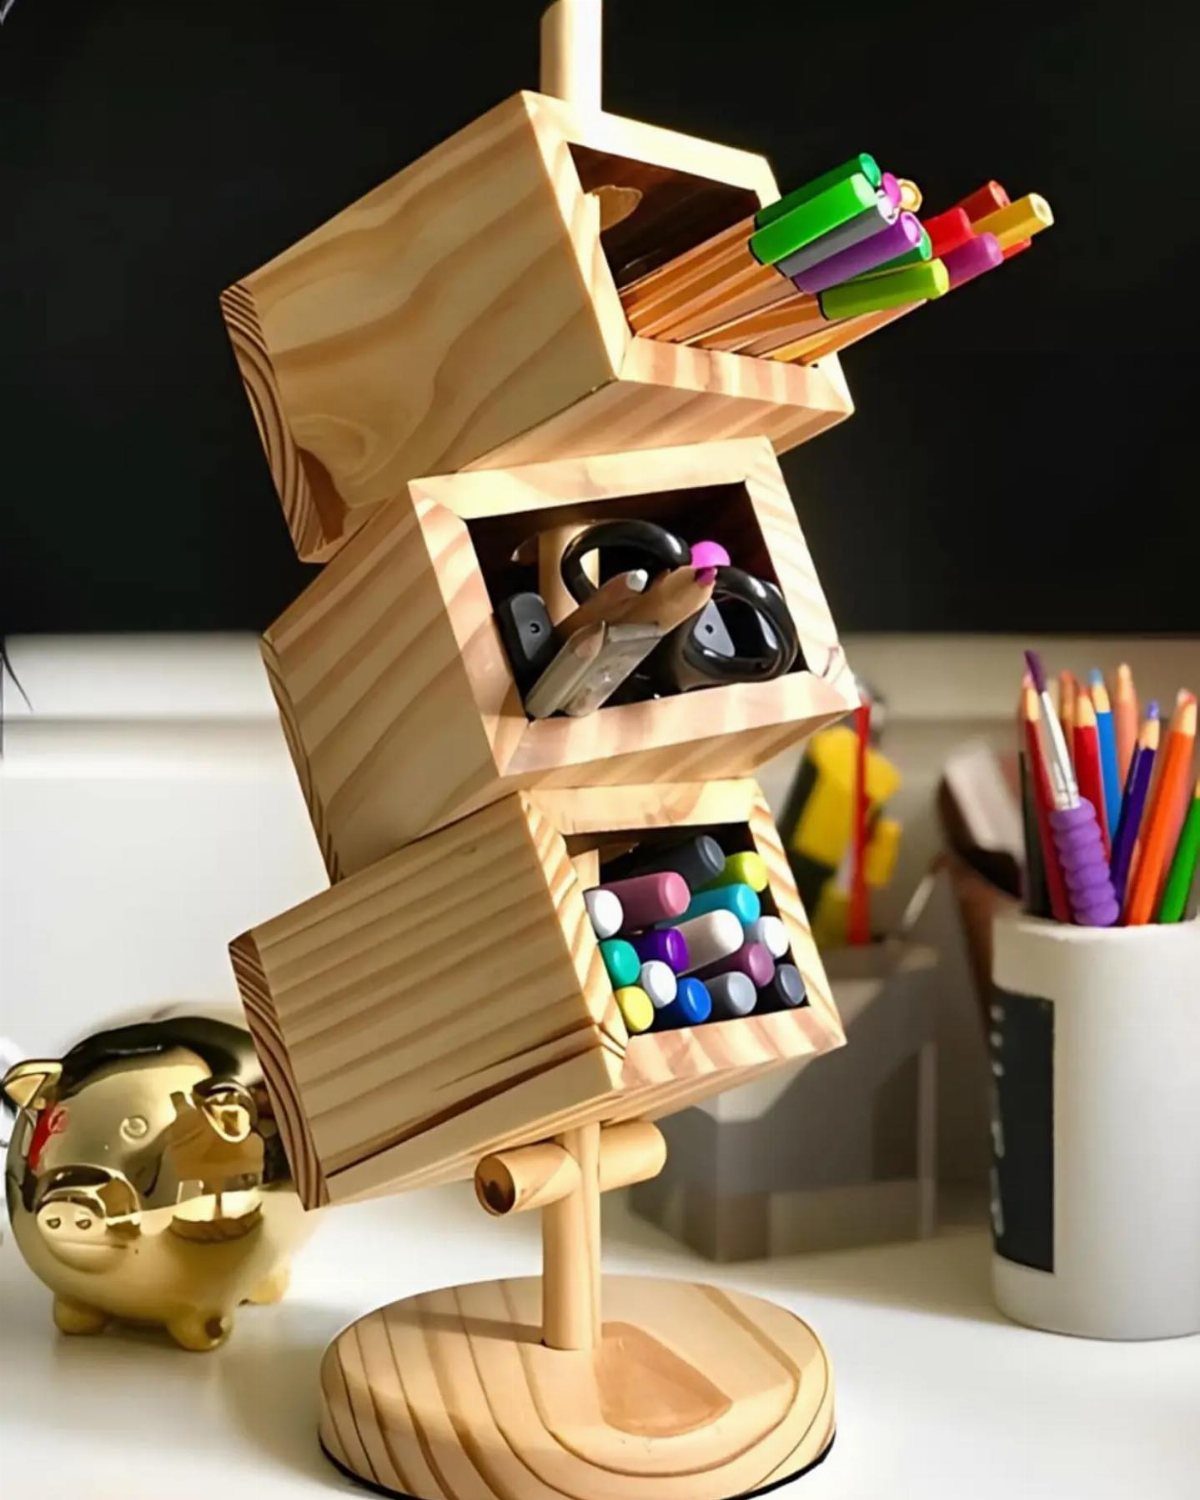
Tilting the compartments toward you lets you see every pen, pencil and marker without digging, and stacking 3 keeps the footprint small.
Plan on roughly an hour for this one, and a saw plus a drill or driver will cover nearly all of it.
That makes it a good gift or a quick weekend win. I like the angled design because the tilt keeps tall markers from disappearing into the box.
7. Wine Racks
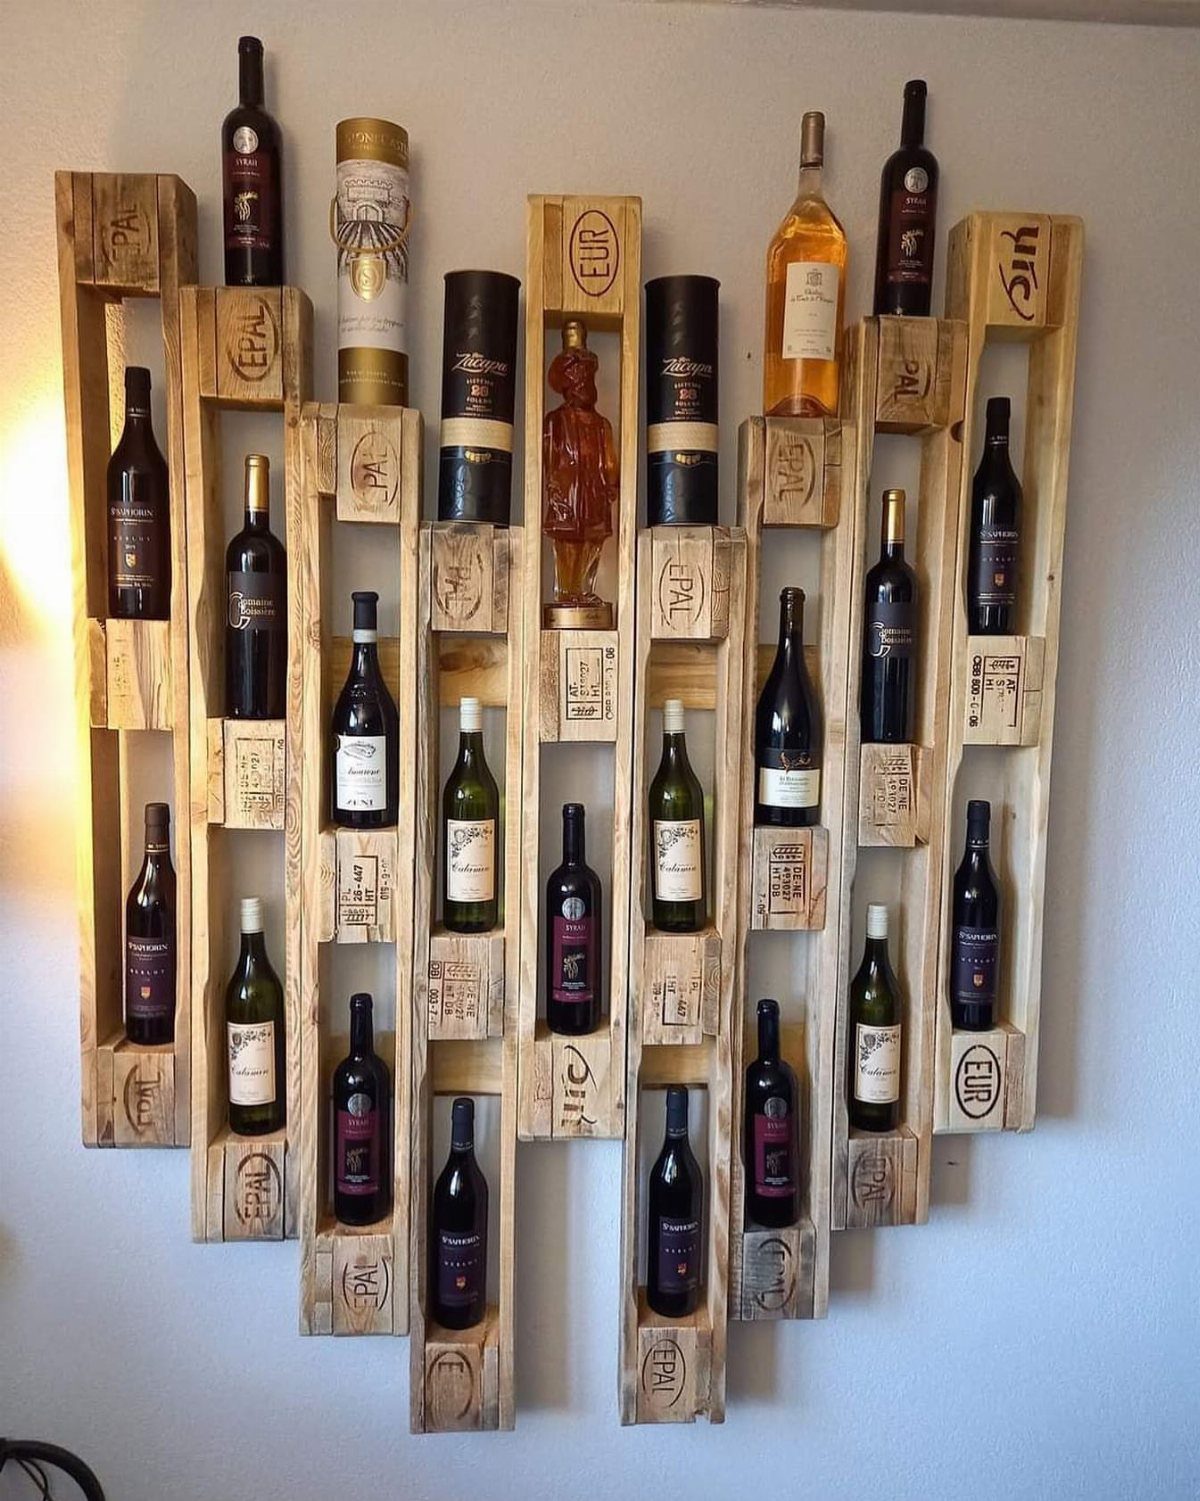
Pallet slats already have the spacing a wine rack needs, which is why this wall-mounted version looks so natural. The stamped EPAL and EUR marks are part of the charm, so sand the faces lightly and leave the lettering showing.
A plain wall suits it, since the wood is the decoration. Hang it where bottles stay within easy reach, and give a pantry or dining nook a rack that doubles as wall art.
8. Planter Boxes
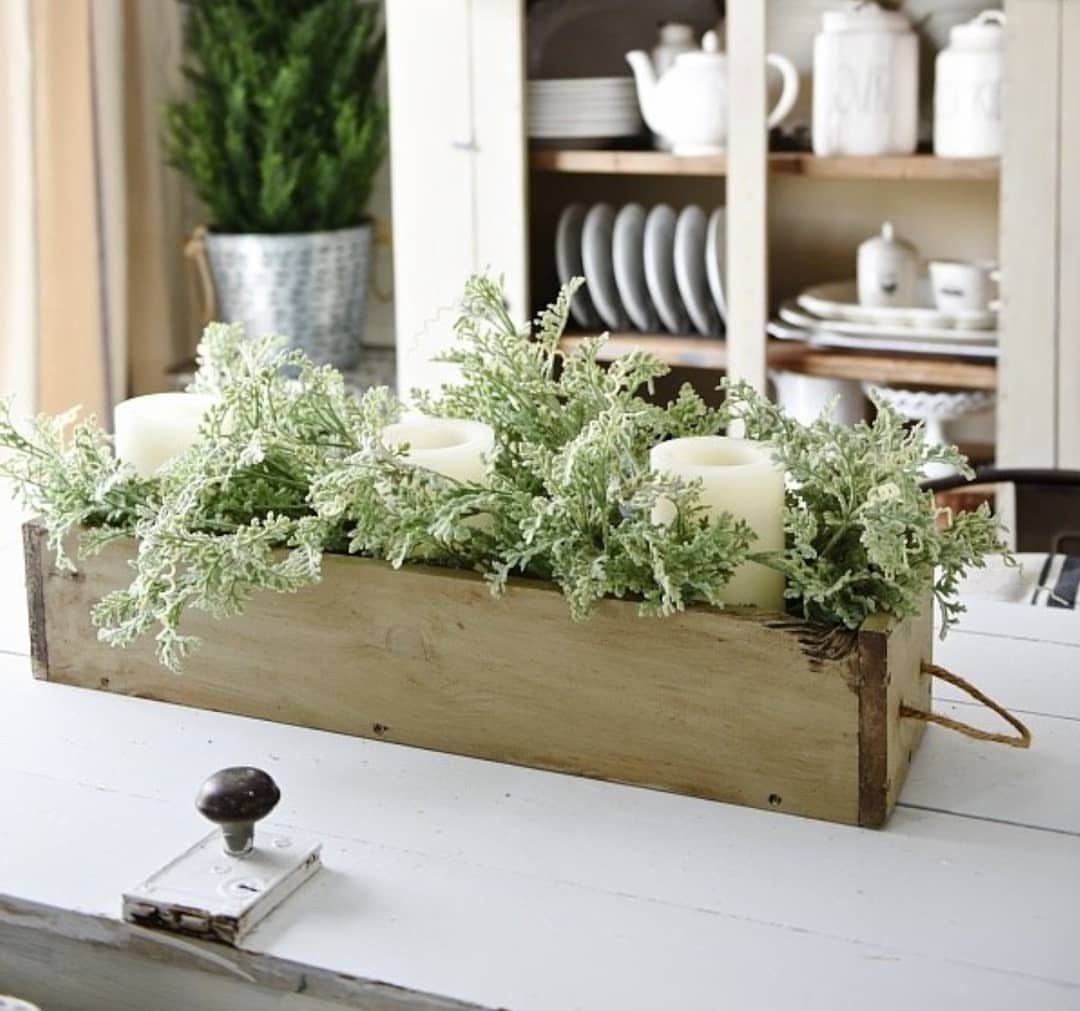
A long, low planter box earns its place on a table, because one box can hold greenery and a few white candles together. Rustic wood against a white surface keeps the look warm without feeling busy.
A simple box with a bottom panel is an afternoon of work with a saw and a drill. Choose a length that fits your table with room to spare, so the arrangement doesn’t crowd plates or elbows.
9. Wooden Crates
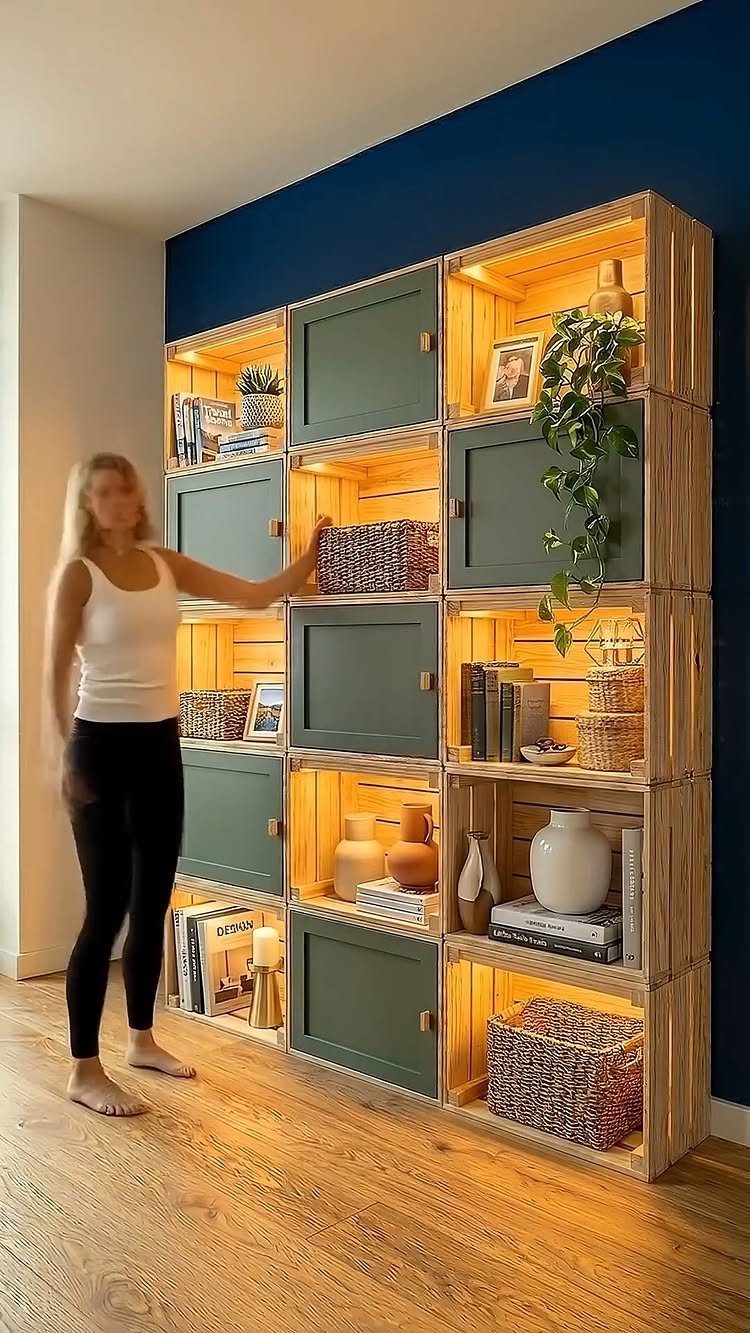
Stacked crates turn into a wall unit once you fix them together, and the doors are what make this one special.
Open crates stacked or mounted on a wall hold books and baskets in plain view, and a coat of paint in a color you like makes them look finished.
I’d mix open and closed boxes so the shelves don’t feel like a grid. Screw the crates to each other, and to the wall if the stack climbs high.
10. Birdhouses
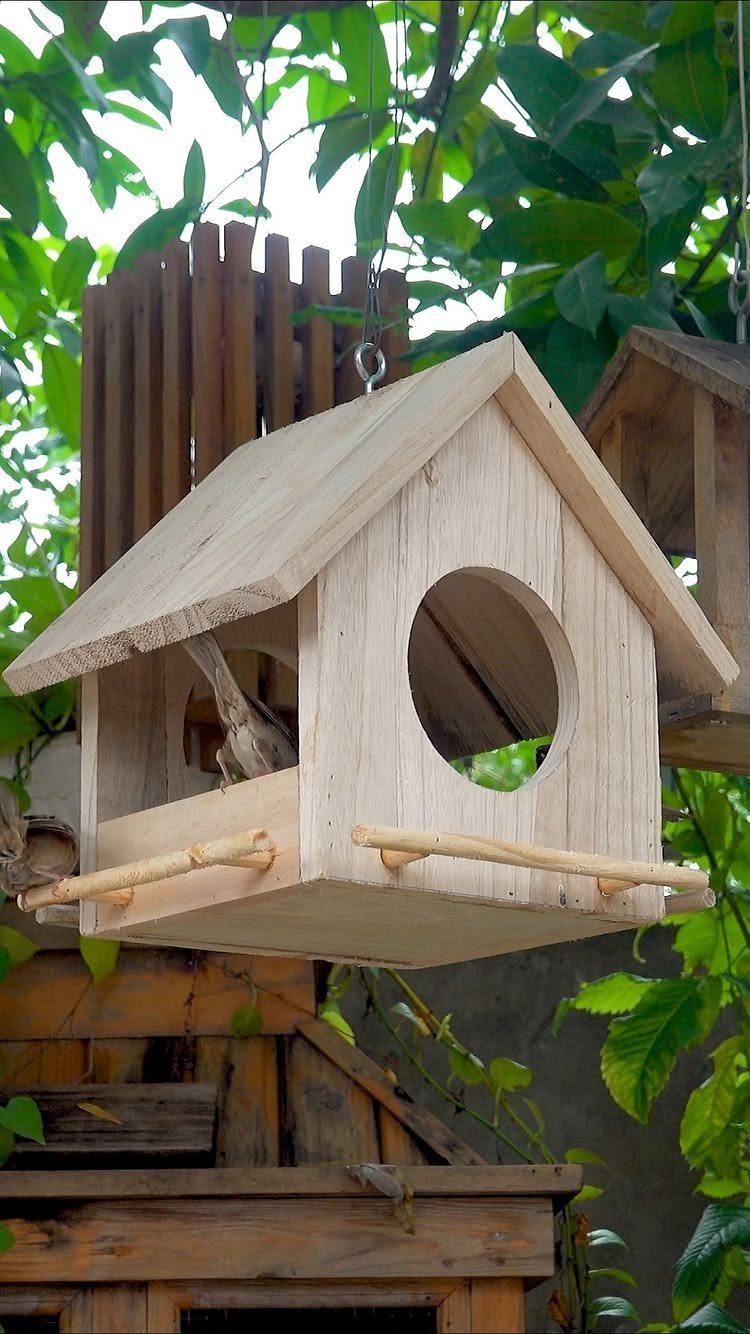
A birdhouse is small enough to finish in a single sitting, and a peaked roof with a round opening is all the design it needs. A perch under the hole gives visitors a place to land.
Keep the wood unpainted or pale, like this one, so it blends into the leaves. Hang it among the branches where the garden gets some cover, and the first tenant may arrive sooner than you’d expect.
11. Shoe Racks
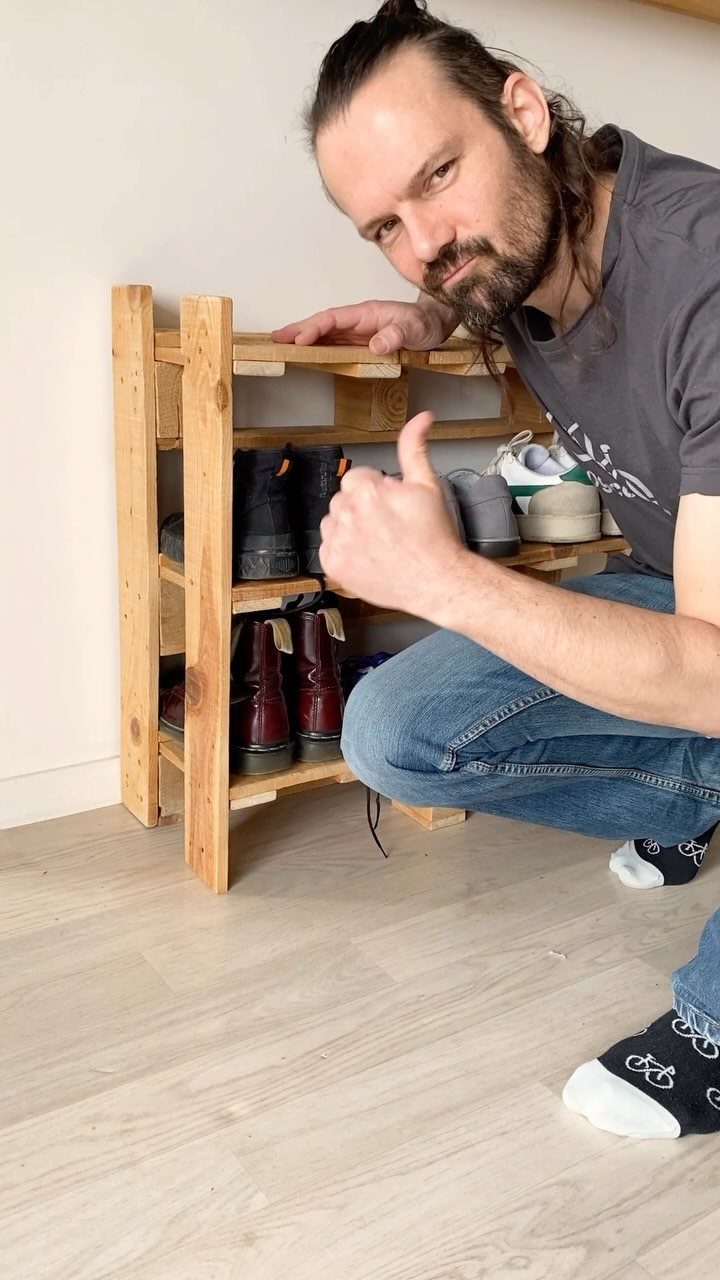
3 tiers hold a surprising number of boots and sneakers, and a low open rack means nothing gets buried. Build it wide enough for your biggest boots, then match the shelf spacing to them.
Open slats let wet soles dry out instead of sitting in a closed cabinet. Set it by the door on a hard floor like the one here, and the entryway stays tidy.
12. TV Stands
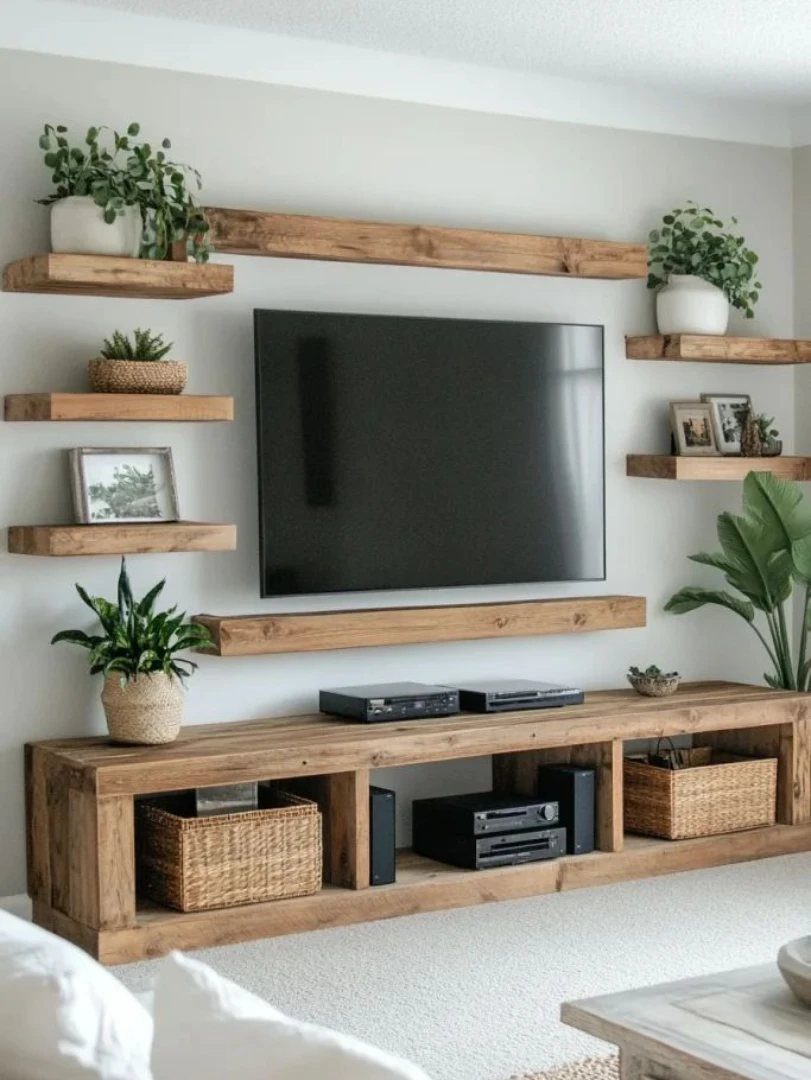
A long, low stand with open shelving gives baskets and plants a home right under the screen, and it keeps cords and clutter easy to tuck away.
Matching floating shelves above it tie the wall together, so the wood tone should stay consistent across both.
Baskets hide remotes and cords, which keeps the open shelves from looking cluttered. Pick a rustic finish if you want forgiving wood that shrugs off a few scuffs.
13. Christmas Village
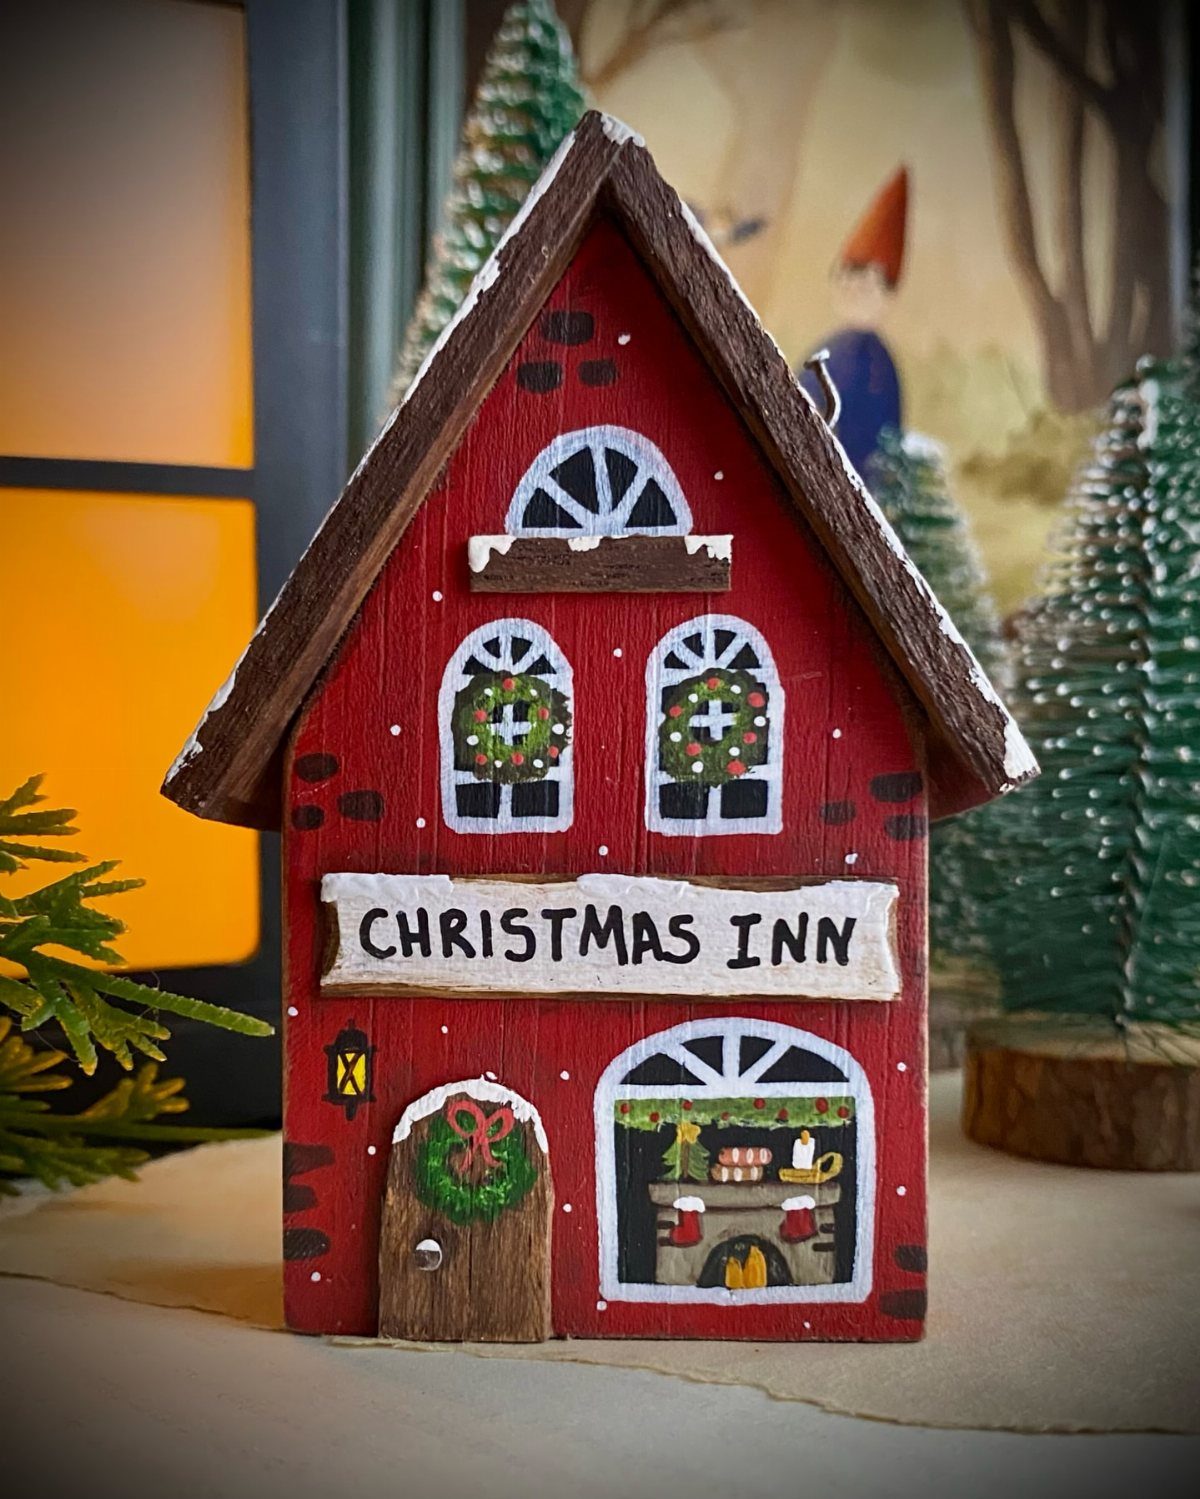
A little red inn with painted windows and a wreath over the door is a good place to start a Christmas village, since one house sets the color scheme for the rest.
Lettering across the front tells the story at a glance.
Shoppers tend to pick up the small, detailed pieces first, so I’d make a few in different sizes and sell them as a set.
14. Dog Houses
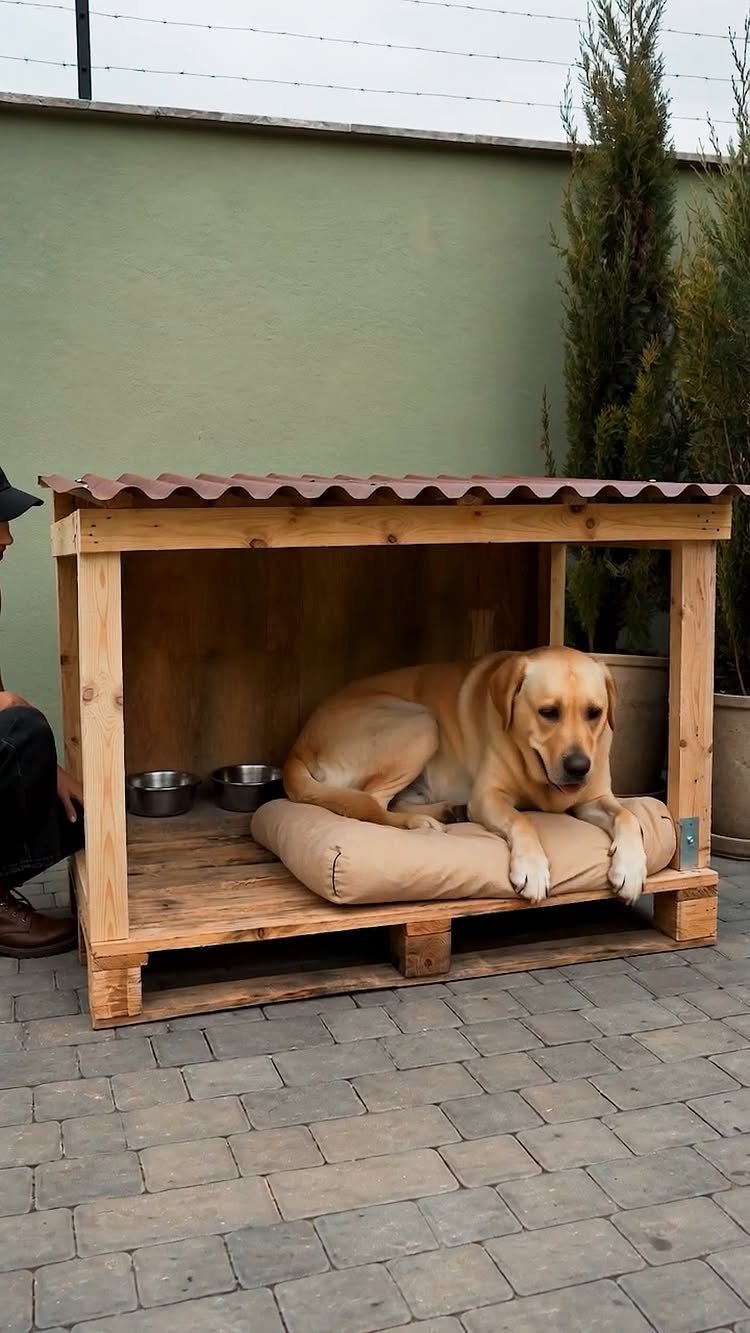
A dog house this simple, with a pitched corrugated roof and one open front, gives a pet a spot of its own right on the patio.
Size it to your dog, since a Labrador needs room to lie down and turn around.
A cushion inside makes it feel like a bed rather than a box. Set it against a wall, as here, so it sits tucked in and out of the way.
15. DIY Wooden Blocks
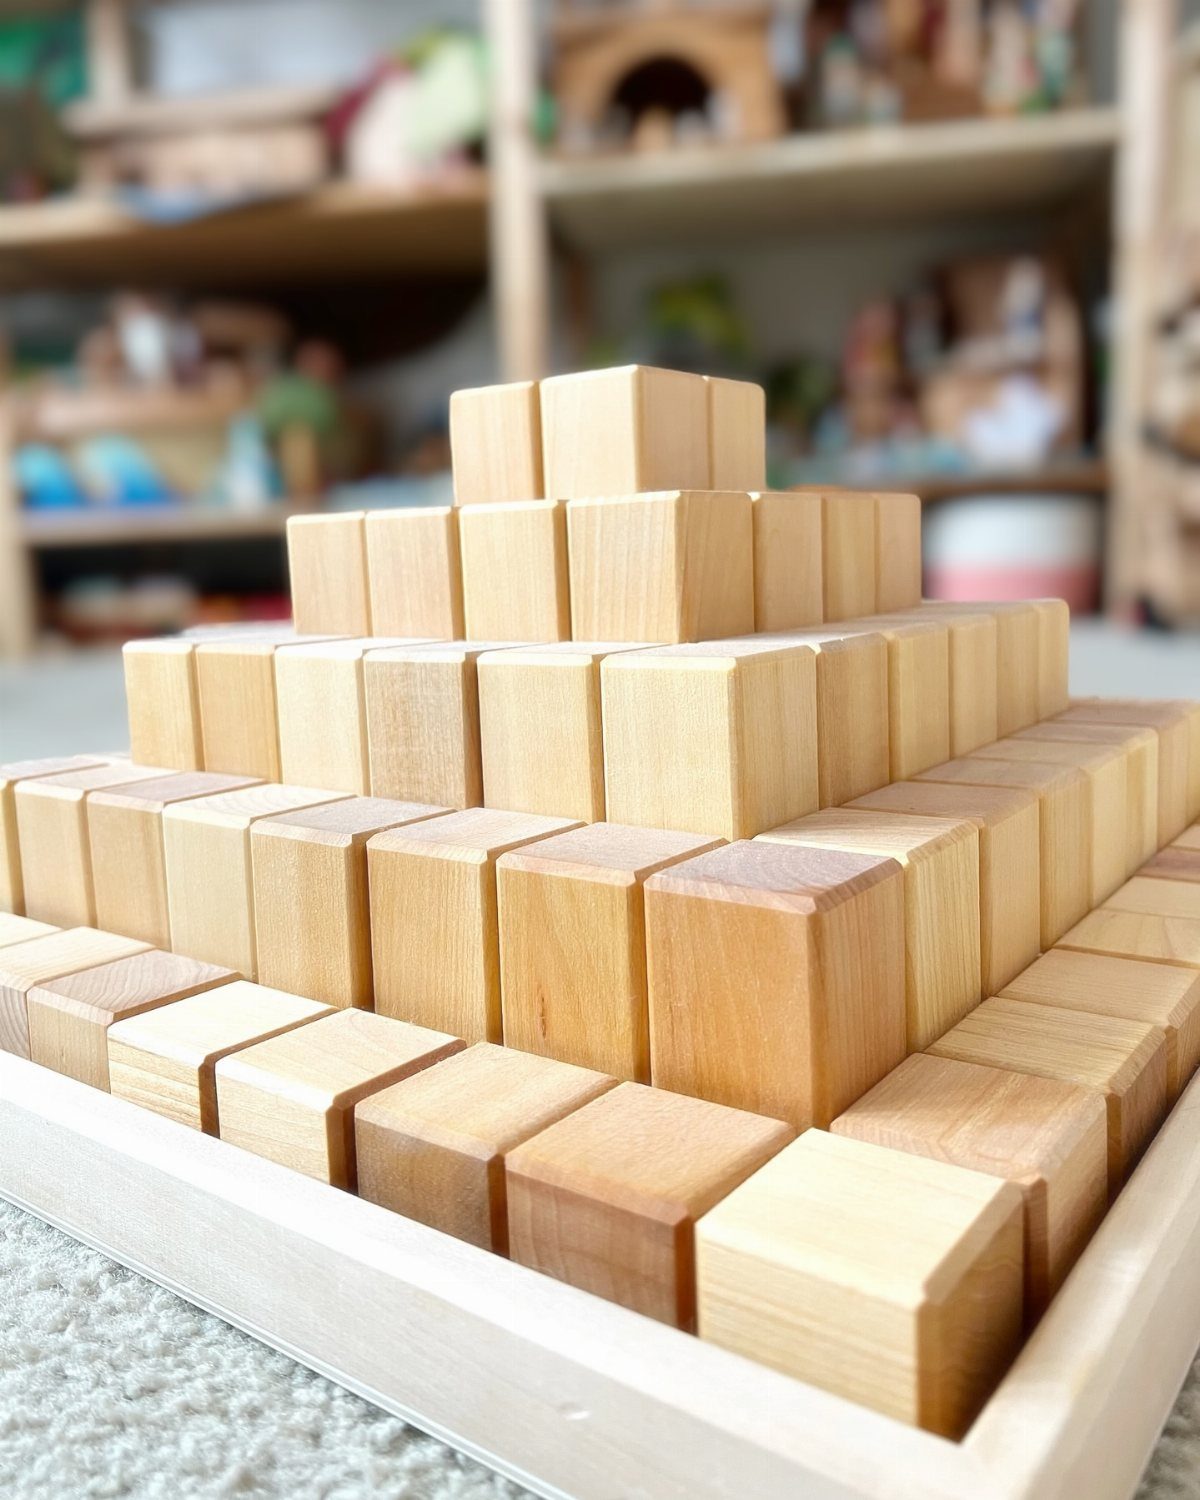
Plain cubes of natural wood are about as easy as a toy gets: cut them to one size, sand every face and edge until smooth, and leave them unpainted. Kids stack them into pyramids, towers or whatever comes next.
A shallow tray keeps the set together and makes cleanup a one-step job. Because small hands will handle them, I’d spend the most time sanding.
16. Outdoor Potting Bench
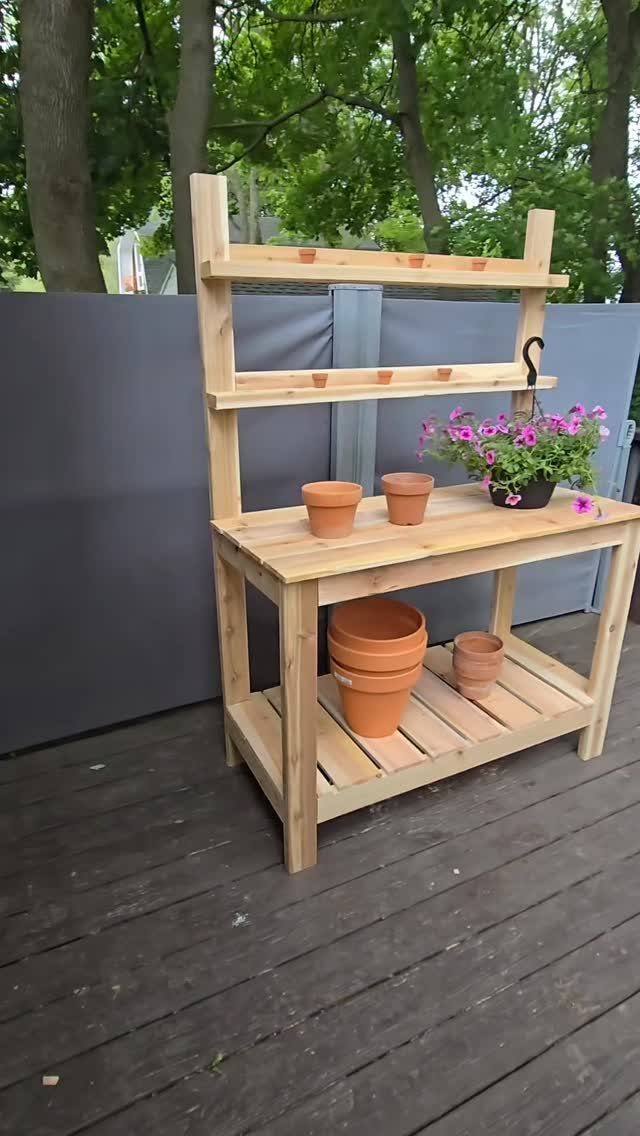
A potting bench gives you a counter at working height, so soil, pots and tools stay in one spot instead of spread across the deck.
Add a lower shelf or 2 for pots and bags of soil, so the clutter stays off the work surface and you can reach it without bending far.
I’d build it in a corner near the plants it serves, like the one here against a screen. Because this bench lives outside, seal it with an exterior-rated finish, and plan on extra time for the coats to cure.
Budget-friendly Woodworking Tips
Scrap yards and salvage centers often have free or discounted wood, so check them before you buy anything new.
Boards salvaged from an old dresser, a torn-down barn or a pallet stack run far cheaper than new lumber, and the weathered grain and nail holes add a look you can’t buy off the rack.
Small projects use the least wood, which makes offcuts a natural fit. Rustic scrap frames can cost nothing at all.
Before you start cutting, look over each piece for nails, screws and staples. Run a stud finder or a magnet over the board if you have one, since hidden metal can chip a saw blade and send out sharp bits.
Essential Tools for Beginners
All of it is affordable, and hand tools are an effective place to begin on a tight budget.
Buy the saw first, since every project starts with a cut. Add the other tools as a project calls for them rather than all at once.
You don’t have to set up a workshop. Add a sturdy table to a handful of basic tools and you can start building this afternoon.
Safety Tips for Woodworking
Wear safety gear every time you work: eye protection first, then hearing protection around loud tools and a dust mask while you sand or saw.
Use each tool the way it was designed to be used. Read the instructions, clamp the wood down so it can’t shift, and keep both hands clear of the blade’s path.
Children should only handle tools with an adult watching. Keep sharp tools and power cords out of reach when you aren’t using them.
Frequently Asked Questions
What are some good woodworking projects for beginners?
Picture frames, birdhouses, and slatted projects like a garden bench are forgiving starting points, because you repeat the same cuts and the design stays simple.
A frame can be sized to a photo you already own, and a birdhouse with a peaked roof and round opening is small enough to finish in one sitting.
How can I start woodworking on a budget?
Start your wood hunt at scrap yards and salvage centers, where free or marked-down boards turn up regularly.
Old dressers, torn-down barns and pallet stacks give you lumber for a fraction of the new-board price, and a small build like a rustic scrap frame needs so little that it may cost you nothing.
Run a magnet or stud finder over reclaimed boards before you cut, since a buried nail or staple can chip a blade.
What tools do I need for DIY woodworking?
Start with a saw, since every project begins with a cut, and add a drill or driver and a sanding block as projects call for them.
On a tight budget, basic hand tools are cheap and work well for getting started.






