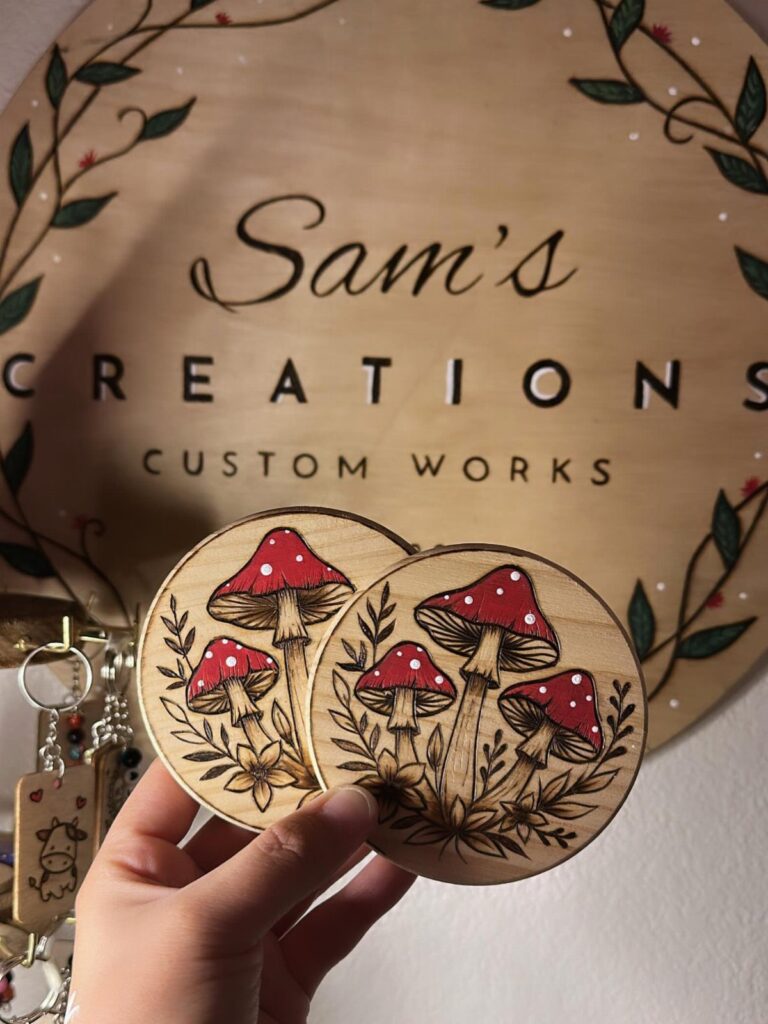
Which design fits depends on how steady your hand is and how much time you have, because the 8 ideas run from a few curved lines for a fish to a densely filled floral on a square slice.
Chunky pine tree outlines forgive a wobble, while snowflake arms and floral petals show every slip, since a burned line can’t be erased.
A pencil sketch before the burning starts is the habit I’d put first in the beginner tips, and it saves more coasters than any heat setting.
1. DIY Wood Burned Coasters
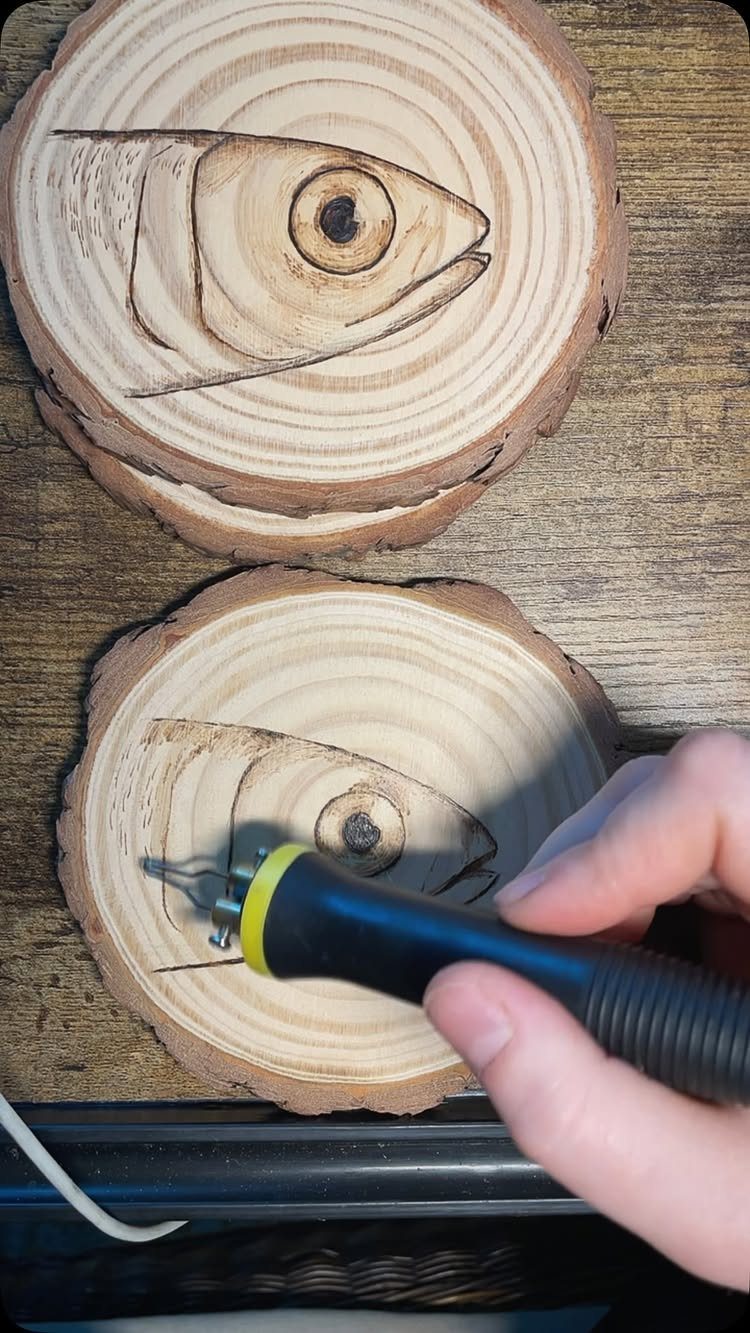
A fish is a smart first design for a round slice, because the shapes are simple: one outline, a few curved scale lines, an eye. Sketch it in pencil first, then trace the lines with the burner tip.
Keep your hand moving.
Pausing in one spot leaves a dark blot, and you can’t erase it. Burn a second fish as a spare, since a matching pair makes a nice small gift.
2. Coasters Tied Together with Twine
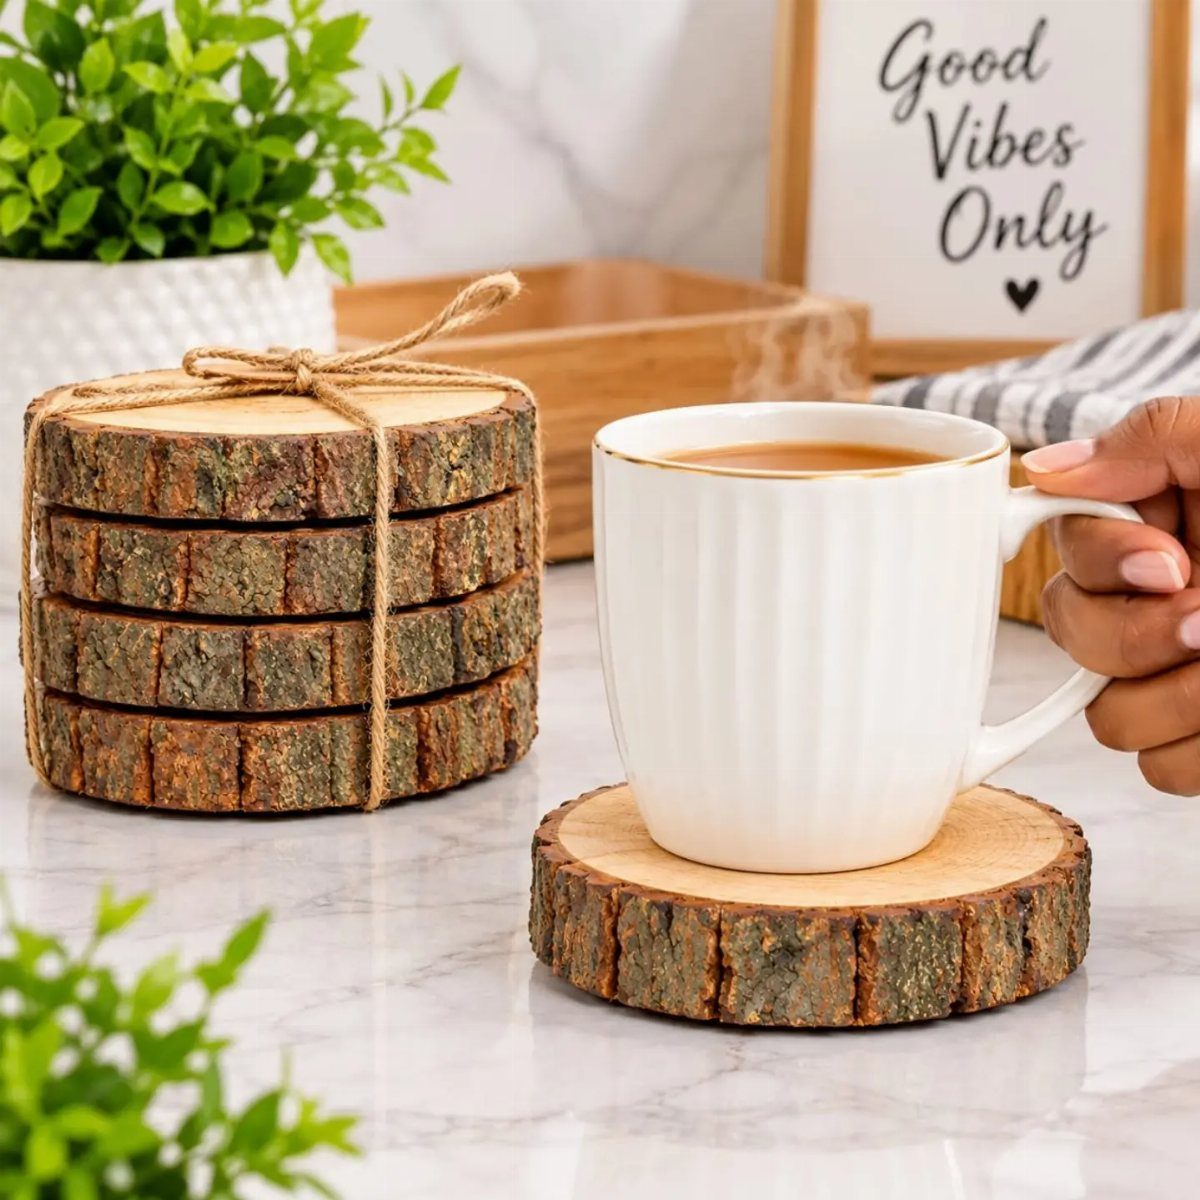
Twine turns a stack of coasters into a ready-made gift. Wrap it around the stack twice, then finish with a simple bow or knot.
A twine-wrapped set looks tidy, though the bundle only holds together on a shelf until someone actually uses it.
Pick plain, natural twine so the wood stays the focus. Any burned design can go on top, but the twine goes on last, after the burning is done.
3. Wood Burned Slice Coasters
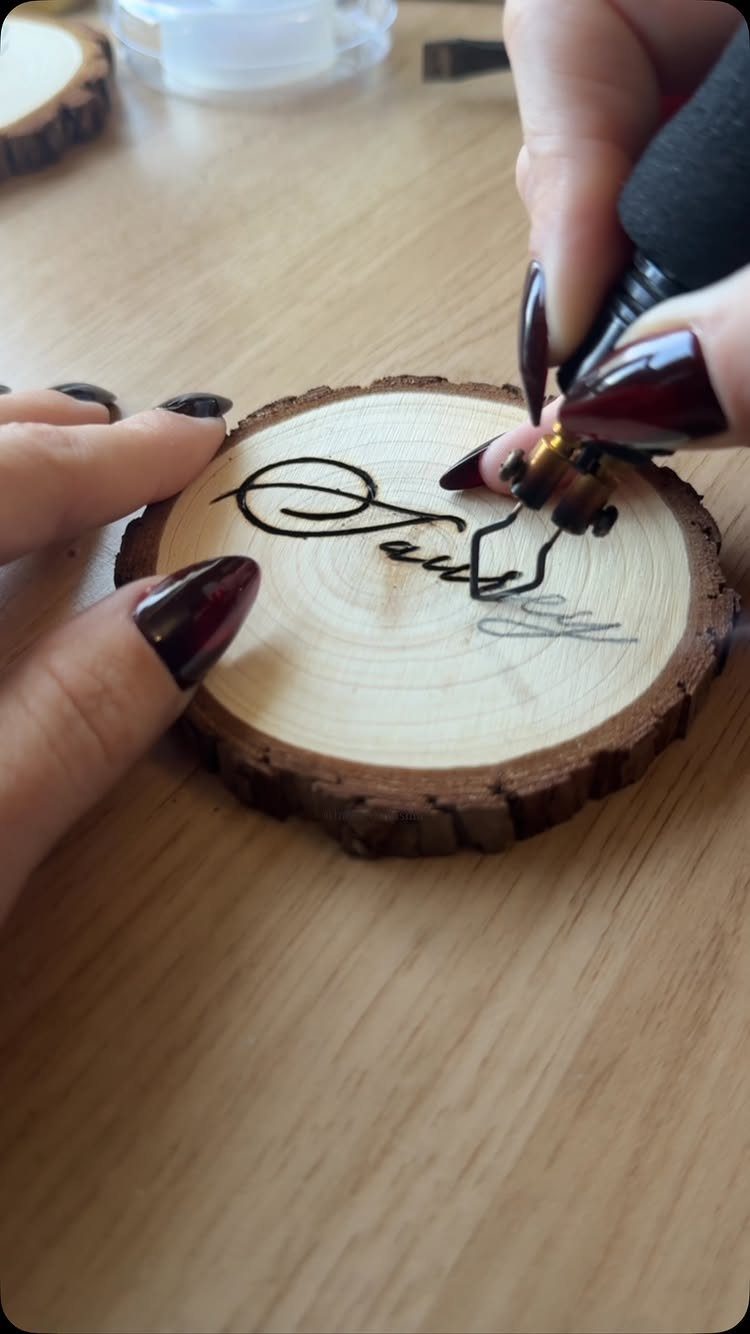
Cursive lettering is the best test of steady hand control. A name, a short word or a monogram all work on a round slice, and the flowing strokes suit the shape.
Thick downstrokes and thin upstrokes give it that handwritten look: press a little longer on the downstroke and lift quickly on the upstroke. Practice on a scrap slice before you touch the good one.
4. Mountain and Pine Tree Landscapes
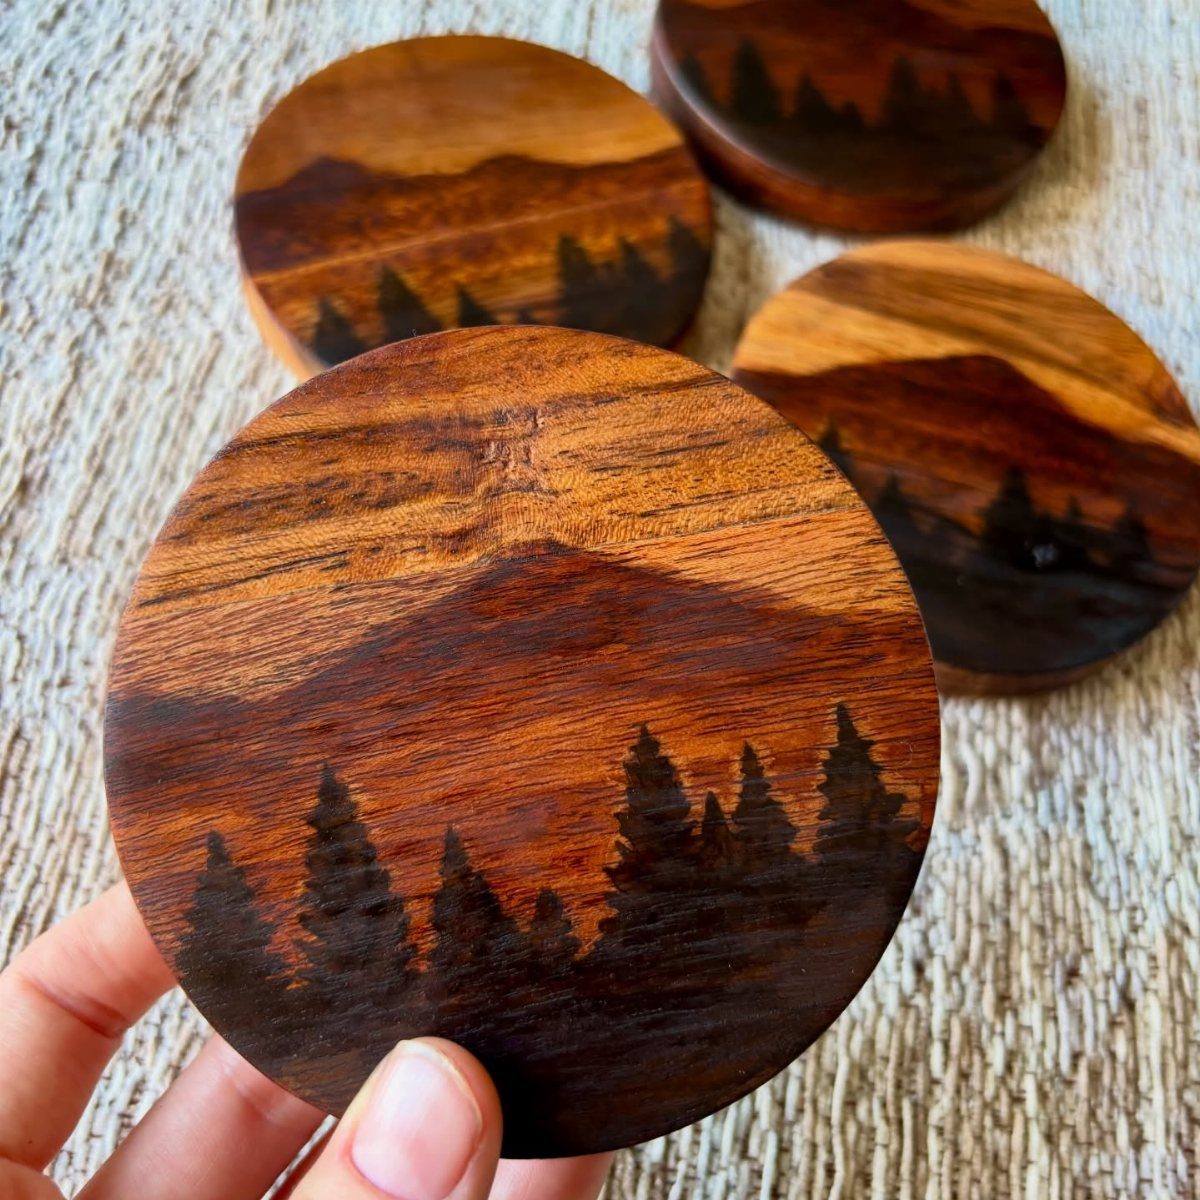
A mountain ridge with a row of pines below it fits neatly inside a round coaster. Burn the peaks first with a few angled lines, then add the trees in front so they overlap the base of the mountains.
Light shading gives depth.
Go over the lines once for a pale tone and a second time for a darker one. Slightly different ridgelines from coaster to coaster look better than a stack of identical copies.
5. Snowflake Wood Slice Coasters
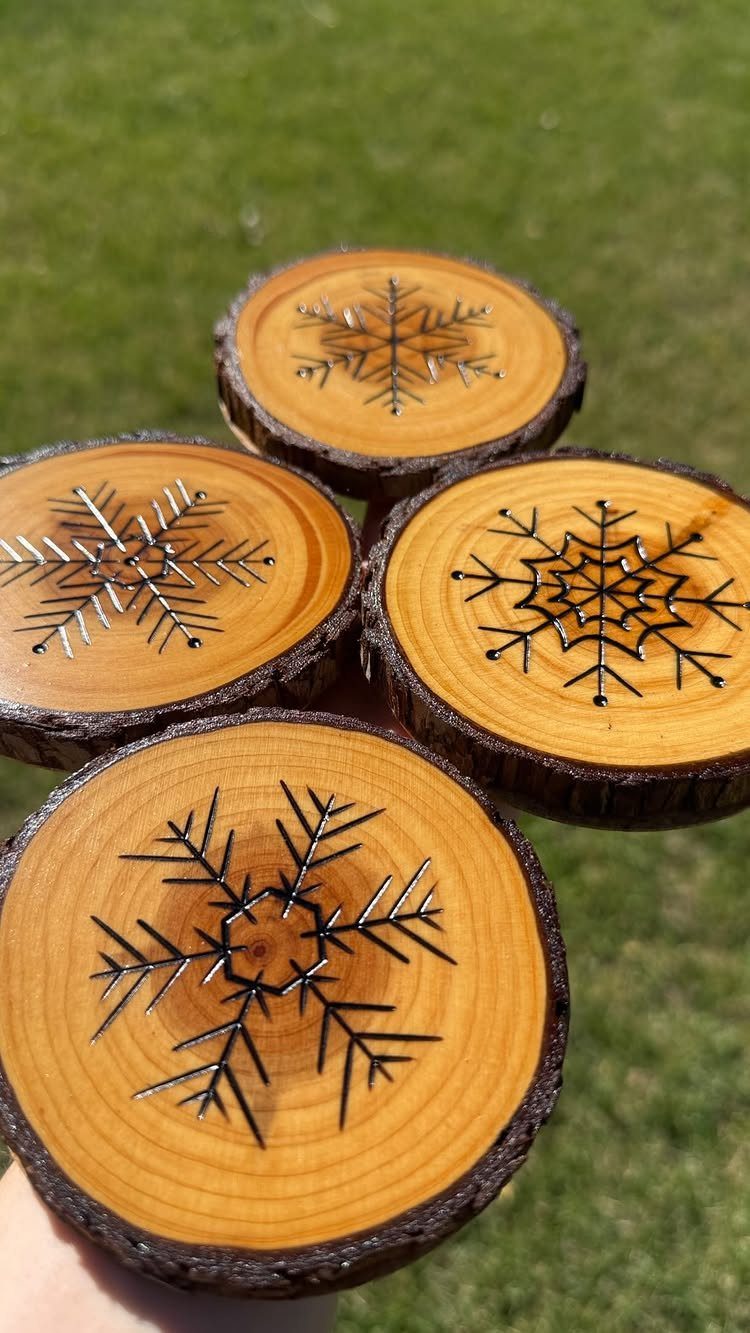
Snowflakes reward patience, since every arm has to match the others. Start with 3 crossing lines to mark the points, then add small branches on each arm, working outward from the center.
I prefer a fine tip for this, because the thin lines stay crisp against the pale wood.
Mark the angles lightly in pencil before burning. Dark brown lines read best on a light slice, and each flake can differ a little.
6. Square Pine Tree Coasters
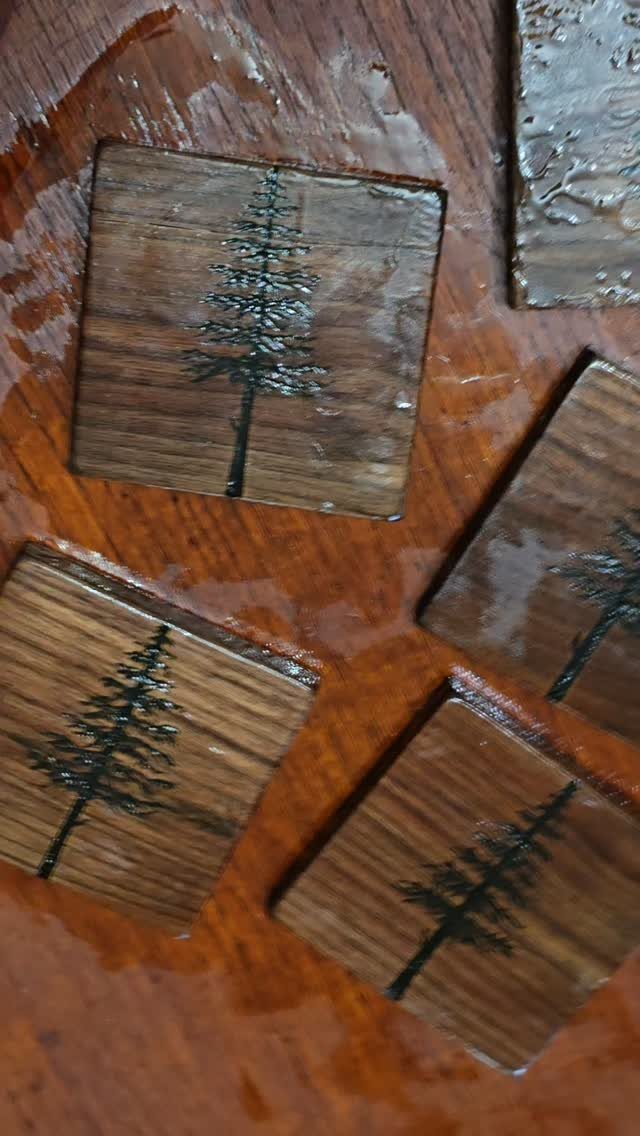
Square coasters give a pine tree silhouette a flat, clean field, so a solid filled shape looks bold. Draw a narrow triangle of stacked tiers, then fill it in with tight, even strokes.
Filling is slower than outlining, but the dark shape stands out sharply on light wood.
Keep the strokes going the same direction so the fill looks smooth. 4 trees in a set suit a square coaster best.
7. Mushroom and Fern Coasters
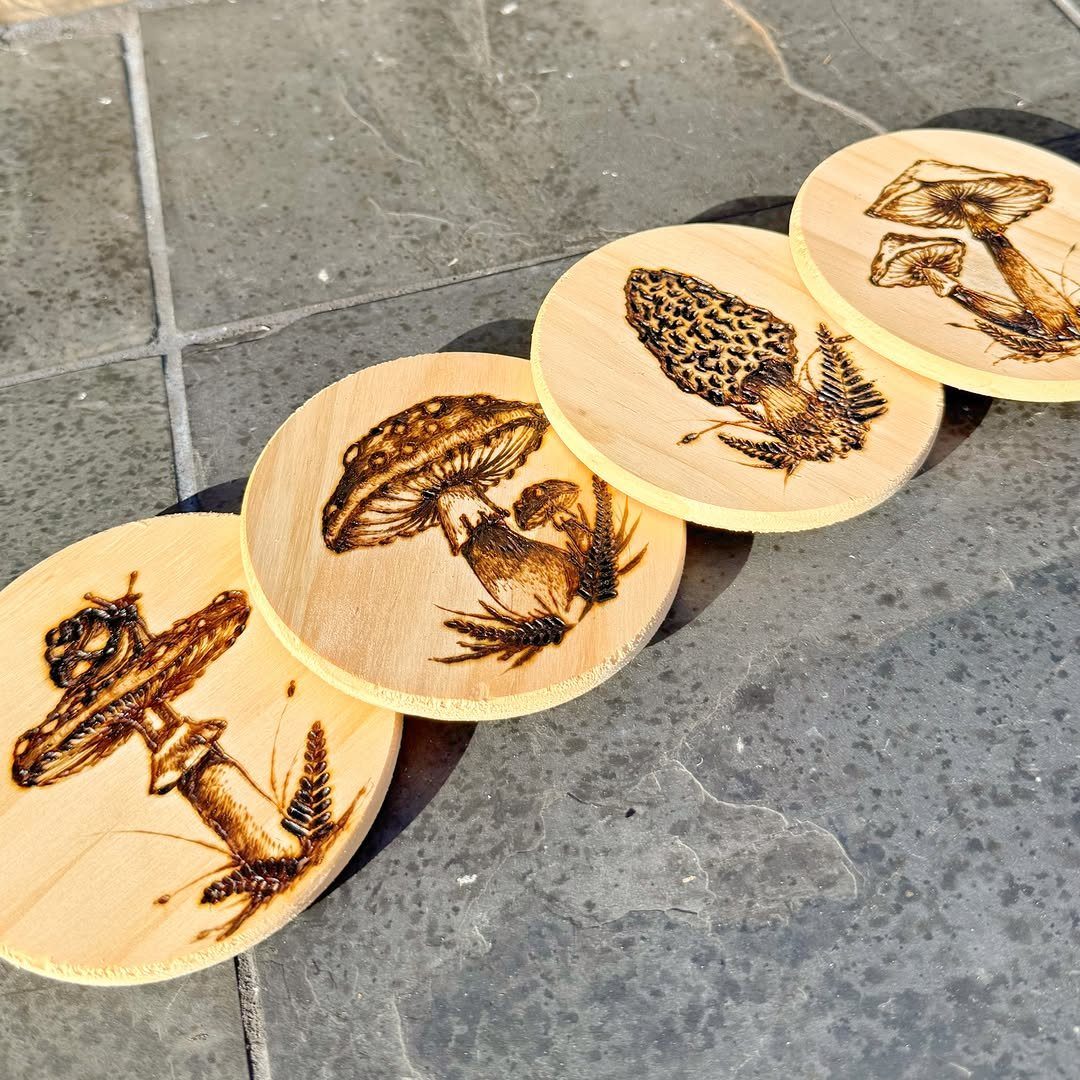
Mushrooms and ferns suit round slices because both have organic, uneven edges that don’t need to be perfect. Wild mushroom caps and curling fronds are forgiving shapes for a beginner, since a slightly wobbly line still looks natural.
A fine tip handles the small gill lines under a cap and the tiny leaflets along a fern.
Pencil the layout first, then burn the stems and fronds before the details. Give each coaster in a set its own mushroom or fern so the group feels collected, not copied.
8. Square Floral Coaster
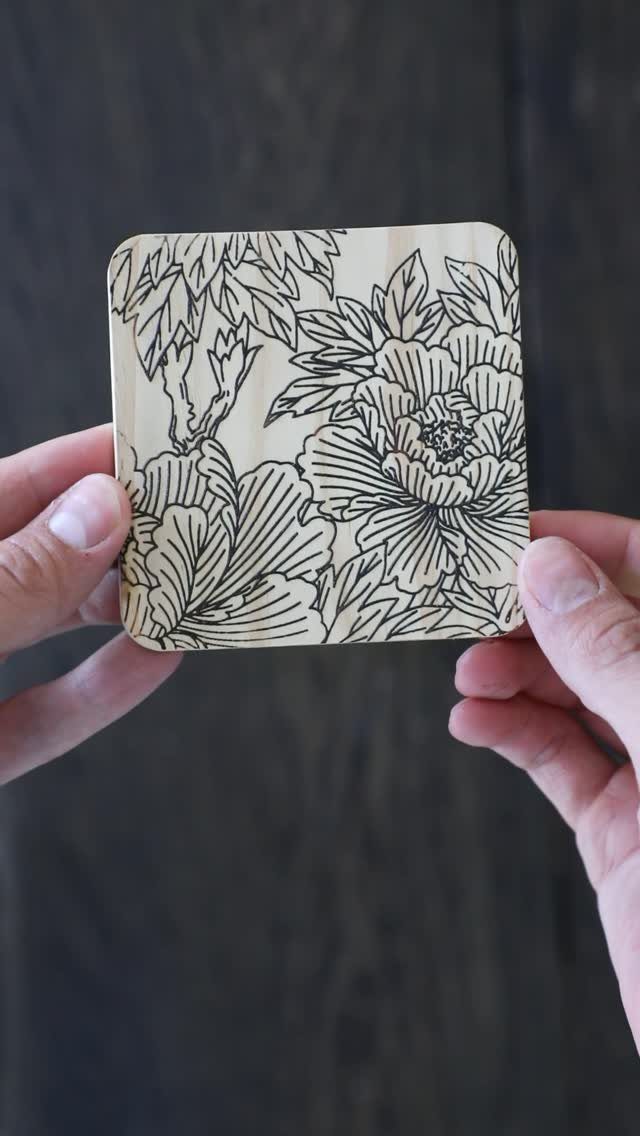
A dense floral burn on a square coaster rewards a slow hand. Sketch the blooms in pencil, then burn the outlines of the largest flowers before adding stems and leaves around them.
Dark, filled-in areas make the petals stand out, so go over the shaded spots more than once for depth. Leave small gaps of bare wood between the flowers and the design stays readable.
Because the square has corners to fill, tuck small buds or leaves into them. Practice a petal on scrap wood first.
Tools Needed
3 things make a coaster: a wood slice, a wood burner and a sealer.
Polyurethane is the common choice, and varnish or lacquer work too. Tung oil is the natural option if you want to keep the raw look of the wood.
You can buy slices or cut your own from a fallen limb with a chop saw.
If you cut them, I make mine a bit thicker than the thin ones sold online, since a sturdier slice feels better under a mug.
Sand every slice smooth before burning. A smooth face lets the tip glide, and it makes the lines cleaner.
A stencil is optional but handy for repeating a pattern. A tile stencil works on a coaster, and a cutting machine can make a custom one.
Tips for Beginners
Heat setting takes a little trial and error.
A setting just under the hottest gave me a lighter line than I wanted on a test piece, so try the top setting on scrap first and compare. Let the tool heat up fully before you judge it.
Start lightly. You can always go over a line again to darken it, but you can’t lighten one.
Trace slowly and steadily; speed makes a shaky line. Watching a short beginner video before your first burn helps you see the pace.
Seal the coasters when the burning is done. The finish protects the wood and the design from cup rings and moisture.
There are no rules for what you burn, so a minimal design is fine. Sometimes a few lines say more than a crowded pattern.
Design Techniques
Pick your transfer method before the burner is even warm. You can sketch straight onto the wood, trace a design with tracing paper, use a stencil, or rub a mirrored image onto the surface.
Freehand sketching is the fastest. Tracing paper is the safer way to copy a design exactly, and a stencil keeps repeats identical across a set.
Fix a wrong line in pencil now, since a burned one stays.
Frequently Asked Questions
How to make wood burned coasters?
Sand a wood slice smooth, pencil your design on it, trace the lines with a wood burner, then seal the coaster.
Burn marks deepen the longer the tip sits, so glide steadily across the wood, because a dark blot can’t be sanded out of a detailed design.
A coat or two of sealer at the end shields both the wood and the burned lines from damp cups and the rings they leave.
Are wood coasters any good?
Yes, they work well and they’re easy to personalize with a burned design. A sealer such as polyurethane, varnish or lacquer guards the wood against cup rings and moisture.






