The ideas run from a personalized keychain that takes minutes to a couple portrait plaque that needs a long session, so the time left before the gift is due decides which one is yours.
Short on time, pick a name tag, labels or ornaments, where bold block letters hide a shaky hand.
A set of 4 or 6 coasters makes the easiest first project, because repeating one design across the set hides any small slips of the pen.
1. Wood Coasters
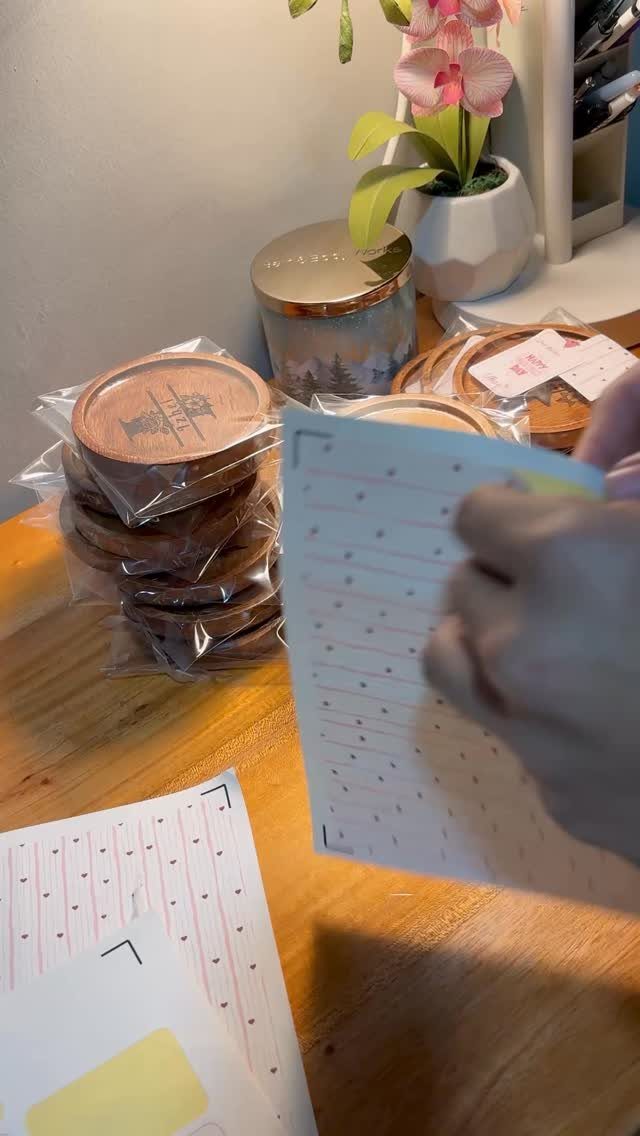
Round coasters are about the friendliest first wood burning project, since a short phrase like "HAPPY DAY" takes one steady pass of the pen.
Trace a paper template onto each blank so the lettering lands centered and matches across the whole set.
Burn a set of 4 or 6 and wrap them together with twine or a strip of kraft paper, so the gift arrives ready to hand over.
A set feels like a real gift, and the repeated design hides small wobbles in any one piece.
I’d keep the artwork simple and leave plenty of bare wood around it. Plain wood makes the burned lines stand out.
2. Wooden Spoons
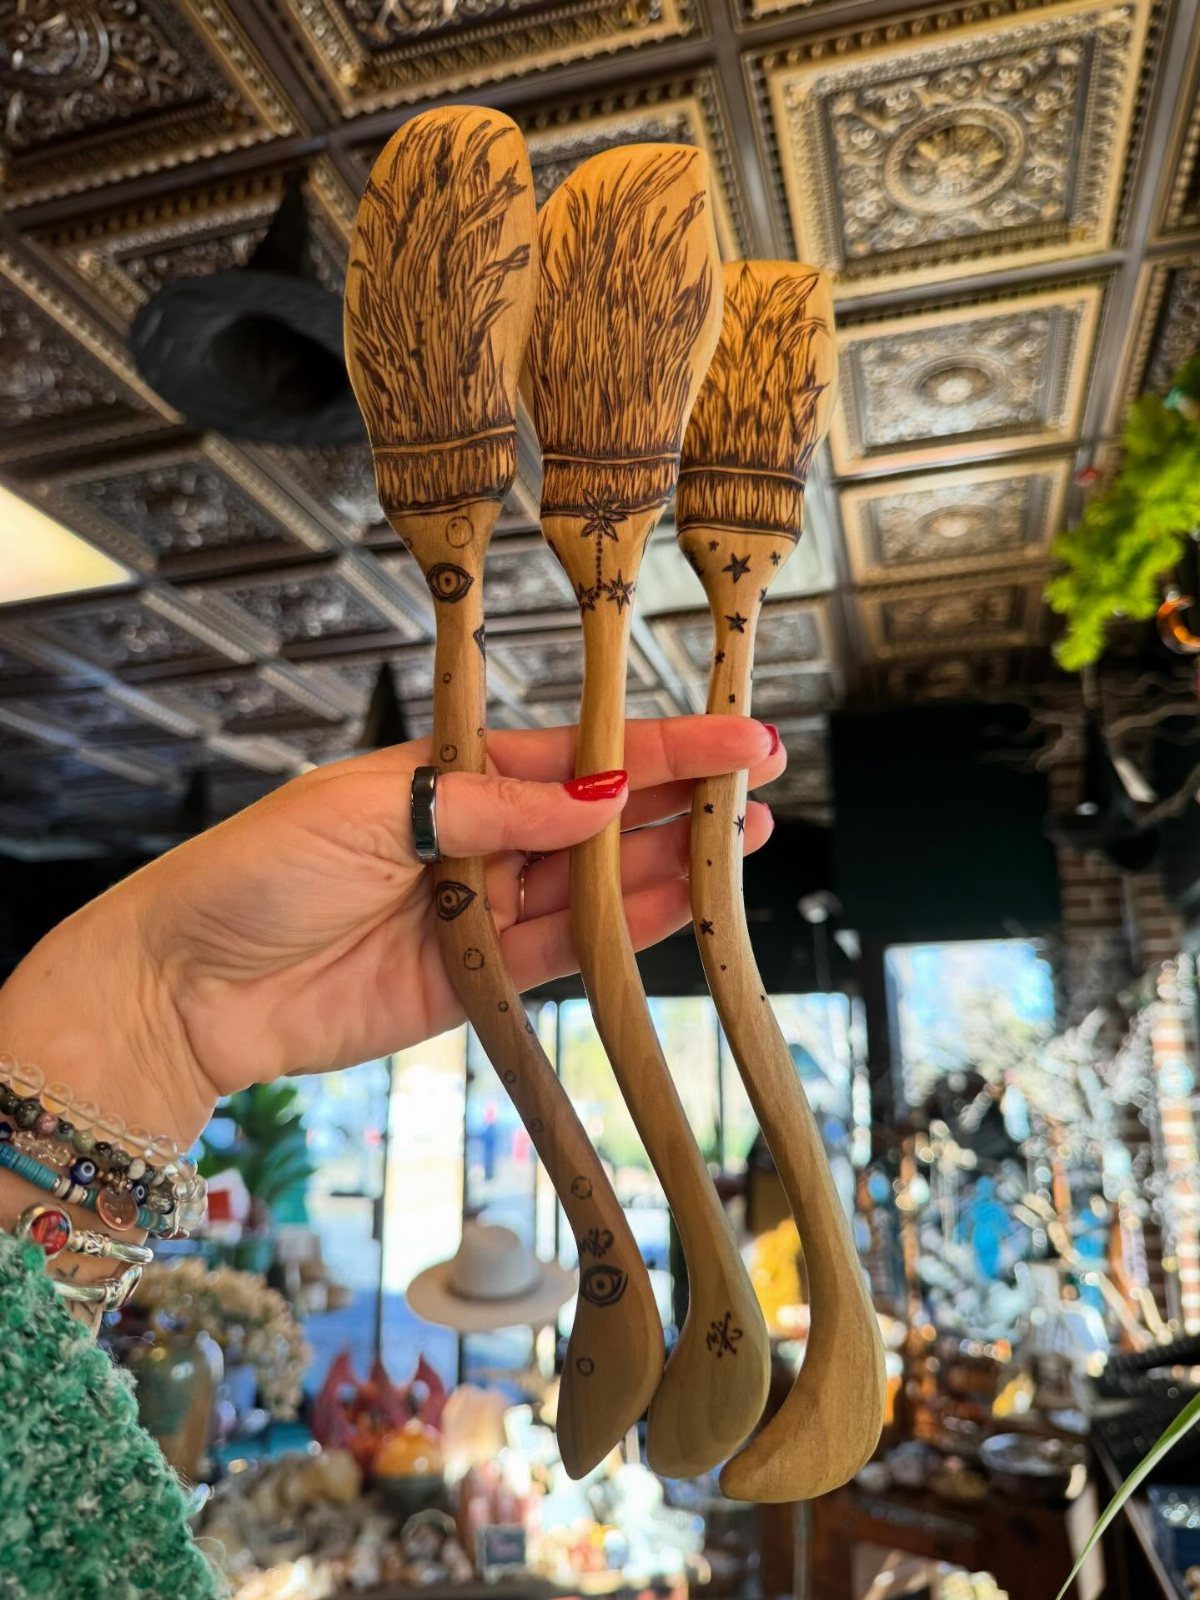
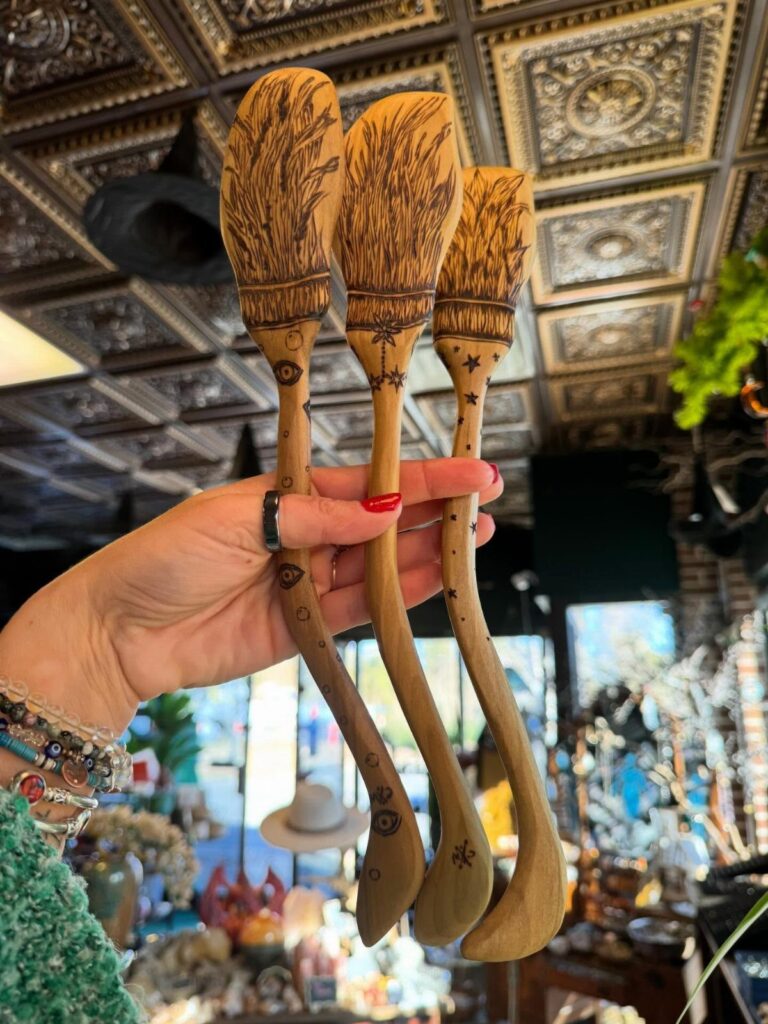
A wooden spoon is a gift people actually reach for, which is why burned wheat stalks and small celestial marks on the handle work so well.
The handle is narrow, so choose a design that runs lengthwise: a single stem, a small eye, a row of tiny dots.
Burn a simple pattern on the handle only, and keep the bowl of the spoon bare. A set of 3 with a shared theme looks planned instead of random.
Practice the design on scrap wood first. A curved handle is harder to hold steady than a flat board.
3. Cutting Board
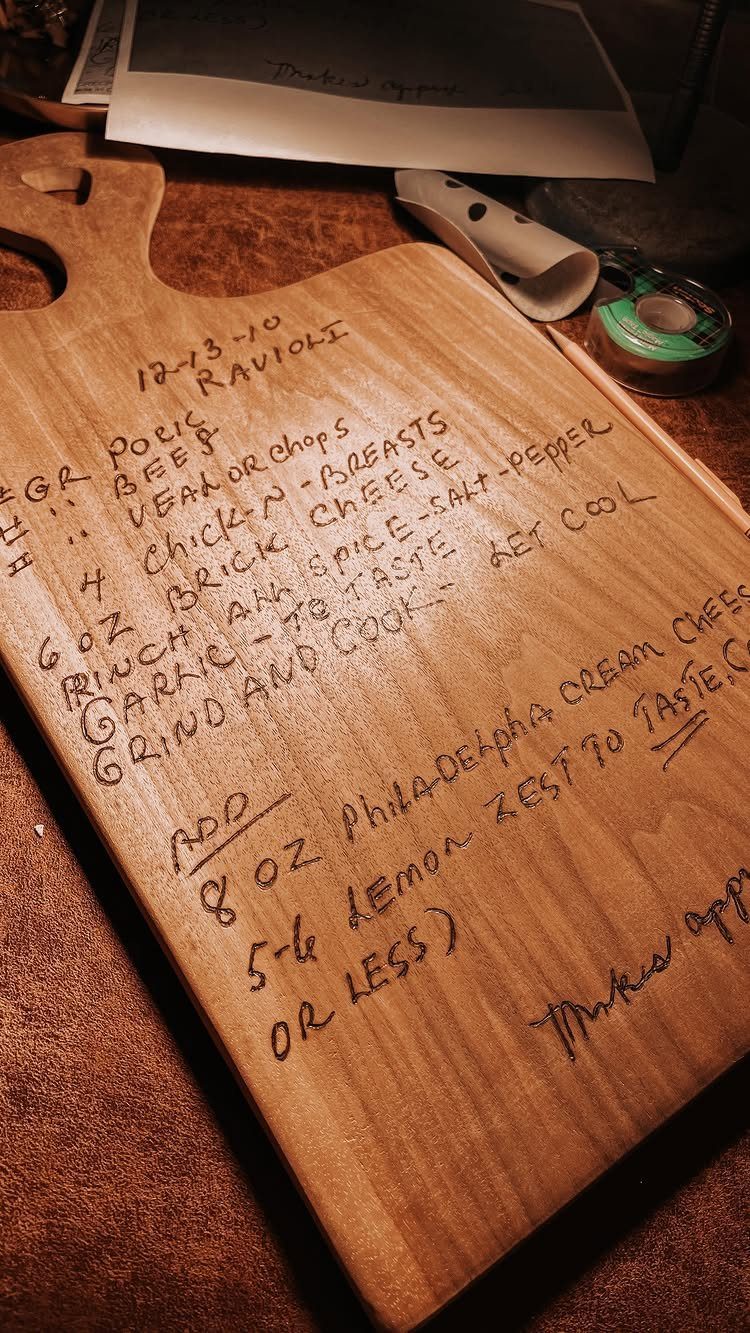
Burning a handwritten family recipe into a cutting board turns a scrap of paper into something that outlasts the kitchen drawer. Ravioli is a good example, but any recipe short enough to fit works.
Use the original handwriting if you can.
Trace it onto the board with transfer paper or a pencil, then burn over the lines. Tape the paper down so it doesn’t slide.
Keep the text to ingredients and the key steps. Long recipes get crowded fast, and tiny letters are hard to burn cleanly.
4. Wood Burned Pet Art
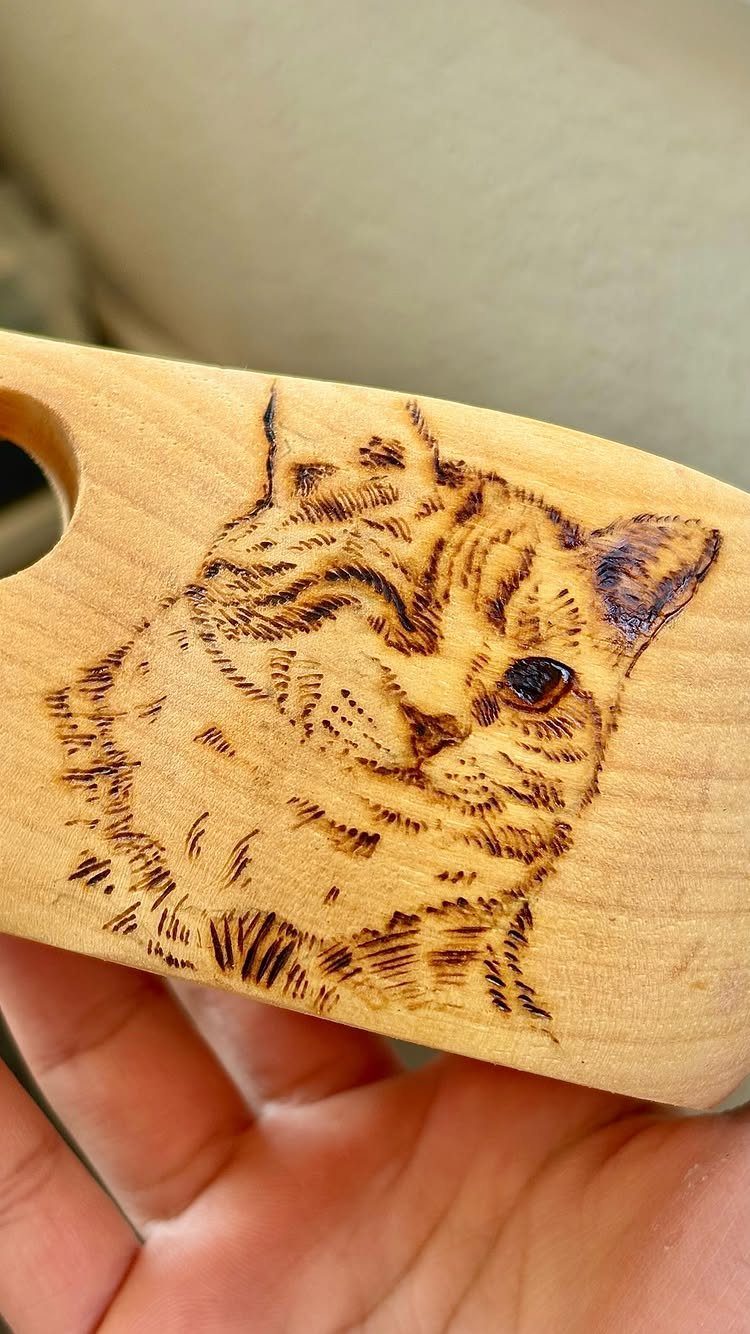
A pet portrait is the gift that gets the strongest reaction, and a cat’s face is a forgiving place to start because fur is built from short strokes.
Pick a light board such as maple or birch so the shading reads clearly, since dark wood swallows the soft gray tones that make fur look real.
Work from a clear, close photo of the pet. Sketch the eyes, nose and ear shapes in pencil first, then build the fur in layers, going darker around the eyes and nose.
Go slowly on the eyes. They carry the whole likeness, and burn marks don’t erase.
5. Wooden Labels
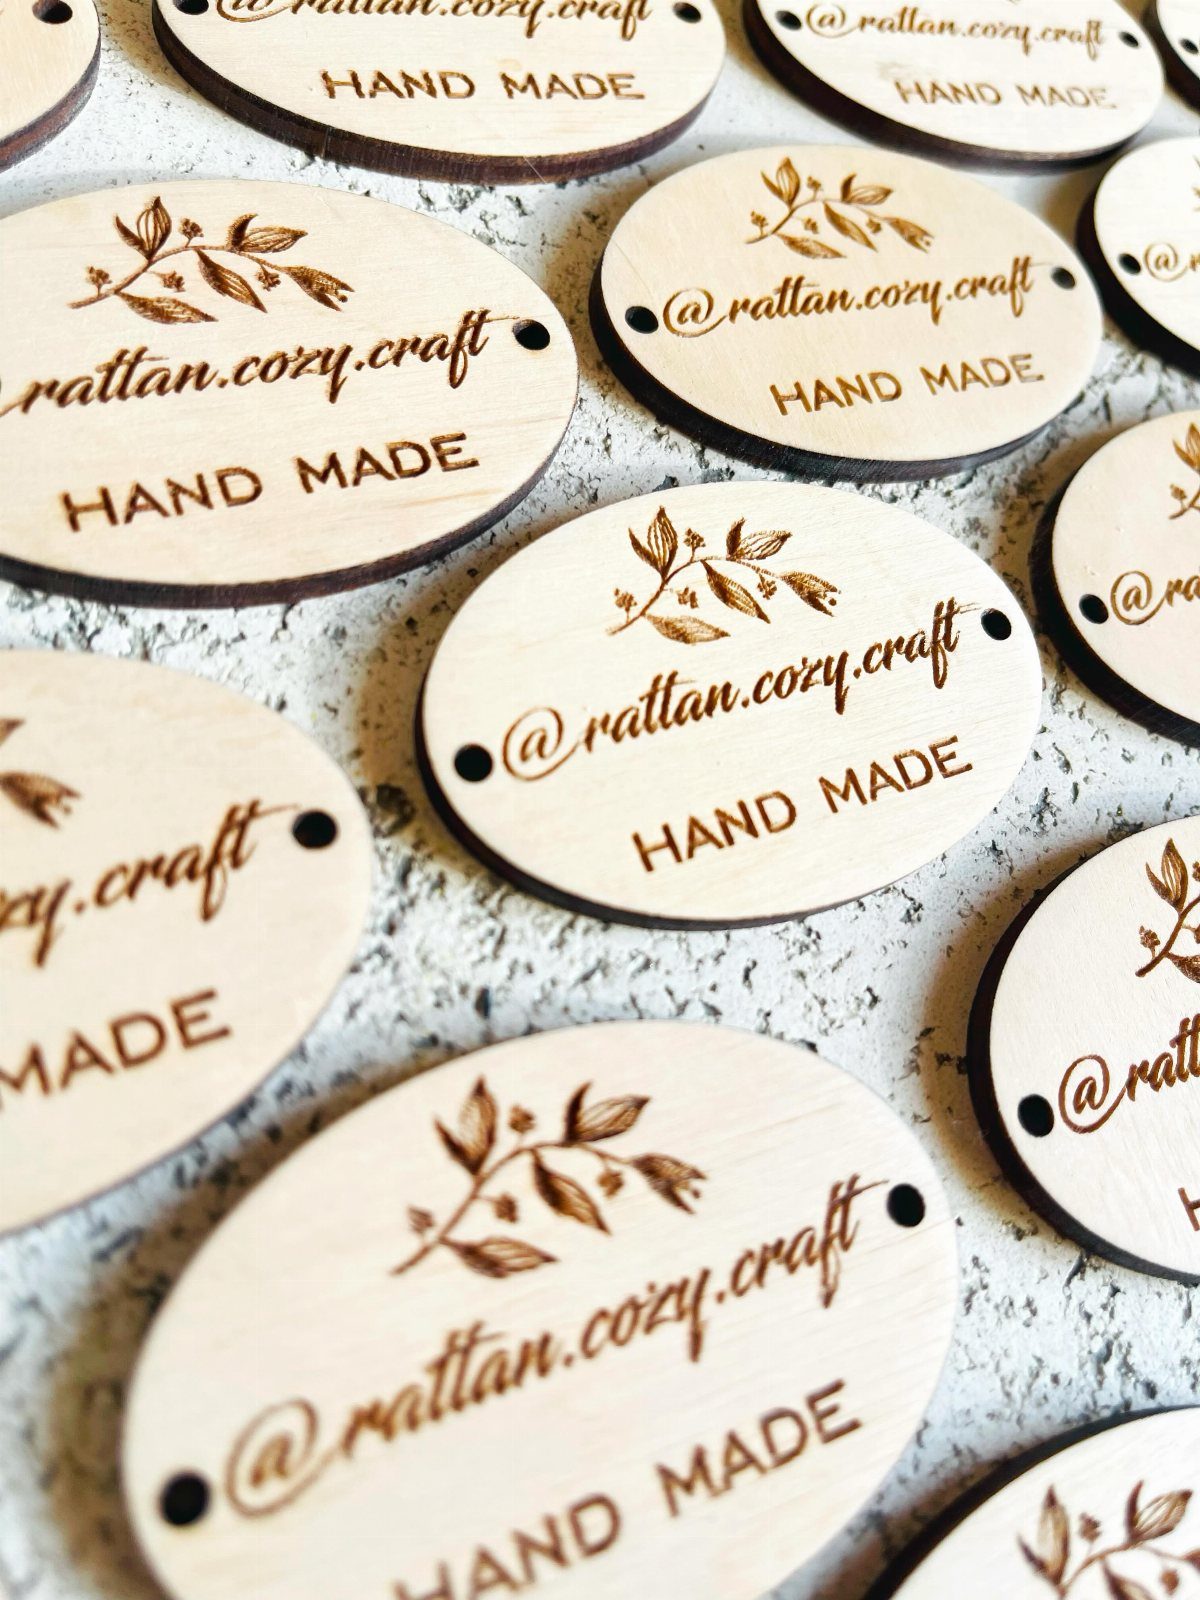
Small oval labels are quick to make and easy to personalize, which suits a short afternoon. A leaf or floral sprig plus one or two words, such as "HAND MADE", fills the space without crowding it.
Burn a batch at once so the style stays consistent. They can tag a wrapped gift, mark jars or baskets, or sit in a set as a gift themselves.
Keep the lettering bold and simple. Thin script on a small oval gets hard to read.
6. Wood Burned Clock
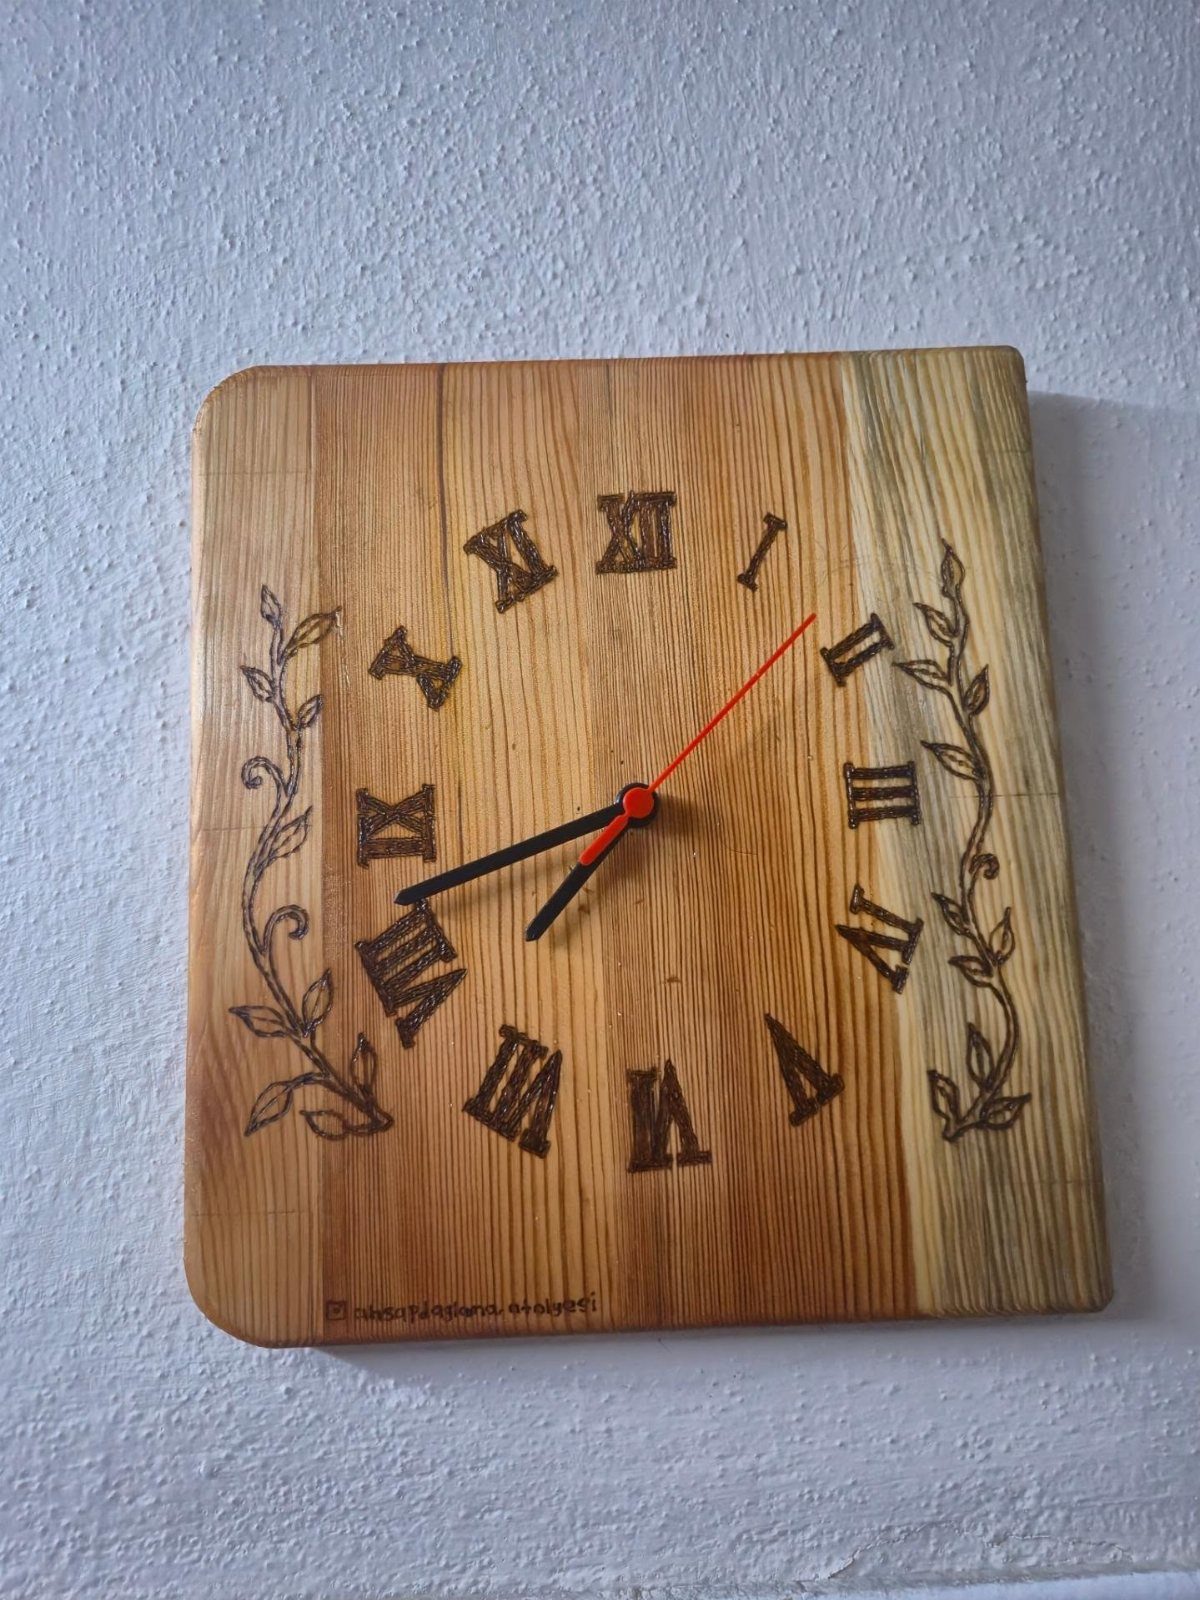
A burned clock puts your handiwork in front of someone every day.
Roman numerals suit the square wooden face because they’re built from straight lines that are easy to space evenly, and a few leaves in the corners soften the look.
Mark the center and the 12, 3, 6 and 9 positions in pencil first, then fill in the rest. Evenly placed numerals matter more than fancy decoration.
Drill the center hole for the clock mechanism before you burn, and keep the hands dark against the wood so the time reads at a glance.
7. Wood Burned Ornaments
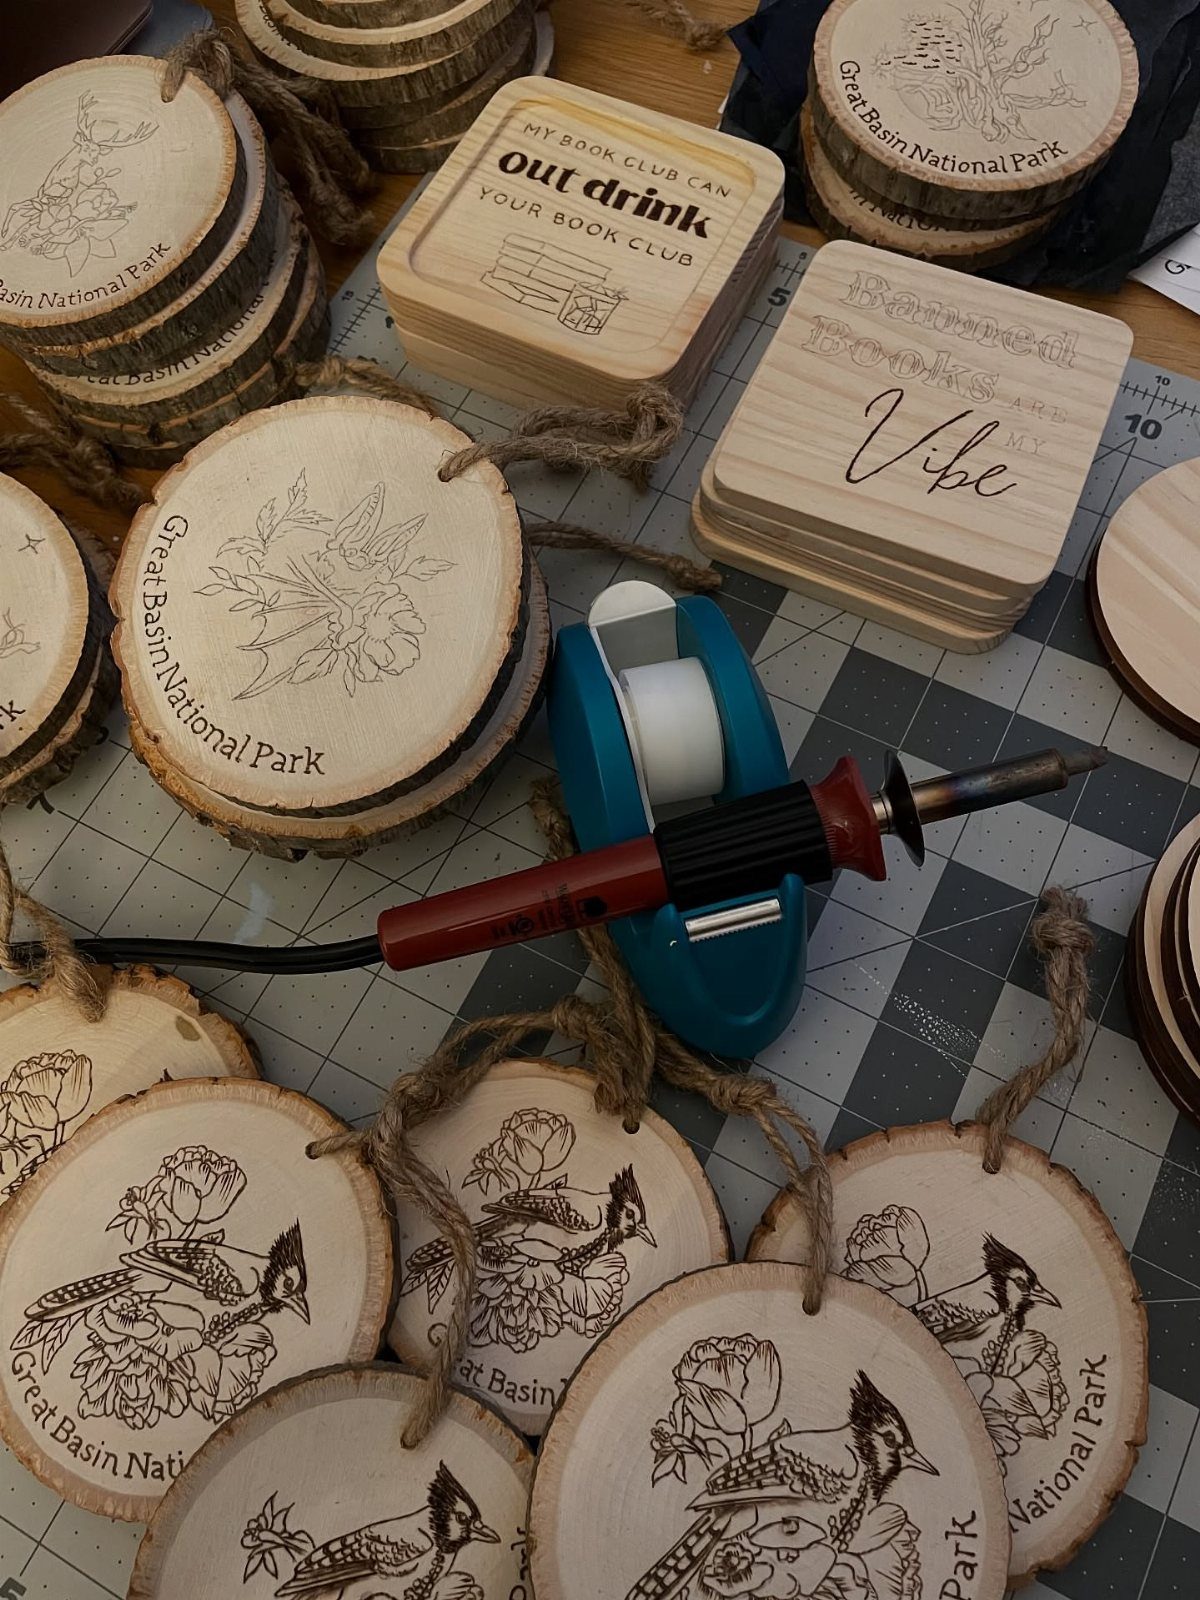
Ornaments let one burning session turn into a handful of gifts, and the round ones with birds and flowers are a good template. Pick a few different designs so each person on your list gets their own.
Short phrases add a personal joke or a favorite place, which is why a line of text works as well as a drawing. Keep the words few and the letters bold, since a round slice leaves little room.
Burn a spare or two for practice, because the circle shape makes centering harder than it looks.
8. Kitchen Decor Wood Sign
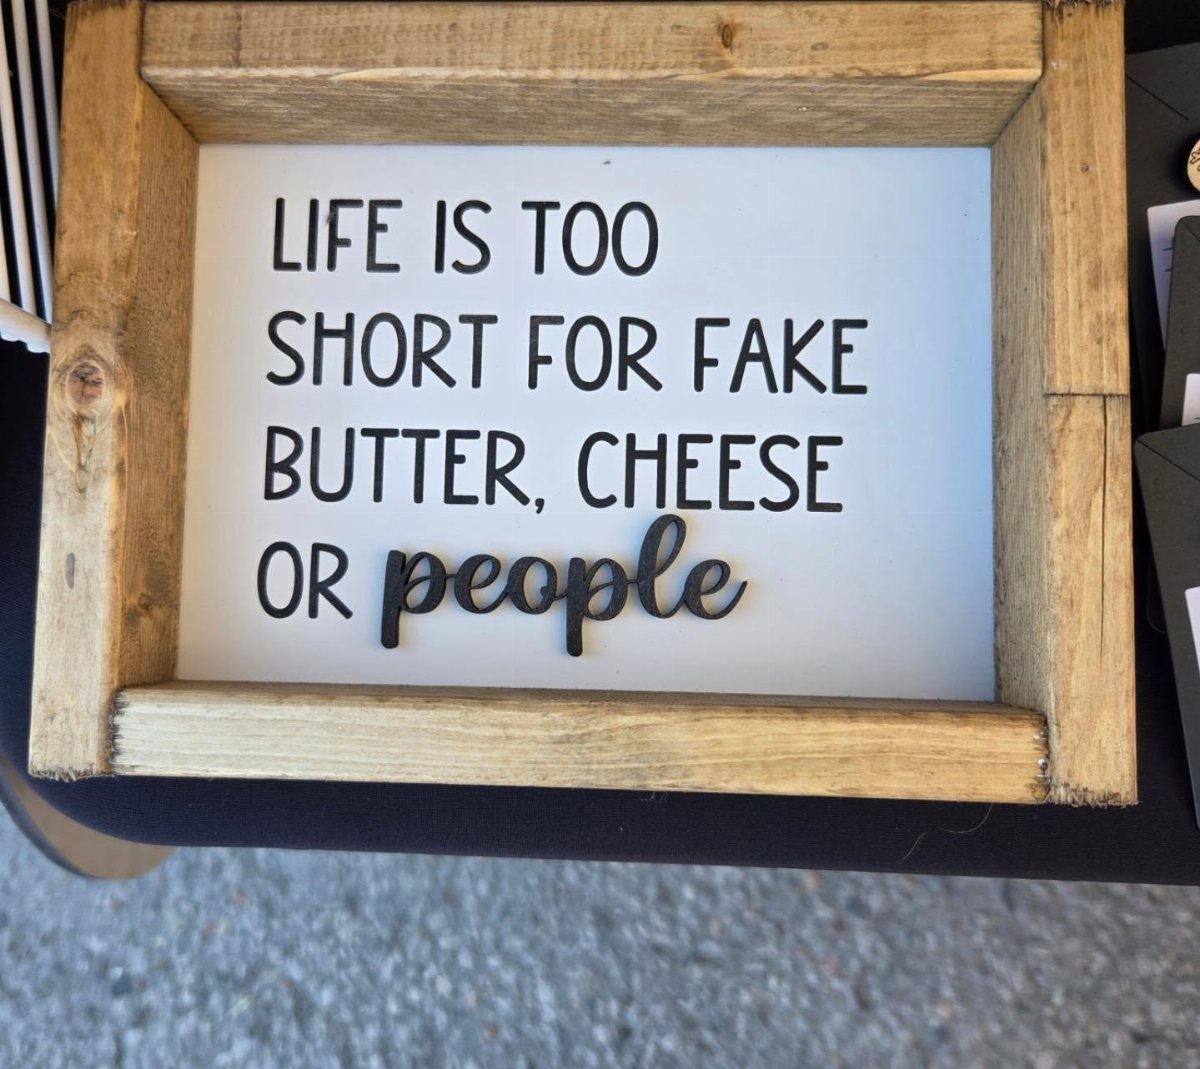
Kitchen signs with a funny line are the easiest way to give a cook something that fits their humor. A quote about butter and cheese is a good model: short, bold and a little cheeky.
Paint the board white first, let it dry fully, then paint the black letters over it with a fine brush.
Pencil the layout before any pen touches the surface, and count letters per line so the last word doesn’t run out of room.
Set the board in a frame if you want the edges to look finished with less sanding.
9. Santa’s Coming Treat Tray
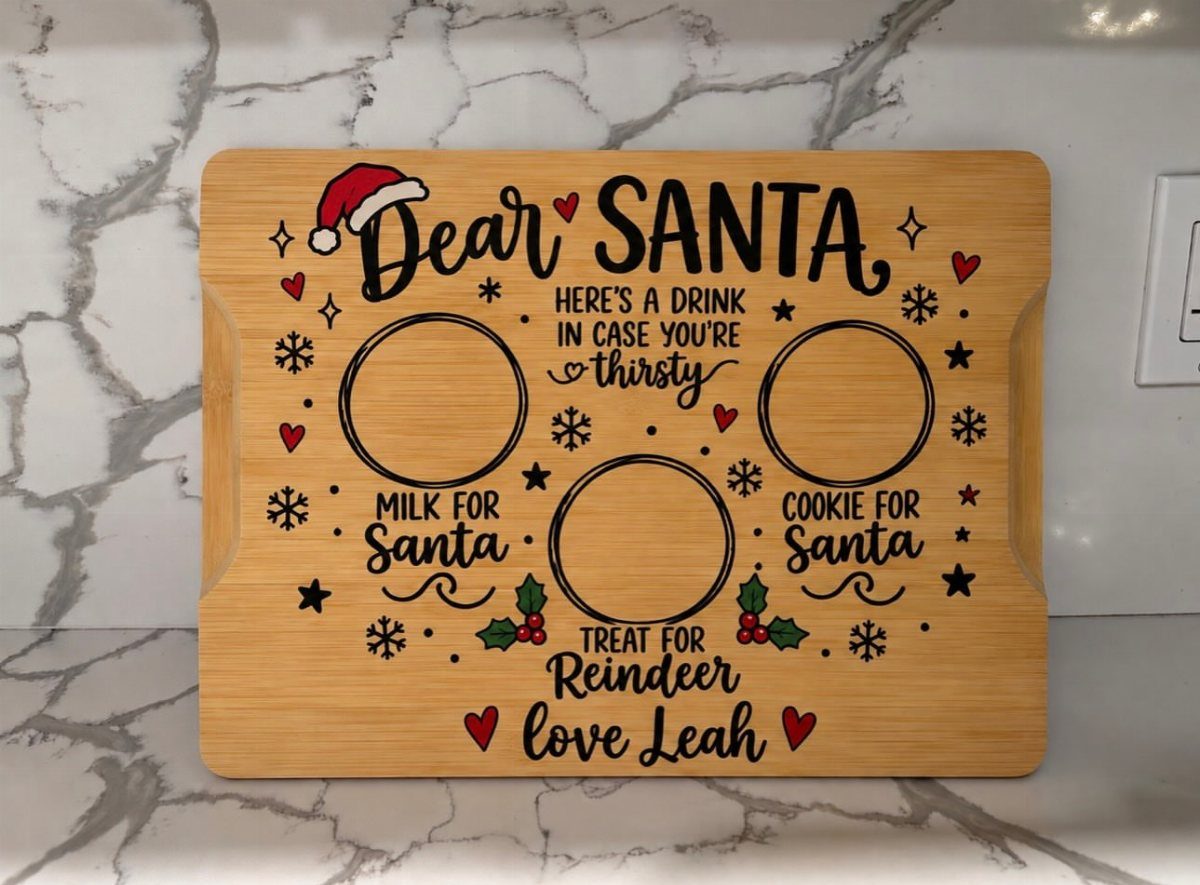
A treat tray for Santa makes a gift that comes out again every December. Bamboo works well here, and I’d burn a Santa hat at the top, then mark circles where the milk, cookie and reindeer treat go.
Add a short note to Santa and a child’s name at the bottom, so the tray is clearly theirs.
Trace a cup or a cookie lightly in pencil to mark each circle, so the burn lines have a clear path to follow. Bold block letters read best, and they hide small slips on a flat surface.
10. Wood Burned Earrings
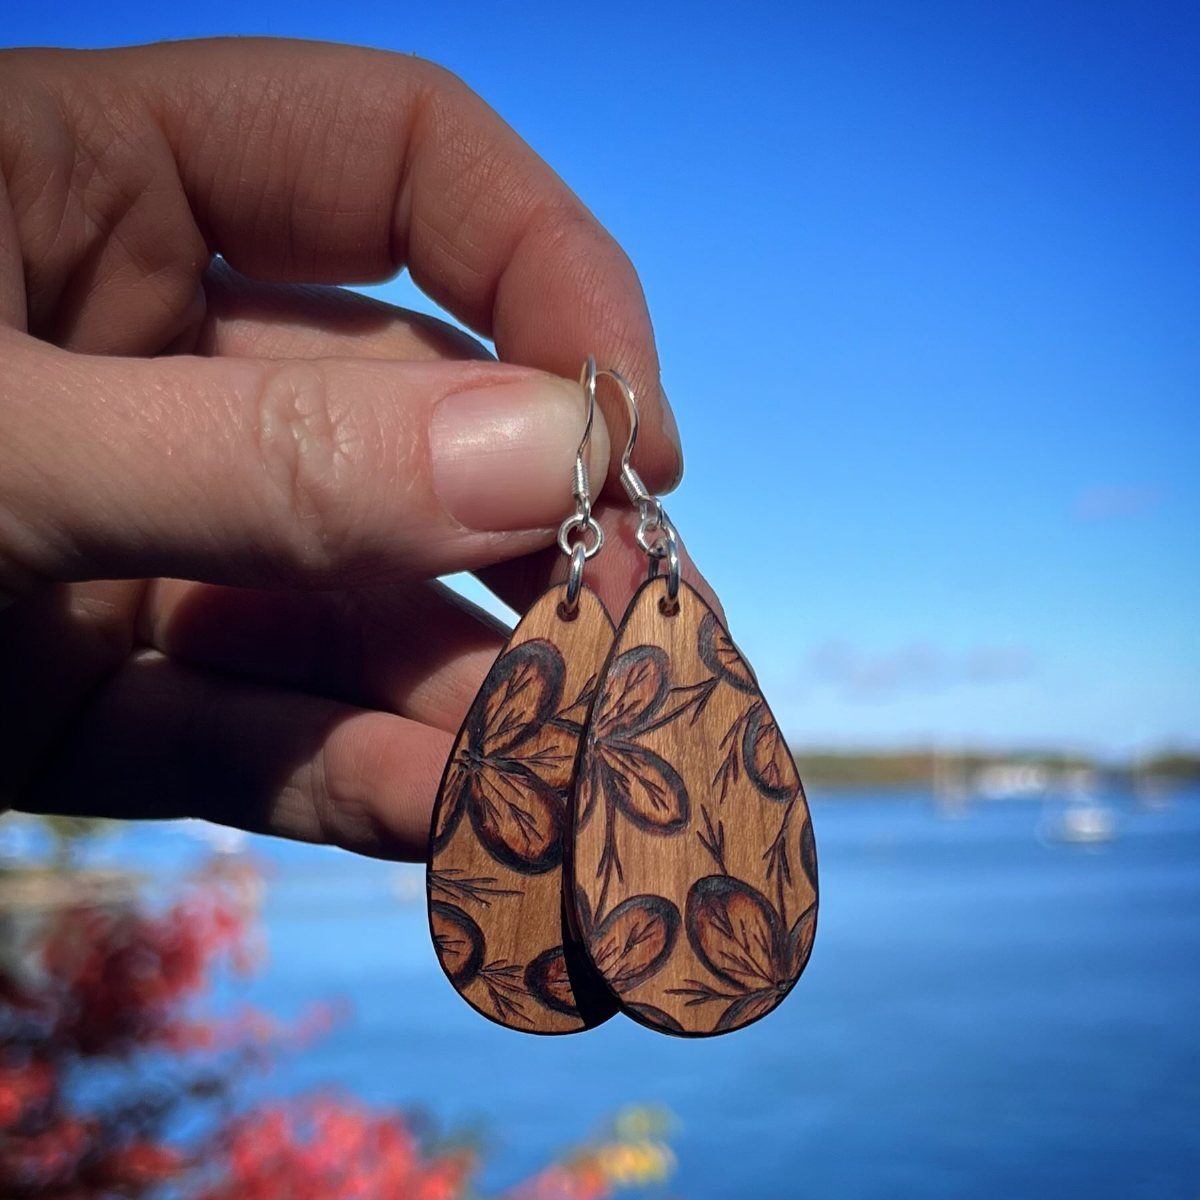
Wood is light, so burned earrings sit comfortably on the ear, and a teardrop shape gives you a narrow canvas for a single leaf or small flower.
Pick thin wood and keep the pattern simple, because tiny details get lost at that size.
Burn both sides of the blank before you attach the hooks, and make the pair mirror each other as closely as you can. Practice on one extra teardrop so the pair stays consistent.
Pairs like these also fit in a small gift box easily.
11. Personalized Wooden Keychain
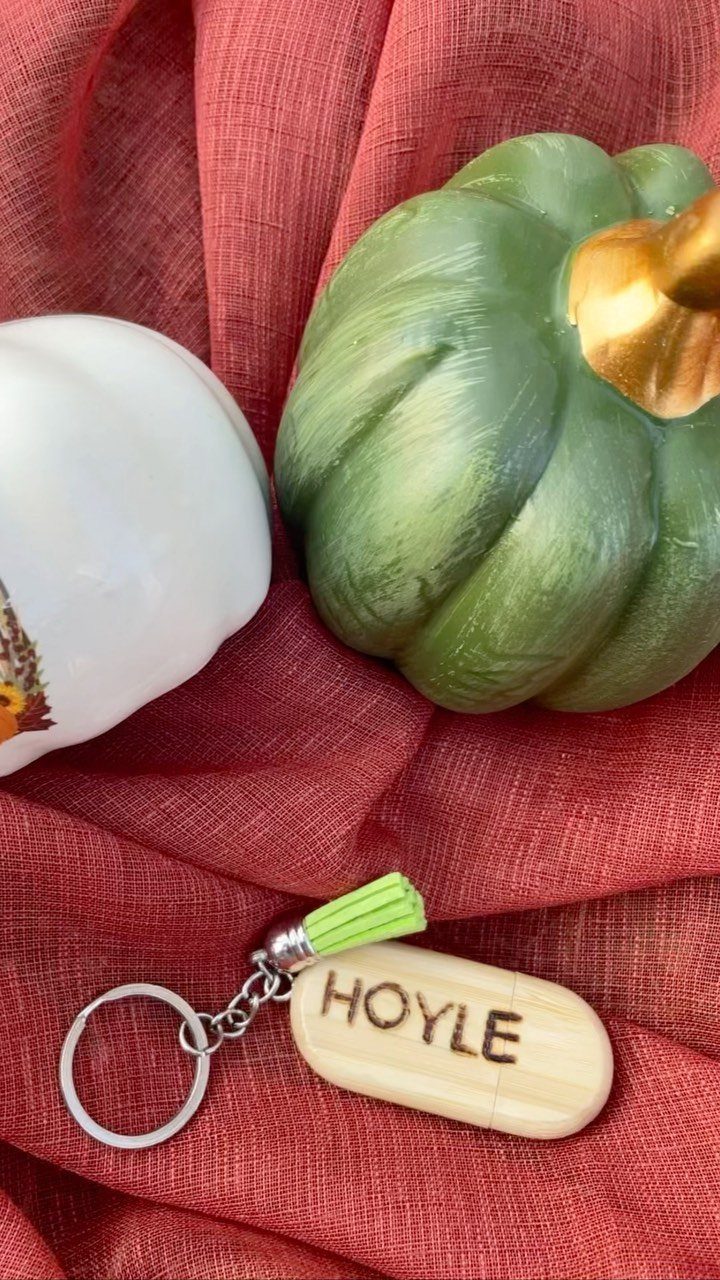
A name burned on a small oval tag takes only minutes, which makes this the best last-minute gift on the list.
Block capitals stay readable at keychain size and hide a shaky hand better than script does, since each letter is just a few straight strokes.
Pencil the letters first and space them evenly across the oval. Drill the hole before burning so the name sits clear of it.
A tassel adds color, so choose one that suits the person. Make a few extra blanks for mistakes, because short names leave no room to hide one.
12. Wood-Burned Couple Portrait Plaque
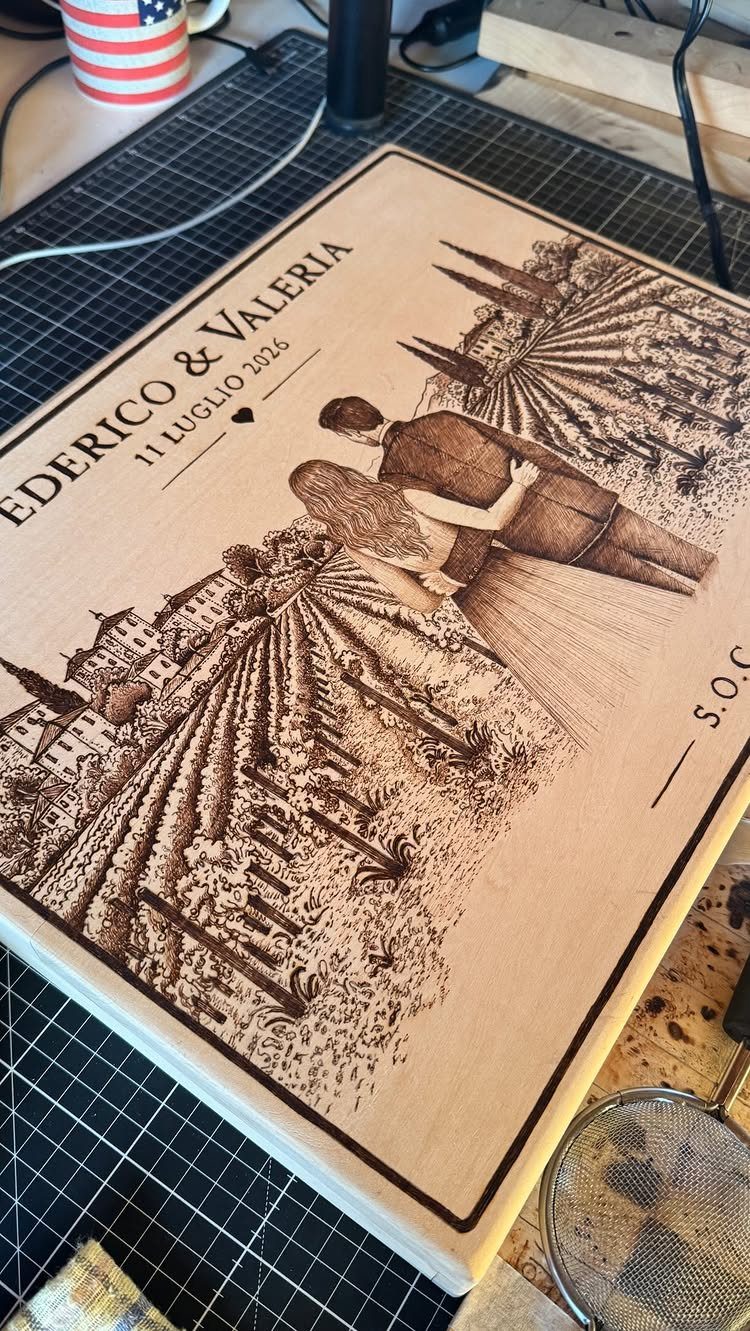
A burned couple portrait is the most ambitious gift here, and it rewards patience.
Work from a photo where the pair is seen from behind, since faces are the hardest part to get right and a back view still reads as them.
Sketch the scene in pencil, then burn the figures darkest and the background lightest so they stand out. Add both names and the wedding date in plain lettering underneath.
Plan on a long session rather than an afternoon sprint, and test your shading on scrap first.
13. Engraved Mini Whiskey Barrel
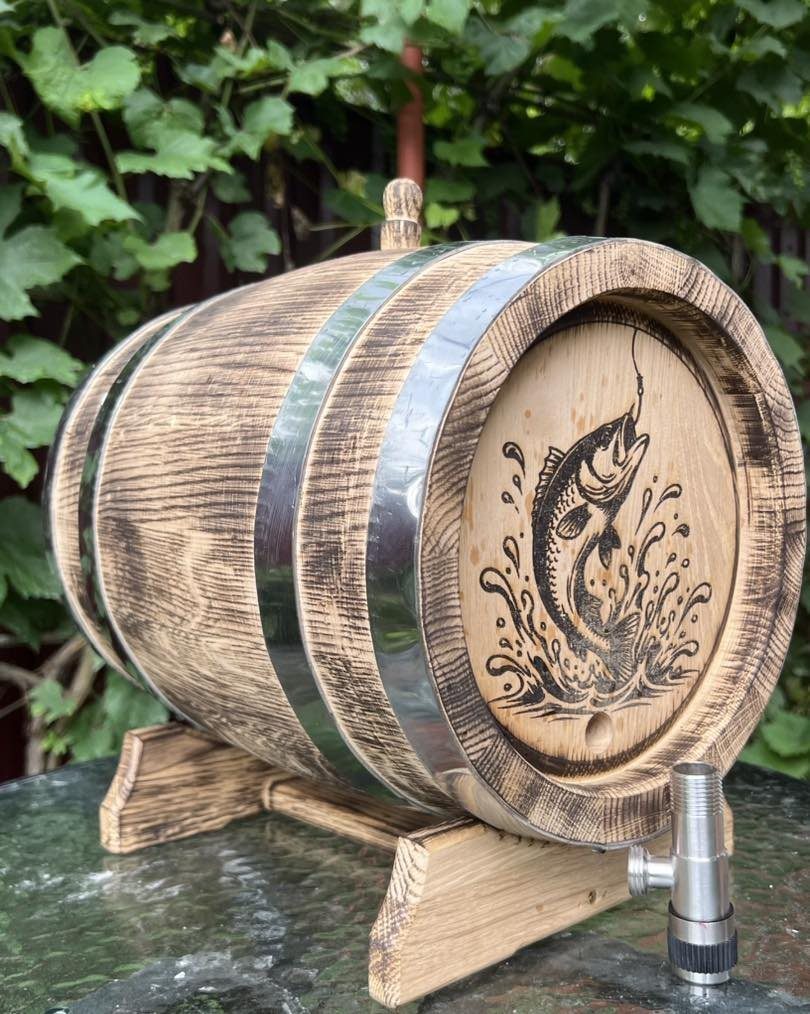
A mini whiskey barrel gives a burned design a curved, rounded surface, and a fish is a good subject because its scales and fins are built from repeated small marks.
Keep the lines clean and let bare wood show around the animal so it stands out against the staves.
Pencil the outline first, since a curved surface makes it easy to drift. Burn slowly and rotate the barrel as you go so your hand stays at a comfortable angle.
A matching wooden stand finishes it as a gift. Pick a subject that suits the person, such as a favorite animal or a fishing spot.
14. Wood Slice Birthday Portrait
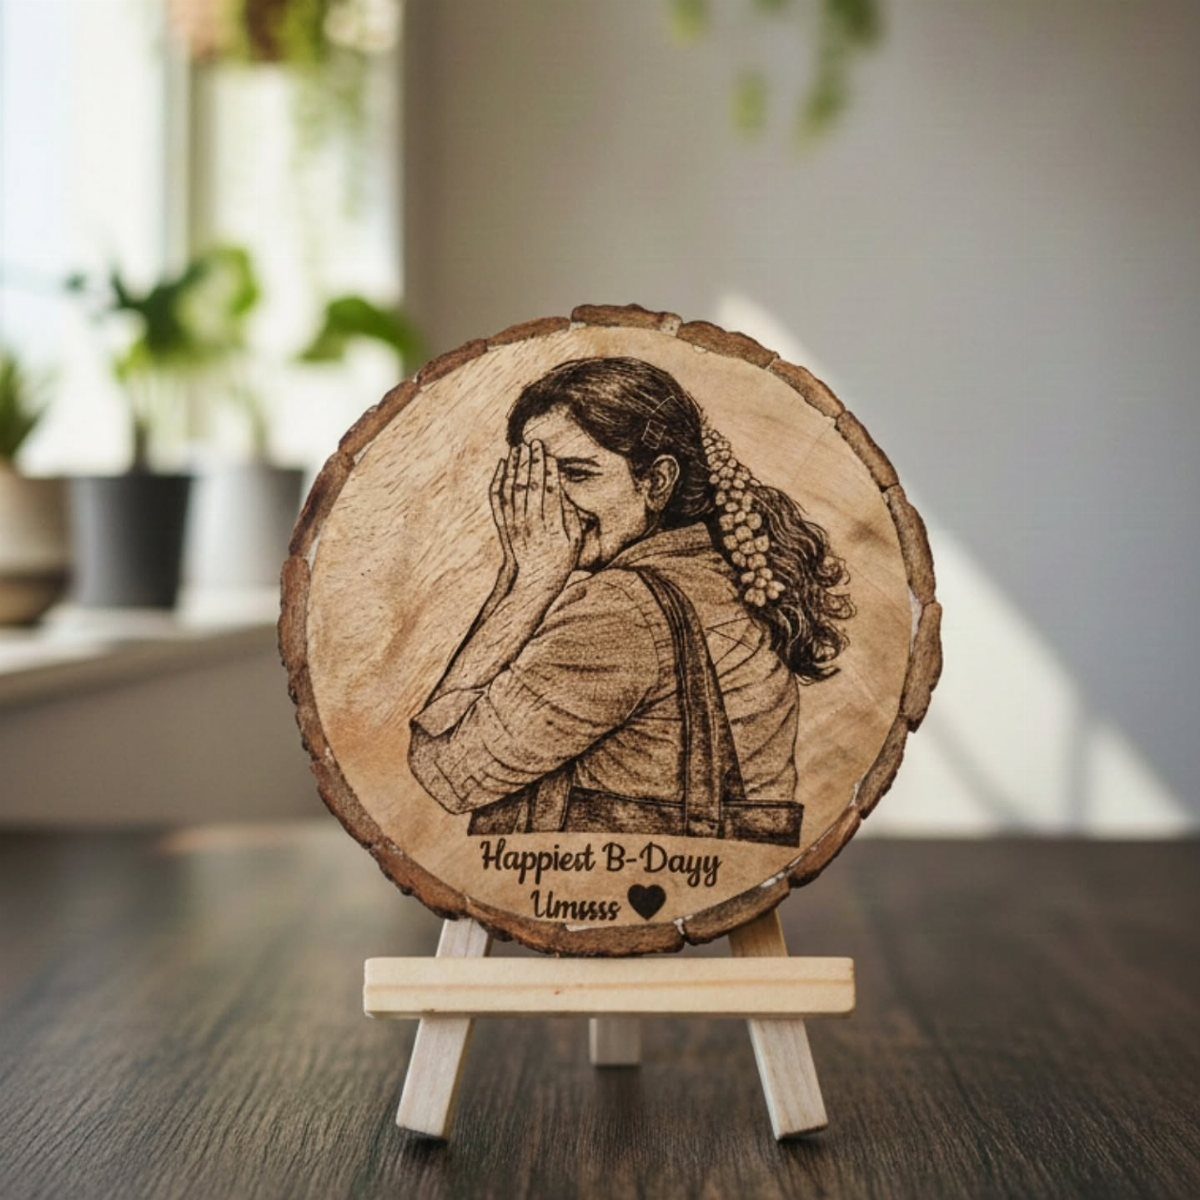
A bark-edged wood slice makes a warm base for a burned portrait, and the natural rim frames the face without any extra work. Sit it on a mini easel so the gift is ready to display the moment it’s unwrapped.
Pencil the portrait first, then build the face with light shading and save your darkest burns for the hair and eyes. Test the shading on a spare slice, because the grain changes how the pen moves.
Add the birthday message in bold lettering, and a small heart beside it. Short words are easier to fit on a round slice than long ones.
Safety Tips for Wood Burning
Wood smoke is rough on your lungs, so crack a window or aim a small fan to pull the fumes past you and away from your face. Fresh air matters more as a session runs longer.
A fire extinguisher or a bucket of water should sit within arm’s reach of the bench before the pen ever heats up.
A stray spark or an overheated pen is rare, but you want the answer within arm’s length when it happens.
Put the pen in a heat-resistant stand whenever you set it down, and never walk away from a hot tool, even for a moment. Phone notifications and conversation are the usual distractions, so silence one and finish the other first.
Tie back long hair and skip loose sleeves that could brush the tip.
Heat-resistant gloves help with small pieces. Let the tool cool completely before you store it, because leftover heat can still burn you.
Best Woods for Wood Burning
Basswood (also called lime) and birch burn evenly and forgive a heavy hand, though pressing too hard on the tip will gouge either one.
Hardwoods work too.
Oak is a good step up once your control improves, and walnut can hold intricate designs. Skip resinous woods until you have some practice behind you.
Whatever you pick, the wood must be untreated, since finishes and stains can give off bad fumes when heated. Sand it smooth first, because a clean surface gives cleaner lines.
Each species takes heat differently, and a minute of testing tells you how your pen will behave.
Transferring Designs
Graphite paper is the most precise way to move a design onto wood. Print your pattern or font, lay the graphite sheet face down on the board, set the printout on top and trace the lines with a pencil.
Check which side is which before you press.
The graphite side rests on the wood and the shiny side faces up. Otherwise you get a blank board and a wasted trace.
A ruler and a stencil help with straight lines and symmetrical patterns, so use them when you want clean repeats.
Sand the board smooth before transferring, since a clean surface takes both the pencil line and the burn better. You’ll see how each tip shape handles your lines before you commit to the real board.
Frequently Asked Questions
What are some unique woodworking gift ideas?
A burned couple portrait plaque is the most personal, drawn from a photo taken from behind with both names and the wedding date underneath.
A mini whiskey barrel with a burned fish, or a bark-edged wood slice with a birthday portrait on a mini easel, also stand out.
The notes from other pages add a burned beer caddy and a keyholder, and both suit people who like practical gifts.
What are some creative ideas for wood burning?
Coasters, wooden spoons, cutting boards, keychains and ornaments all work well, and each one is small enough to finish in an afternoon. Pet portraits on a light board of maple or birch give the strongest reaction.
What is wood burning?
Pyrography is the craft of drawing on wood with a hot metal tip, and the name literally means "writing with fire."
The tip scorches the surface and leaves dark lines. Pen tips can get past 800°F, so rest the tool in a metal stand between strokes and unplug it before you walk away.
How do you transfer a design onto wood?
Graphite paper is the most precise method. No graphite paper in the drawer?
Scribble pencil across the back of your printout, tape it face up on the board, and trace the lines to leave a faint copy behind. Sand the board smooth first so the line transfers cleanly.






