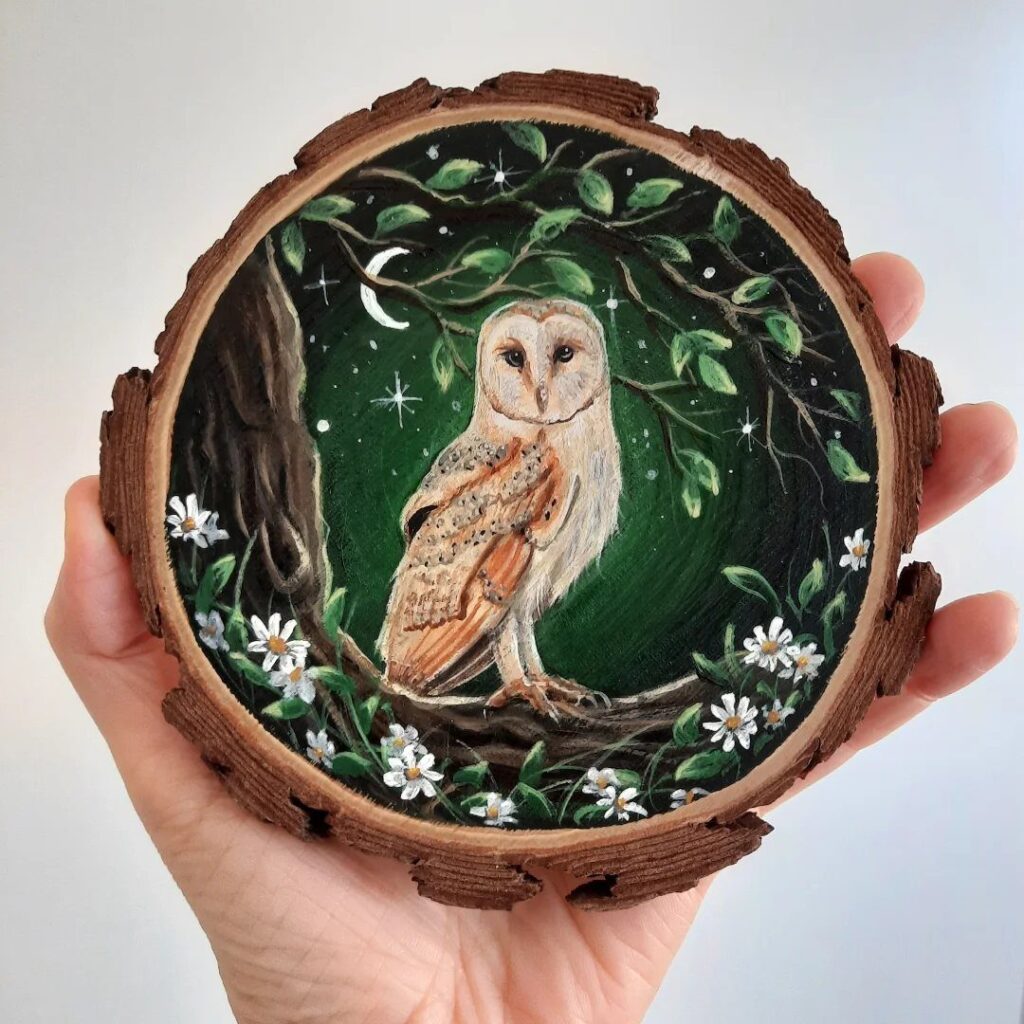
The projects here run from a quick coaster to a framed mirror, and the detail that picks among them is where the piece will live: a key holder or mirror has to carry weight on a wall, a centerpiece or coaster has to survive a table, and a painted wall piece only has to be looked at.
1. Colorful Wood Slice Wall Art
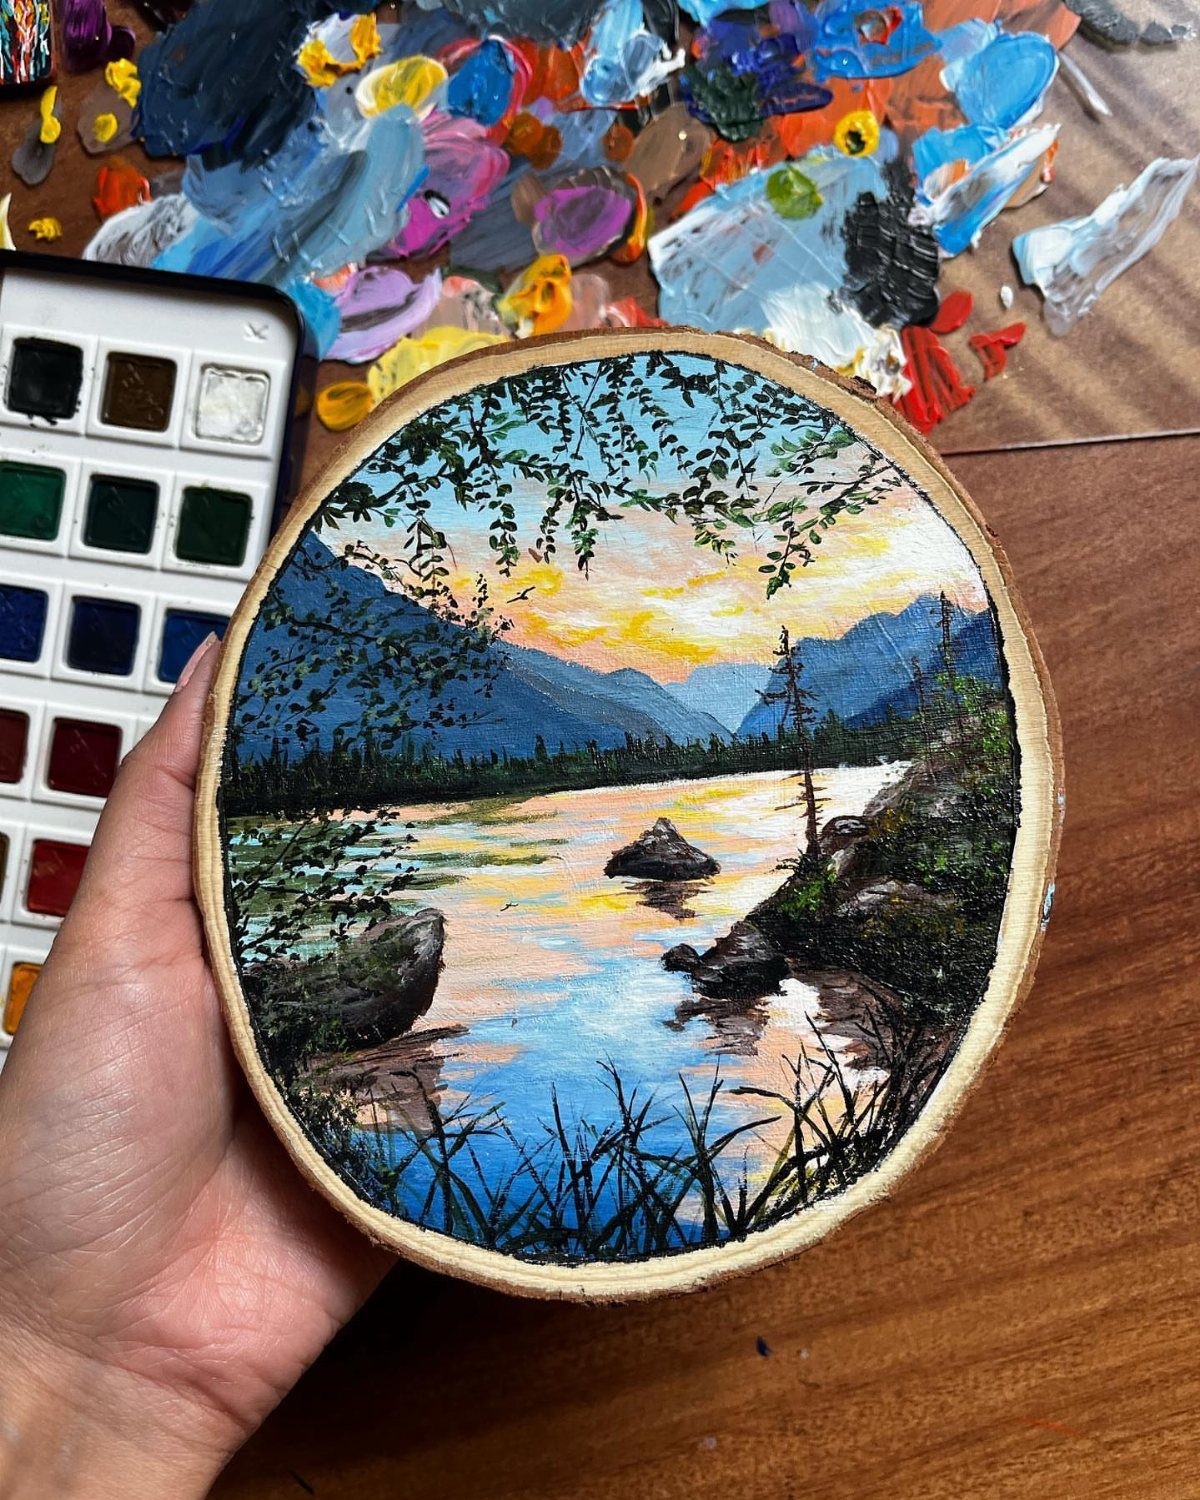
A round slice is a small canvas with a built-in frame, and a mountain scene with a river suits that shape well.
Paint the sky first, blend the sunset colors while they are still wet, then add the dark ridgelines on top so they stay crisp.
Sand the face smooth before any paint goes on, since grain and rough spots show through thin layers. I would hang a cluster of 3 slices rather than one, because small pieces read better as a group.
2. Wood Slice Coasters
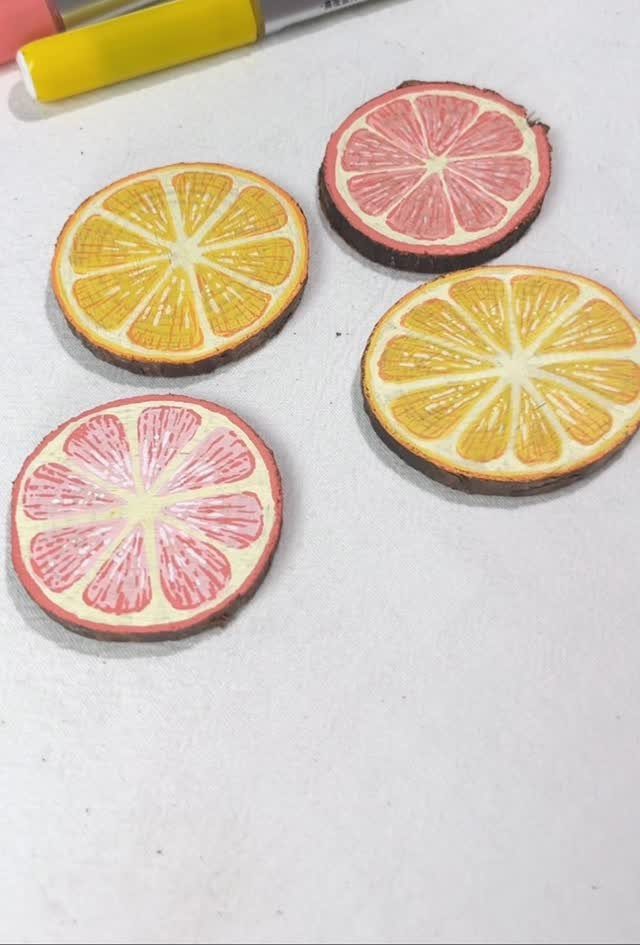
Citrus slices are a clever match for a wood circle, because the shape already does half the work.
Paint the rind, the pale pith ring and the segments in layers, letting each dry before the next so the lines stay clean.
A yellow paint marker handles the thin segment lines better than a brush.
Seal the finished tops with a clear coat before anyone sets a wet glass on them. 4 coasters painted with mixed fruit look best stacked in the middle of a table.
3. Wood Slice Owl
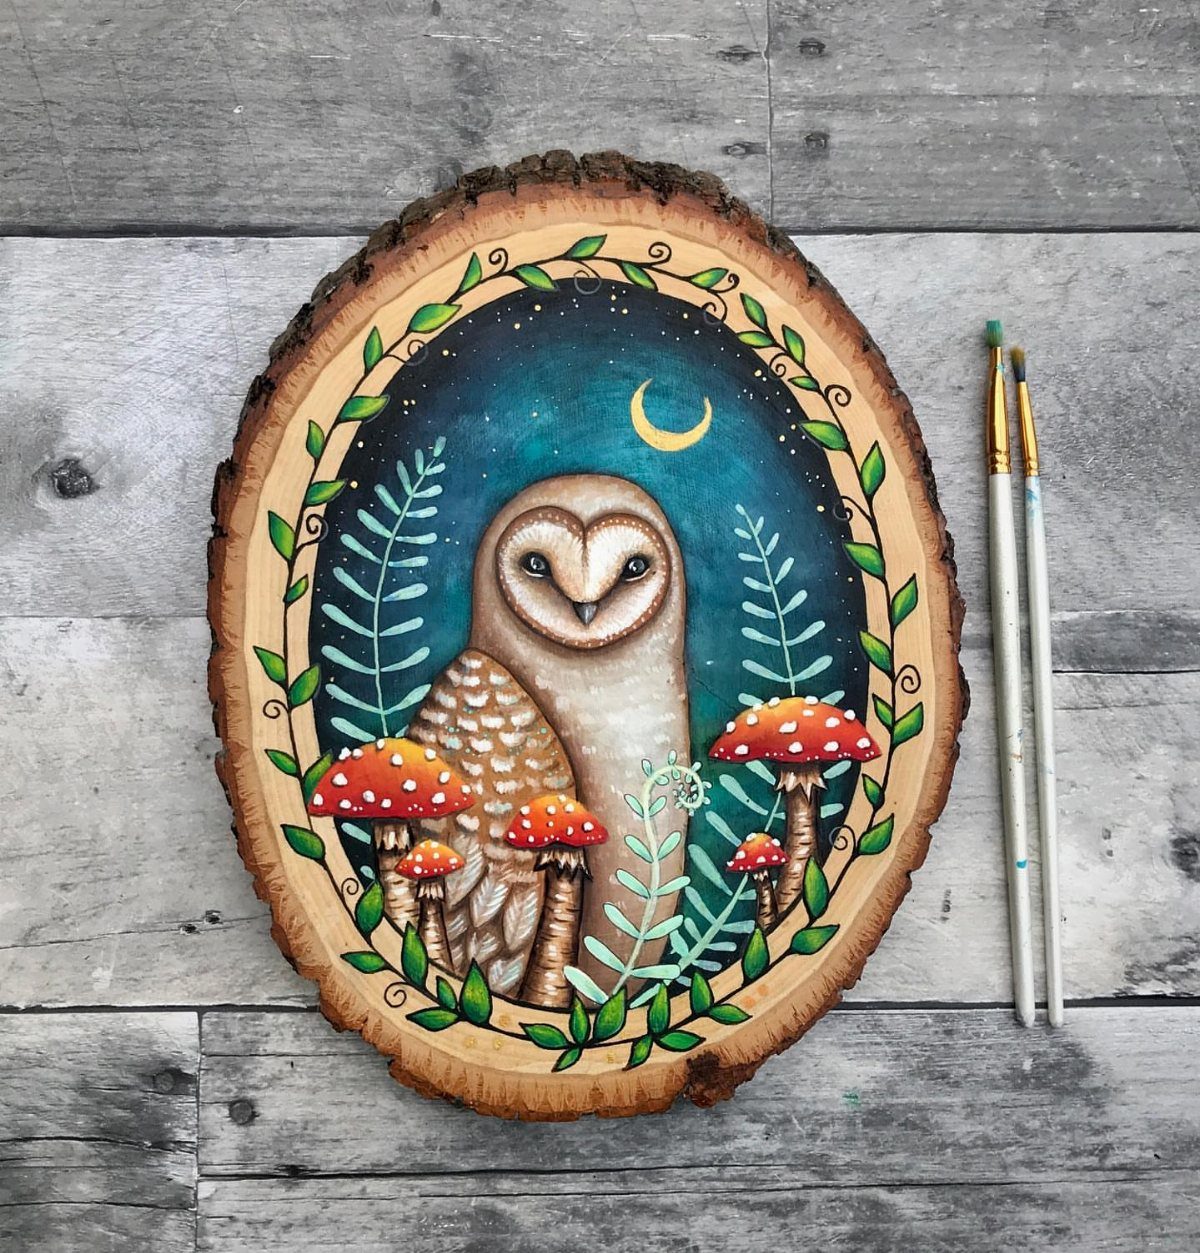
Leave the wood bare in places so the grain becomes part of the design.
Keep two or three brush sizes handy: a fine one for feather detail, a flat one for the background. Of all these ideas, this one asks for the most painting confidence, though simple shapes work fine.
4. Botanical Wood Slice Ornaments
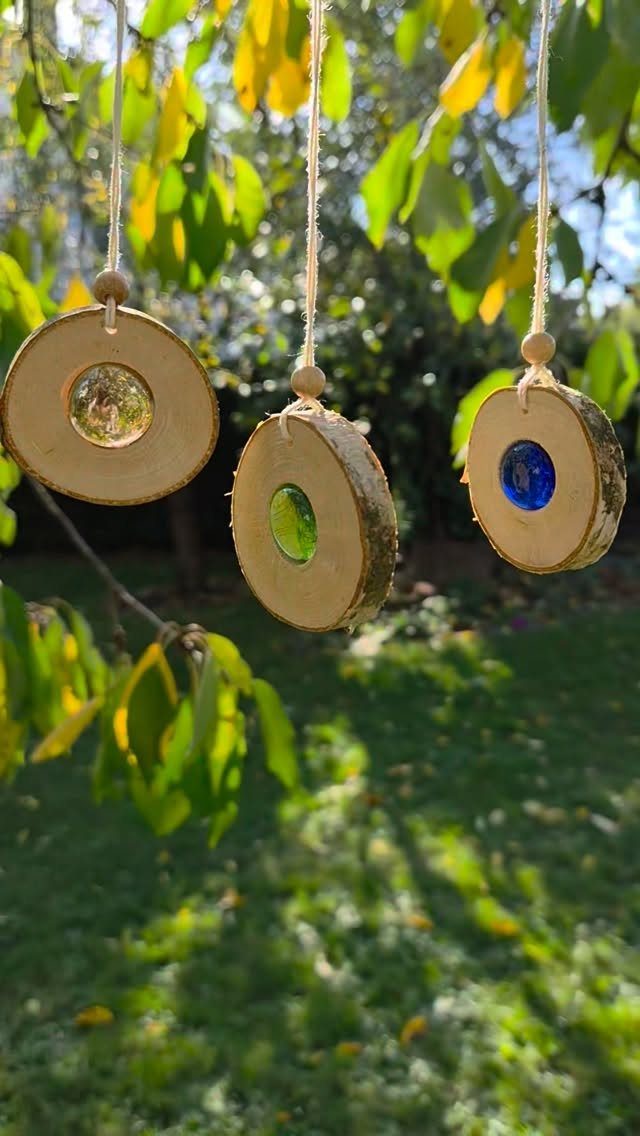
Glass gems set into the center of a slice turn a plain disc into something that catches light, and hung outdoors from a branch they glow against the leaves.
Choose slices with a hole or cutout in the middle, or drill one, then glue the glass in so it sits snug.
Add a loop of string at the top and the ornament is done.
Clear-ish glass in mixed colors looks best; one color feels flatter. Hang them near a window if a tree isn’t handy.
5. Wood Slice Key Holder
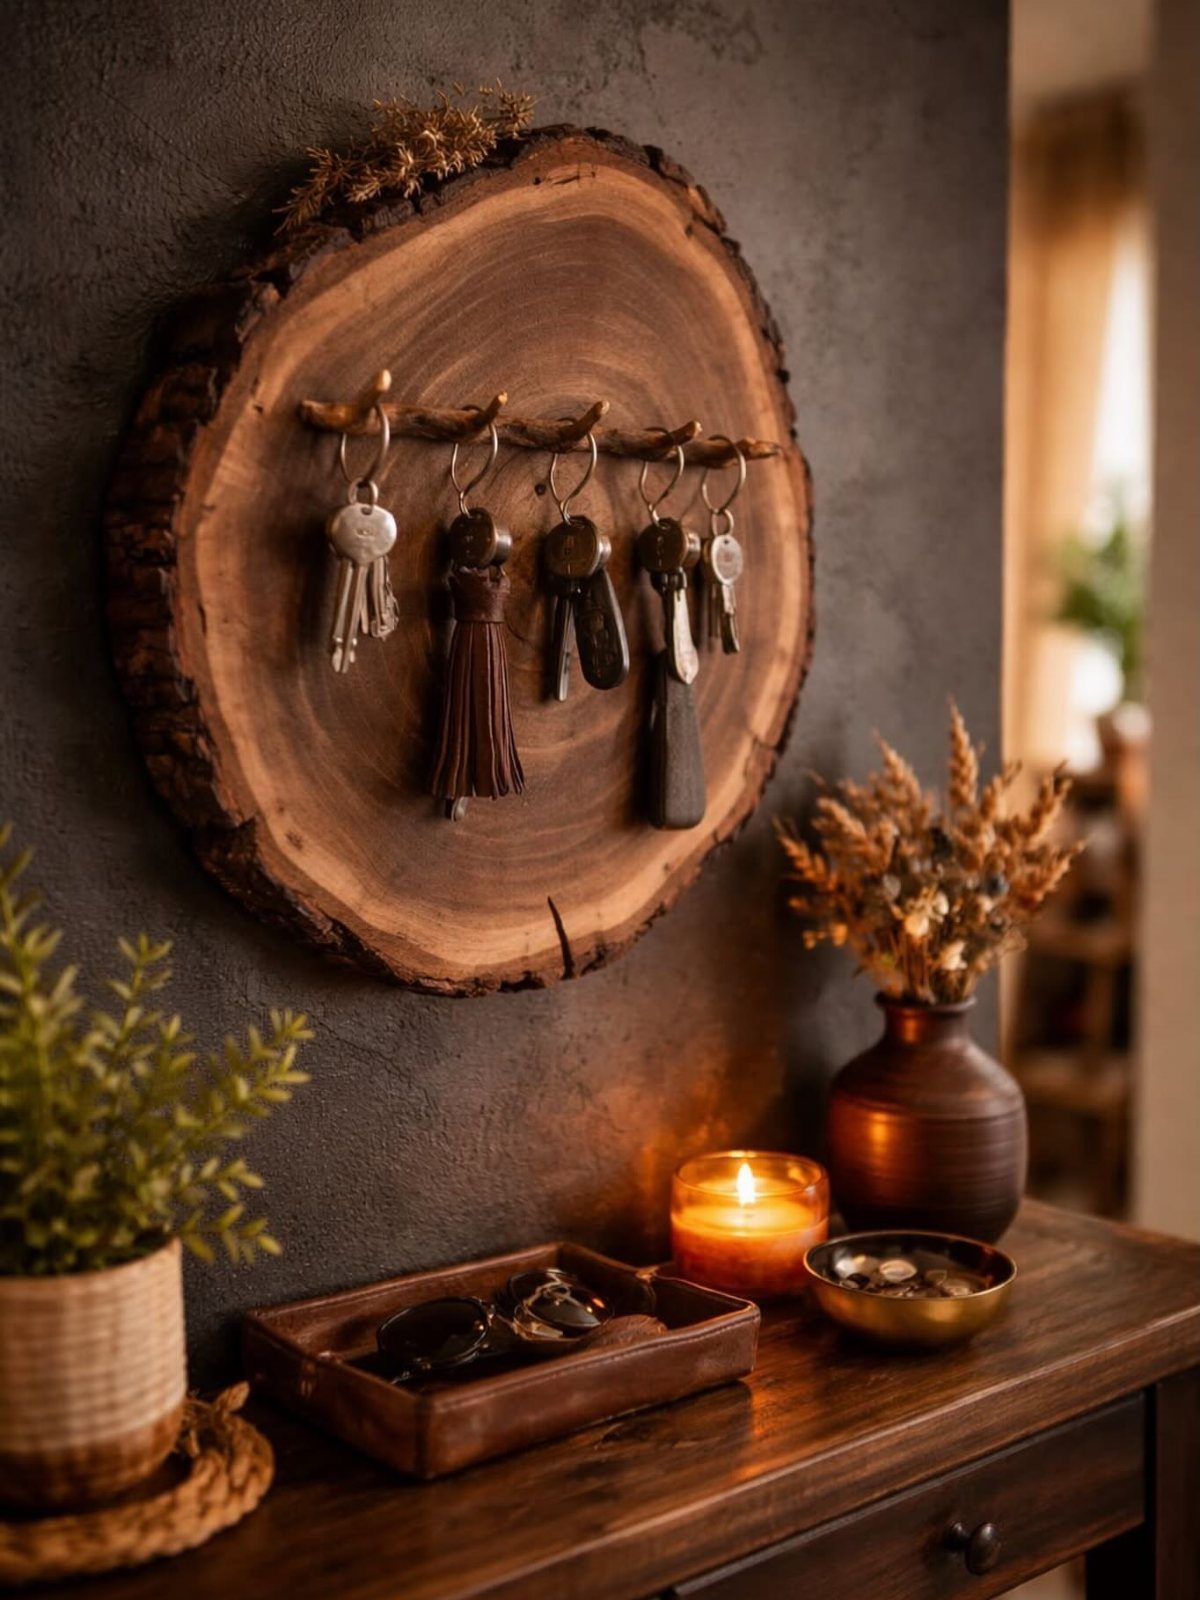
Hang keys from a small branch fixed to the face of a slice, and the entryway gets a piece of decor that also does a job.
A dark wall makes the pale wood stand out, so pick a slice with some contrast in the grain.
Screw or glue the branch pieces on as pegs, and mount the slice to the wall with a sturdy fastener rather than tape, since keys add weight.
Mount it at a height where you naturally reach on your way out the door.
6. Wood Slice Centerpiece

Pick a slice wider than the vase so the wood frames it.
Stick felt pads underneath to protect the table, and wipe up any water at once since bare wood marks easily. Swap the flowers with the seasons and the base stays the same.
7. Wood Slice Framed Mirror
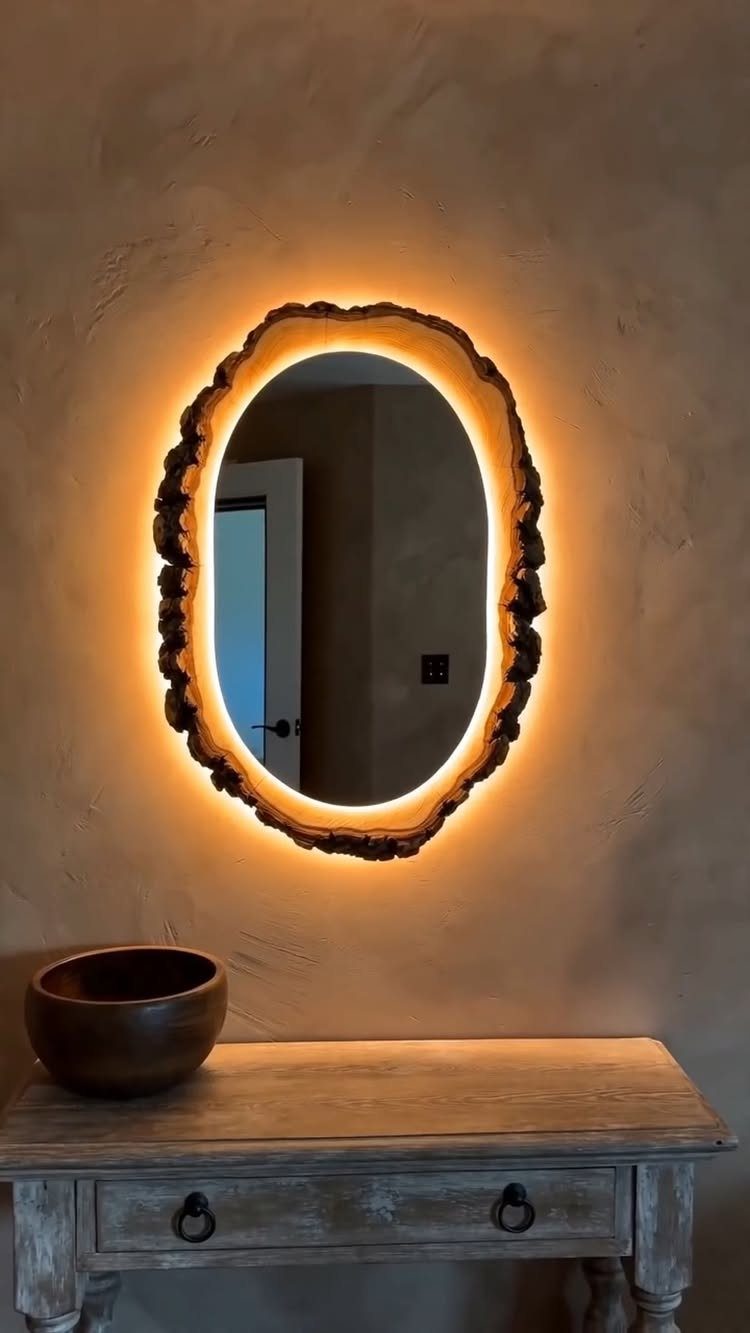
An oval mirror set inside a rough wood slice frame gives a bare wall a focal point, and the bark edge adds texture a store-bought frame can’t.
Warm backlighting is the finishing touch I would add.
Light tucked behind the frame washes the wall and shows off the grain. Hang the mirror above a console table, where the glow has room to spread.
8. Painted Landscape Wood Slice
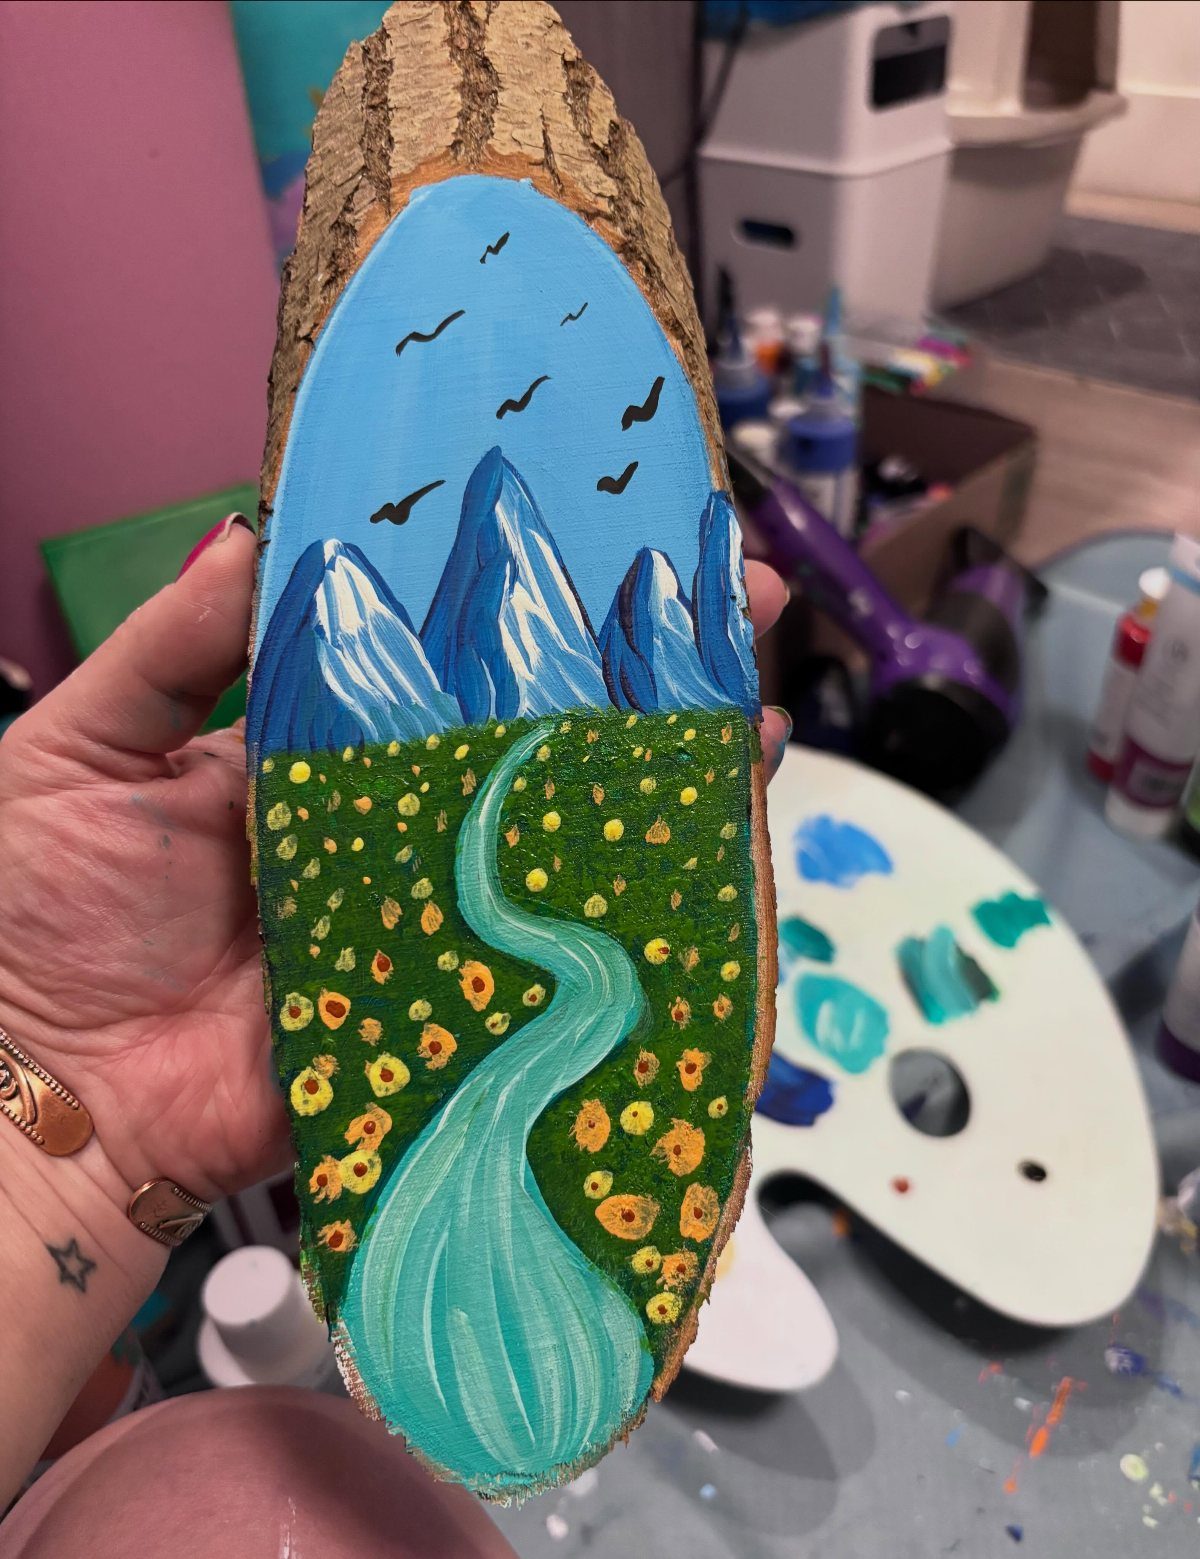
A winding turquoise river is the detail that carries this oval slice, because the curve pulls the eye through the blue mountains to the yellow flowers at the front.
Paint the mountains first, let them dry, then run the river across them in one smooth stroke.
Add the small flowers last, with a fine brush, so they stay bright against the darker colors.
Sand the face before painting. Since the oval is a small surface, a tight palette works best, so let a few colors carry the scene.
9. Wood Slice Calligraphy Plaque
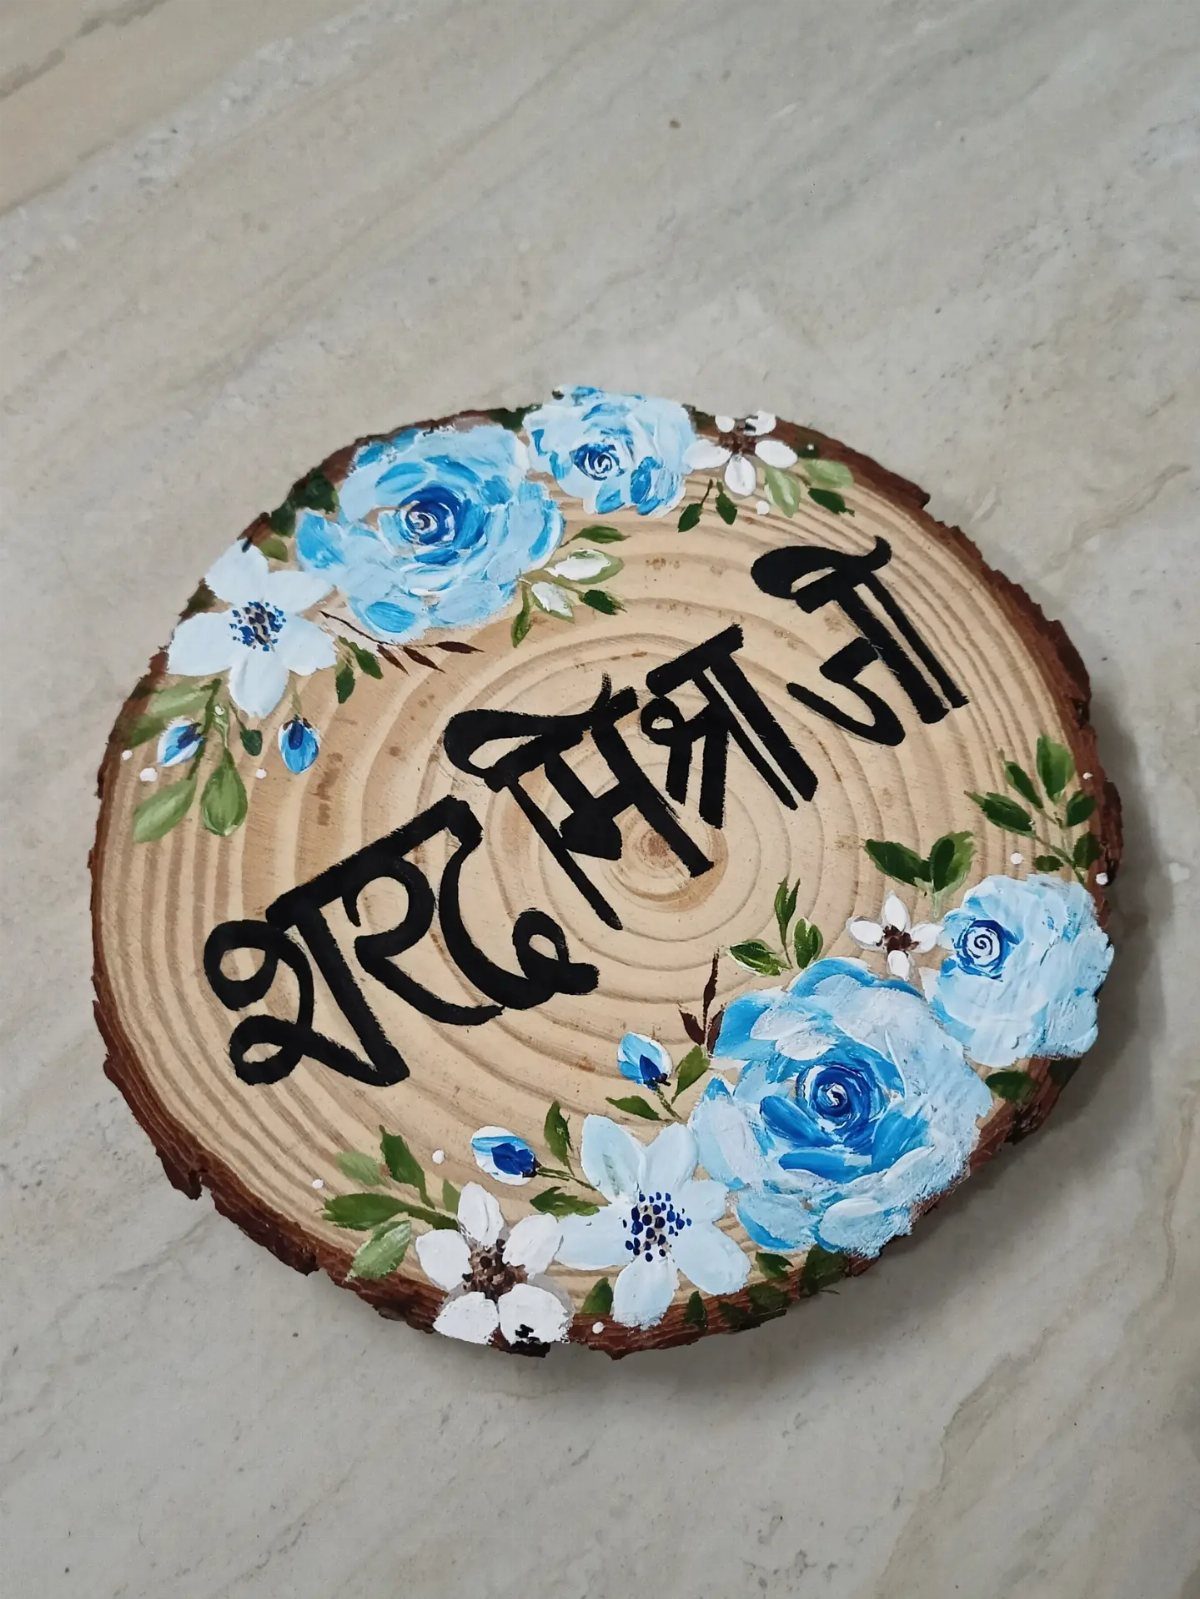
Black lettering in the center with painted blue and white roses circling it makes a slice that works as a plaque for a name or a short blessing.
Write the words first, in pencil, then paint the roses around them, so the flowers never crowd the text.
Black stands out against pale wood, so use a paint marker or a fine brush for the letters.
Blue roses look striking on a natural background. Sand the face smooth first, since calligraphy needs a clean surface to keep its thin strokes crisp.
Preparing Wood Slices
Store-bought slices are ready to craft on right away, so the only prep is a light sanding.
A slice cut from a fresh branch asks for more forethought, since the wood’s moisture and thickness both need sorting out before the saw comes out.
Fresh-cut wood holds moisture, and a slice that dries too fast or unevenly can crack. Let your cut slices dry fully before you paint, burn, or glue anything to them.
Cut each slice at a consistent thickness so they sit flat and look matched. A thin slice dries sooner but is more fragile, so I lean toward a sturdier cut for anything that will be handled.
Sealing Wood Slices
Sealing is optional, but I would do it on any slice that will be handled or displayed for years. A sealer helps stop paint from flaking and gives the wood a polished look.
Polycrylic brushed on in thin coats works well, and a spray sealer is quicker if you have a lot of slices to finish. Either way, thin coats beat one heavy one, since thick layers can drip and cloud.
Let each coat dry before adding the next. Skip sealing only when you want the raw, matte look of bare wood.
Drying Wood Slices
Air drying works, but it takes a lot of time, so plan ahead if you go that route. Stack slices with space around them so air reaches both faces.
An oven set to 200°F will dry them faster than air alone, though a fresh-cut slice needs a long, low bake and I’d keep a close eye on it for cracks.
Set the slices directly on a baking sheet and check them partway through, since ovens vary.
Denatured alcohol is another fast option for drying. Use it in a ventilated space, away from flame, and keep it off skin.
Let baked slices cool completely before you handle or paint them.
Frequently Asked Questions
What can I make with small wood slices?
Coasters, wall art, ornaments, a key holder, a centerpiece base, a mirror frame and a lettered plaque all work well on slices.
Small pieces read best in groups, so I’d hang a cluster of 3 painted slices rather than a single one. For coasters, citrus designs suit the round shape, and 4 stacked in the middle of a table look good.
What kind of paint to use on wood slices?
Acrylic and craft paints are the usual choice for slices. For thin lines like citrus segments or lettering, a paint marker beats a brush.
Acrylic craft paint works best, but grain and rough spots telegraph through thin coats, so a smooth face matters, and a clear sealer over the dry paint keeps it from chipping.
Where can I buy wood slices for crafts?
Craft stores, Etsy and Amazon all sell them.
I like buying online in large packs, since slices get used up fast across projects. Before ordering online, look for listings that say kiln-dried or air-dried, since green slices crack as they dry.
Slices from a craft store usually need just a light pass with 220-grit sandpaper, and then they’re ready for paint or a wood burning pen.






