Pick from the 7 ideas by how much shading you want to take on, since the Beginner Wood Burning Patterns need far less than the Gothic Skeleton and Rose Art.
1. Beginner Wood Burning Patterns
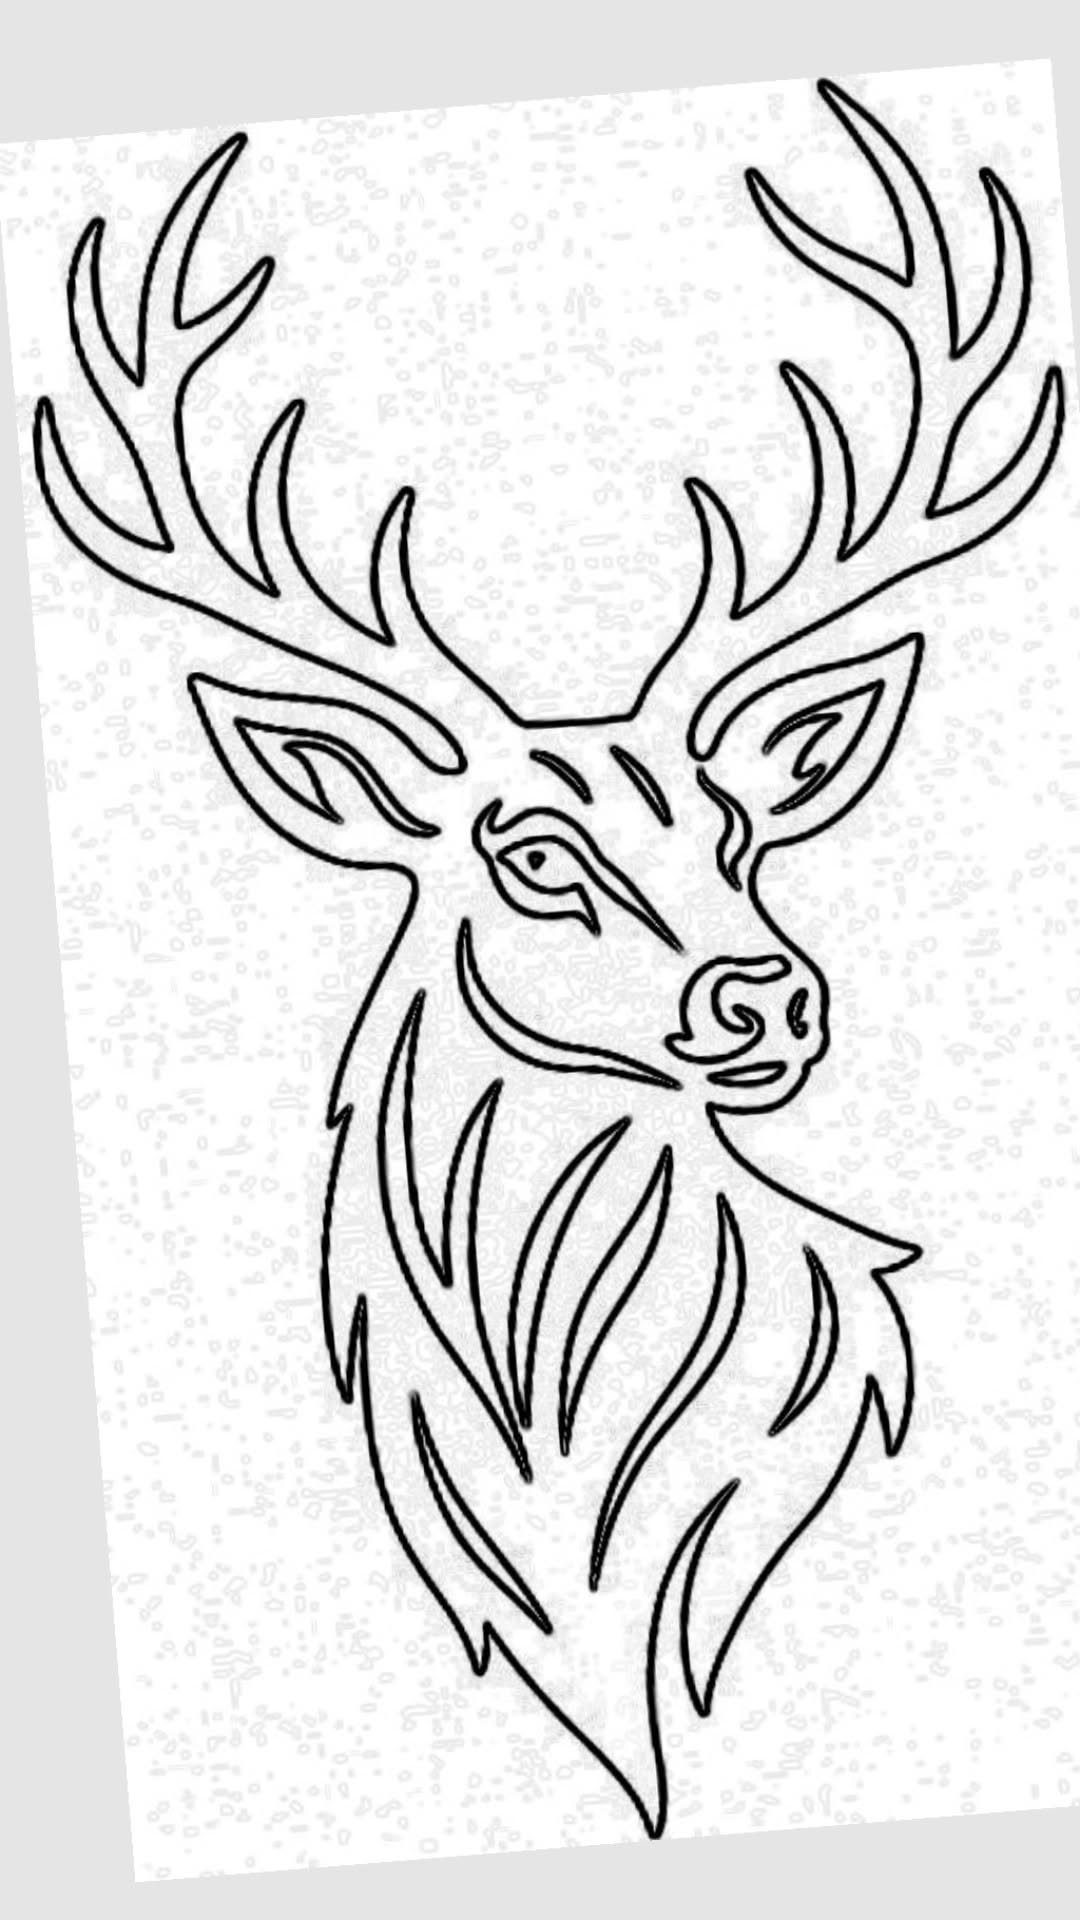
A stag head in clean outline is about as forgiving as a first burn gets. Big antlers, a simple neck, no shading required.
Print the pattern, slip a sheet of graphite transfer paper under it, and trace over the lines with a pencil.
Then burn along the pencil marks with a basic pointed tip, moving slowly so the line stays even. Pale, smooth wood shows the lines best, and a slow hand beats a hot tool.
Practice on a scrap board first. Nobody wants their first wobbly line on the final piece.
2. Floral and Leaf Patterns
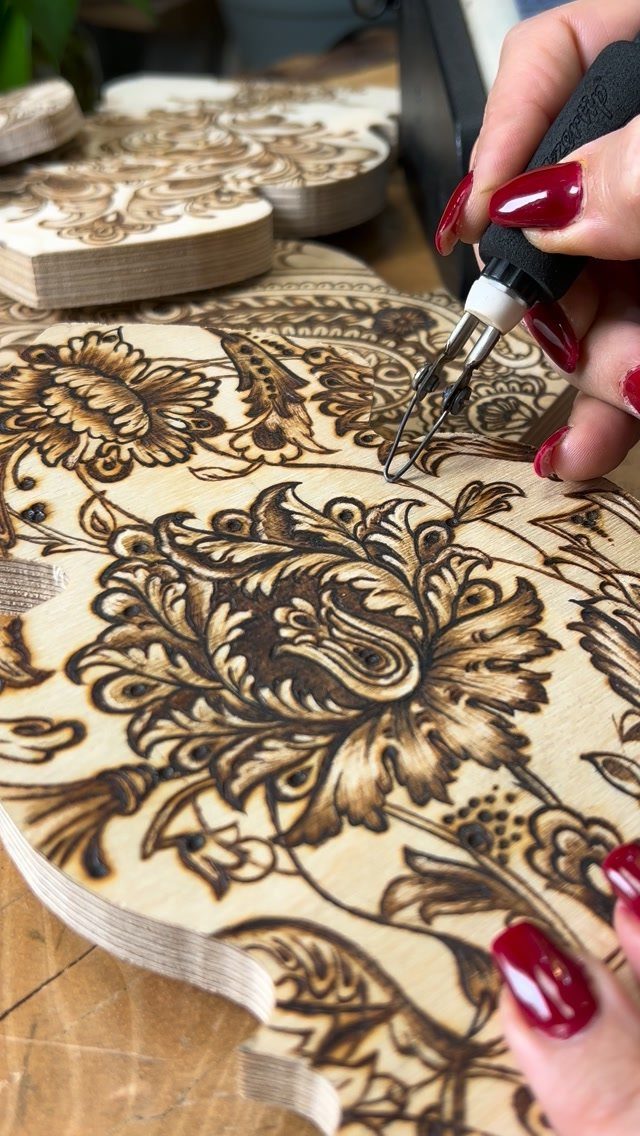
Flowers and leaves reward patience more than talent. Each petal is just a curved line, and each leaf is a spine with short veins branching off it.
Start with a few leaves before you try a full wreath. Burn the center vein first, then the side veins, keeping your strokes short and your wrist relaxed.
Light wood such as a basswood or birch board lets fine detail read clearly, though I haven’t got a figure for how hot your tool should run, so test on scrap.
A repeating border of simple leaves hides small mistakes better than a single large bloom.
3. Animal Designs
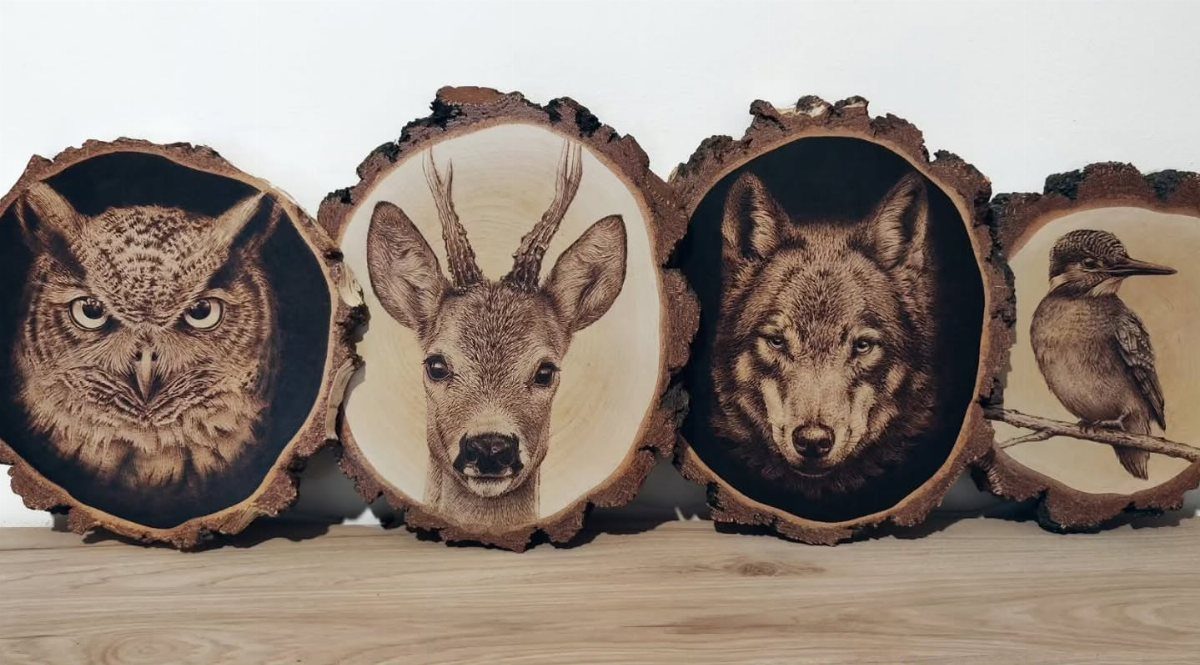
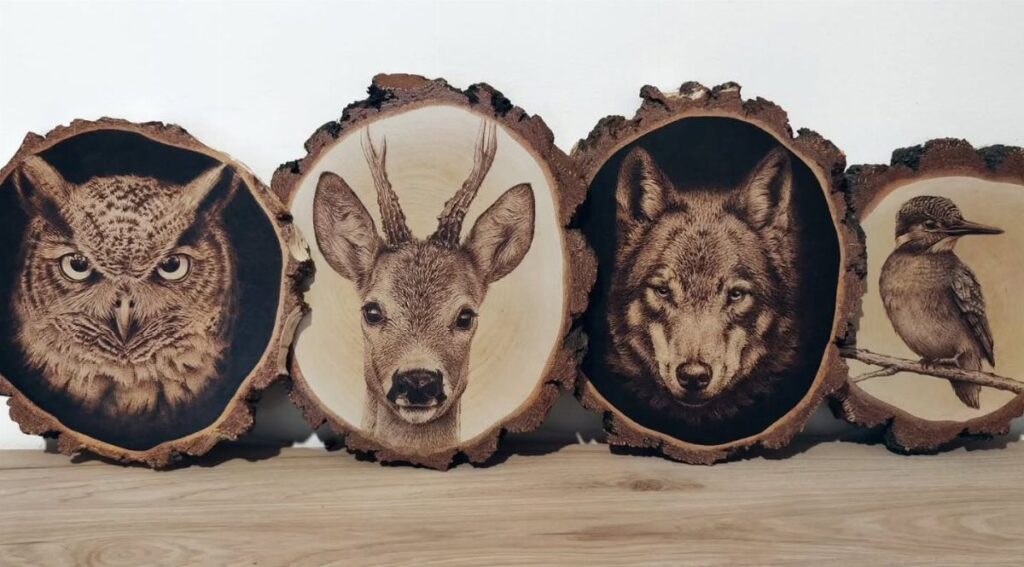
Animal portraits on round wood slices ask for fur, feathers and eyes, which sounds hard but breaks into small repeated marks. Short flicks that follow the direction of the fur do most of the work.
Burn the eyes first and make them dark; a portrait with a sharp eye looks finished even when the rest is rough. Then build the lighter areas with gentle, quick strokes, and save the deepest browns for shadows.
Owls and deer are good starting subjects because their markings give you clear places to work. A slice’s natural edge makes a free frame, so skip the border.
4. Gothic Skeleton and Rose Art
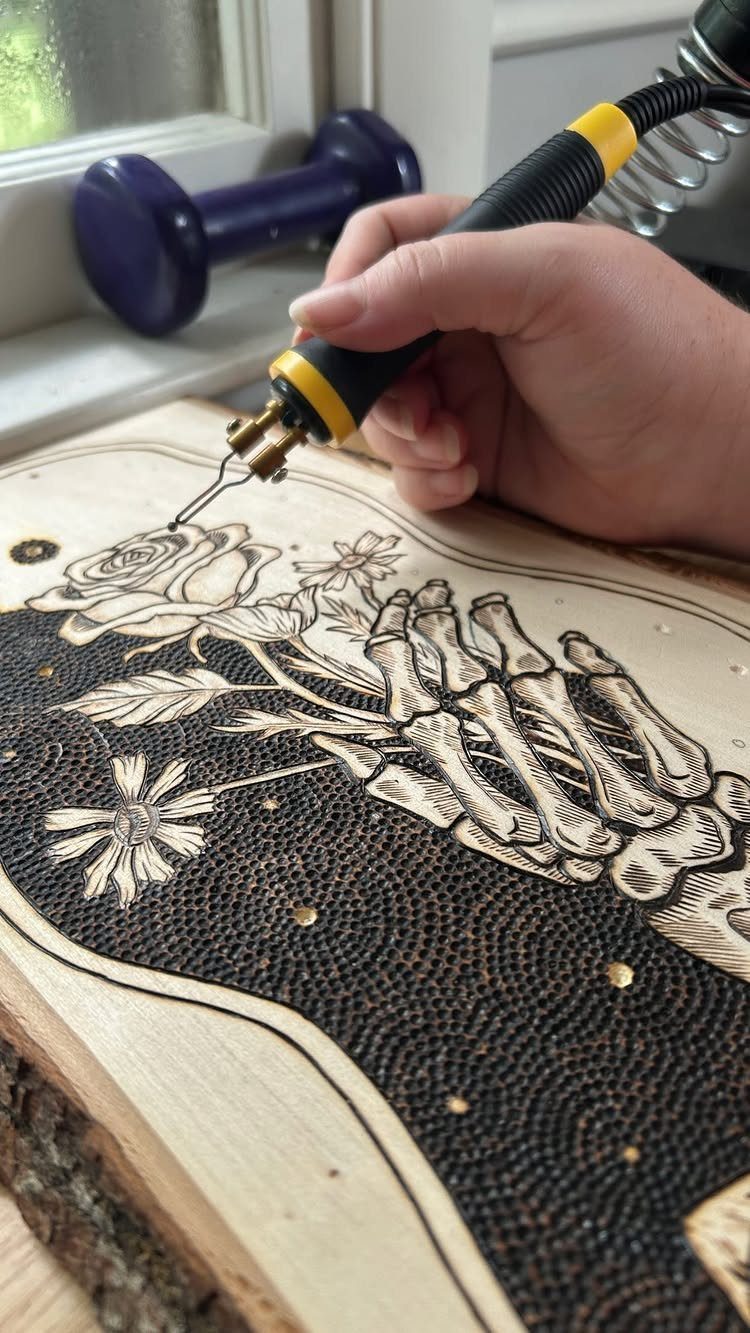
A skeletal hand holding a rose pairs two very different textures: hard, angular bone against soft, curling petals. That contrast is what makes the design work.
Burn the bones as clean, narrow shapes with a little shading at each joint.
Keep the rose looser, with spirals of curved lines and darker gaps between petals. A natural slab with its bark edge left on suits the moody feel better than a sanded square board.
Work in small sections and rest your hand on a scrap of wood so you don’t smudge the pencil sketch.
5. Sealing and Finishing Carved Wood
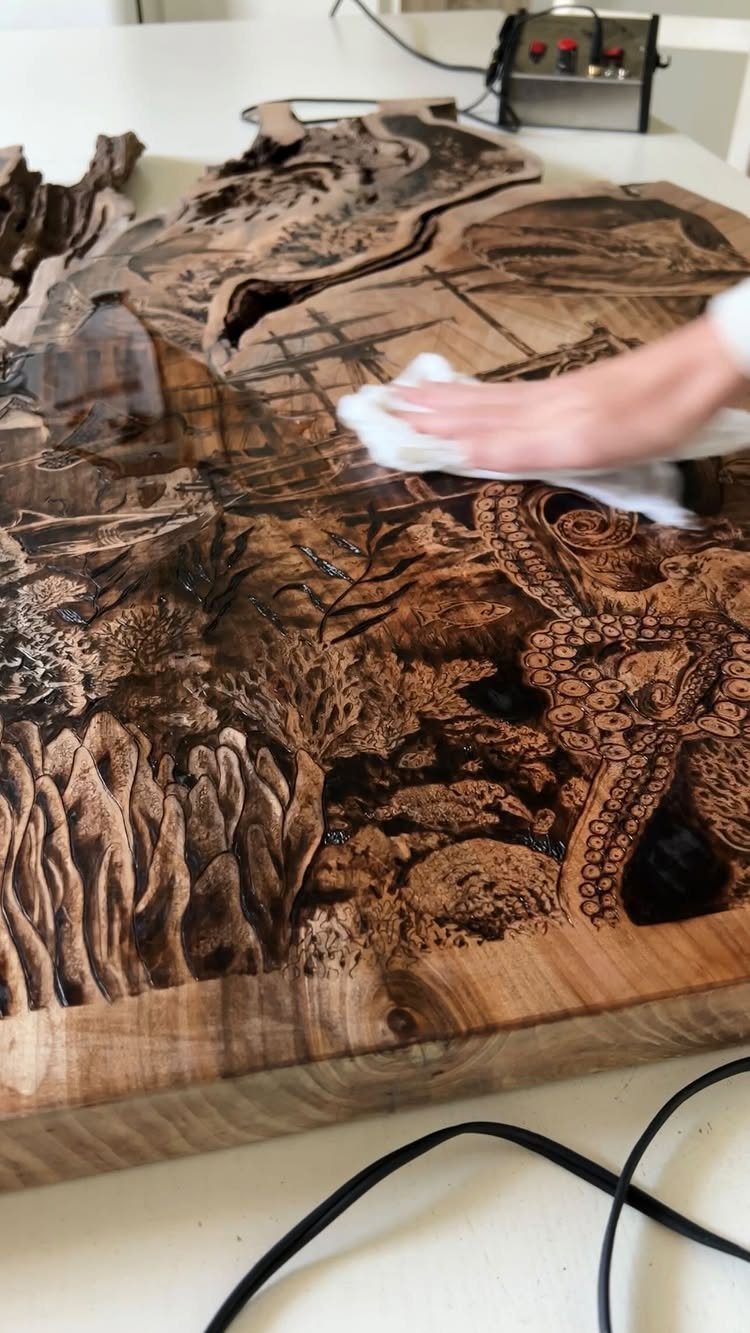
A finish is what turns a burned board from a craft project into something that keeps. Wiping on a clear sealant with a soft white cloth gives a glossy coat that deepens the dark lines.
Let the burning cool fully before you start, and brush off any dust.
Apply thin coats, wiping in the direction of the grain, and avoid pooling the liquid in carved recesses. A white cloth also shows you if soot is lifting.
Gloss makes burned detail pop, but it also shows every fingerprint and streak, so work in good light.
6. Pyrography Tool Tips Sampler
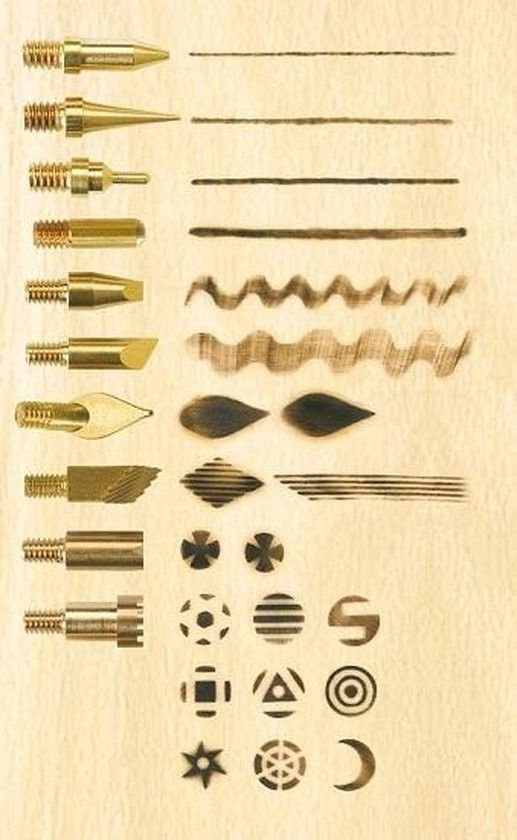
Before you commit to a design, burn yourself a sampler board. Pin each tip beside the marks it makes: lines, dots, shapes and textures.
It costs almost nothing and teaches more than any pattern. Swap tips one at a time, label each mark with a pencil, and try varied speeds, since slower movement makes darker, wider burns.
Keep the board near your workspace and you will know which tip to reach for when a pattern calls for fine lines or a filled shape.
Use scrap wood in the same species you plan to burn on, because tips behave differently on different grain.
7. Celestial Wood Burning Design
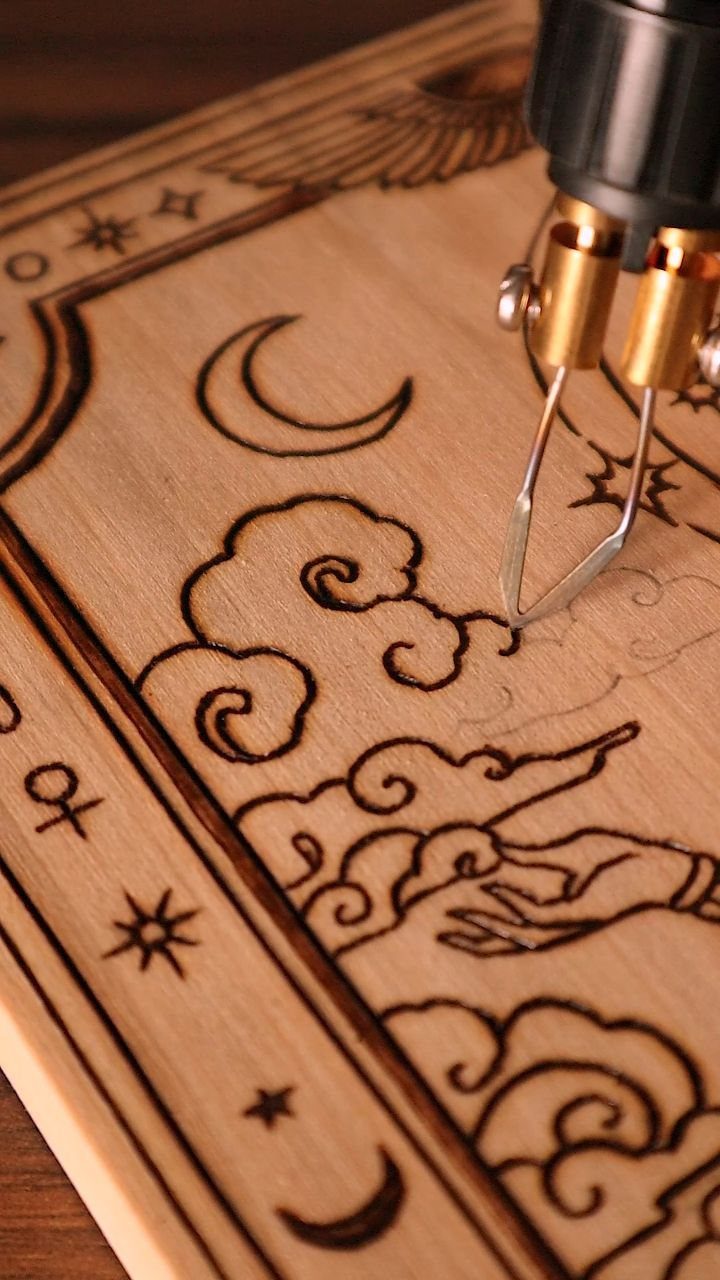
A crescent moon with a hand and a few clouds is a layout built from smooth curves and open space, which makes it friendly to a beginner with a basic pointed tip. Nothing needs heavy shading to read well.
Sketch the design in pencil first, then burn the moon’s outline in one slow, steady pass.
Clouds work best as rounded, overlapping scallops. Leave the gaps between them bare so the light wood does the work.
Fill the moon with darker burning if you want it to stand out against the sky. Test that fill on a scrap piece first, since slow passes burn darker and wider.
Frequently Asked Questions
What is a wood burning hobby called?
The craft is called pyrography.
It means drawing on wood with a heated tool, usually a pen with a pointed tip. Beginners do well with simple outline designs like a stag head or a crescent moon, since neither needs heavy shading.
What are some tips and tricks for wood burning?
Start with a simple pattern and practice on scrap wood before the real piece. Move slowly, because a slow hand gives an even line and slower passes burn darker and wider.
For showing off fine detail, basswood and birch are my picks, since their pale, smooth surfaces take a burn cleanly; keep a window open or a fan running while you work, too.
What tools are needed for wood carving?
For wood burning, the basics are a burning pen with interchangeable tips, graphite transfer paper, a pencil and scrap wood for testing. A basic pointed tip handles most beginner patterns.
Burning a sampler board with each tip is a cheap way to learn what marks it makes. For a finish, add a clear sealant and a soft white cloth.
What is the art of wood carving called?
Wood carving is often called wood sculpture. Burning designs into the surface is a different craft, called pyrography, which uses a heated tip to draw lines and shading rather than cutting the wood away.






