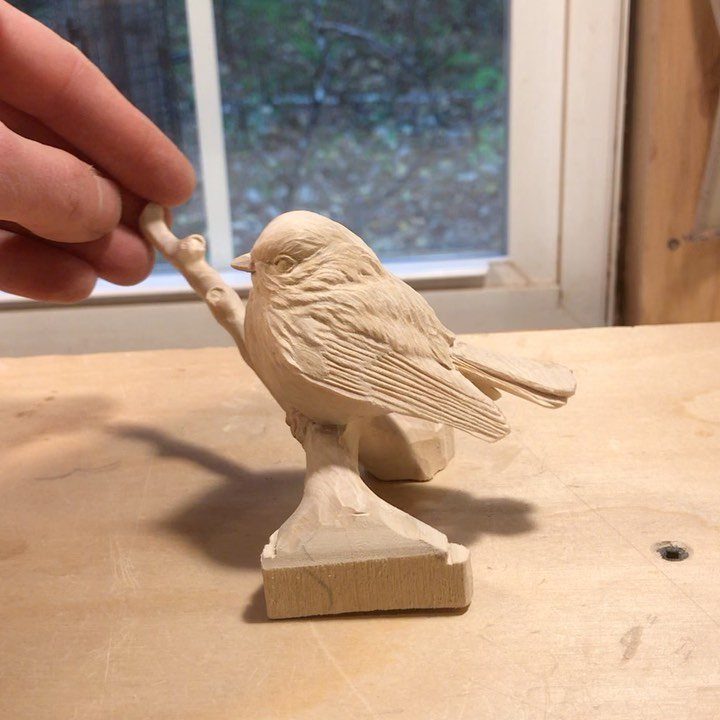
The projects range from a basic mushroom you can finish in one sitting to a miniature warrior that runs past an afternoon, with the chainsaw bear at the loud, expensive end.
Time and wood decide the pick: a small blank with a simple finish gets you done by dinner, while a bust or a larger figure stretches into days of short sessions.
Keep a sharp blade in hand and a cut-resistant glove on the other, the one that holds the wood, even for the simplest project here.
1. Basic Mushroom
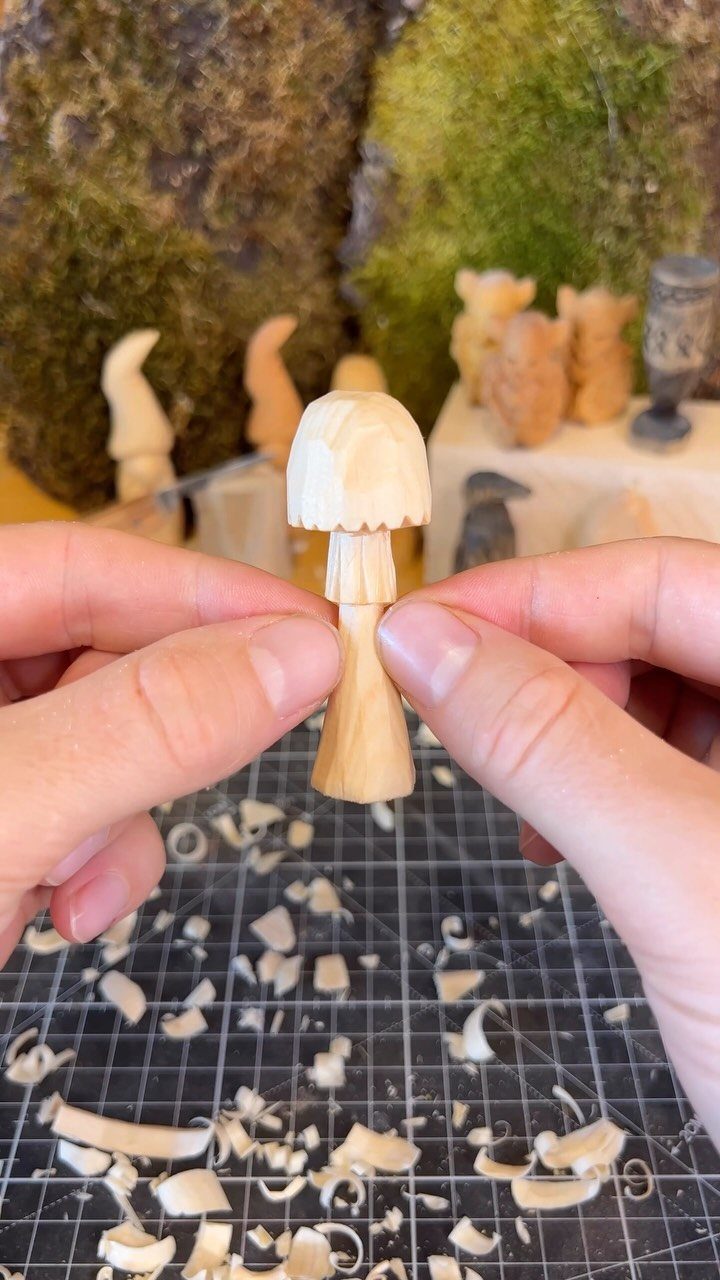
For a first carve, I’d point anyone to a mushroom, since the whole piece breaks down into a round stem and a rounded cap, with no tricky curves to puzzle over.
A whittling knife and a small gouge are all the tools it asks for.
Rough the stem first, then round the cap. Use the gouge to scoop under the cap so it reads as a mushroom instead of a ball on a stick.
Make several in one sitting. The second one always comes out better than the first.
2. Carved Bear Bust
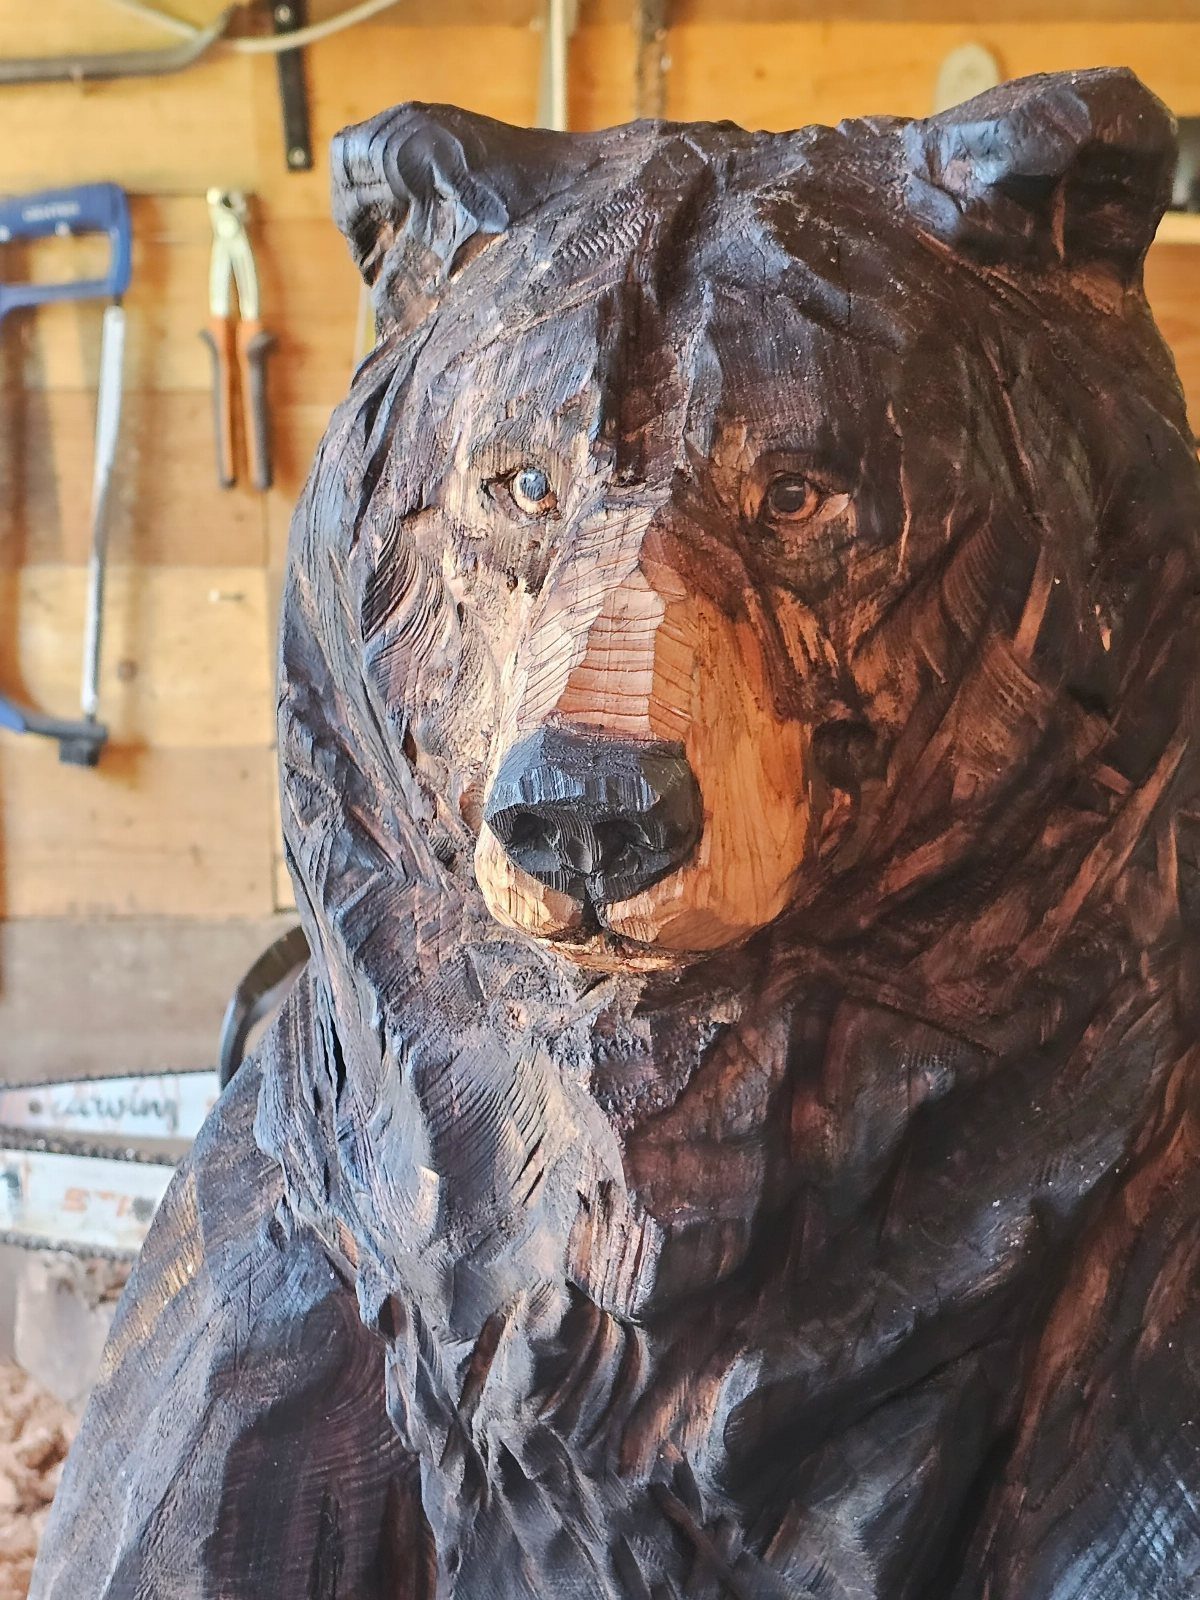
Stained dark, a bear bust lets the tool marks stay on the surface, and that texture reads as fur. Carving only the head and shoulders also keeps the project far smaller than a full standing figure.
Leave the chisel cuts alone instead of sanding them smooth. I would pick a bust over a full bear for a first big carving, since you can spend your effort on one face.
Stain last, and wipe off the excess so the cuts stay crisp.
3. Small Carved Wooden Animal
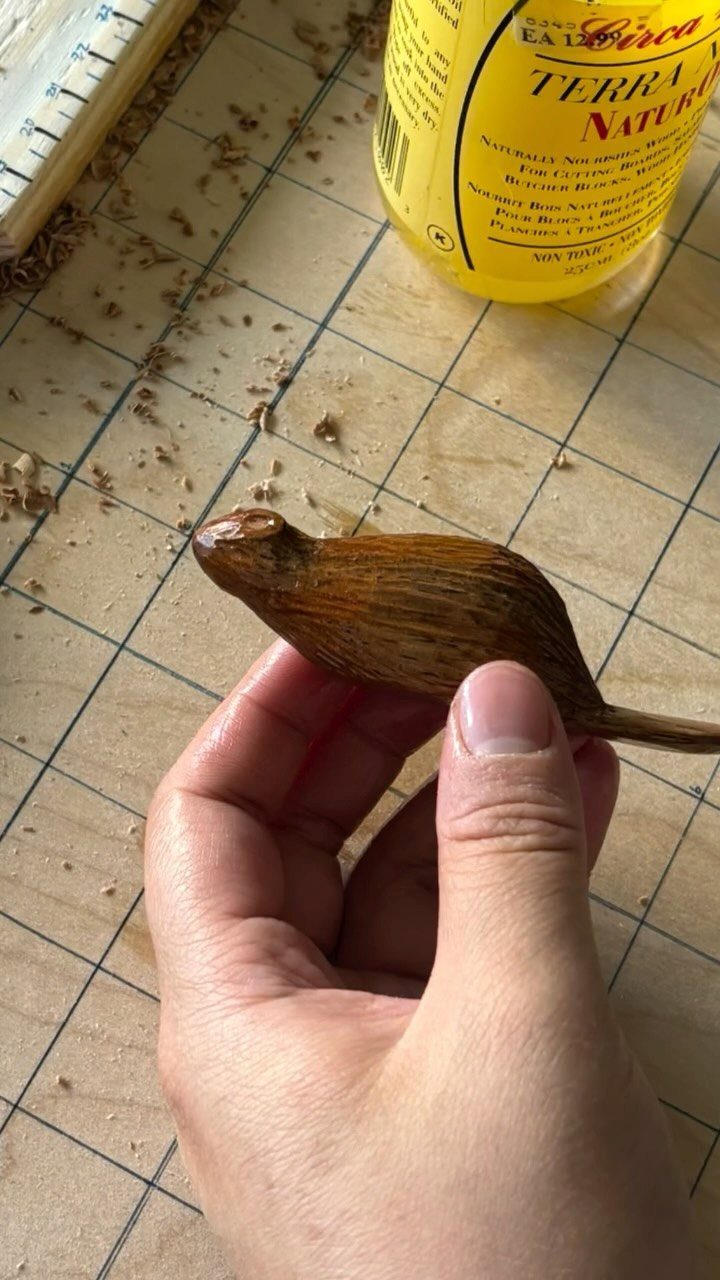
Small enough to hold in one hand, a carved rodent is a good use of a scrap block and an afternoon.
Short, rounded forms like a mouse forgive wobbly cuts, since a body is mostly a soft egg shape with ears and a tail added.
A gridded cutting mat under your work catches shavings and helps you check proportions. Finish with a wood finish wiped on by hand, and keep the coat thin.
4. Chainsaw Bear Statue
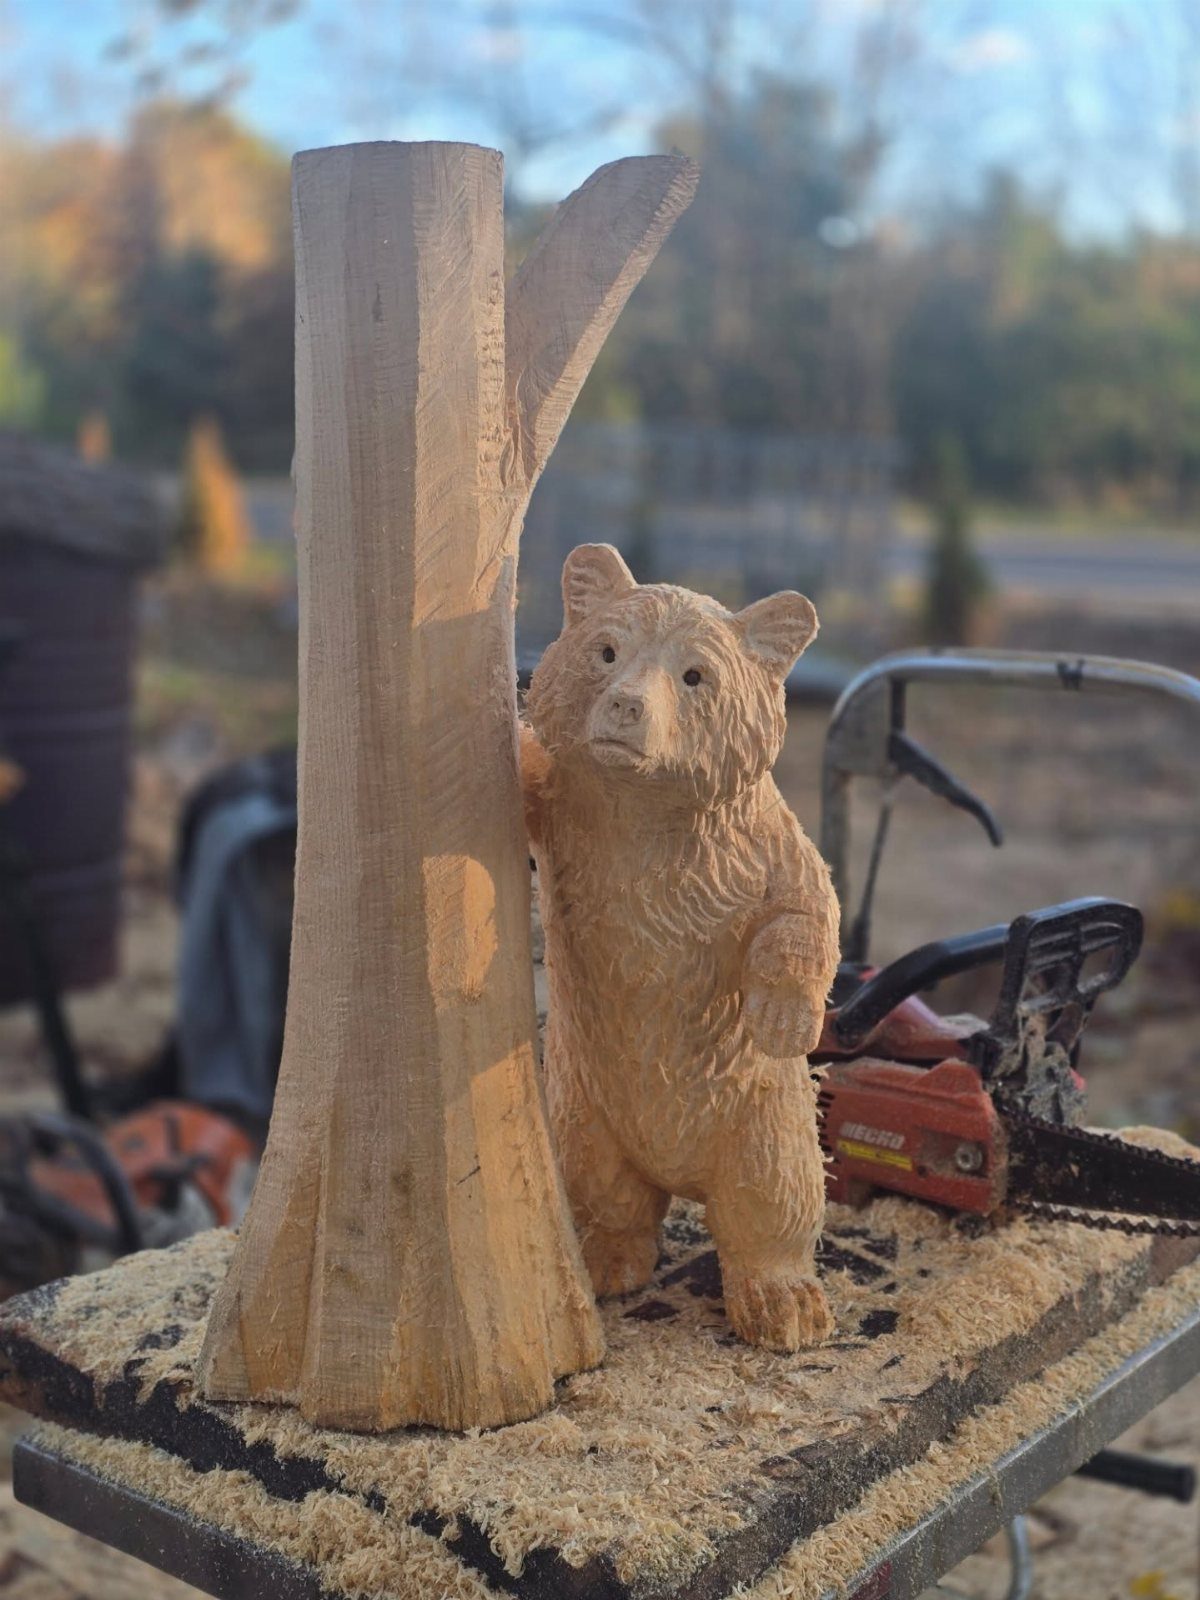
A chainsaw bear is the fast, loud cousin of whittling. The saw removes wood in big bites, so shape comes first and detail comes last.
Wear eye and ear protection, gloves and chaps, and clamp the log so it can’t roll. Beginners should start with a small log rather than a tall one.
Cost is the catch: you need a saw, and a chainsaw takes real practice before the cuts go where you want. If you don’t own one, try the same pose in a small block with hand tools.
5. Miniature Wooden Warrior Statue
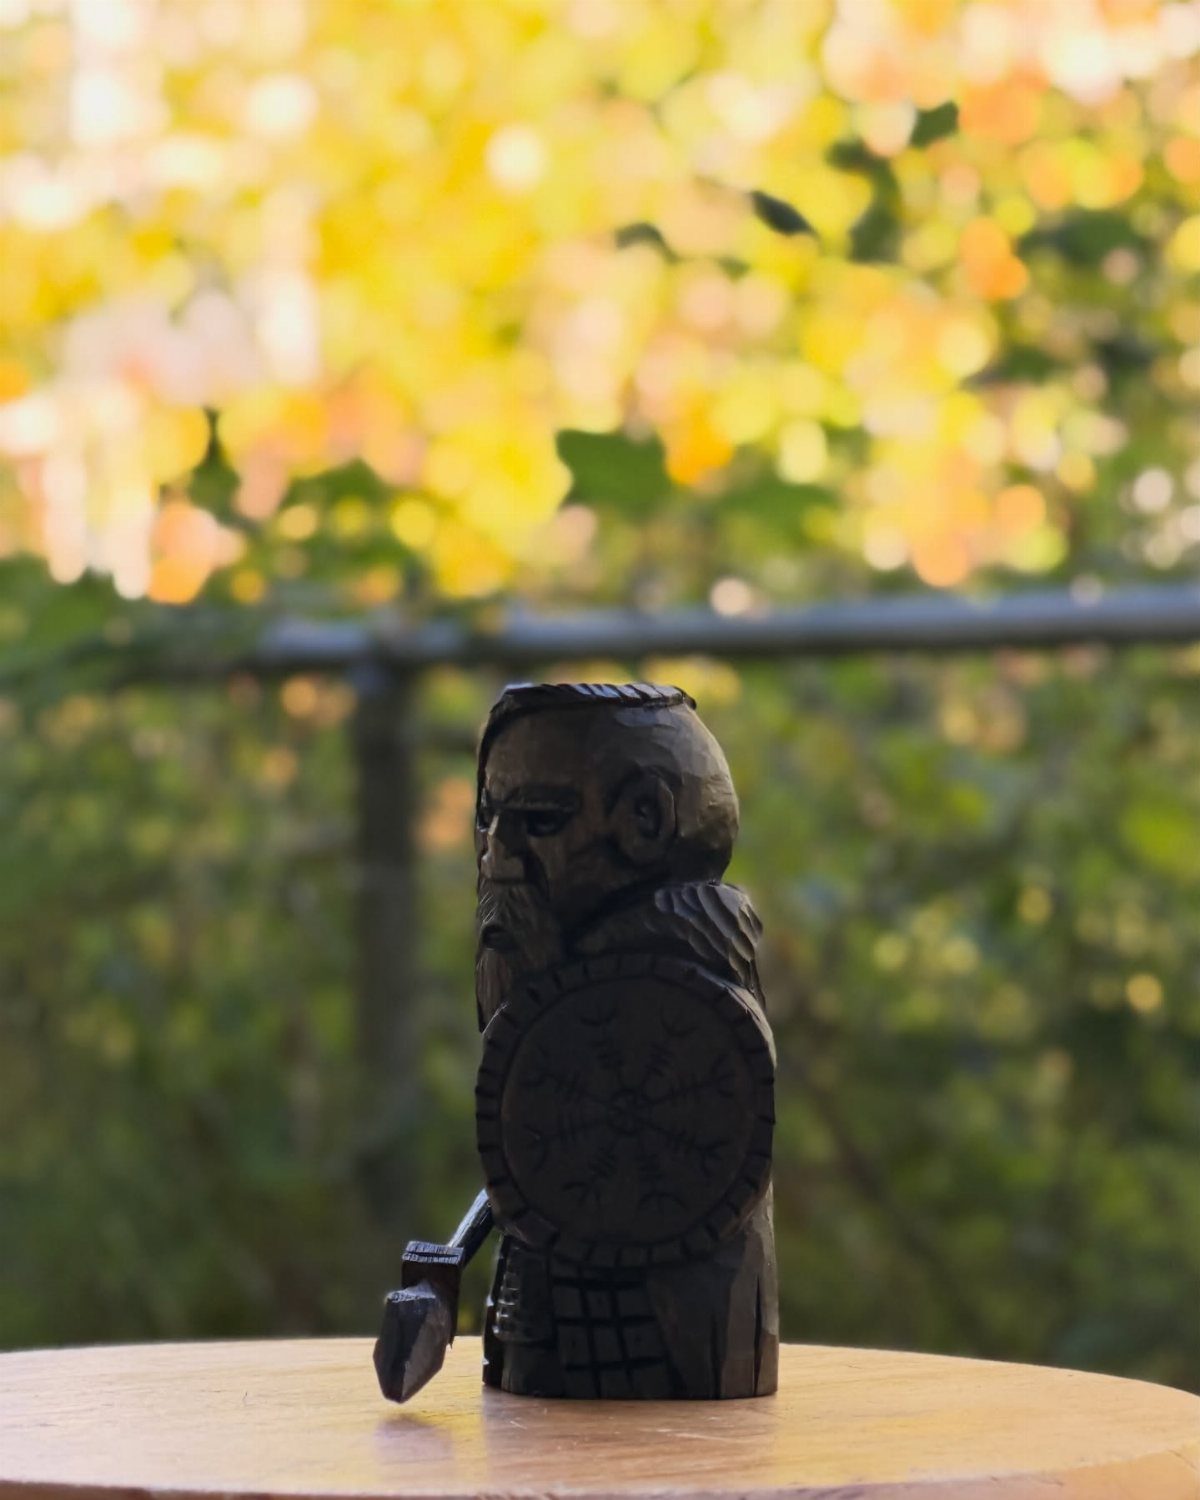
Tiny details decide a miniature warrior: the beard, the shield rim and the axe head. Each is small enough to snap if you cut across the grain, so keep thin parts like the axe handle running with it.
Carve the big mass first, then work down to the face last. A dark stain makes the shield and beard stand out, though it hides mistakes, which helps a beginner.
Expect this one to take longer than an afternoon.
6. Faceted Whittled Figure
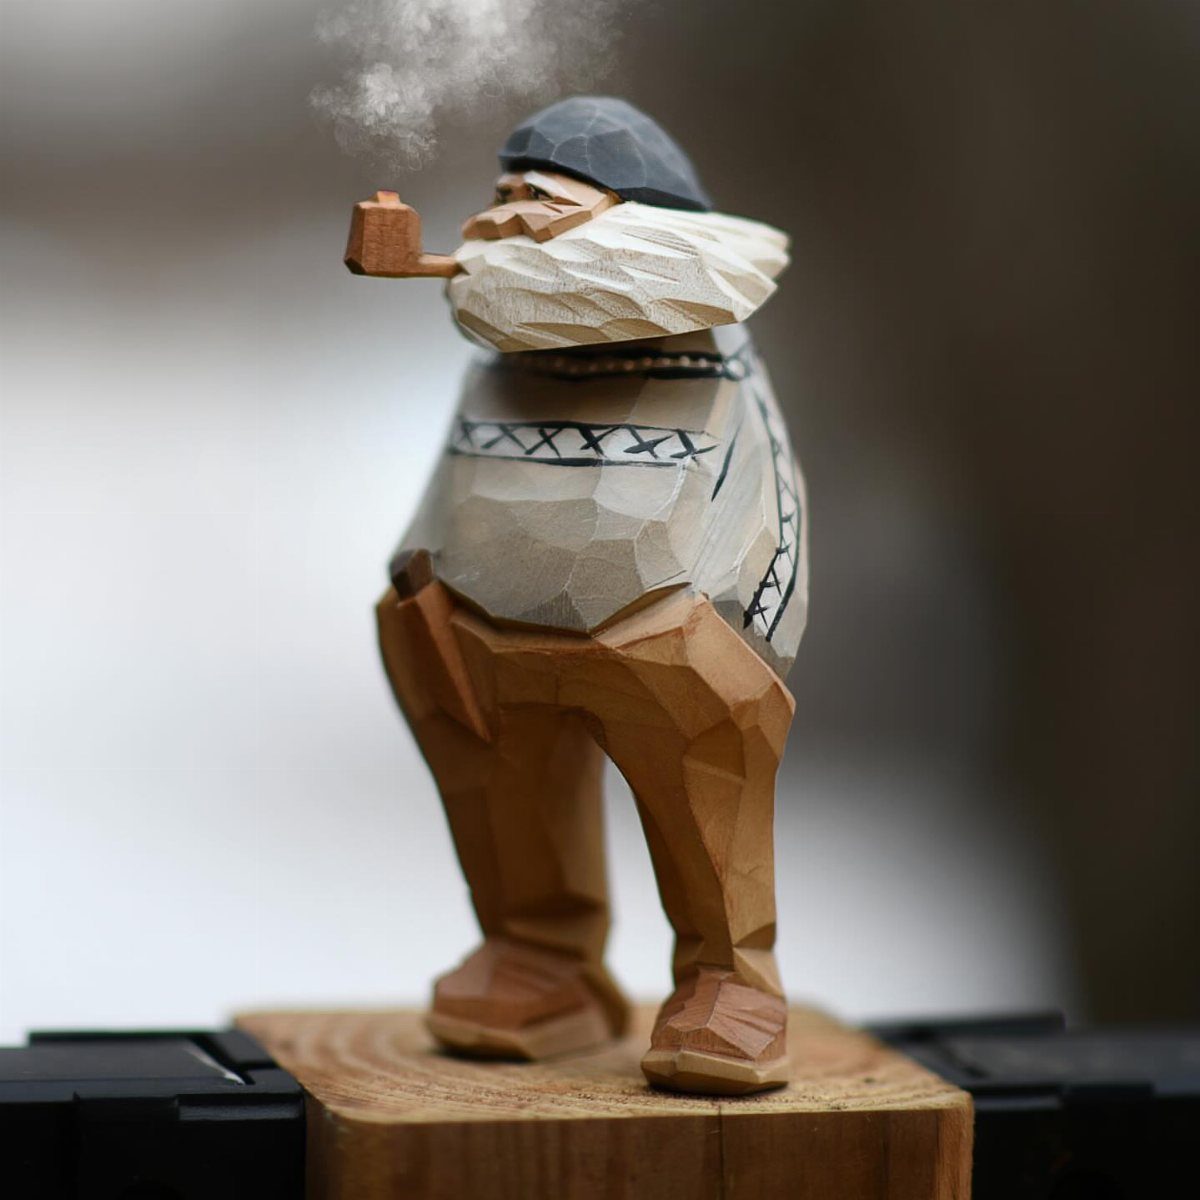
Flat-plane facets are the friendliest way to carve a figure. Each cut is one clean slice, so you never have to sand a curve smooth, and the knife marks become the style.
A bearded man with a pipe works because the beard and hat break into simple wedges. Leave the figure attached to a block as its base; it gives you something sturdy to hold while you cut.
Keep the knife sharp, because dull blades tear facets instead of slicing them.
The gouge is a curved blade that can remove large portions of wood smoothly. For harder woods, the sculptor may use gouges sharpened with stronger bevels, about 35 degrees, and a mallet similar to a stone carver’s.
Safety in Wood Carving
Cut-resistant gloves belong on the hand that holds the wood, not just on a tool you think is dangerous. Even a simple project needs a sharp blade, and good habits formed on an easy carve carry over to harder ones.
Before the first cut, check 3 things: the blank is clean and steady, the light is good, and nothing around you will pull your attention away.
Keep the workpiece from shifting, whether that means a clamp, a bench hook, or a firm seat.
When the grain flips direction or the blade starts to catch and resist, I ease off and take thinner cuts. Forcing a cut is how a blade slips, so take a lighter pass from the other direction instead.
Check the finish, too. Oils, stains, and paints each come with their own safety directions, so read the label before you open the can.
Time Commitment for Projects
A small, simple piece with a basic finish can come together quickly.
For a first carving that actually gets finished, a small mushroom, fish, bird, or simple ornament is a sensible pick. Wood hardness, blank size, amount of detail, and your own experience all move the clock.
Smooth transitions and balanced proportions add hours, even on a small piece. Big figures, portrait busts, and expressive animals can run to days or weeks, so plan them as a series of short sessions.
Count finishing in your schedule.
Sanding, oiling, waxing, staining, or painting all take time, and each layer needs to dry before the next. That time is well spent, since a good finish protects the wood and brings out the grain.
If you want to be done by dinner, pick a small blank and a simple finish.
Choosing the Right Wood Blank
Start smaller than feels exciting. A big blank demands more planning, more effort, and a better grasp of proportion, while a small one lets you study the grain and actually finish.
A blank with a little extra wood around the outline gives you room to fix a slip or adjust the shape.
A shape that sits too close to the edge gives you no room to fix a mistake, and a carving always shifts as it develops.
Read the grain before you draw anything. Strength in wood runs mostly along the grain, so a tall, sweeping shape holds up and looks best when the fibers follow its length.
Thin parts such as legs, beaks, ears, tails, and leaves snap when the grain runs against them.
For practice, a pack of basswood carving blocks, such as the BW18 set, gives you several small blanks to test ideas on.
Frequently Asked Questions
How to carve a statue out of wood?
Start with a small wood blank, sketch the design, and pick tools that match the project.
Draw the outline a little fat so a bad cut still has wood left to forgive it, and check which way the grain runs first, since ears, tails and beaks snap when the fibers cross them.
What type of wood is best for carving figurines?
Basswood is the usual pick for beginners because it is soft and has a fine grain.
Buying small basswood blocks in a multipack gives me several cheap blanks, which is the easiest way to practice the same cut a few times.
Whatever wood you choose, keep delicate parts running along the grain, since wood is strongest in that direction and snaps across it.
Do you soak wood in water before carving?
Soaking can make wood easier to cut, but it may also lead to warping. For a first carve, a small basswood blank worked dry is a simpler route, so you can focus on the grain and the shape.






