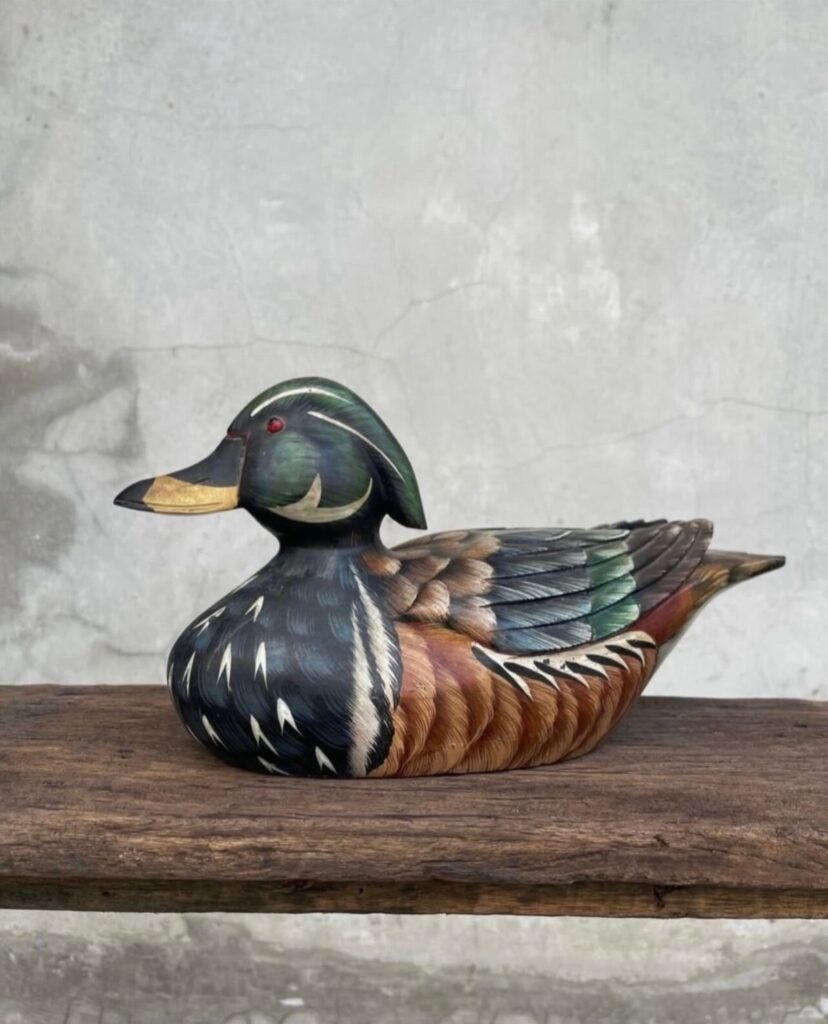
These ideas run from roughing out a duck outline on a plain block to a flight pose that needs a wider block and thick, careful wing tips, with glass eyes, paint and wood-burned detail in between.
Skill with a knife decides where to start: if a plain body shape still feels new, pick the mallard decoy, the polished grain duck or the antique style piece, and save the flight pose for a second or third carving.
The sharp knife and the glass eyes matter in nearly all of them, and burned feather detail always goes on before paint.
1. Glass Eyes and Paint
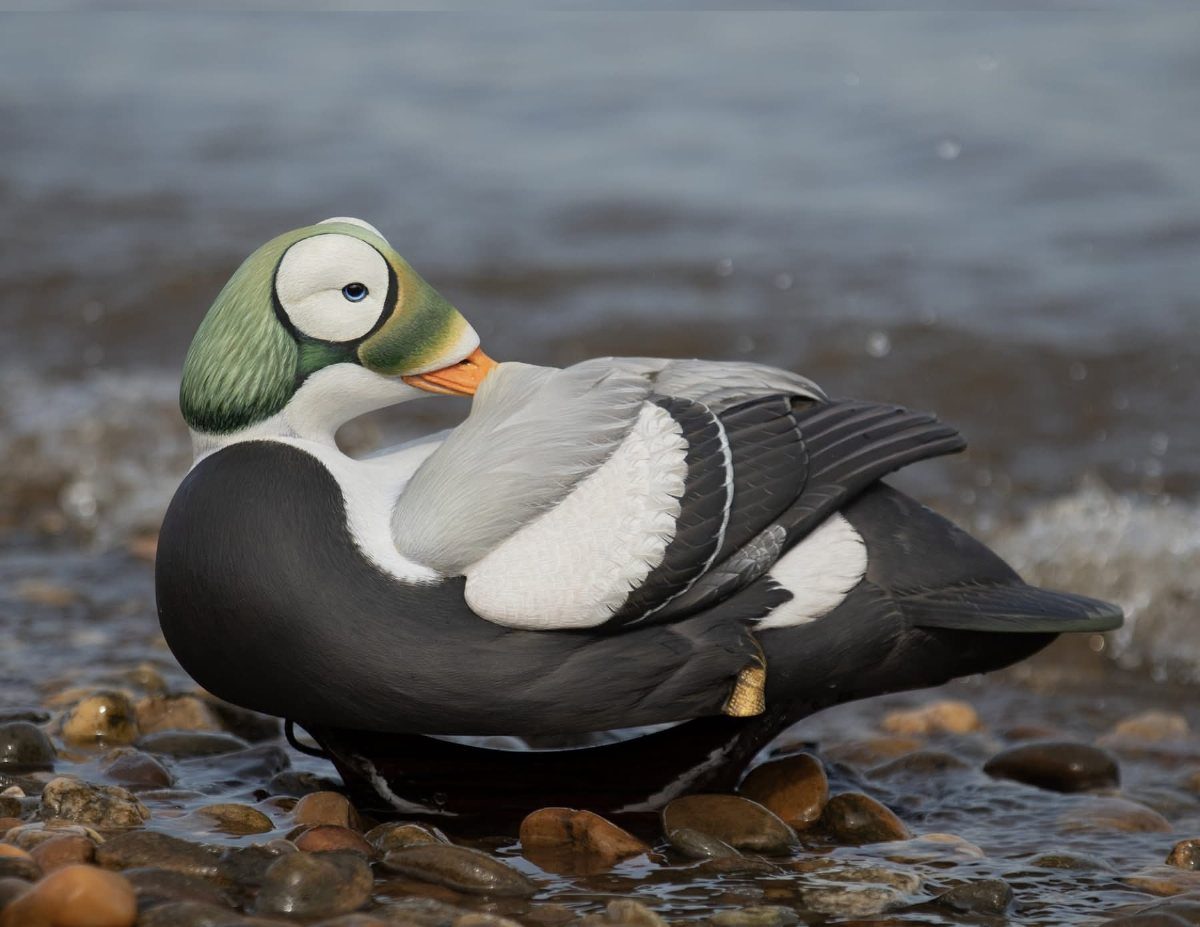
Paint and glass eyes do most of the work of making a carved duck look alive.
A dark glass eye catches light the way a painted dot never will, so I would choose glass for any decoy you plan to display up close.
Seal the bare wood before painting so the color sits evenly instead of soaking in patchy. Thin coats of green, white and black read cleaner than one heavy coat, and they keep the carved detail sharp.
Set the eyes before the final paint, so you can blend the surrounding color right up to the glass.
2. Antique Style Wooden Duck Carving
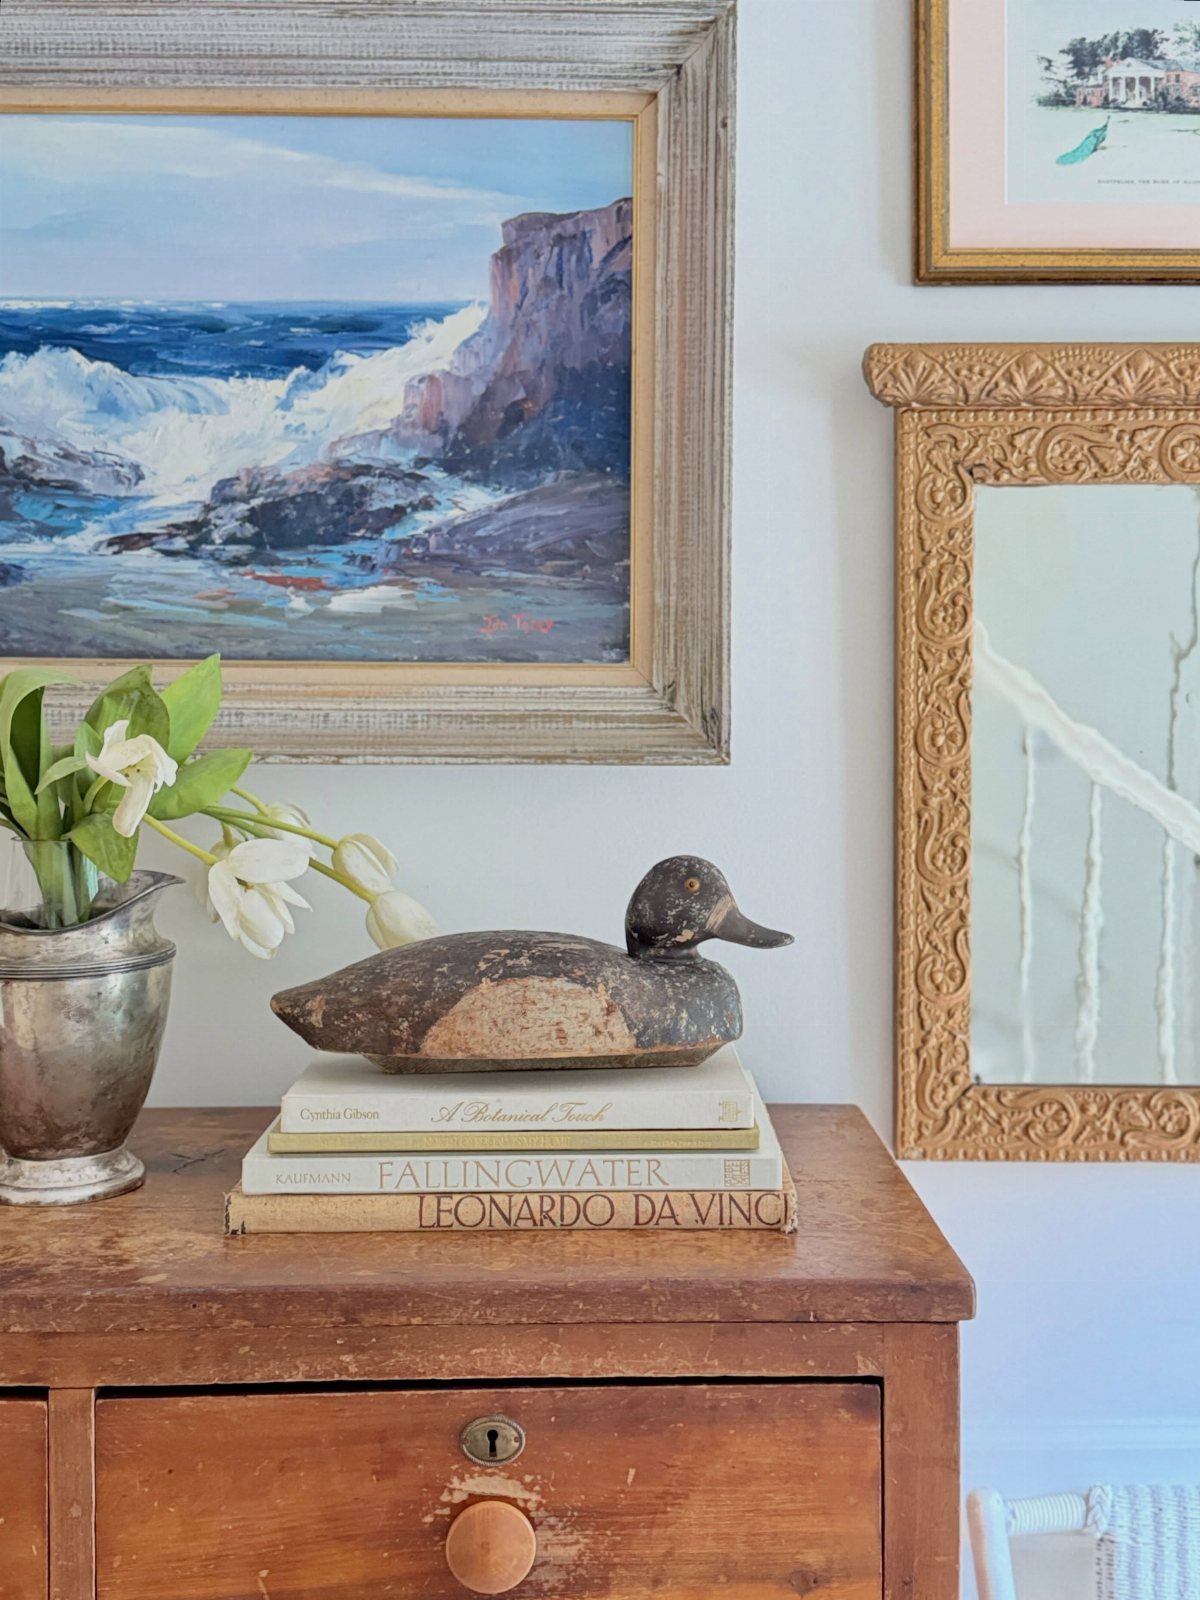
An antique look suits a shelf better than a pond. A worn, weathered duck sits comfortably on a stack of books beside flowers, and it adds an old, quiet note to a room.
Carve it simply, with soft shapes and little fine detail, since age smooths everything anyway. Rubbed-back paint or a dull, matte finish gets you the aged feel without much extra work.
I would skip glossy varnish here. Shine fights the whole idea.
3. Roughing Out Duck Outline
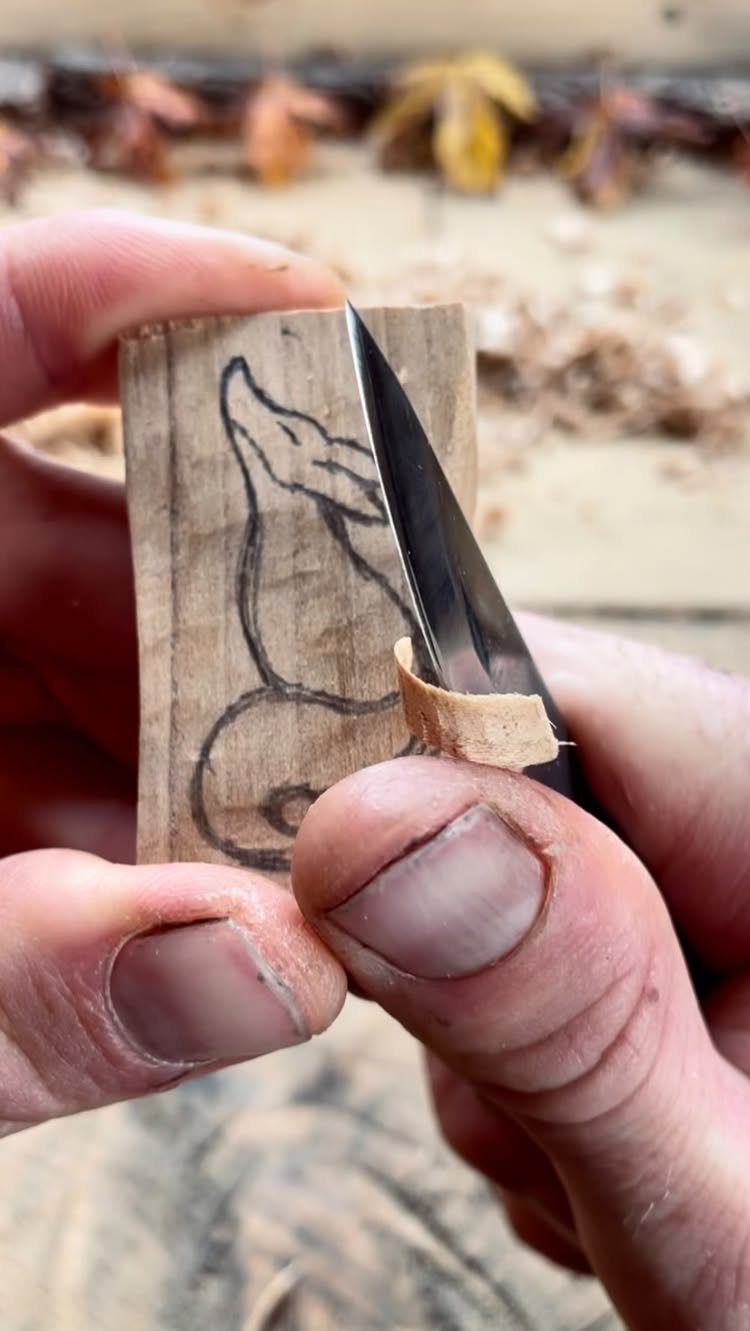
Roughing out is where a duck is won or lost, and a sharp knife matters more than any fancy trick. Draw the silhouette on the block first, then cut away the waste wood outside the line in small, controlled slices.
Keep your thumb behind the blade and work away from your body. Stop short of the line; you can always take more off, but you can’t put it back.
Beginners will find this stage forgiving, since a rough shape hides small mistakes that detail work would expose.
4. Mallard Duck Decoy
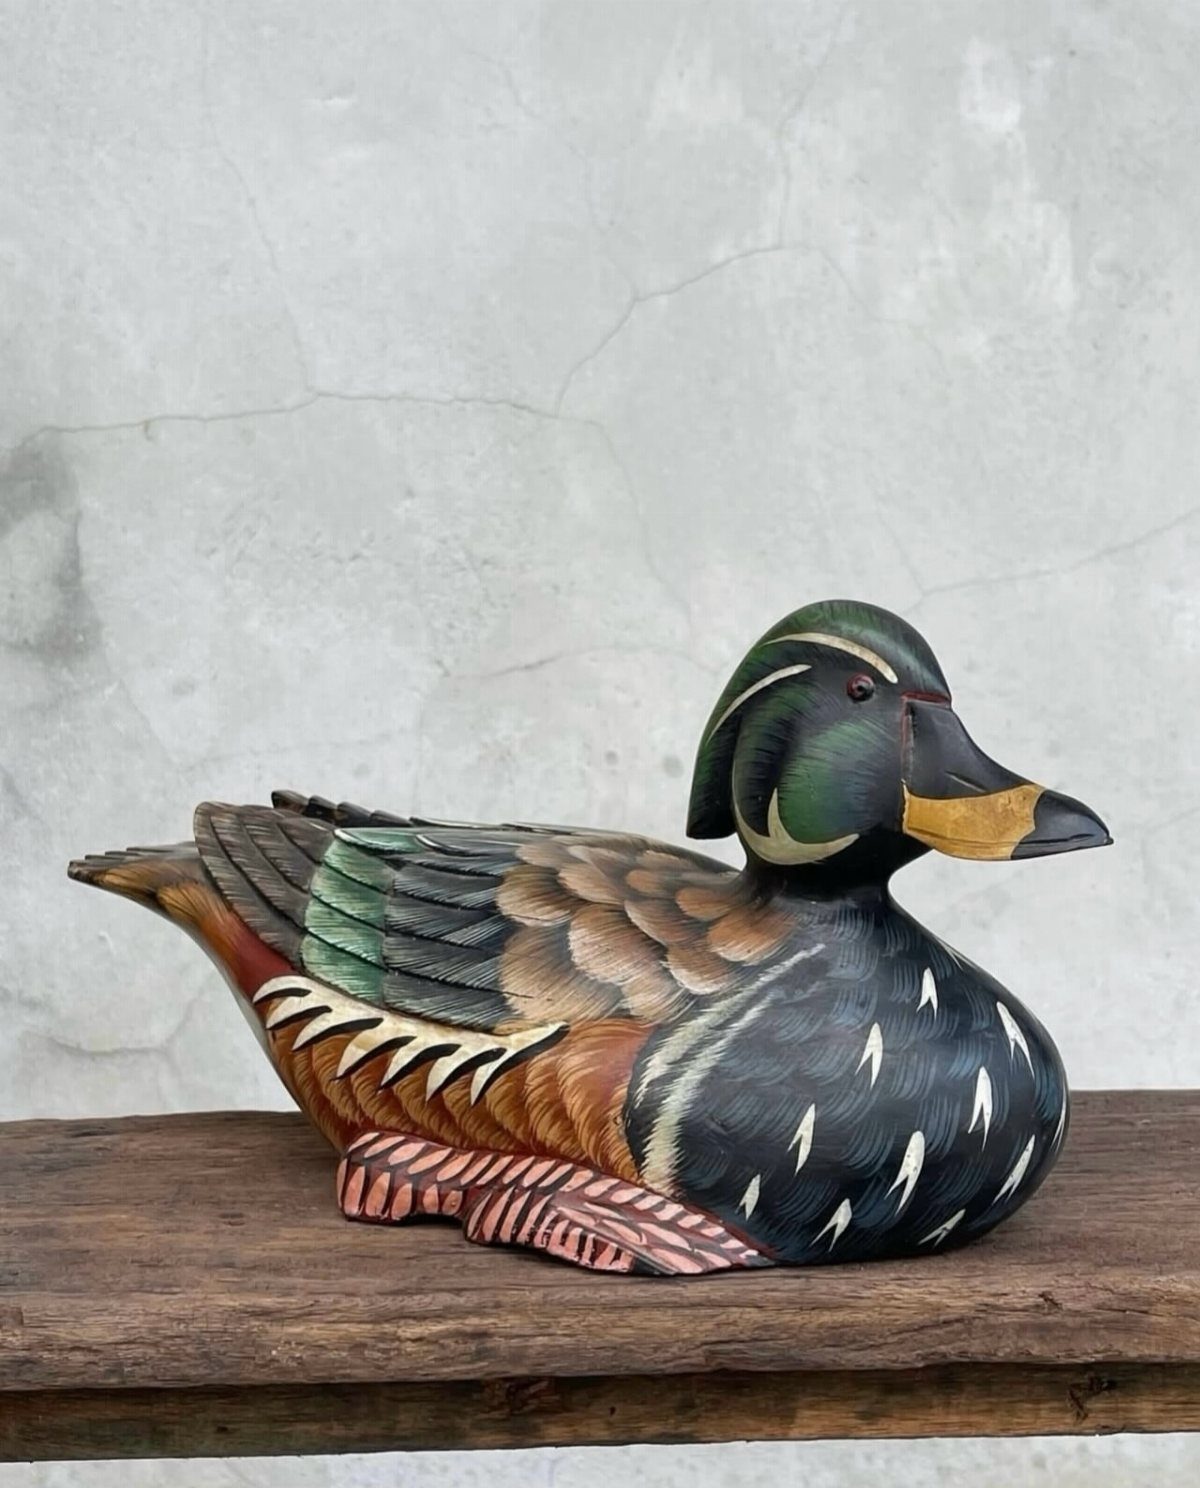
A mallard is the best first decoy to paint, because its green head and earthy body give you clear color blocks to follow. The head color is the part everyone notices, so spend your care there.
Paint the head first and let it dry fully before you tape or brush against it. Then work the body in layers, lightest tones first and darker ones after, so the colors stay separate.
Brown and gray mixed from a few basic tubes look more natural than a single flat shade.
5. Pyrography Wood-burned Detailing
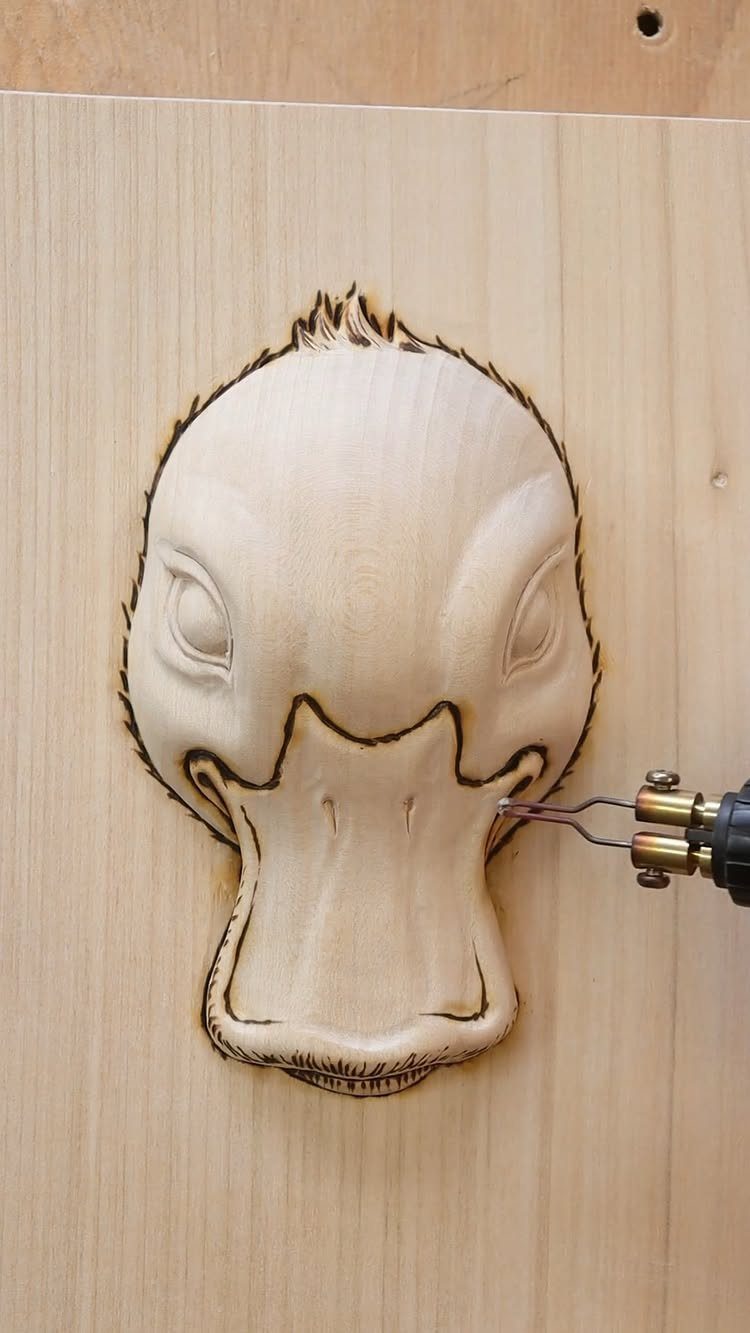
Burning feather texture into the head is a job for a pyrography pen, and it gives finer lines than a carving knife can. Fine strokes follow the direction the feathers grow, running back from the bill.
Practice on a scrap of the same wood first, because heat and speed change the line. A slow hand makes dark, deep marks; a quick one leaves light ones.
Do all the burning before any paint or finish goes on. Burn first, color after.
6. Polished Natural Wood Grain
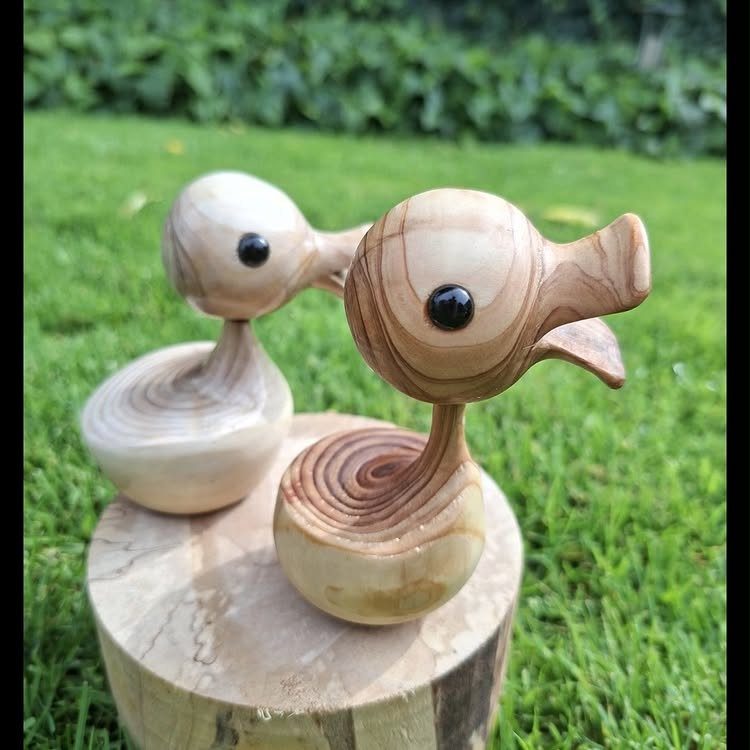
Skip the paint entirely and let the grain do the decorating. Small ducks sanded smooth show their natural pattern, and bead eyes add the only dark accent they need.
Sand in steps, from coarse paper to fine, and wipe off the dust before finishing. A clear finish, oil or wax, deepens the grain without hiding it.
Pick a piece of wood with attractive figure to begin with, since a plain board gives you a plain duck.
7. Carving in Flight Pose
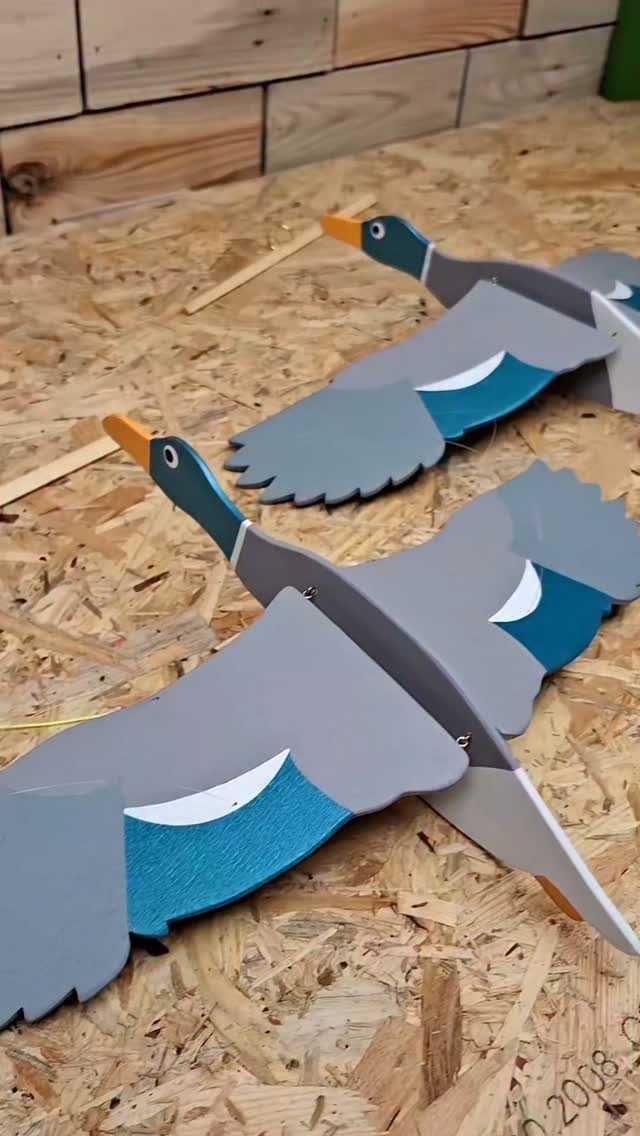
A duck carved in flight is a different project from a floating decoy: the wings spread, the neck stretches forward, and the whole piece reads as motion.
Painted versions like these look best when the body is posed to lean, with the head and bill pointing along the line of travel.
Plan the extra width before you cut.
A spread wing needs a wider block than a resting body, and the thin wing tips are where a slip of the knife does the most damage, so leave them thick until the last passes.
I would pick this pose for a second or third carving, after a plain body shape feels comfortable. Display it on a stand or hang it, since it has no waterline to sit on.
“Carving a decoy takes some work, but it is so worth it. You’ll never forget the first time you fool a duck using a decoy that you made with your own hands.”






