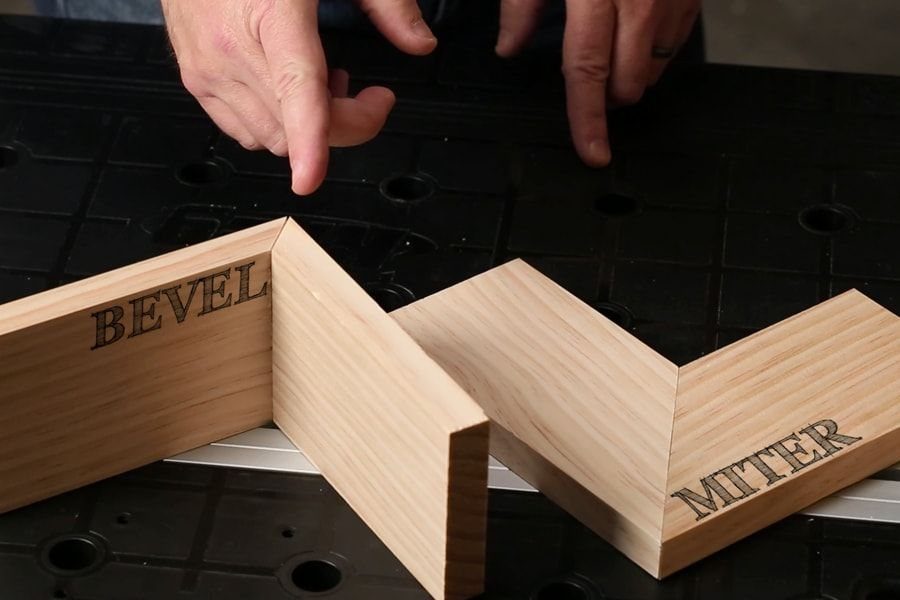
The ideas here run from a free scrap test joint to a carbide-tipped blade that costs $50 or more, and the one that fits depends on what your corner is cutting into.
Drywall corners finished with bead and joint compound seldom land at a true 90 degrees, which is why I mark the trim right where it will sit and then tilt the saw a quarter of a degree either way.
A picture frame has no wall to fight, so a frame clamp or a table saw sled set to 45 degrees handles the cuts.
1. Test Pieces
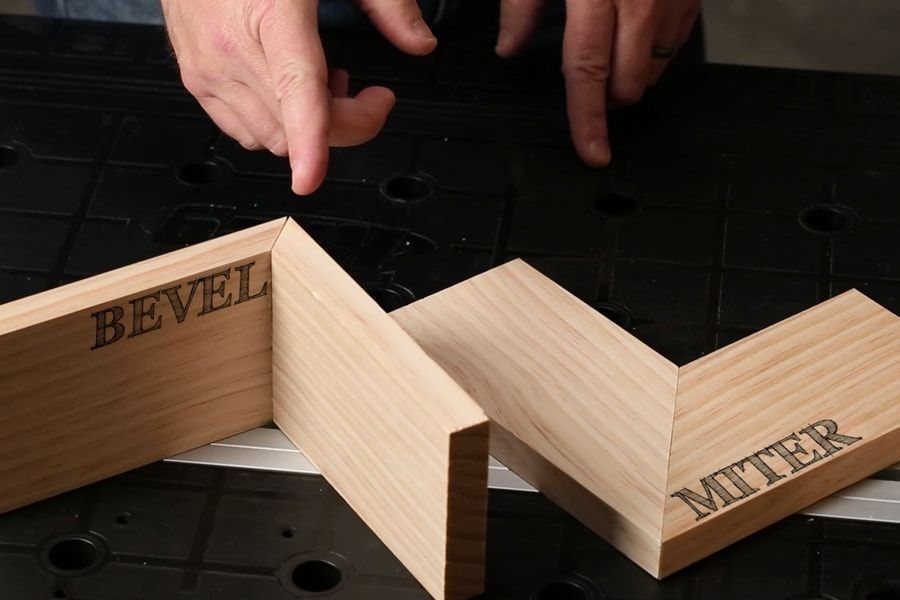
A scrap test joint tells you more than any angle reading on the saw. Cut 2 offcuts of the same stock, join them, and check the corner with a square before touching your good boards.
Labeling each test piece with the saw setting, the angle and the blade used keeps a record of which setting made which joint.
If a gap shows, adjust the saw a hair and cut a fresh pair. Time spent on scraps costs far less than recutting a finished frame or a run of trim.
2. Mark Trim in Place
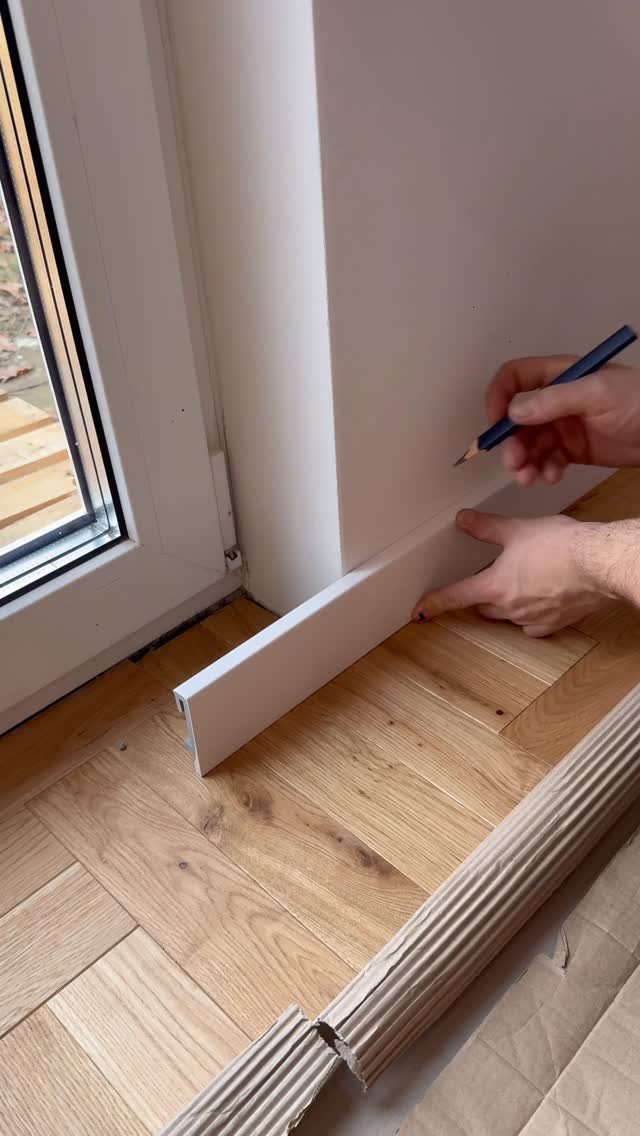
Holding the trim against the wall and marking it with a pencil beats a tape measure, because the wall decides the length, not your math. Walls and corners are rarely square, and a tape reading can’t capture that.
Set the piece in its final spot and mark the exact point where the miter should land.
Cut slightly long, just outside the line, then sneak up on it. A sharp pencil keeps the mark thin, so the fit stays tight.
3. Frame Clamp
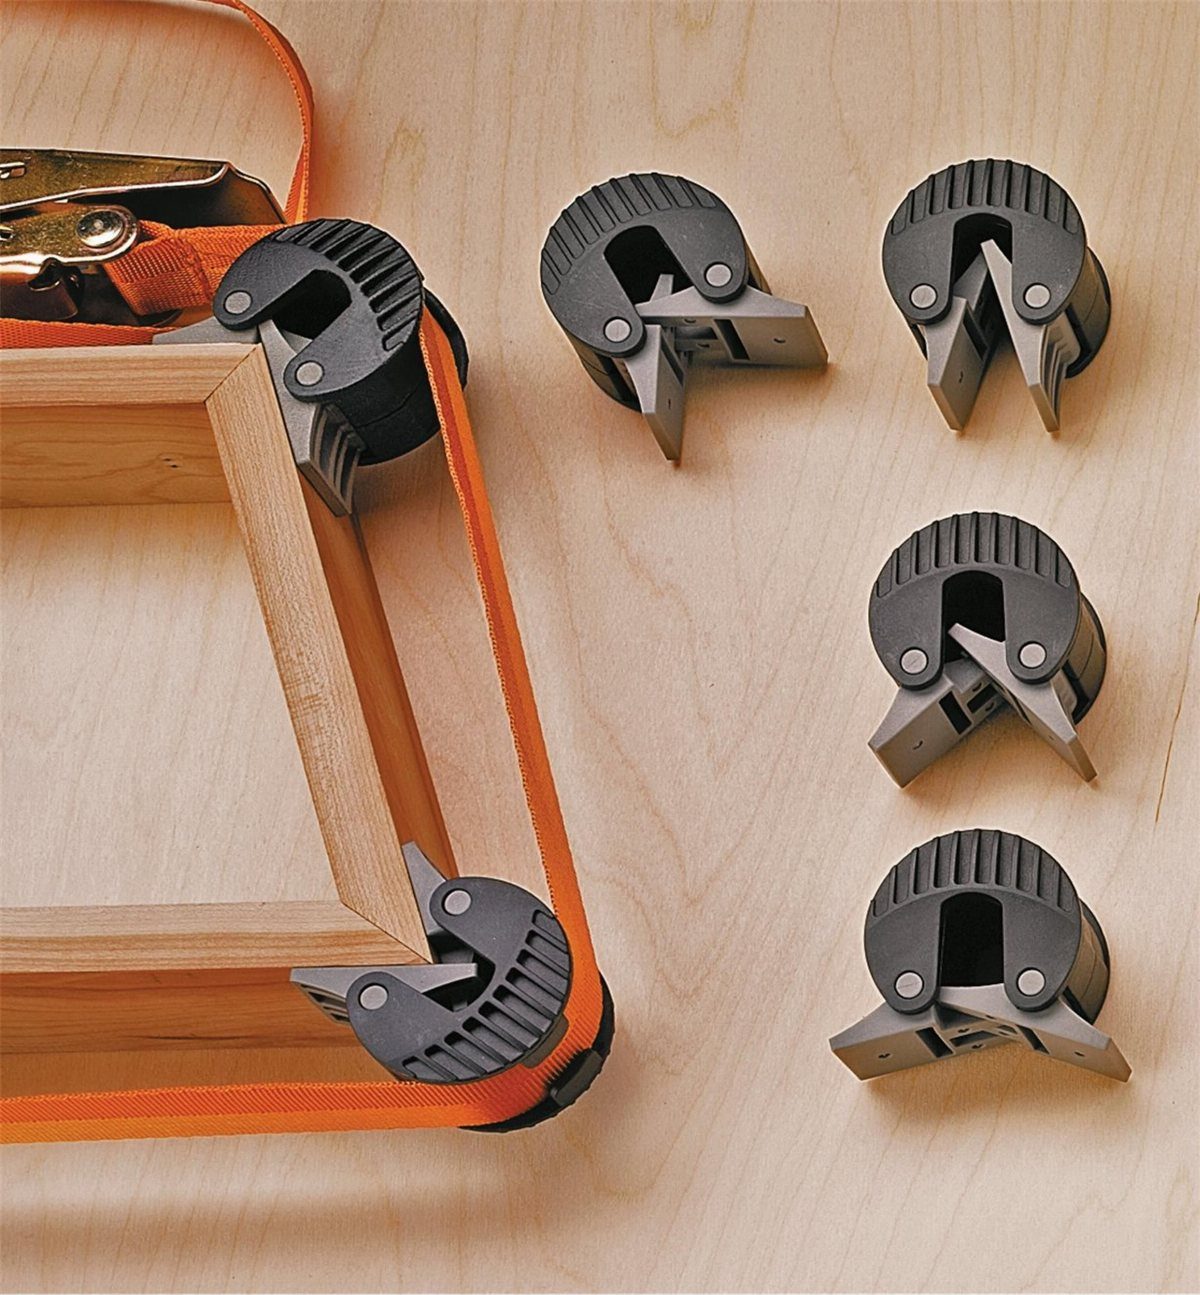
A strap frame clamp pulls all four corners tight at once, which is why I reach for one when gluing a mitered frame.
The plastic corner guides hold each joint at a right angle while the strap applies even pressure around the whole piece.
Dry-fit the frame first and check each corner before adding glue.
Then wipe off squeezed-out glue before it sets. It’s a cheap tool, and it solves the awkward problem of clamping a 4-sided shape.
4. Using a Table Saw with a Sled
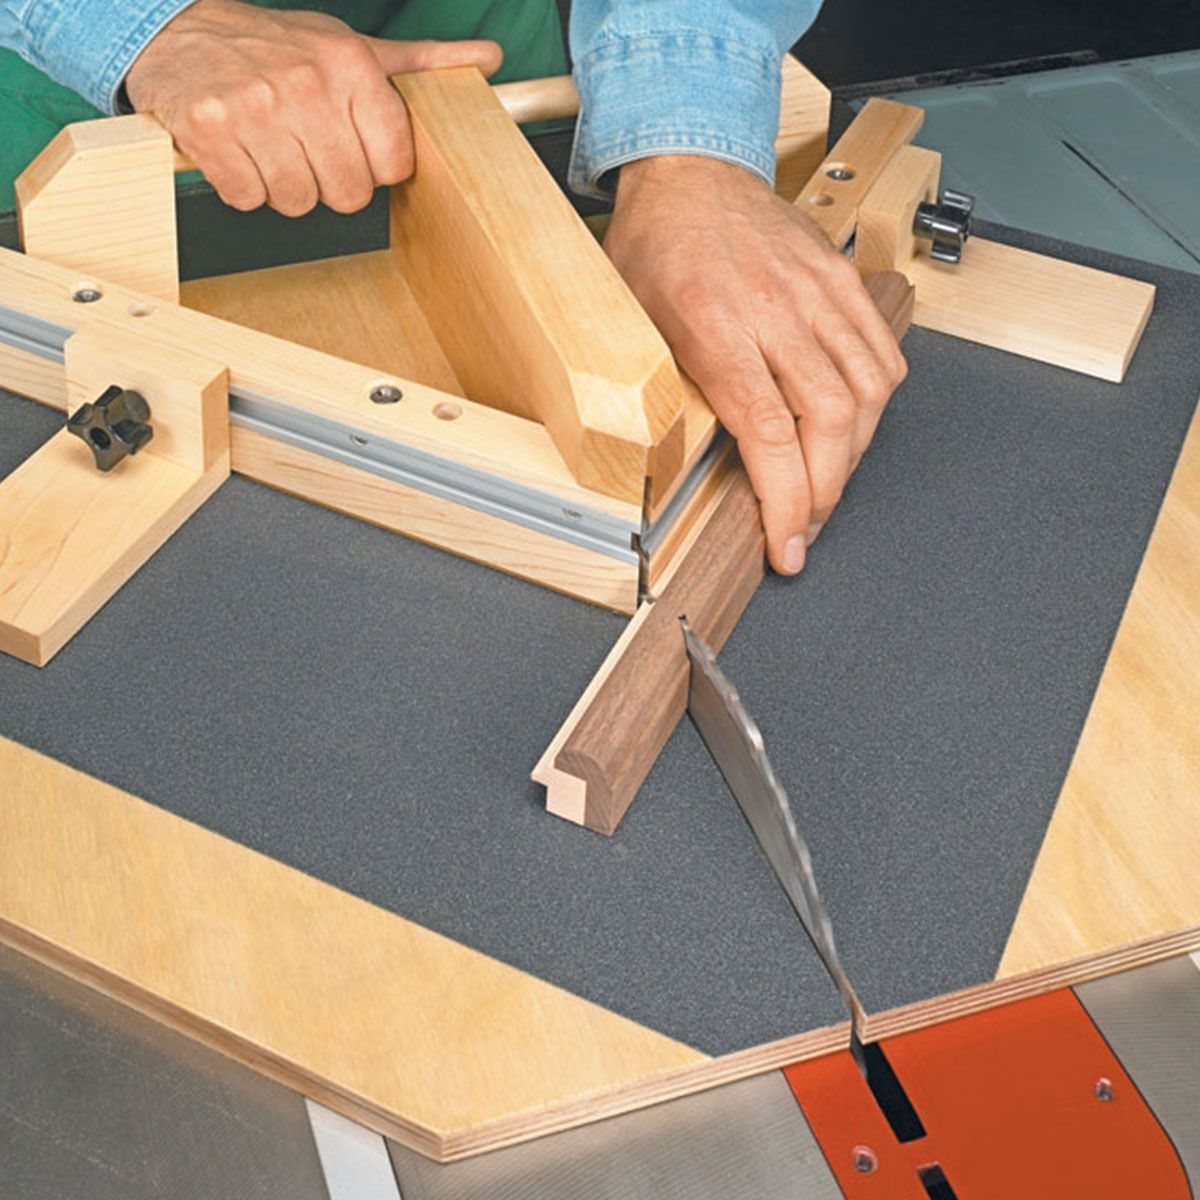
A miter sled on the table saw holds the workpiece at a fixed angle, so every cut repeats exactly. That consistency is the main reason I like it for frames and trim, where matching pairs matter more than speed.
Build or buy a sled with its fence set to 45 degrees, then verify it by cutting test pieces and checking the corner with a square.
Keep your hands well clear of the blade, and use the sled’s fence to support the wood throughout the cut.
Importance of Accuracy
A miter that looks right on paper can still open up on the wall.
Wall corners rarely sit at a true 90 degrees, since corner bead and joint compound add thickness, and a door or window frame may stick out past the drywall or sit behind it, so a straight 45-degree cut often leaves a gap.
In that case I nudge the saw’s angle by a quarter of a degree or so. Small changes make a visible difference.
Gap size tells you how much to recut.
A gap around 1/16 in. usually means recutting just one side of the miter. A gap beyond that means recutting both boards; otherwise the profiles drift out of alignment at the joint.
Tools for Miter Cuts
The blade matters as much as the saw. A blade that is dull, has too few teeth, or was built for ripping will tear up a miter no matter which saw it’s mounted on.
A good blade glides through with light pressure and leaves a smooth, nearly glossy face, with no scorching.
When shopping, look for a blade labeled "trim" or "fine crosscutting."
Count the teeth: 40 or more on a 10-inch blade, 60 or more on a 12-inch blade. On a sliding miter saw, I’d pick a hook angle between 0 and negative 5 degrees, because that tooth grabs less and is safer to feed.
A carbide-tipped blade that cuts cleanly and holds its edge will run you $50 or more.
When you check your blade or shop for a new one, look for one labeled as a “trim” or “fine crosscutting” blade. A 10-in. blade should have at least 40 teeth, a 12-in. blade at least 60.
Common Issues with Miter Joints
Open miters usually come from tiny errors, not big ones. Walls and frames that aren’t perfectly flat or square can throw off a 45-degree cut by a fraction of a degree.
If the gap is wider, recut both boards so the trim profiles still match at the corner.
Adjust the angle gradually, about a quarter of a degree per change. Bigger jumps tend to swap one gap for another.
Frequently Asked Questions
What is a miter in woodworking?
A miter is a joint made by cutting two pieces of wood at matching angles, usually 45 degrees each, so they meet in a corner of 90 degrees.
Because the end grain is hidden, the corner looks clean on frames and trim. Fitting one miter at a time, starting with a scrap test piece, gives the tightest result.
Can you make angled cuts with a miter saw?
Yes, a miter saw is built for angled cuts, and the angle scale on its base shows you where to set it.
Tearout shows up fast with a worn blade, a low tooth count, or a ripping blade; a fine-tooth crosscut blade with 60–80 teeth leaves a far cleaner face.
How do you cut miter corners for a frame?
Cut each board at 45 degrees so that two pieces form a 90-degree corner, and make sure opposite sides are the same length.
Before any glue goes on, hold the 4 pieces together and run a square into each corner to catch gaps.
How do you cut 45-degree corners on wood?
Set the saw to 45 degrees, cut a pair of scrap pieces, and check the joint with a square before cutting your good boards.
Walls are rarely perfectly square, so a straight 45 can leave a gap. If the corner still leaves a hairline gap, nudge the saw about 0.25 degrees one way and cut that piece again.






