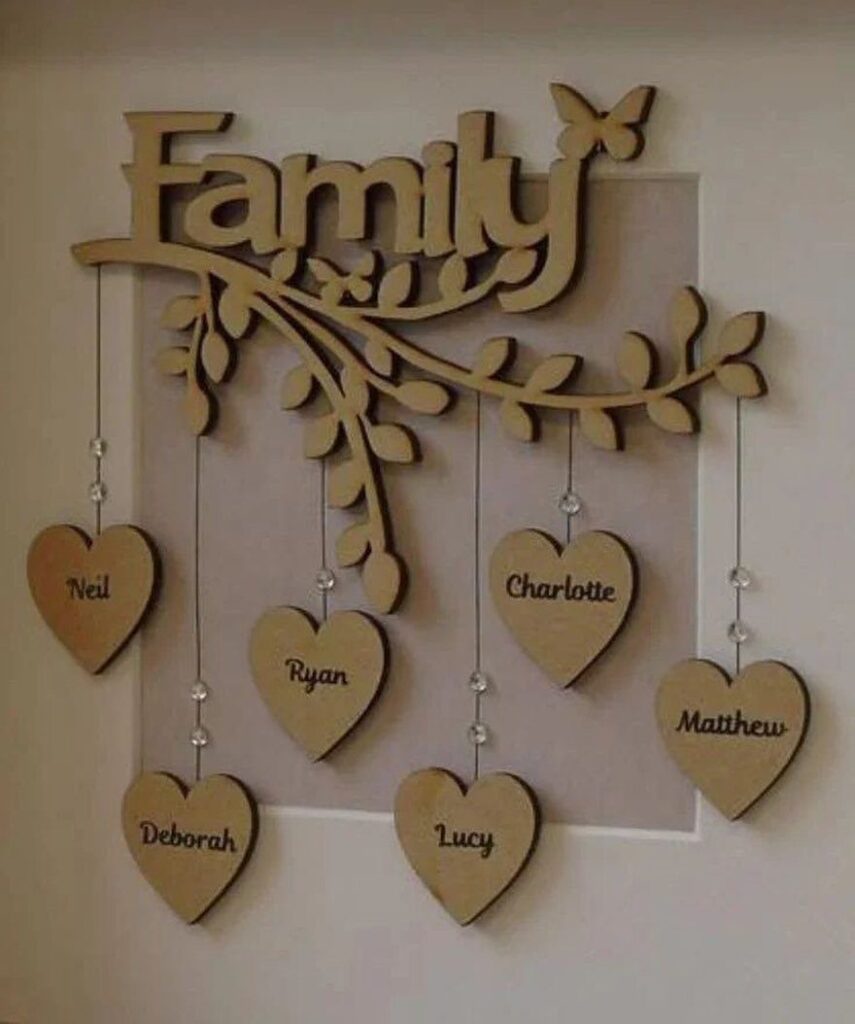
The ideas here run from carved wooden knot jewelry and botanical paintings on wood grain to rough-hewn figures and charred totem pillars, and the tool already in your toolbox decides which one is yours.
Sandpaper and a steady hand are enough for the knot jewelry or a painted wood panel portrait, while a wood burning pen opens up the carved and pyrographed wall slabs.
Anything with a chisel or fire asks for more skill and more space, and the pendant is the one project where the wiring should be done properly.
1. DIY Wood Art Projects
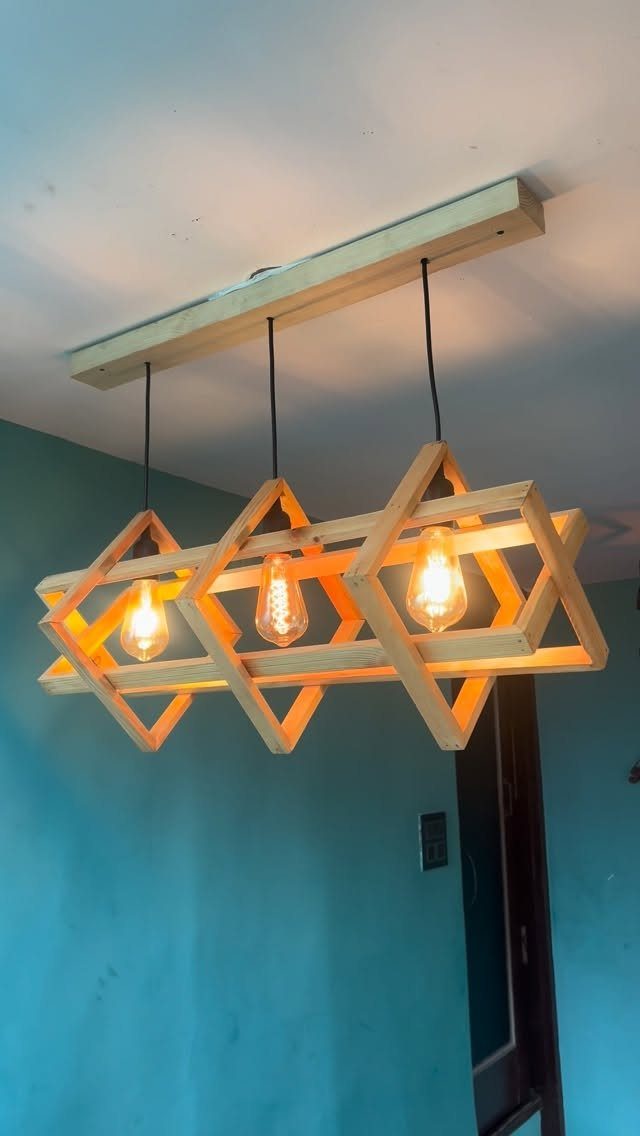
A pendant light is a smart first project because the wood does the visual work and the hardware is simple.
A geometric wood frame around 3 bare Edison bulbs turns a plain ceiling-beam fixture into art, and the open lattice also keeps the glass from glaring at eye level.
Cut the frame from straight stock with basic hand tools, and sand every edge before assembly. Keep the wood well clear of the bulbs, and have the wiring done properly, since this is the one step where I wouldn’t improvise.
2. Home Crafts
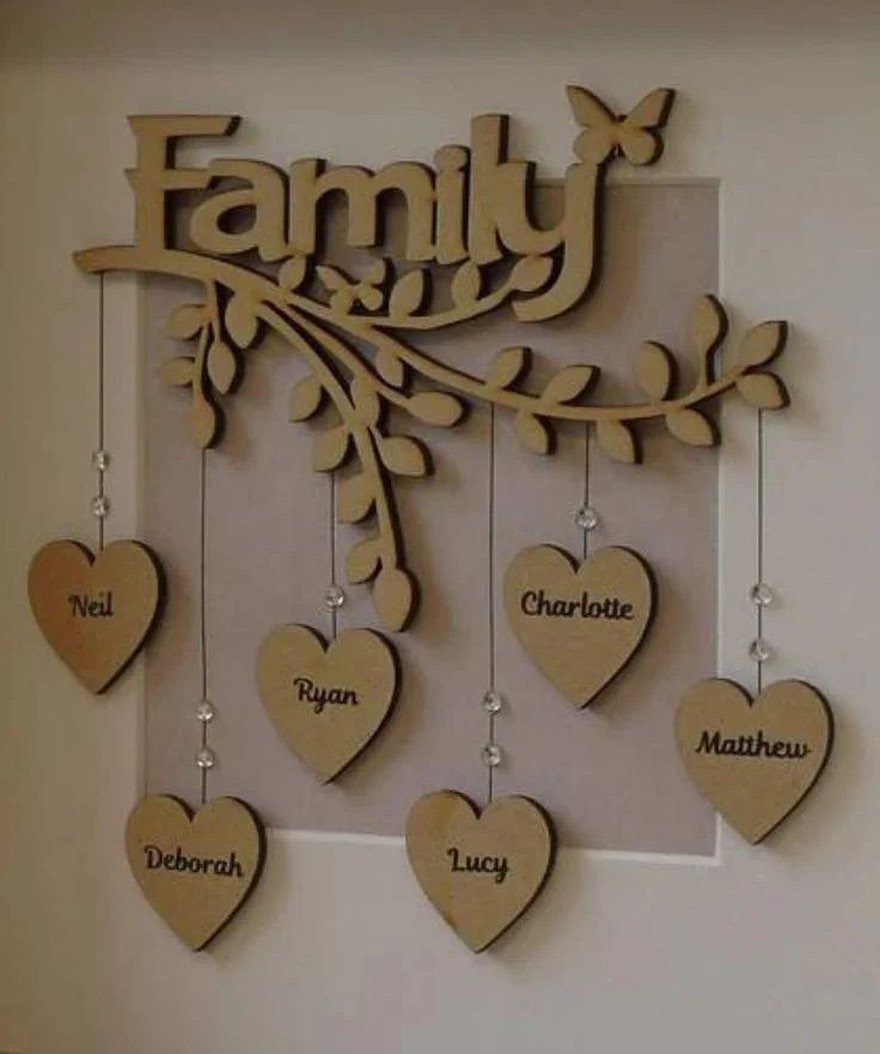
Names carved into hearts turn a plain branch into a keepsake, so cut one heart per person and keep the lettering simple.
Hearts are forgiving to cut, so mistakes round off easily. Engrave or burn each name while the heart is still flat, before you drill the hanging hole, and sand lightly afterward.
I’d pick a branch with a gentle curve over a straight dowel. It looks grown rather than built, and it leaves room to add a heart later.
3. Carved Wooden Knot Jewelry
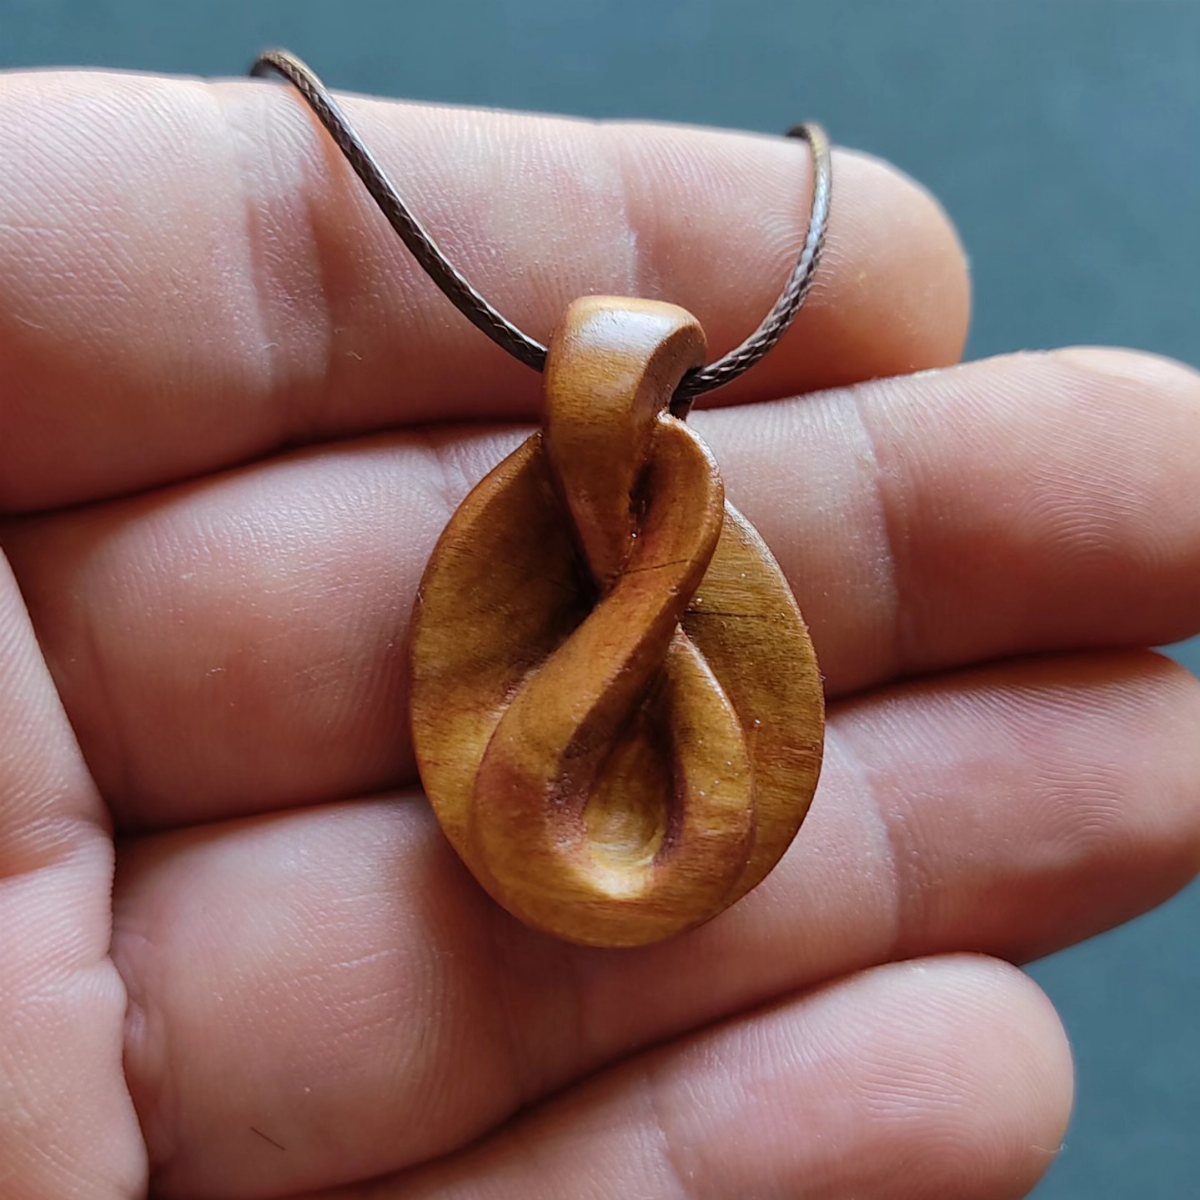
A knot pendant is small enough to wrap up in a single session, and it rewards patience with sandpaper more than carving skill.
The twisted form stays smooth and polished, with no sharp edges to catch on clothing, so the finish is where the piece succeeds or fails.
Work down through finer sandpaper grits until the surface feels like stone. A dark cord, as on this one, makes the wood tone stand out.
Practice on a larger scrap first; the curves are easier to learn at that size.
4. Botanical Painting on Wood Grain
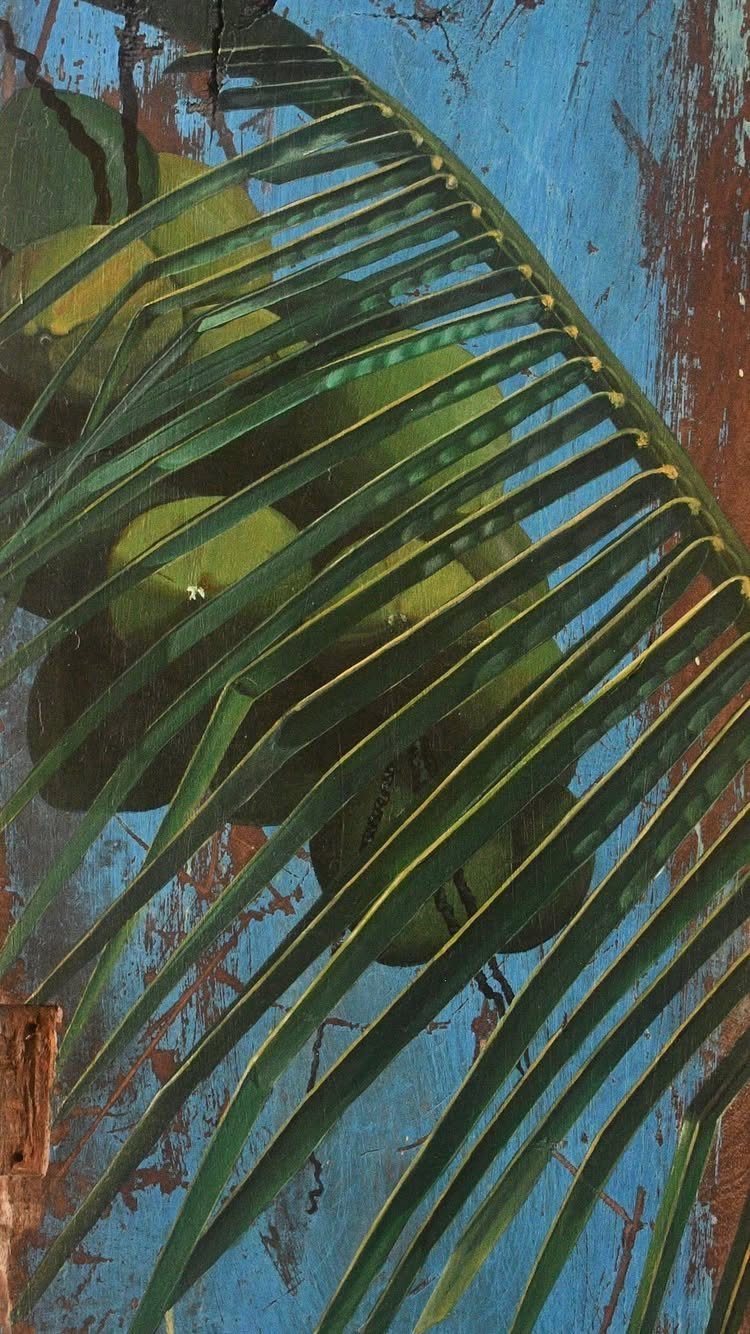
Weathered planks do half the composition for you.
Here the blue boards, with grain and brown stains showing, sit behind green coconuts and a palm frond, so the paint reads as part of the wood rather than a layer on top.
Thin, translucent paint lets the grain show through, while thick opaque paint hides it. I prefer the thin approach for fruit and leaves, which suit that soft look.
Sketch lightly, then paint.
5. Painted Wood Panel Portrait
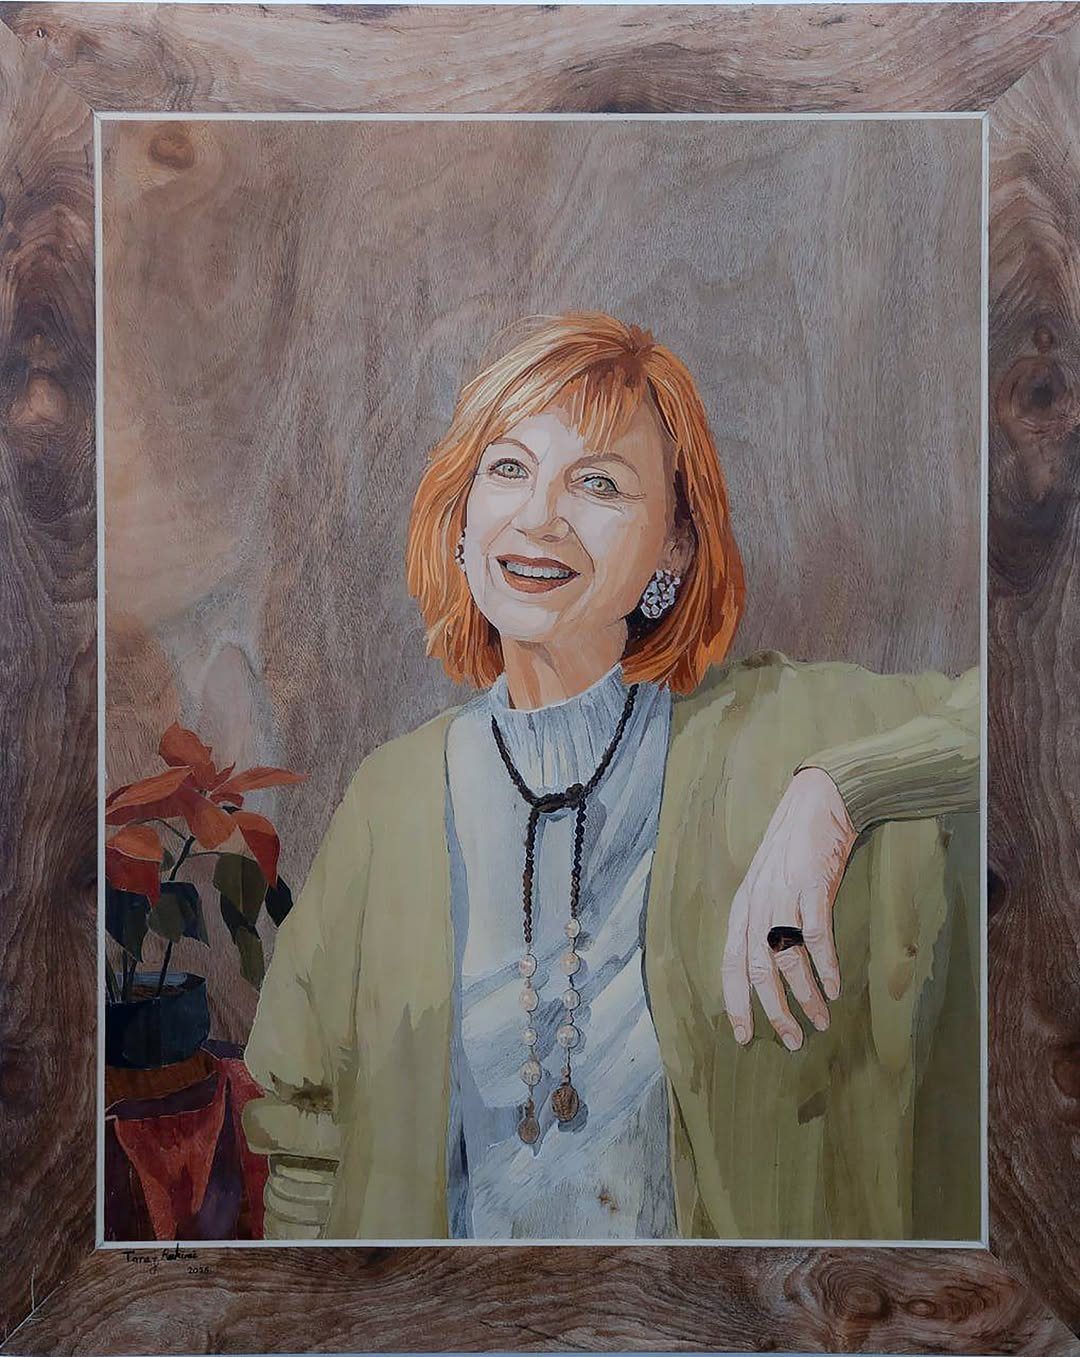
A portrait on wood panel asks you to work with the grain instead of covering it. The red-haired sitter here is painted over natural grain, and the plain wooden frame keeps the whole piece warm.
Pick a panel with calm, even grain; busy figure near the face will fight the likeness. Painting thinly over the skin areas lets the wood tone act as an undertone.
This is a slower, harder project than most on this list, so I’d start with a small panel.
6. Rough-Hewn Figurative Sculptures
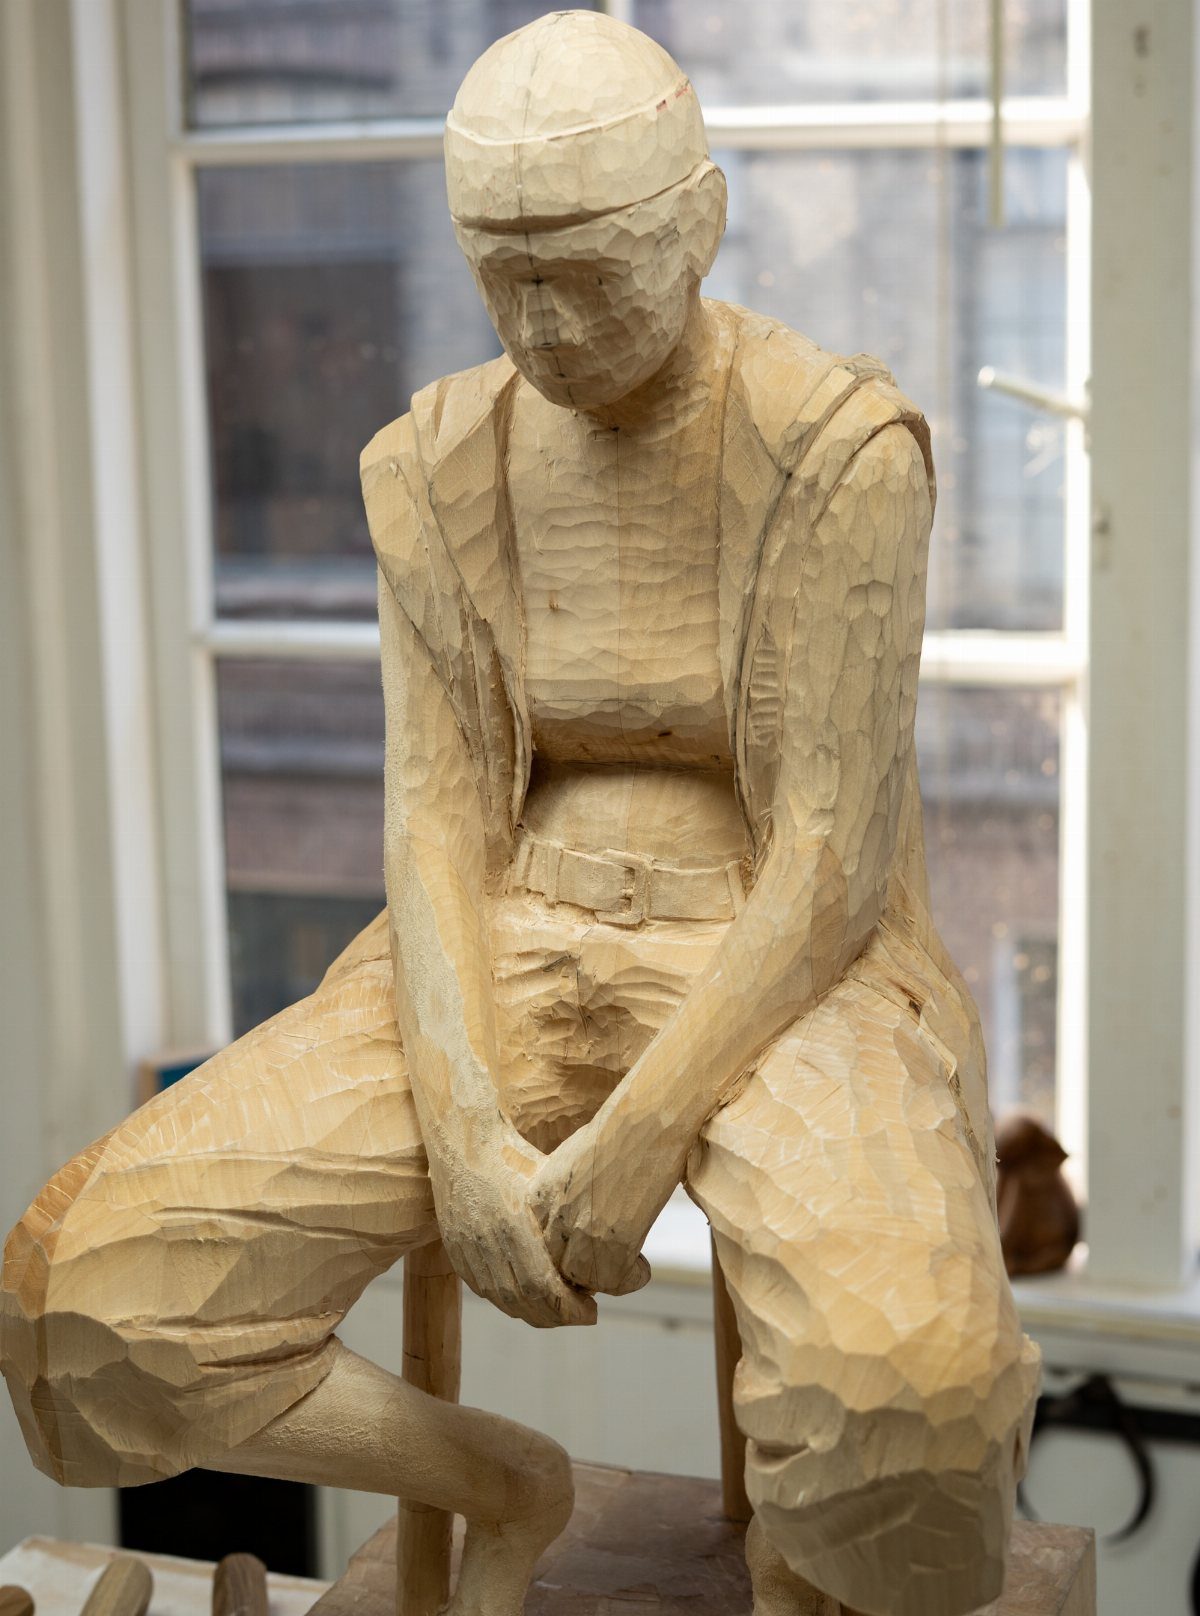
Leaving the chisel marks visible is the whole appeal of a rough-hewn figure.
Facets and tool cuts can suggest the folds of a cloak without any fine detail, which is why a seated, hooded figure in light wood works so well.
Light wood shows each cut clearly, which makes it a good choice for learning. A cloak is a generous subject because it hides anatomy you haven’t mastered yet.
Stop sanding early, or skip it. Smoothing the surface erases the tool marks that give the piece its character.
7. Charred Totem Pillar Sculptures

Tall pillars with charred faces read as a group, so make several at different heights rather than one lone post.
The black tops against pale lower wood give each totem face a strong silhouette, and the grouping makes that contrast read even louder.
Carve the features in broad, simple planes before any burning, because char softens fine detail. Keep the burn to the head and leave the shaft bare, so the contrast does the work.
Charring is best done outdoors, on a patio or in a yard, with water close by.
8. Carved and Pyrographed Wall Slabs
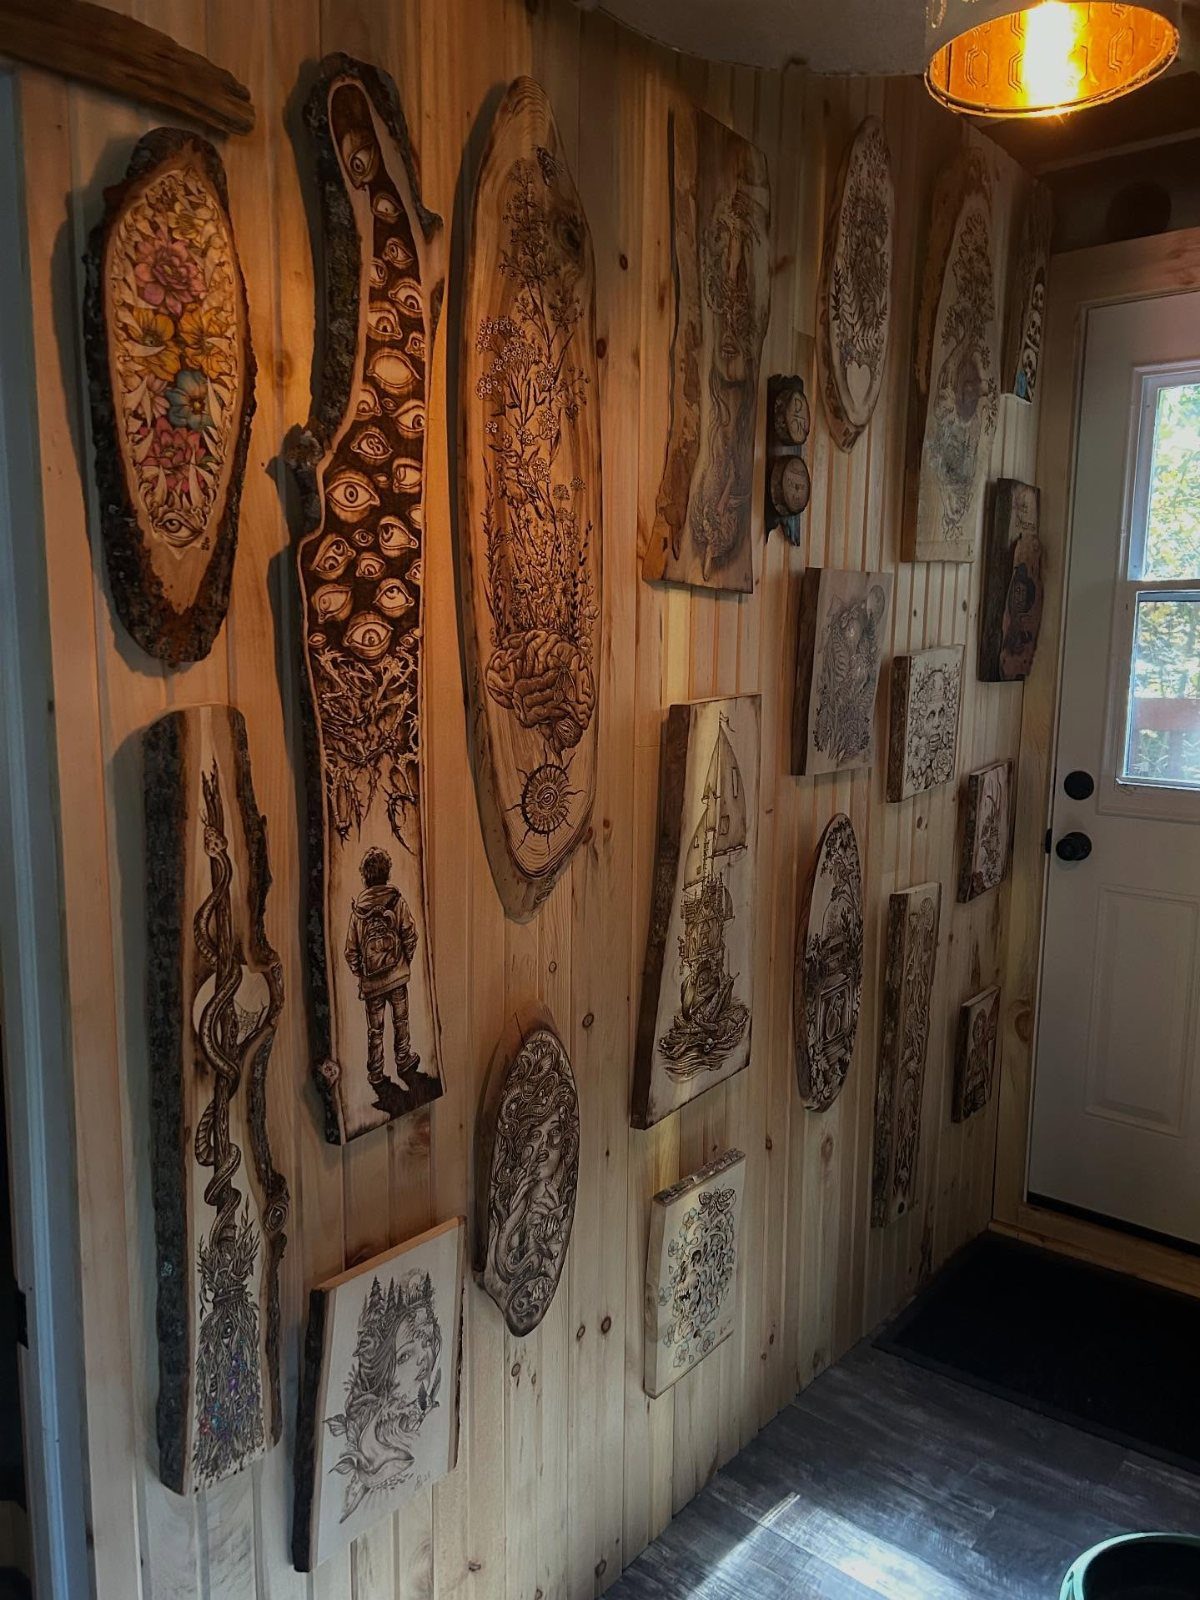
Slabs with their natural edges left on already have a shape, so carve and burn to follow it instead of squaring things off. Organic designs suit that edge well, and dark pyrography lines read crisply against light wood.
Carve first, then burn. A burned line sits cleanly beside a cut, while cutting through burned wood can leave ragged edges.
I like hanging several slabs together on a light wall, as here, because the grouping reads as one piece. Vary the sizes, but burn every slab to the same darkness so the set reads as one piece.
Importance of Wood in Art
People have been working wood for art since prehistoric times, carving it into sculptures, painting on it, and shaping it into everyday objects.
It was also one of the few options available before plastic and metal arrived, which is part of why so many traditions grew up around it, from carved figures and masks to intricate altarpieces.
That long history shows up in the finished piece. A carved piece has a warmth and a honest, handmade feel that plastic, resin, or metal rarely match.
It also resists you a little, and I think that’s healthy.
Sculptor Ursula von Rydingsvard has worked in cedar for more than 40 years and says the original image often changes as she builds, because the wood won’t always yield to what she asks.
Plan for that. Start with a loose idea and let the grain and knots change it.
Educational Programs
If you want to learn from people who do this full time, the Museum for Art in Wood in Philadelphia is worth knowing about.
It’s a nonprofit educational institution that exhibits, collects and interprets contemporary art in wood, and it offers workshops, master classes and community activities.
Its history is rooted in woodturning. The organization started in 1986 as the Wood Turning Center, then became the Center for Art in Wood, and today it goes by the Museum for Art in Wood.
Check its website for current class listings before planning a trip. Even if you can’t visit, the exhibitions are a good way to see how far a single material can stretch beyond what basic home tools produce.
Works by some of the best-known wood artists in the United States highlight the expressive capacity of craft’s most organic material, and display wood turning’s growing sophistication. Nearly half of the artworks in the exhibition are on public display for the first time.
Innovative Approaches
Digital tools have made wood easier to shape. CAD programs, CNC machines and laser cutters widen what’s possible and reduce the hard-earned manual skill some forms once demanded.
For a home maker, a laser cutter or CNC router is a useful way to get repeatable shapes, like identical pieces for a set.
Hand finishing is still what makes the result look made rather than manufactured, so plan to sand and finish by hand.
Newer isn’t automatically better, either.
Some of the most inventive wood artists are still refining traditional craft techniques. I’d learn one hand method well, then add a digital step only where it saves you tedious work.
Frequently Asked Questions
What is art on wood called?
Art on wood is usually called wood art, or woodcraft when it leans toward handmade objects.
The label covers a lot of ground: carving, sculpture, burning and painting on a wood surface all count. Wood has also served as a painting support for centuries, with panel painting running from medieval altarpieces through the Renaissance.
How can I create DIY art on wood?
Pick one technique and start small: painting, wood burning, carving or sanding a pendant are all doable with basic tools. Sketch lightly first, and practice on a scrap before the piece you care about.
What is burning art into wood called?
Burning art into wood is called pyrography.
Carve before you burn. A burned line meets a cut edge cleanly, but a blade pushed through scorched wood tends to tear and chip.






