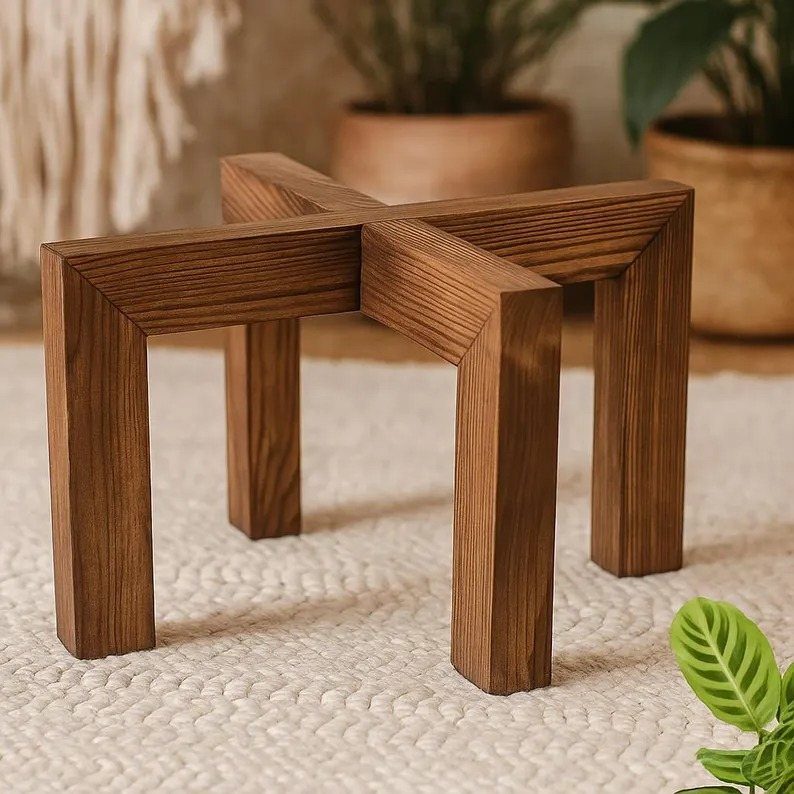
Placement settles the material first: indoors, nearly any wood is fine with wax or a clear coat, but a porch needs cedar with an exterior-rated finish, or wrought iron that shrugs off rain.
The ideas here run from a branch-and-twine hanging shelf to a wrought iron stand, and many DIY plant stands come in under $25.
For an afternoon build from garage scraps, the Natural Wood Plant Stand is the one I’d pick, since it only asks for a few pieces of wood and a little sanding.
1. Tiered Plant Stand
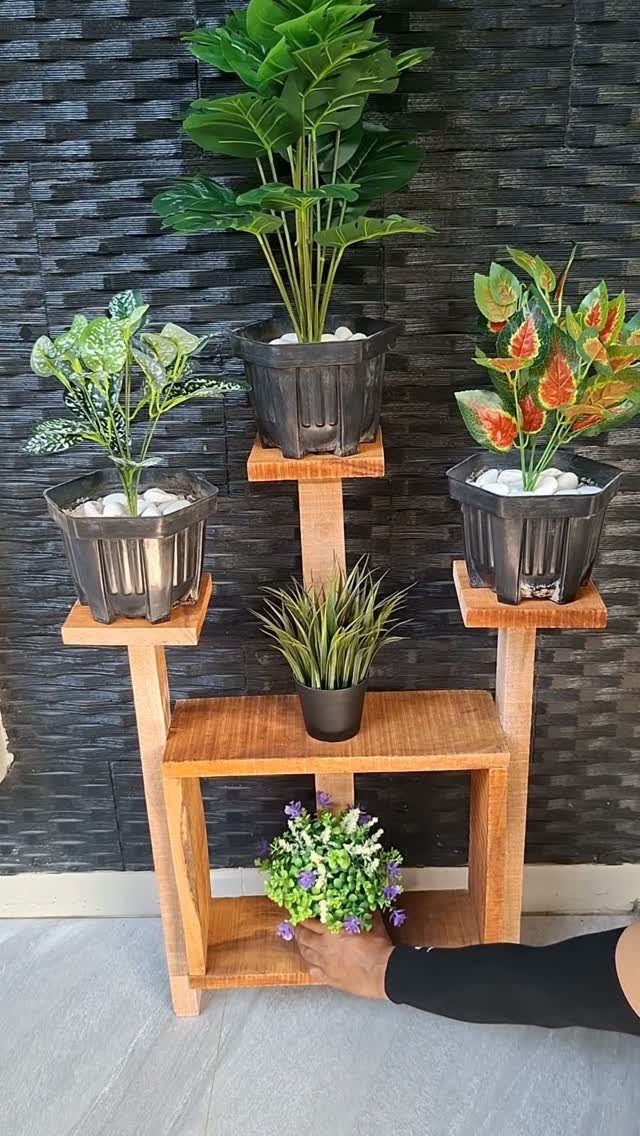
Stacking the shelves in steps lets a tiered stand hold several pots on one small footprint, with each plant sitting higher or lower than its neighbor.
Wood suits the rustic look, and the stepped levels let each plant catch light without hiding the one behind it.
Put the tallest plant on the top level and trailing types on the lowest, so the leaves spill down instead of crowding the shelves. Leave a little gap between pots; it makes the arrangement look fuller, not messier.
For an afternoon build, I’d keep the steps evenly spaced so every pot sits level.
2. Natural Wood Plant Stand
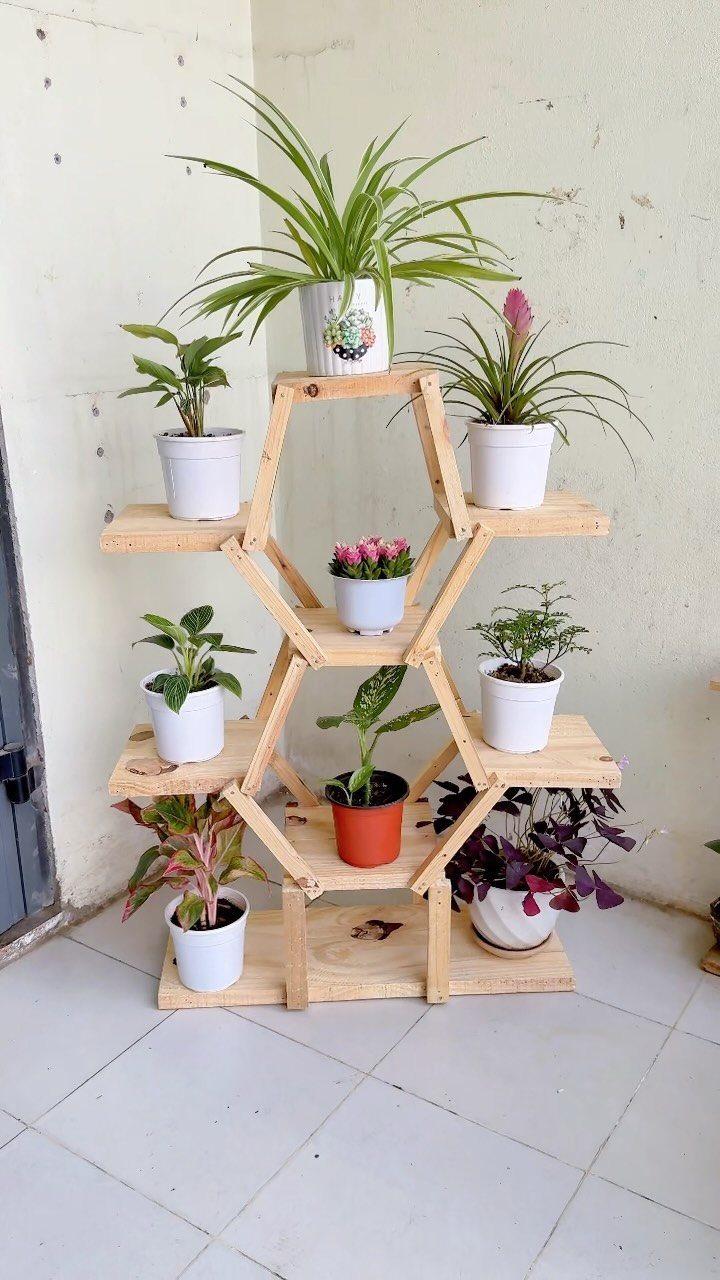
Plain wood with a clean shape lets the plants do the decorating. Hexagonal shelves, like these, break up the usual straight rows and give each pot its own spot.
Sanding smooth and finishing with a clear coat or wax keeps the grain visible, which is what makes this feel rustic without any added décor. I would skip paint here.
Mixing leafy plants of different heights across the shelves keeps a simple stand from looking flat. A tile or hard floor under it is easy to wipe after watering.
3. Wooden Ladder Shelf
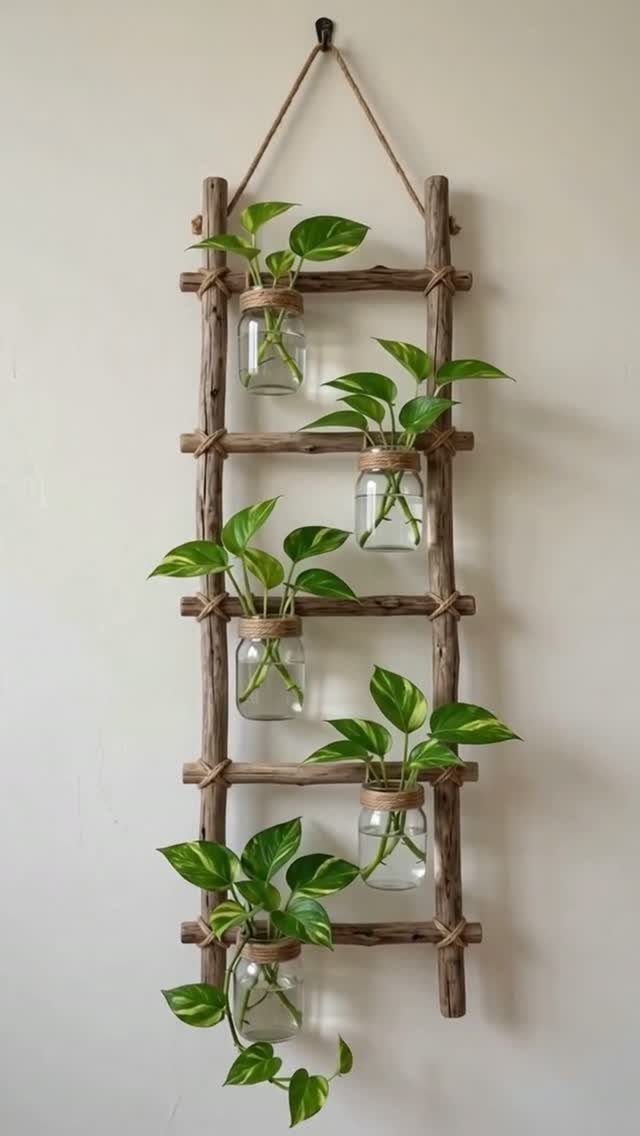
Wall space is free, and a ladder shelf uses it. Rungs hold glass jars, so rooted cuttings can sit in water where you can watch the roots grow.
Hang it from a rope, as here, for a relaxed look. Weight matters, since jars full of water are heavy; I’d anchor the rope to a stud or a strong wall hook, not a thin nail.
A plain white wall lets the wood and green stems stand out. Swap in small decor between jars if the rungs feel too full.
4. Wrought Iron Flower Plant Stand
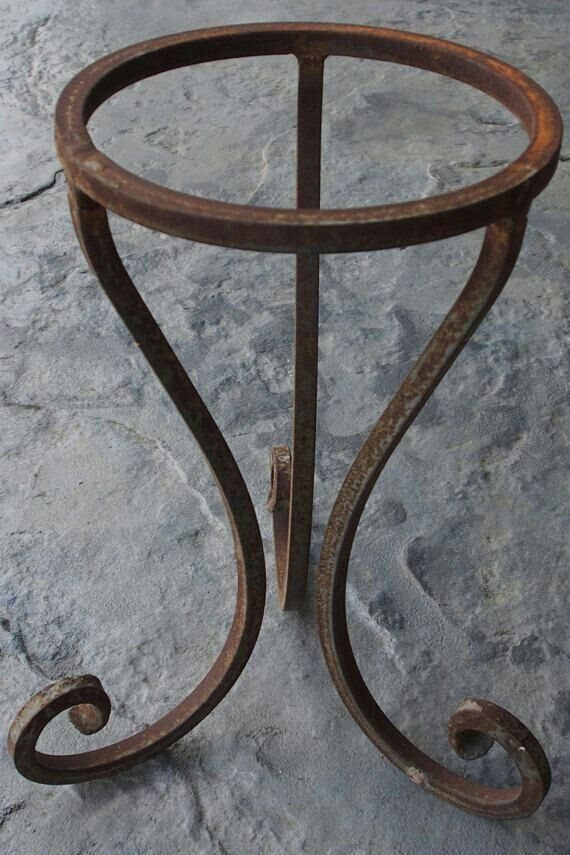
Wrought iron brings a weathered, old-fashioned feel that wood can’t match. A round top and curved scroll legs give a pot a steady, sculpted base, and a rusty finish only adds to the rustic charm.
Rust can stain floors and porches, so a saucer or a pad underneath is a smart move. Concrete, as in this setting, hides it well.
For a single statement plant, iron makes a strong pick. For a whole collection, I’d choose a tiered wooden stand instead.
5. Hanging Plant Stand
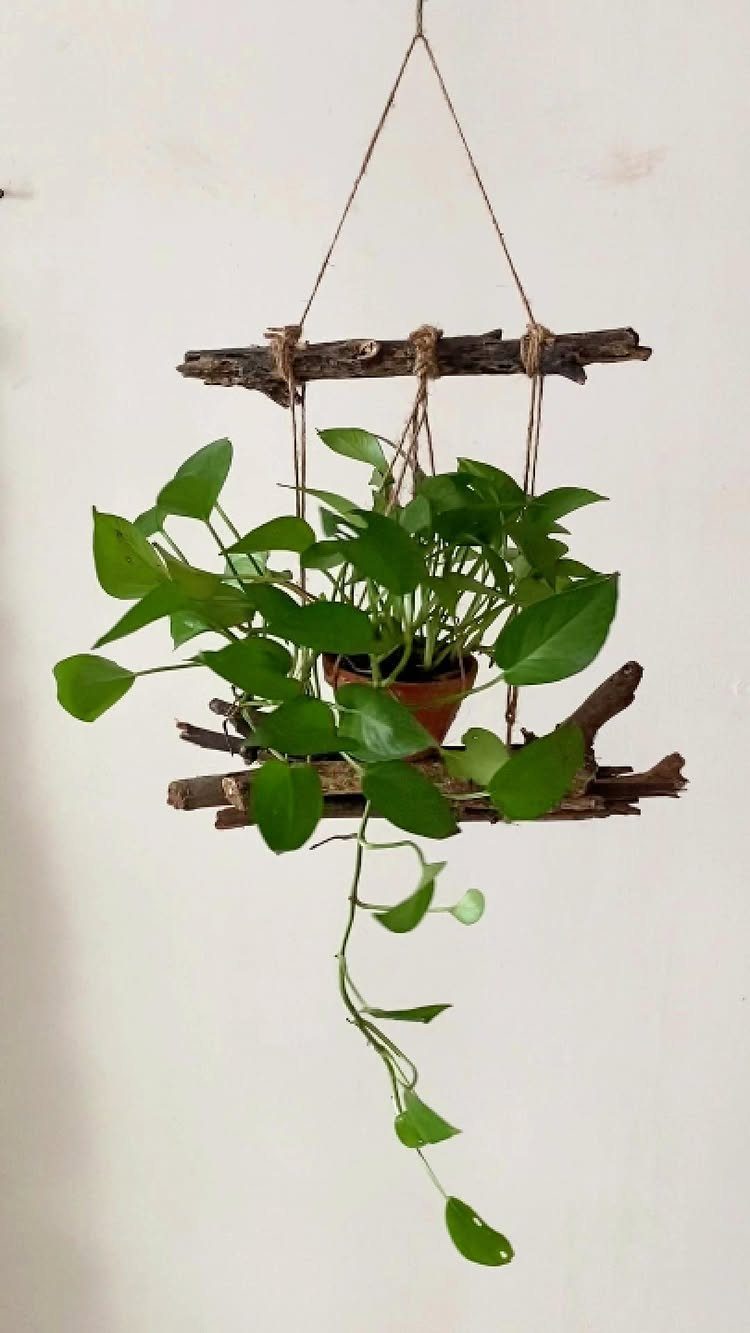
Branches and twine make a hanging shelf that costs almost nothing. A small branch platform hangs from a top branch, so one plant floats about where your eyes land and the floor stays clear.
Choose a sturdy, fairly straight branch for the shelf, and use strong twine, knotted firmly at each corner so it hangs level. Keep the pot small; a light plant suits this style best.
Mount it on a bare, unpatterned wall, and the natural texture becomes the decoration.
Affordable Plant Stand Options
Scrap wood is the budget builder’s best friend. Offcuts from an old shelf, a pallet board, or a leftover 2×4 can become a stand without a trip to the lumber aisle, and many DIY plant stands come in under $25.
This version stacks round slices of natural wood on 4 pale legs, so the bark edges and grain stay the main feature. It costs about $7 and takes around 20 minutes, so it fits easily into an afternoon.
Before you buy anything, check the garage and the basement. Sandpaper, wood glue, and a few screws are usually all you’ll need to buy, if that.
Spend your money on the finish if you spend it anywhere. A $7 stand with a good coat of wax looks better than a $25 one left rough.
Indoor vs Outdoor Use
Match the material to the spot. Indoors, almost any wood works, and a plain wax or clear coat is enough.
Outdoors, wood faces rain, sun, and soil moisture.
Choose a naturally rot-resistant wood such as cedar, and seal it with an exterior-rated finish. Reapply the finish every year or two, or whenever water stops beading on the surface.
Metal holds up well outside, but check it for rust and keep it off surfaces that stain.
Keep the legs off damp ground with small feet or pads, since standing moisture rots wood fastest at the bottom. A covered porch is gentler than open sun and rain.
Screws beat nails outdoors because wood swells and shrinks with the weather, and nails slowly work loose.
Customization Ideas
A stand is easy to personalize because the bare wood takes finishes so well. Test any stain on a hidden spot or a scrap first, since the same stain looks different on pine than on oak.
Mixed materials add style too. Wood crates stacked at different angles make a casual, rustic base.
For small touches, try:
- A stain in a deeper brown for a richer tone
- A painted band or stenciled pattern around the legs
- Rope or twine wrapped around a leg or edge
- Wood burning along the rim of the top
Pick one or two. Too many details can crowd the plant.
Frequently Asked Questions
What can I use instead of a plant stand?
Stacked wood crates work well, and so does a ladder shelf leaned or hung on a wall.
Stacked wooden crates turned on their sides at staggered angles give you a relaxed, farmhouse-style base, and an old leaning ladder works too, since each rung can hold a pot or a jar of water with a rooted cutting.
A shelf or a piece of repurposed furniture does the same job.
What is a good small stand for plants?
A tiered stand is the best pick for a small space.
A stepped design puts several pots on a small patch of floor, and because each tier sits lower than the one behind it, every plant gets its share of light.
A wall-hung ladder shelf also works, since it uses wall space and keeps the floor clear.






