These ideas run from Wooden Deer Cutouts you can saw out in one sitting to a Carved Wood Deer Relief Panel that takes longer than an afternoon, so the deciding factor is how much three-dimensional shaping you’re ready to do.
If you’ve never held a gouge, start where the wood does the forgiving: a basswood figurine with a thick neck and legs, or a cutout finished with a soft 2B pencil layout and wood burning.
The relief panel and the antlers on a Mounted Wooden Deer Head or Carved Deer Skull reward patience, and fine detail goes easier after you’ve practiced the cuts on scrap wood.
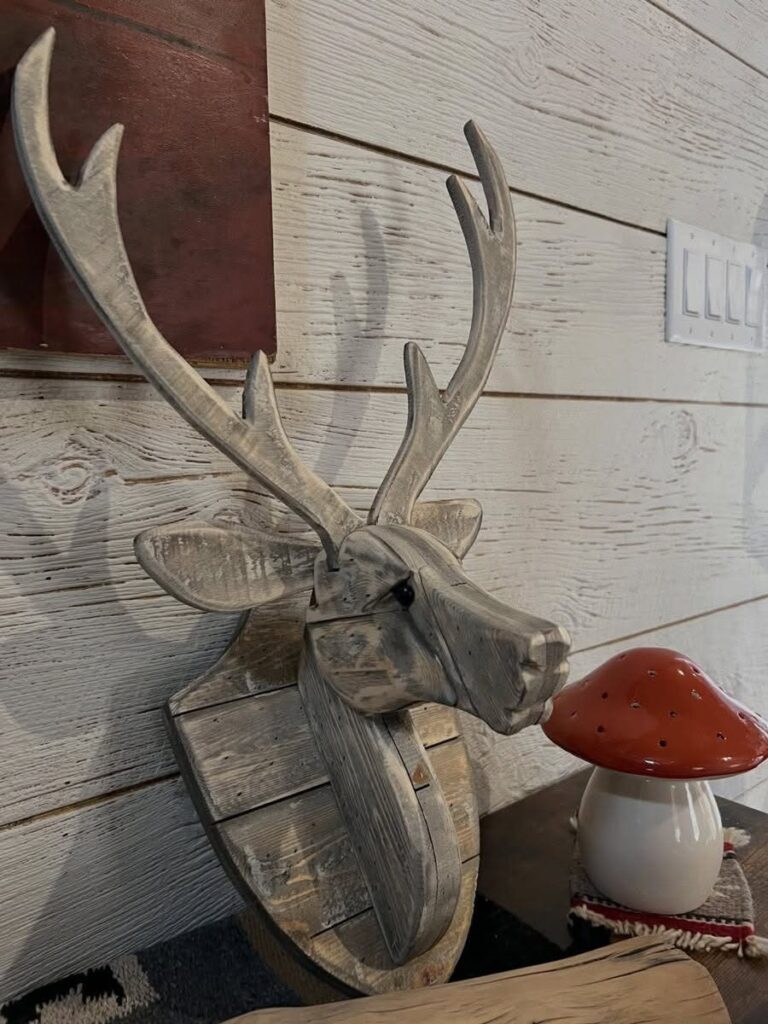
1. Mounted Wooden Deer Head
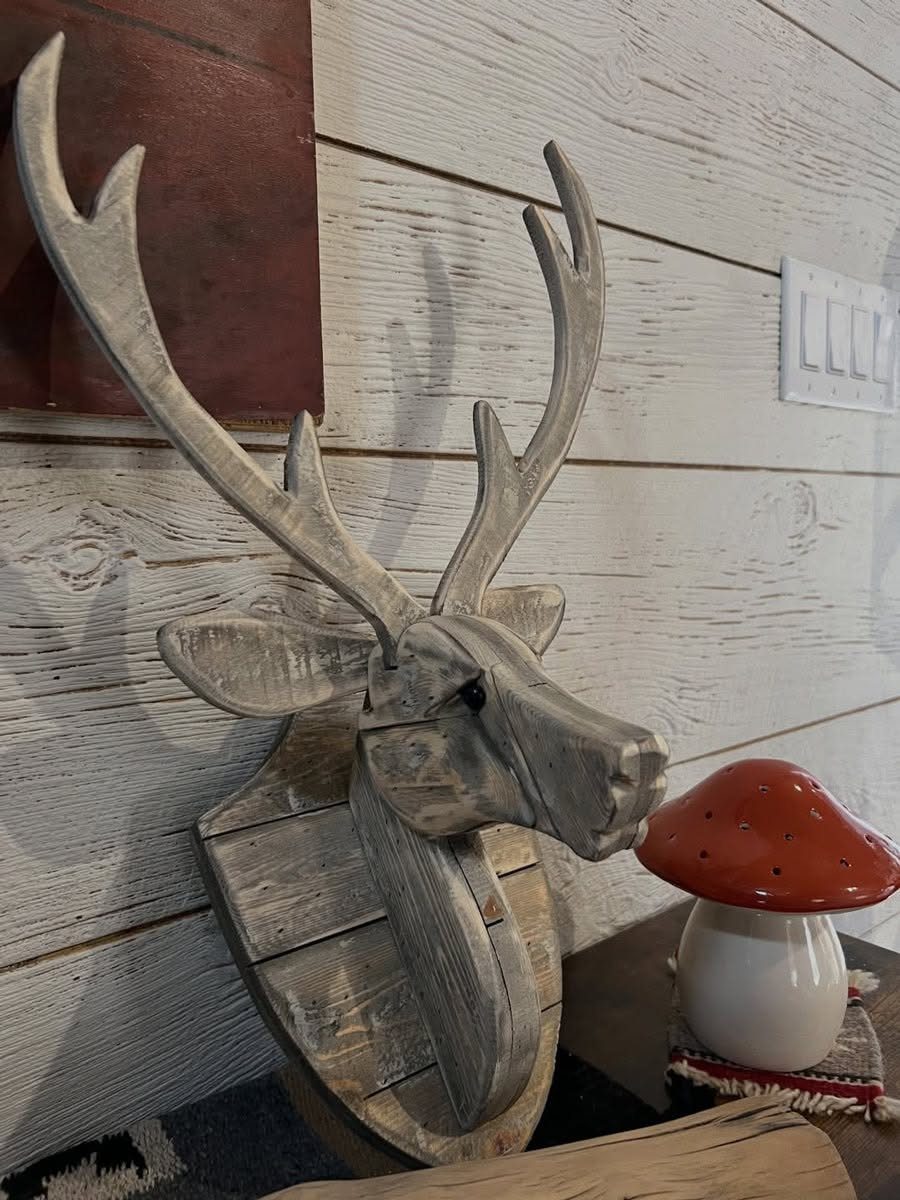
A carved deer head on a wooden plaque gives you the look of a trophy mount with no taxidermy involved. The plaque does real work here: it frames the head and gives you a flat back to hang from.
I would pick a plaque in a slightly different tone from the carving so the head doesn’t blend into the wall. Against white paneling, a darker backing board makes the antlers read clearly.
Keep the antlers thin enough to look lifelike, but leave plenty of wood at the base so they don’t snap.
2. Wooden Deer Figurine
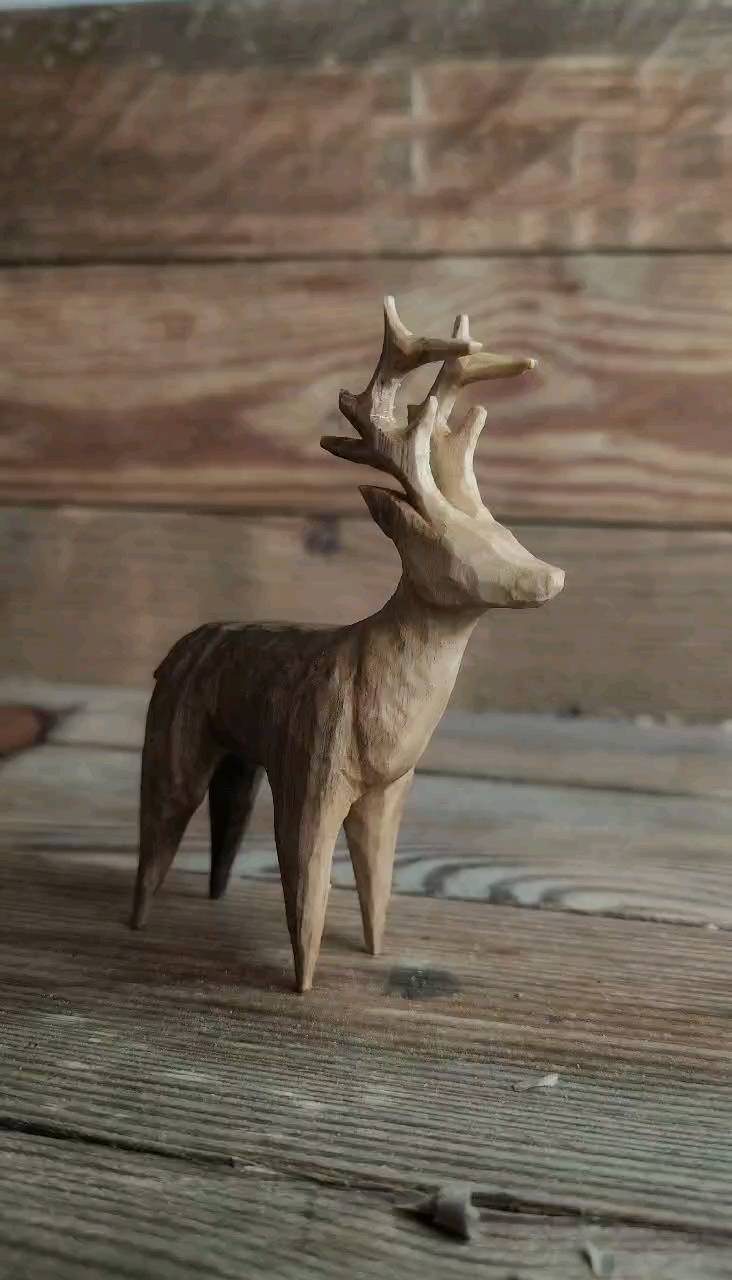
Small enough to hold in one hand, a carved deer figurine is the easiest place to start with deer carving. Antlers are the hard part, so I’d make them chunky at first and refine later.
Basswood is my pick for beginners, since it cuts cleanly with a basic knife. Leave a thick neck and legs so the grain doesn’t split across a thin section.
A plain oil or wax finish keeps the rustic look, and it sits well on a shelf or mantel.
3. Deer Carving Patterns and Sketches
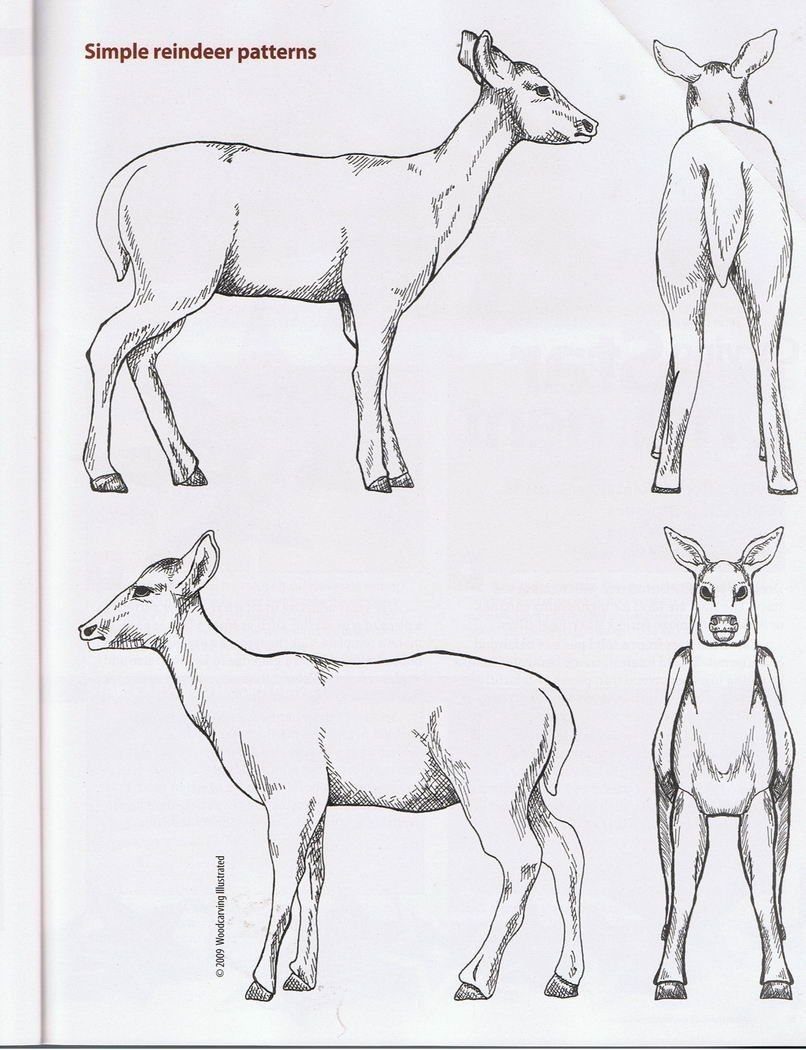
Good patterns save the most time, and a set showing side, front and rear views is the kind to look for. 3 angles let you check proportions as you carve instead of guessing.
Trace the side view onto your blank first, then cut the rough profile before marking the front. Redraw the lines as the wood comes away.
Simple line art like this suits beginners, since you can scale it on a copier to match your block.
4. Carved Deer Skull
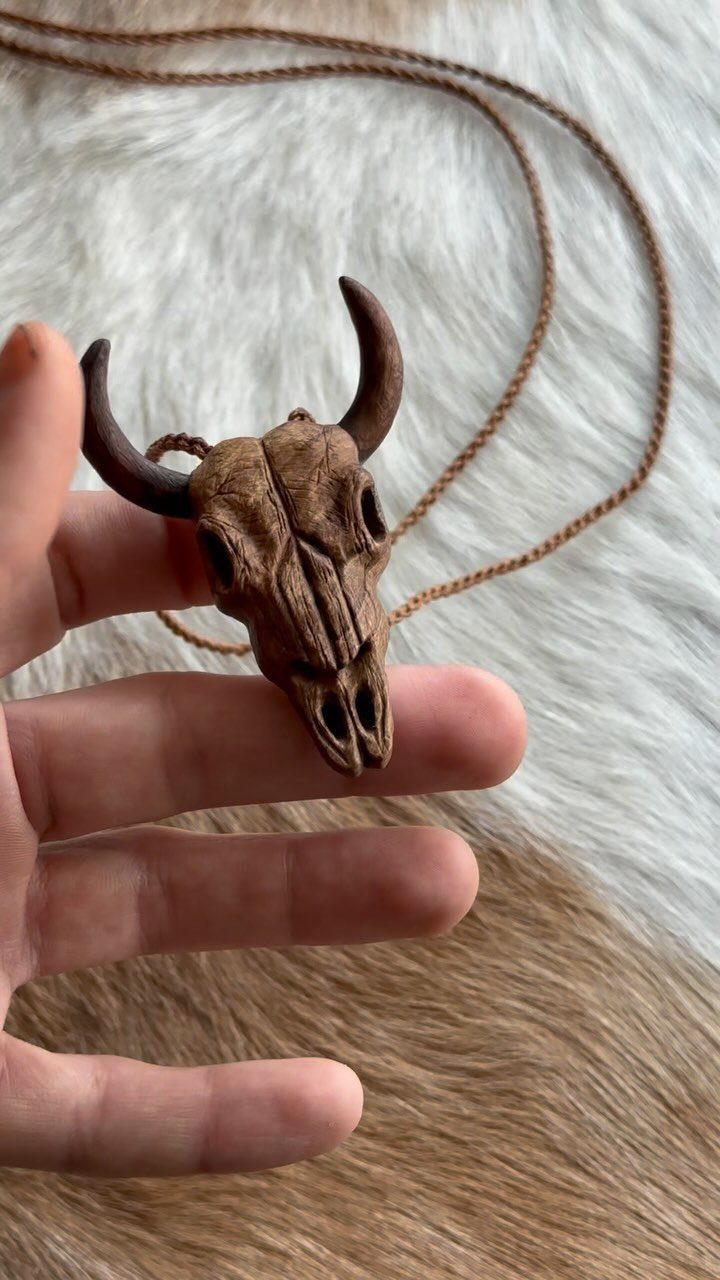
A carved deer skull works well as a pendant, and a small one takes only a few hours from blank to finished piece. Thread it on a brown cord and it becomes a gift or a keepsake.
Drill the hanging hole before you shape the details, because a crack at the end would ruin the work. Hollow the eye sockets and nose with a small gouge or knife tip.
Hardwood holds fine detail better than soft wood, though it takes longer to cut.
5. Wooden Deer Cutouts
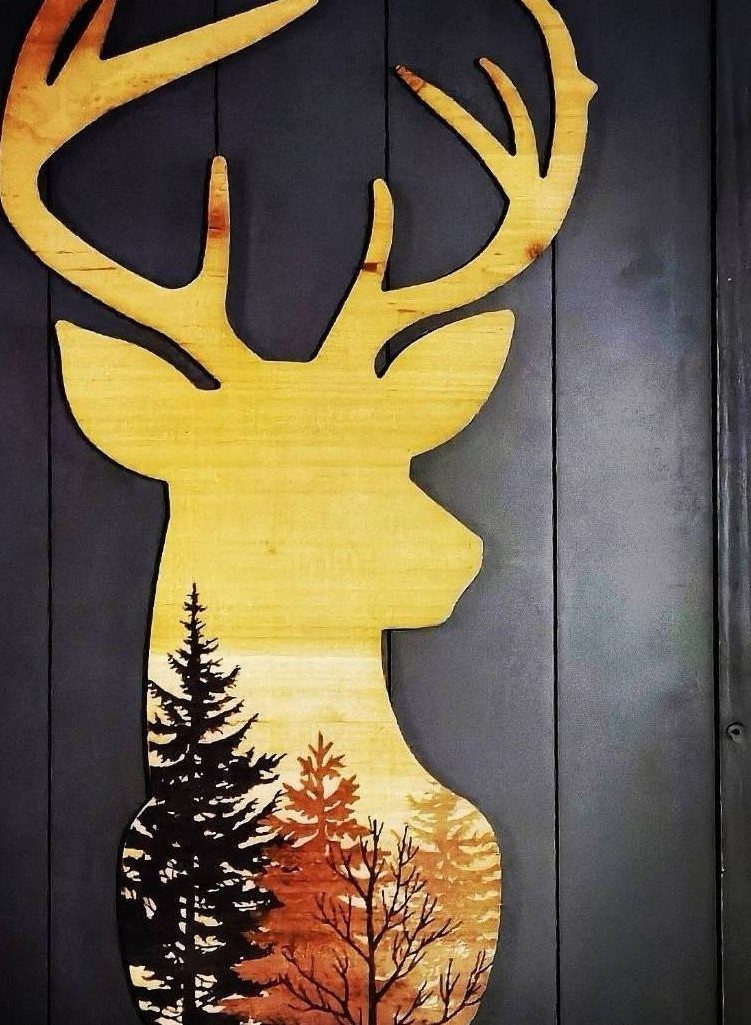
Flat cutouts skip the hard part of carving, which is shaping in 3 dimensions. A deer head and neck profile cut from a plank gives you a bold silhouette to decorate.
Wood burning is my favorite way to fill it: a forest scene inside the outline turns a plain shape into a picture. Lay out the outline with a soft 2B pencil, then save the darkest burned areas for the end.
A scroll saw or coping saw handles the outline, and a dark wall makes the burned detail stand out.
6. Carved Wood Deer Relief Panel
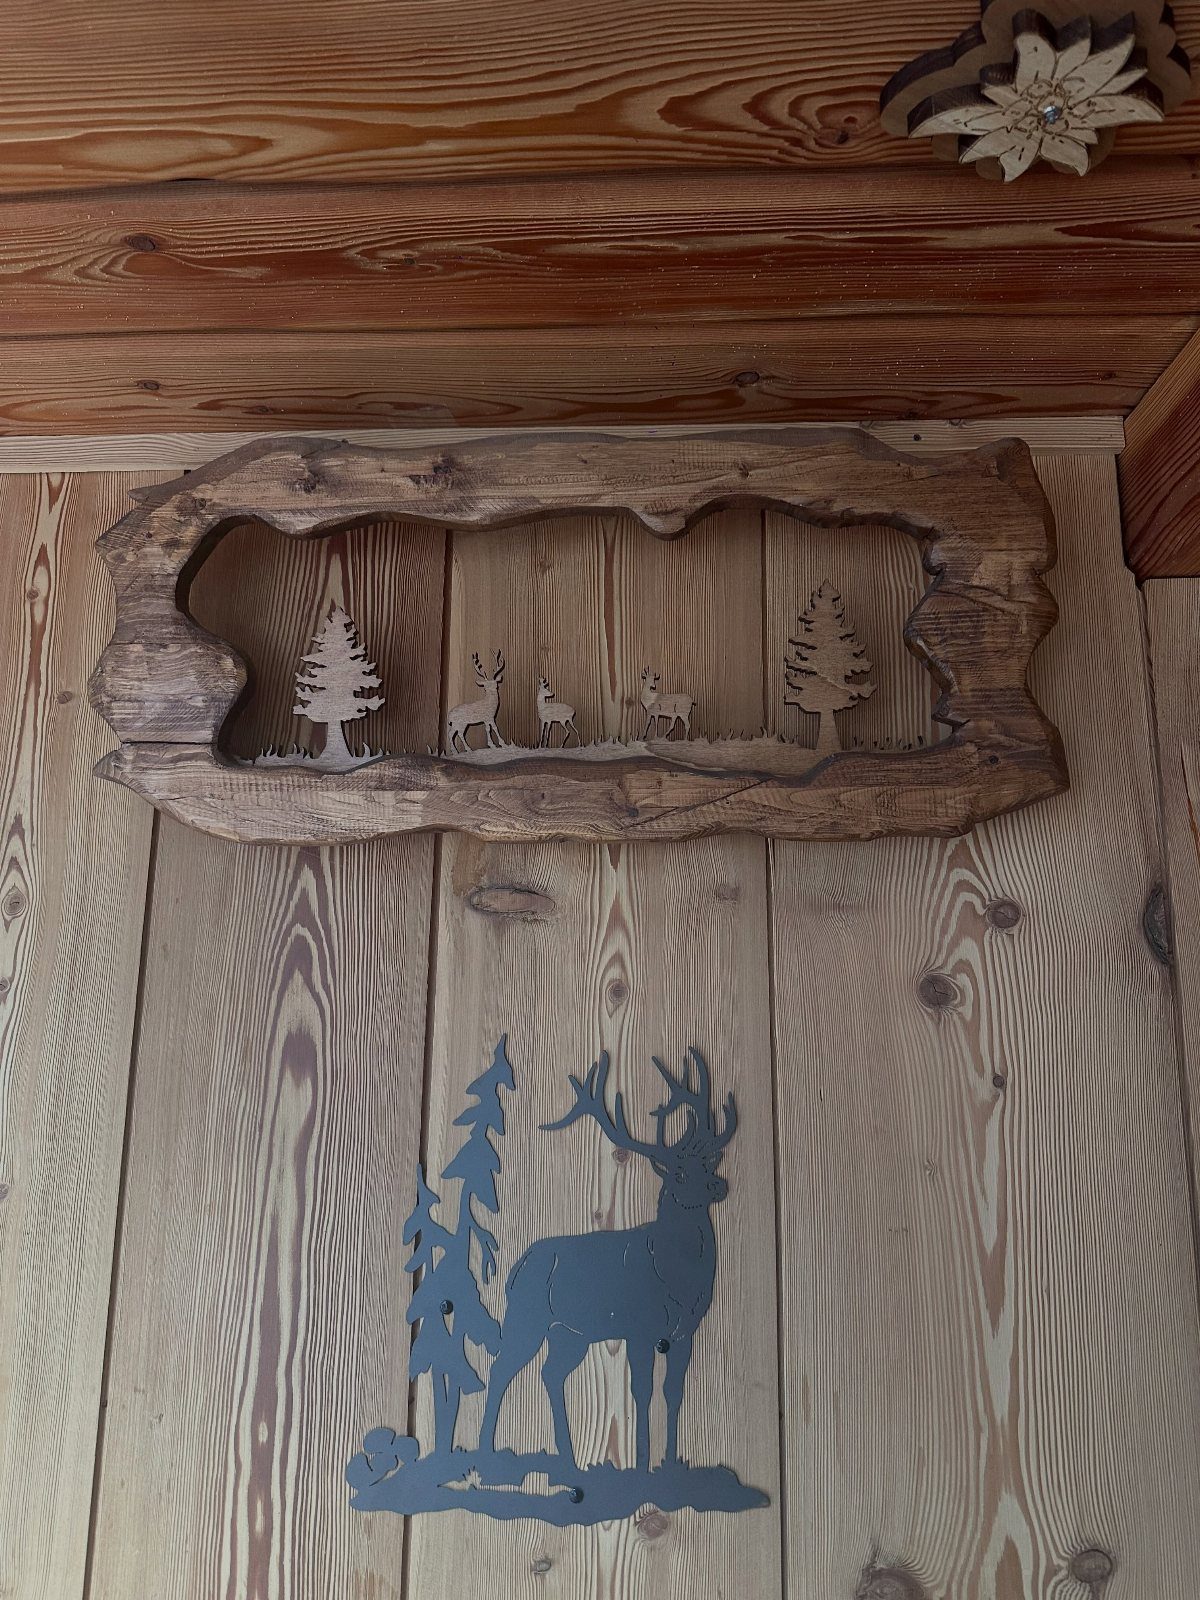
A relief panel carves the deer into a flat board, so the animals rise out of the background like a small scene. Pine trees behind them add depth, and a carved frame finishes the piece.
Plan your layers before cutting: trees farthest back, deer closest to the front. Cut deeper around the animals so they stand out from the pines.
This is a slower project than the others here, so expect more than one afternoon.
Materials for Carving
Light-brown wood is the usual choice for deer, and for good reason: it reads as a natural coat color before you add any finish. A natural finish keeps that tone and lets the grain stand in for fur.
Real antlers are an option if you want added realism. Shed antlers can be fitted into a carved head, which saves you the hardest part of the shaping, though the gray-brown color will differ from your wood.
Faceted, low-poly deer take a different route: flat planes meet at crisp angles, and the antlers are often stained or weathered to a soft gray. The flat planes hide small tool marks, so this style forgives a shaky hand.
For fur texture, plan on a few small gouges or a knife for short, directional cuts.
Wood Carving Techniques
Relief carving is the technique to learn first if you want a scene rather than a single figure.
High relief pushes the subject further out of the board, which gives deeper shadows and a more dramatic look, but it means removing a lot more wood.
A leaping stag set against pine trees and a fallen log is a good example of how relief carving builds a story from layers.
Stylized forms are the other path: angular cuts and simplified shapes instead of detailed fur. Power carving tools can speed up relief work, though a hand gouge gives you more control near the antlers.
Natural, unpainted wood suits all of these, since the grain adds authenticity without extra work.
Decorative Uses
Wall decor is the most common use, and an angular, faceted deer head looks sharp against a plain white wall. Keep the surrounding space clear so the antlers stay the focus.
A plaque with a leaping deer, white birch trees, green pines and a fallen log brings a little color into a room that is mostly brown wood.
The mix of paint and bare wood works well in a hallway or above a mantel.
For a table centerpiece, choose a freestanding piece with a flat, stable base. A small deer on a wooden slice also doubles as a rustic ornament on a shelf or tree.
Frequently Asked Questions
What is a wooden carving called?
It depends on the form.
Names depend on the form: a small piece you can hold is a figurine, a deer that rises out of a flat board is a relief carving, and a silhouette sawn from a plank is a cutout.
Faceted, low-poly pieces with flat planes and crisp angles are a stylized form of carving.
What are some ideas for wood carving?
A deer is a good subject, and it works in several forms. You can carve a small figurine, a head mounted on a plaque, a skull pendant on a cord, or a relief panel with deer among pine trees.
For a no-carving option, cut a deer silhouette from a plank and fill it with a wood-burned forest scene.






