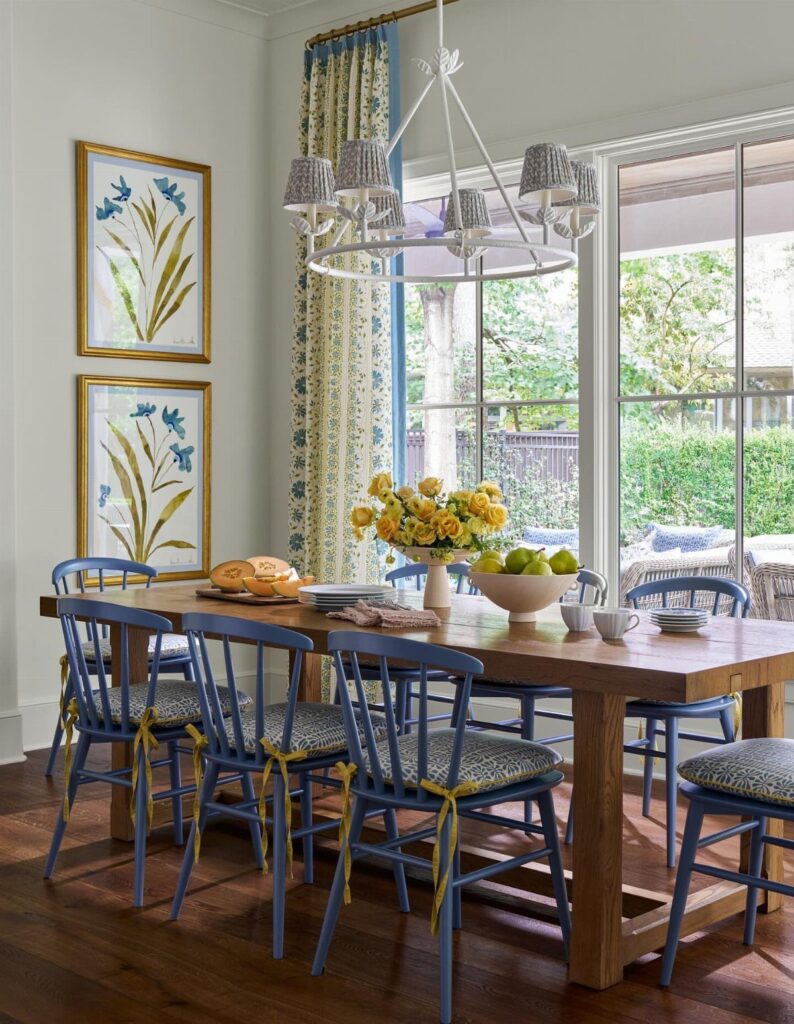
Which of these diy kitchen chairs fits depends on how much woodworking you’ve already done: an upholstered seat needs only foam, batting, fabric and a staple gun, while the wishbone’s curved Y-shaped back takes steam bending or careful shaping.
Between those two sit the rustic, X-back, spindle-back and woven seat chairs, which ask for stain, two-tone paint, careful drilling or a patient hand with woven cord.
If your skills are still new, start with a plain frame and let fabric, stain or a black finish carry the look.
1. Chair with Upholstered Seats
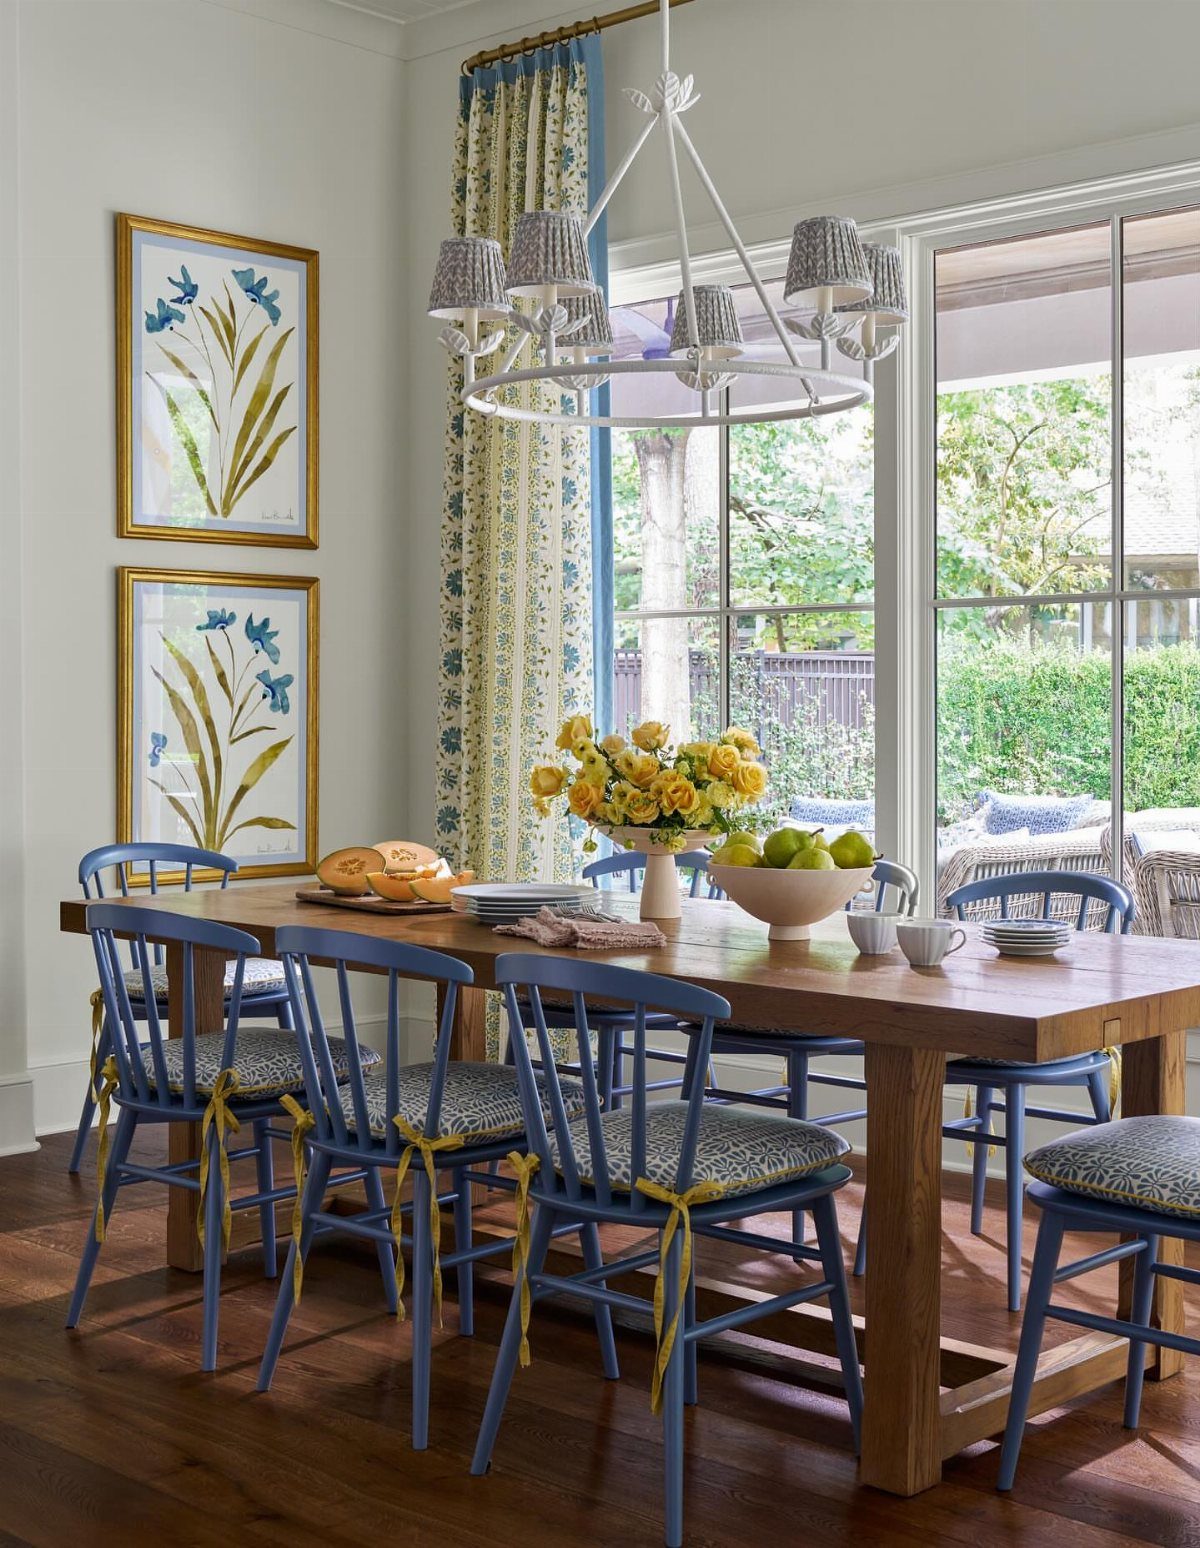
Upholstered seats give a plain wooden chair a softer, finished look, and for a beginner they are the easiest upgrade around: a square of foam, some batting, fabric and a staple gun.
Blue paint on the frame with a patterned fabric seat makes a strong pairing, since the print carries the color and the pattern.
Build the seat as a removable pad so you can recover it when the fabric wears or your taste changes. Pick a tightly woven fabric for a kitchen; it takes spills better than loose weaves.
A ribbon tied at the back of the chair costs almost nothing and adds a lot. Pick a color that picks up something in the seat fabric and it looks planned.
2. Rustic Dining Chairs
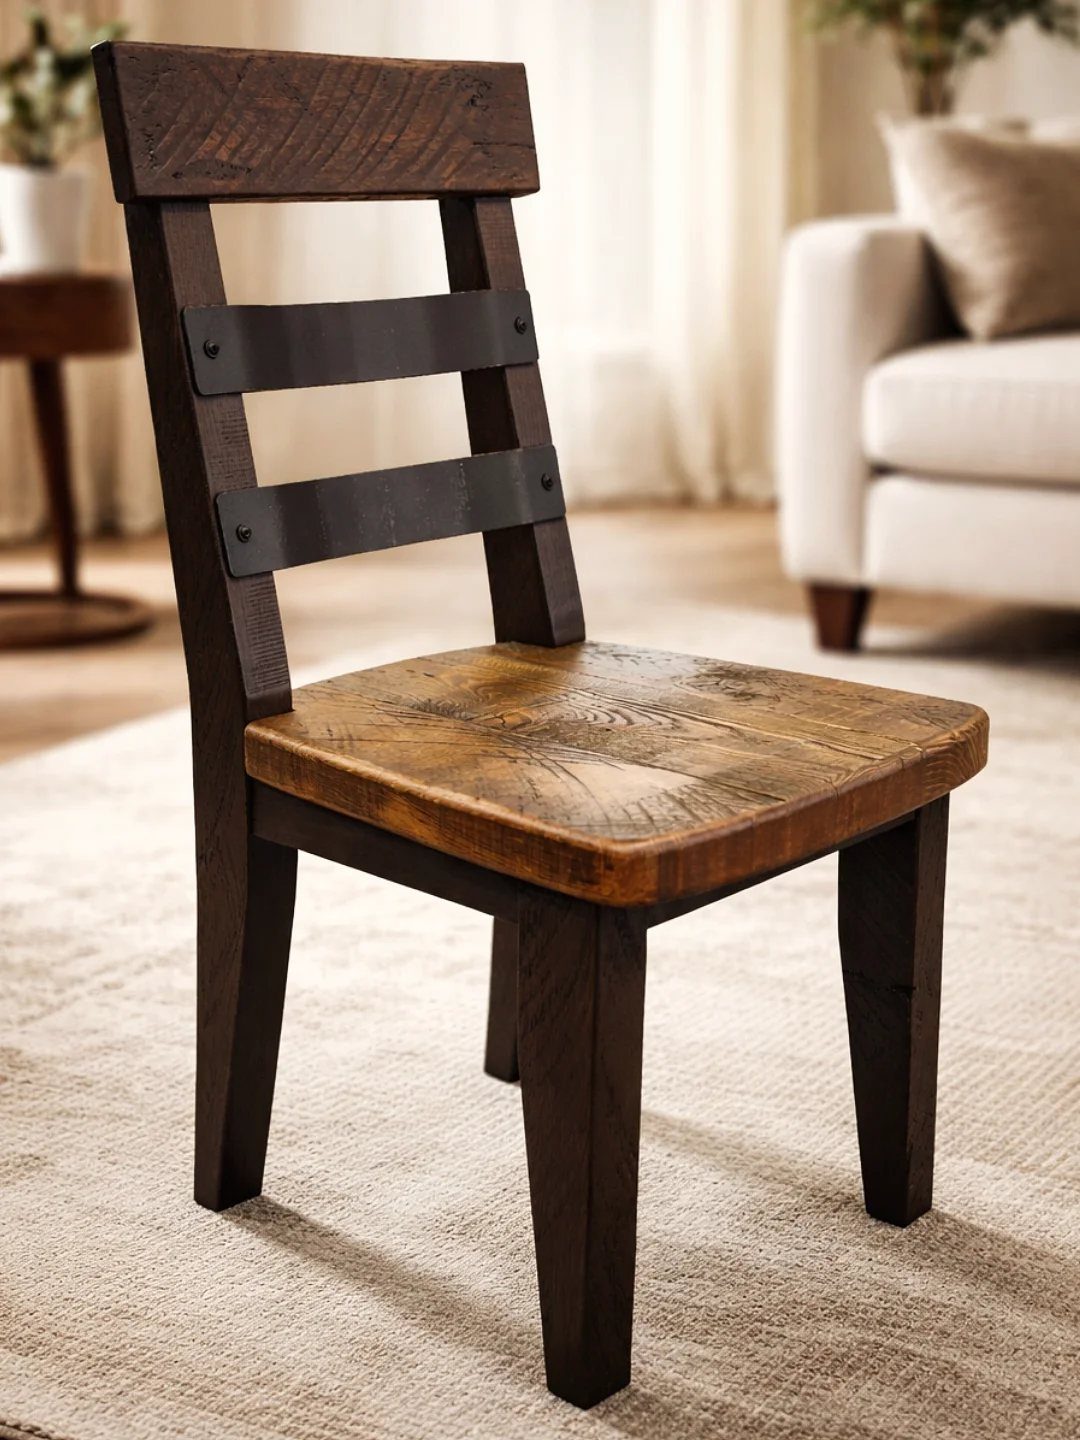
Metal straps across the backrest are what make this chair read as rustic, and they do real work too, tying the back slats together visually. Dark stained legs against a natural wood seat give contrast without any paint.
I would keep the joinery simple and let the hardware be the detail. Straps are cheap, and they let a basic frame look intentional.
Stain the legs before attaching the seat so the dark color stays off the lighter wood.
3. X-Back Two-Tone Wooden Chairs
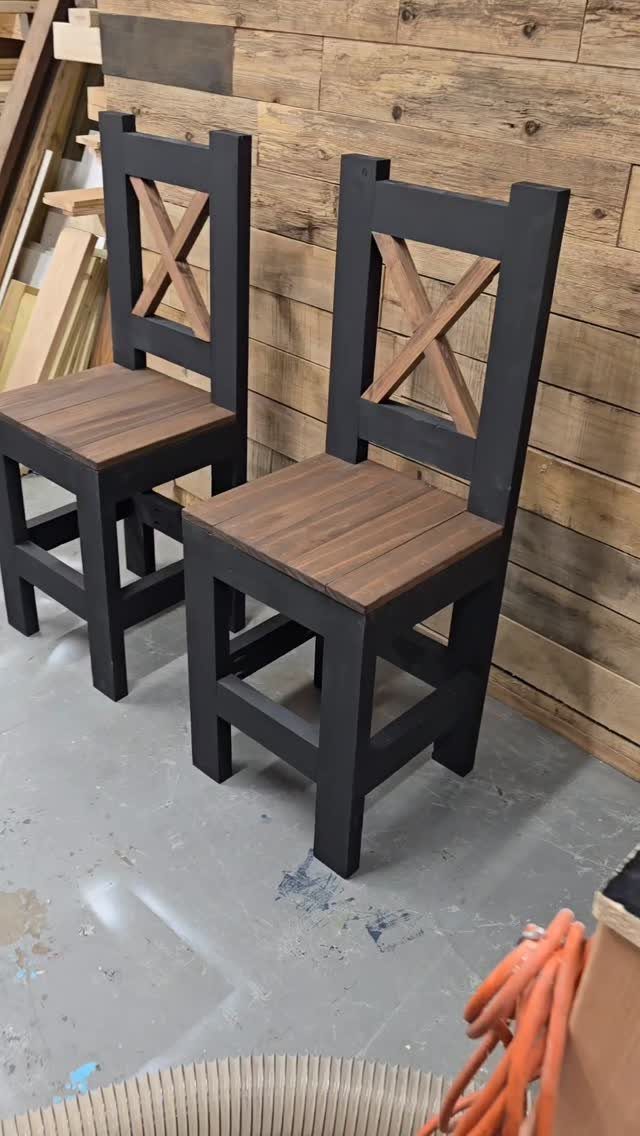
Black frames with bare wood seats and X-shaped back braces make the most graphic chair here. The X is the whole design: 2 crossed pieces in the back give the chair its character with no carving.
Paint the frame before final assembly and leave the seat and back natural, so the grain stays clean. I prefer a satin black over gloss, which shows every scratch.
Mask the joints where painted and bare wood meet; a sharp line is what makes two-tone look deliberate.
4. Spindle-Back Kitchen Chairs
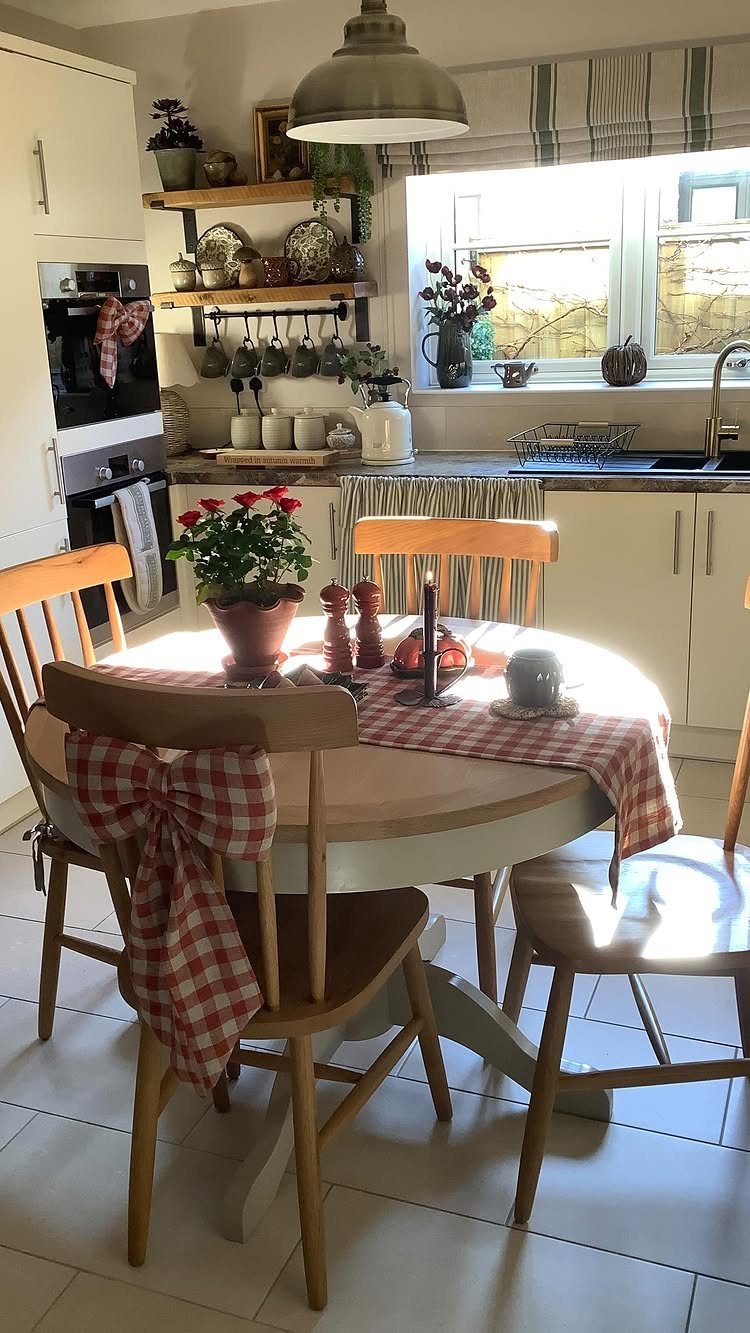
Spindle backs suit a round table, because their open, slim lines keep the room from feeling crowded. Pair them with a table that extends and you can seat 4–6, which is handy when guests come over.
Drilling the spindle holes at a consistent depth is the fussy part, so use a drill stop and a scrap board to test first.
Fabric touches like a table runner or a bow on the chair back are cheap to swap by season, so the chairs can change with the year while the wood stays put.
5. Woven Seat Wooden Chairs
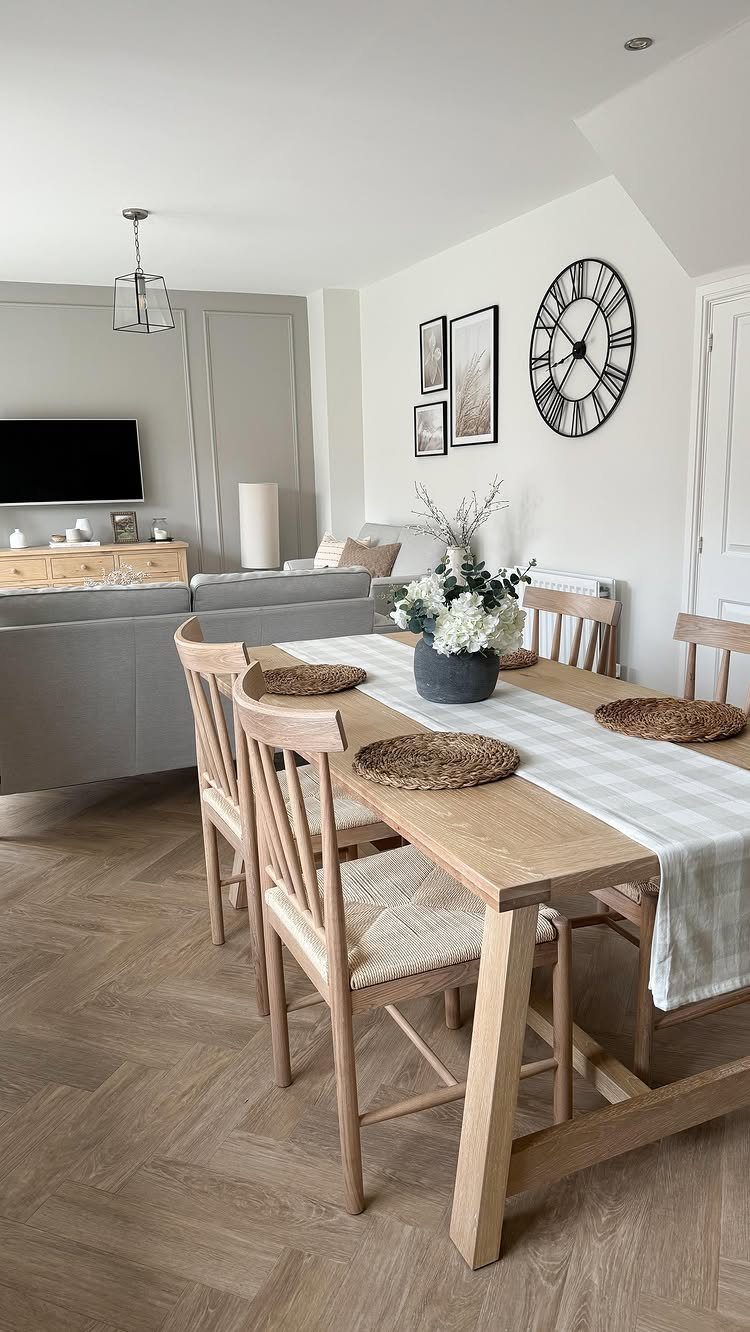
Solid oak frames paired with a hand woven seat give a country farmhouse look that works well against a light wood table. A matching set looks calm, and the woven texture adds interest without color.
Oak is dense and tough to work, so I would pre-drill every screw hole. Woven seats ask for more patience than a padded seat, and the cord needs to be pulled snug as you go.
Buy the weaving material before you size the seat rails.
6. Wishbone Dining Chair
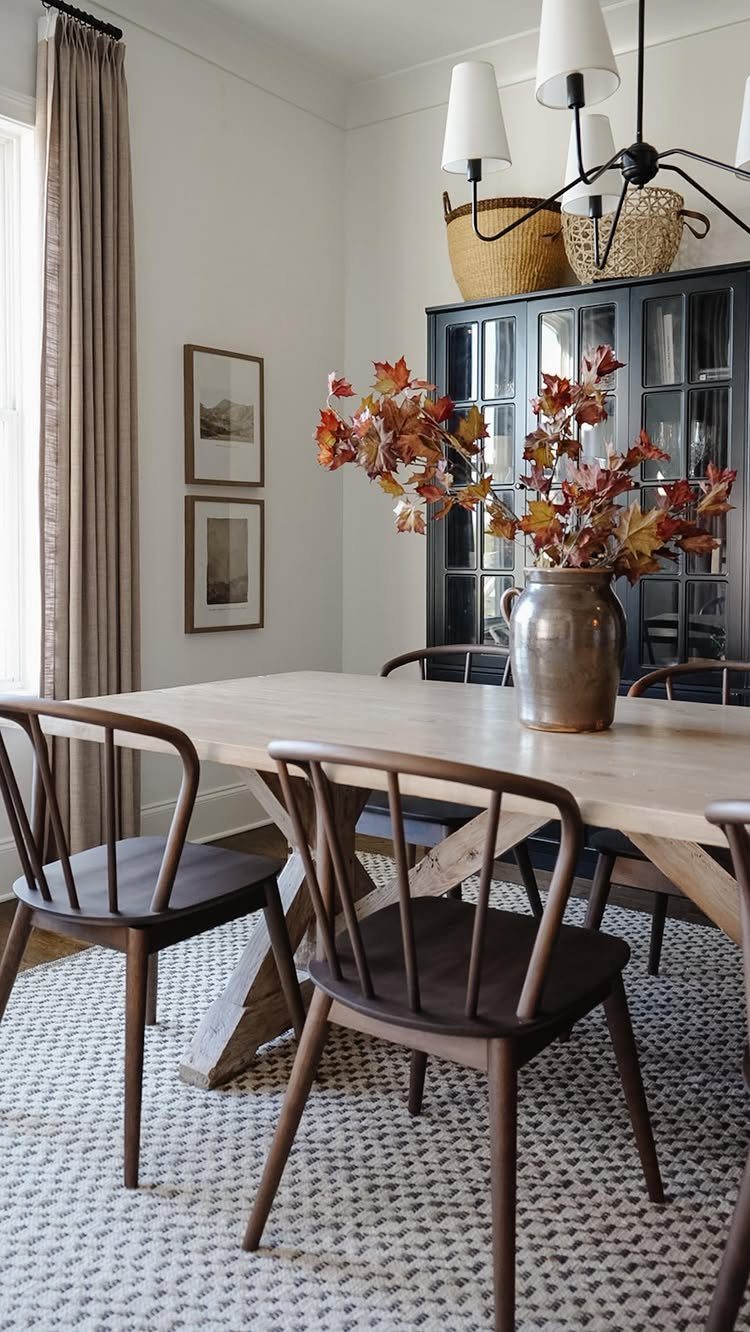
Dark brown wishbone-style chairs look especially good against a light wood table; the contrast does the styling for you.
The curved Y-shaped back is the signature of a wishbone chair, and it takes steam bending or careful shaping, which makes it the hardest build of the bunch.
If you are newer to woodworking, I would start with a simpler back and use stain to get the dark brown. A dark finish also hides small flaws in the wood.
Test the stain on scrap first, since it will look different on each species.
Materials and Tools Needed
Treat those figures as estimates and buy a bit more than the count says, since some boards will be lost to cutoffs and you will want room to choose the prettiest grain.
A budget route uses construction lumber instead: a 1×6 at 3 feet, a 2×2 at 8 feet, a 1×4 at 6 feet, a 1×2 at 8 feet and a 2×4.
Add a piece of 1/2" scrap plywood cut 19" x 19" for the seat top, 1 yard of fabric, and a 19" x 19" x 1" foam pad. You’ll also want 3/8" staples and 1 1/4" pocket hole screws.
Tools vary with the plan. A drill, a saw and clamps cover the basics, and a stapler handles the fabric.
A router, planer, jointer and spokeshave make shaped hardwood parts easier, but none are required. If one is missing, there is usually another way to do the same cut.
Chair Comfort and Design
Comfort comes down to a few angles and heights, so settle them before cutting anything. A kitchen chair seat usually sits around 17–19" off the floor, and about 10–12" below the tabletop edge leaves room for your legs.
Tilt the backrest back slightly, a few degrees past vertical. A perfectly upright back tires you out during a long meal.
A seat that slopes a touch toward the back also keeps you from sliding forward.
For cushioning, 1" foam is firm and slim, good for quick meals. Go thicker if people linger at your table, and add batting over the foam to soften the edges.
Sit on a mock-up made from scrap before the final build. Cardboard or spare boards will show you if the height or angle feels off, and fixing it then costs nothing.
Frequently Asked Questions
How can I make an easy DIY chair?
Start with a simple frame built from widely available construction lumber, like 1×2, 1×4, 1×6, 2×2 and 2×4 boards, and add an upholstered seat.
For the simplest seat upgrade, cut a 19" x 19" square of 1/2" plywood, wrap it around a 1" foam pad with 1 yard of fabric, and staple it down underneath.
Straight cuts and pocket hole screws keep the joinery easy, and the build stays sturdy and repeatable if you want a full set.
What is the best material to use for upholstering kitchen chairs?
Foam, batting and a tightly woven fabric make the best combination.
A 1" foam pad is firm and slim, and a layer of batting over it softens the edges. Tight weaves handle kitchen spills better than loose ones, so they hold up longer.
Where can I get cheap kitchen chairs?
Building them yourself is a low-cost route. Buy a little extra lumber, since some will be lost to cutoffs.






