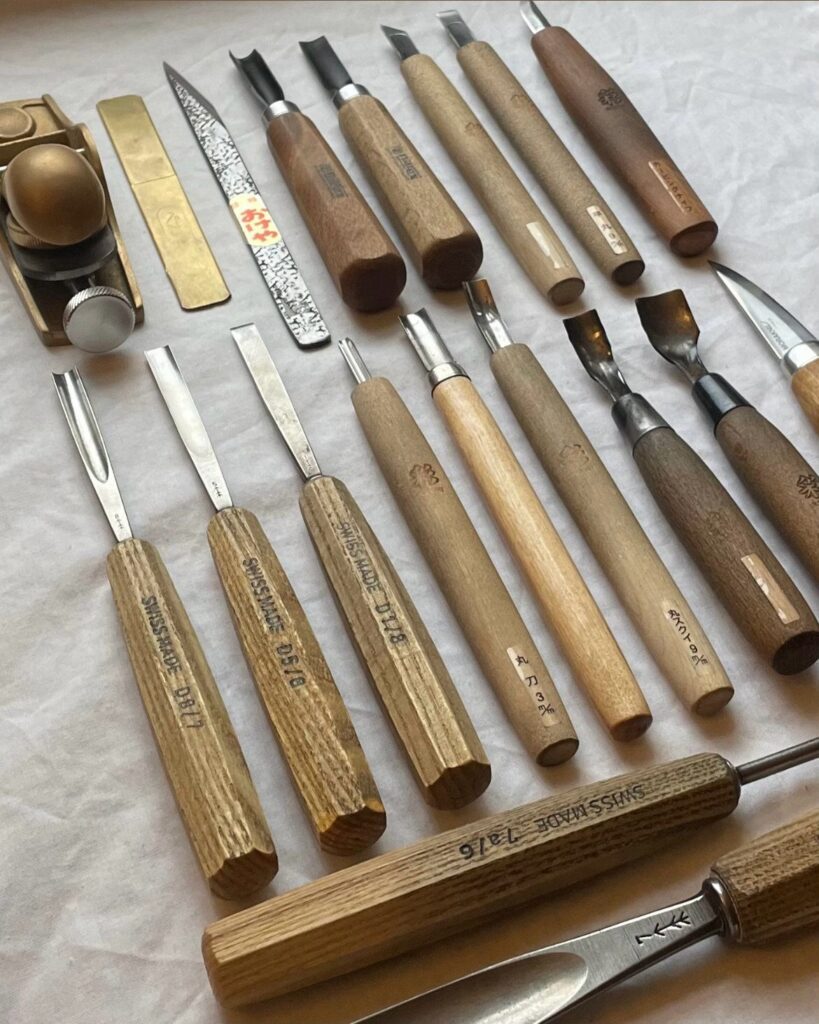
Which tool comes first depends on the cuts your next project needs, and the list below runs from a small marking knife to a wood router, which usually costs the most of anything here.
1. Combination Square
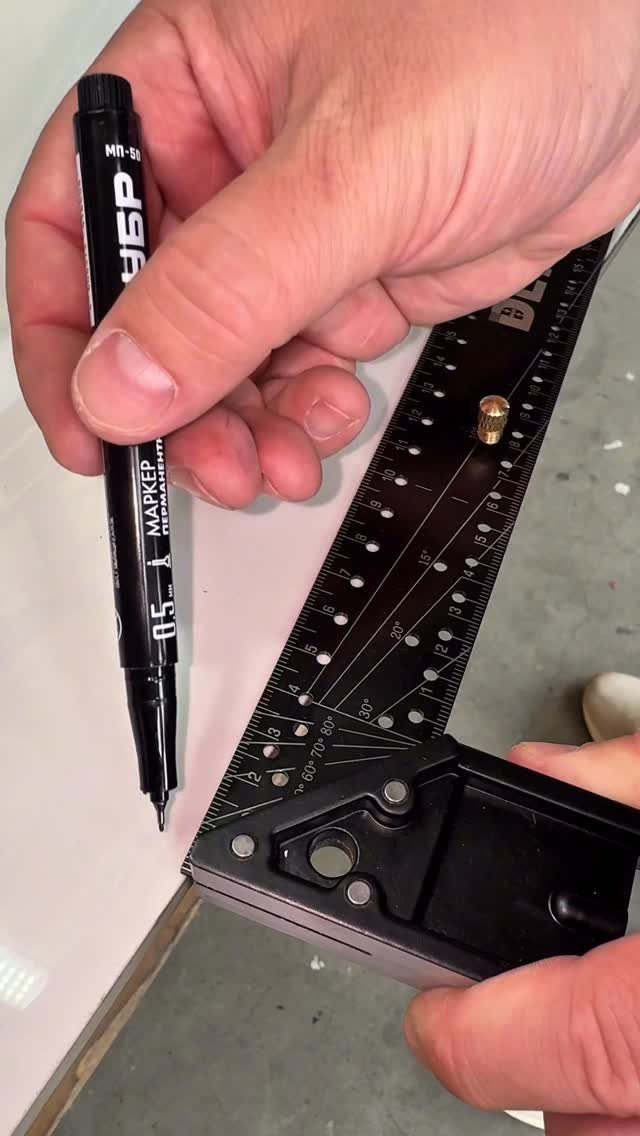
A combination square earns its spot in a starter kit because one tool does two jobs: it checks that an edge is a true 90 degrees, and it marks a line parallel to that edge.
Hold the stock tight against the board, slide the pencil or marker along the blade, and the line follows.
Buy one with a black, easy-to-read ruler and keep a sharp pencil with it. A thick marker line can wander a hair off the true edge, so I’d save markers for rough layout.
A combination square is indispensable for penciling or knifing a line at 45° and 90°. It’s important to get a good one, like those made by Starrett, because it will be accurate out of the box and it will stay that way.
2. Wood Router
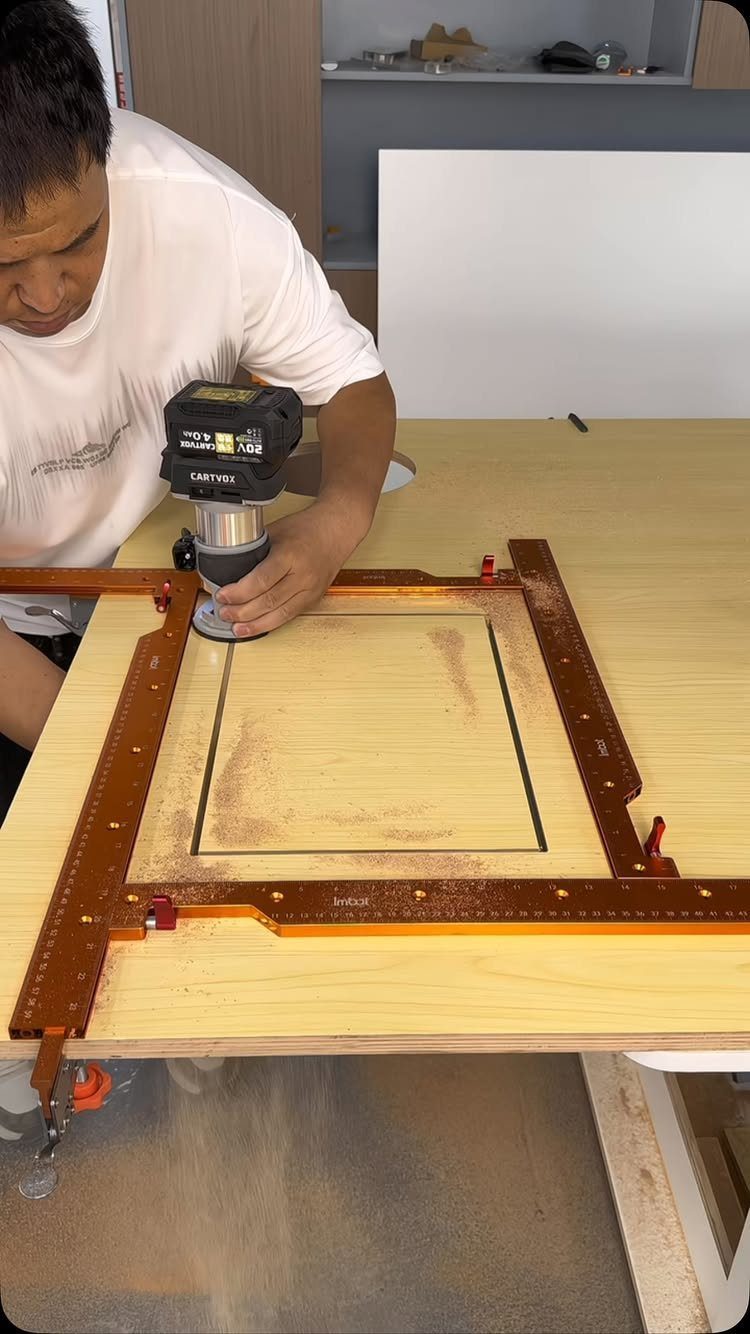
Cordless routers keep the cord out of the cut, which matters on a small bench where a cable catches on clamps. Pair one with a routing jig and the tool rides a fixed path instead of your steady hand.
Clamp the workpiece so it can’t shift, and take shallow passes rather than one deep bite.
A router costs more than the hand tools, though it still runs less than a table saw, so I’d buy it after the hand tools, not before.
3. Woodworking Marking Knife
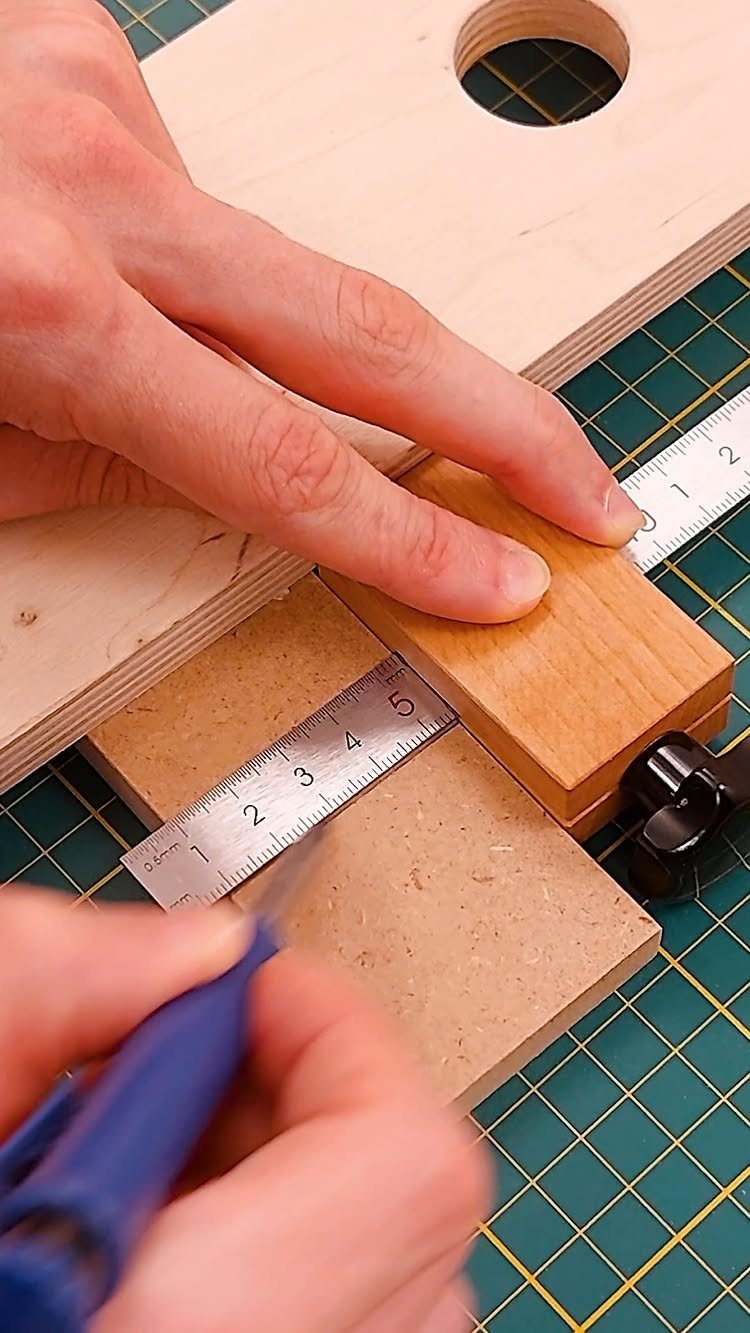
A pencil line is wide and fuzzy. A marking knife cuts a hairline into the surface, and that tiny groove gives a chisel or saw a place to seat, so your joints land where you meant them to.
Press the knife against a metal straightedge and pull toward you in one or two light strokes.
Deep gouges aren’t needed. Cheap and small, this is the best-value tool on the list.
4. Miter Saw
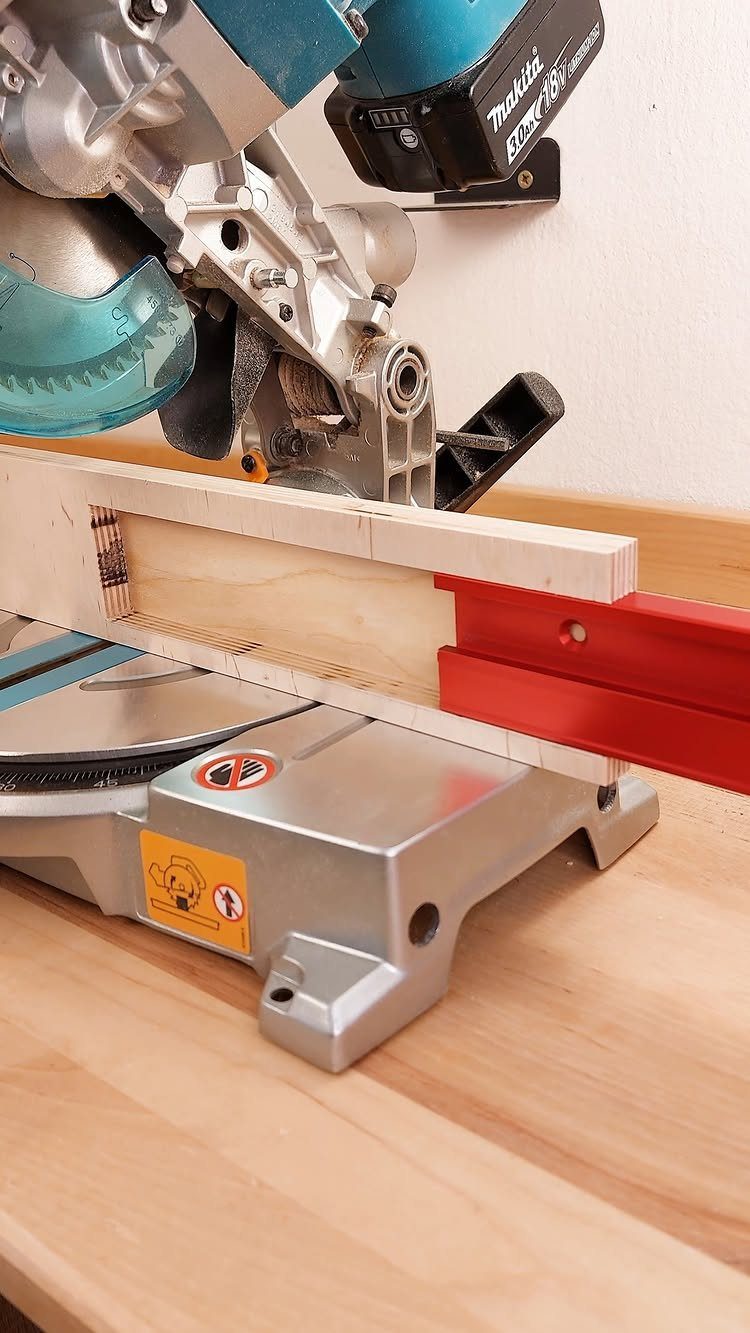
Square, repeatable crosscuts are what a miter saw does best, and it does them faster than any handsaw. Picture frames, shelves and trim all start with clean angled ends.
A cordless model on an 18V battery means no extension cord and easy storage in a tight space.
Clamp the board against the fence, let the blade reach full speed, then lower it slowly. For a beginner who mostly cuts boards to length, I’d pick this before a table saw.
5. Orbital Power Sander
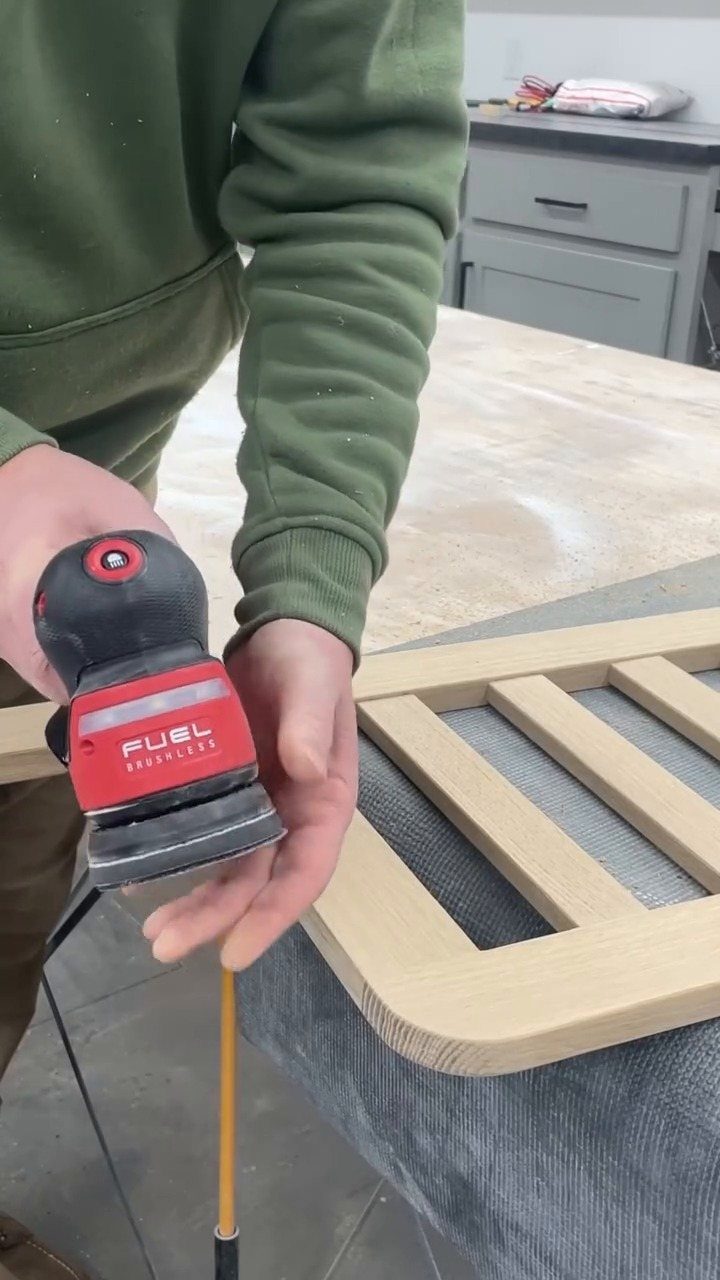
Sanding by hand across a big panel takes forever, and an orbital sander cuts that to minutes. Its random motion leaves fewer visible swirls than a basic sander would.
Start with a coarse grit and move up through finer ones, never skipping more than one step.
The weight of the sander does the work, so rest it on the board with the pad flat and skip the downward pressure. Pressing down hard only gouges the wood and wears out the paper.
6. Wood Chisels
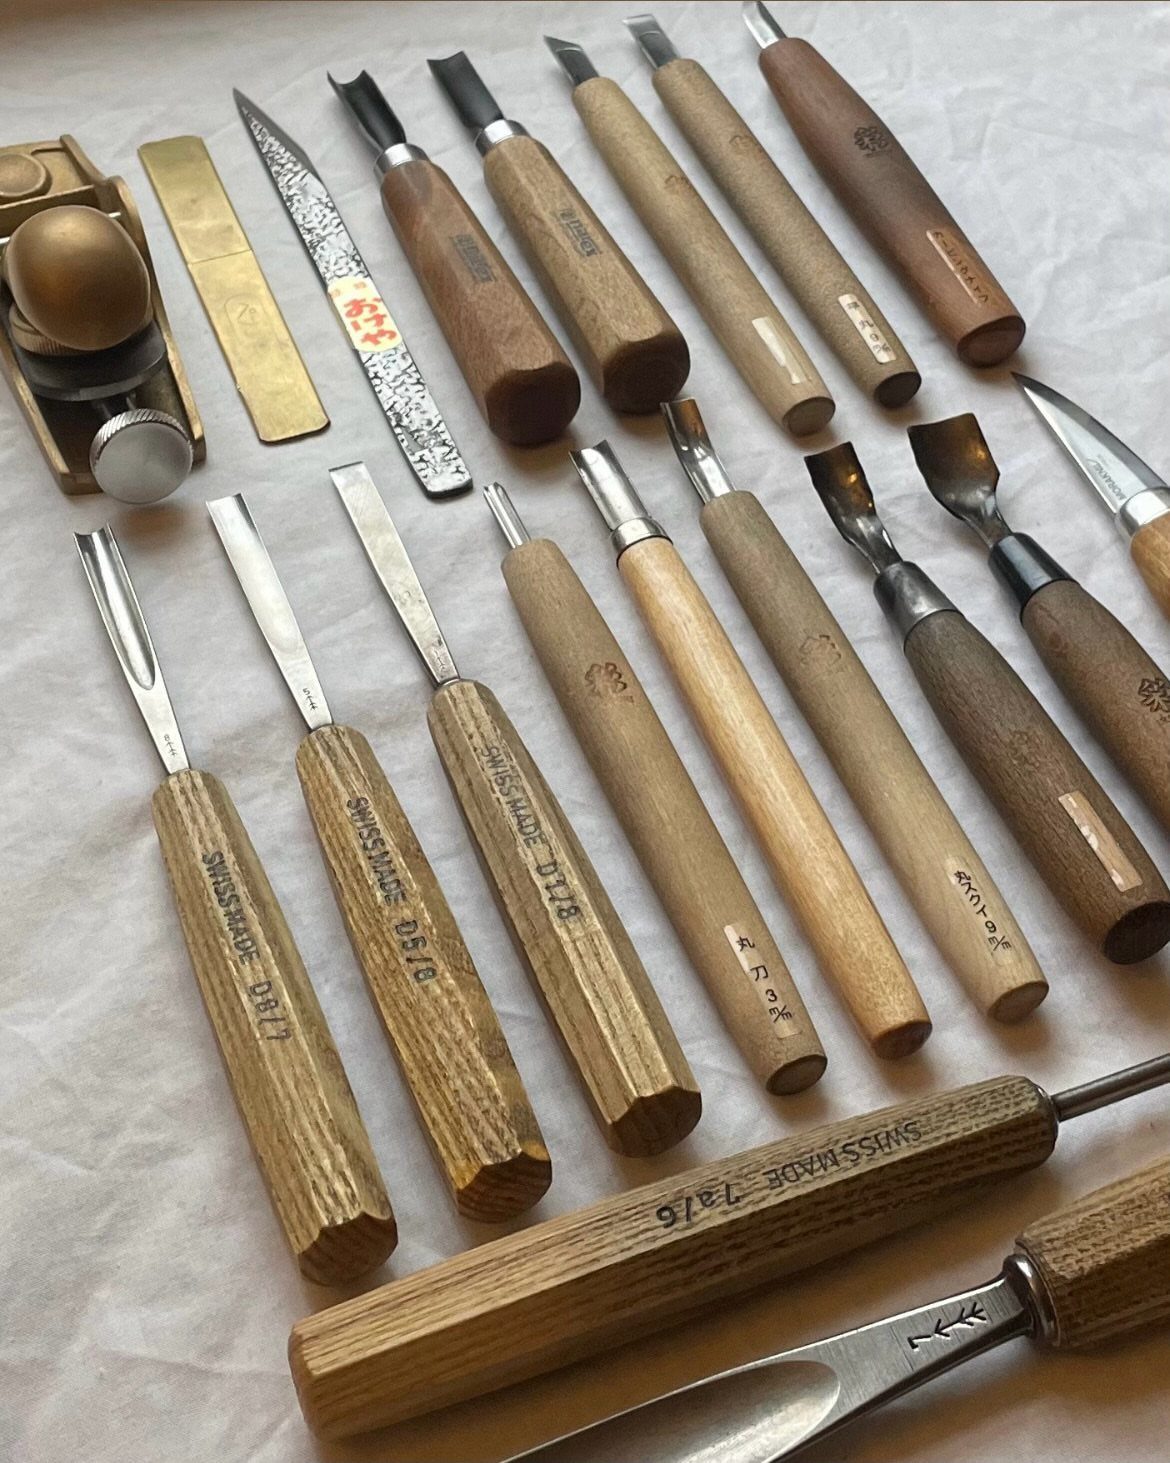
Chisels pare, trim and clean out joints where a saw can’t reach, and a small set covers most beginner needs. Wooden handles feel good in the palm and can take a light mallet tap.
Keep them sharp, since a dull chisel slips and tears instead of cutting.
Always cut away from your body, with both hands behind the edge. Buy a few good ones rather than a big, cheap set.
7. Table Saw
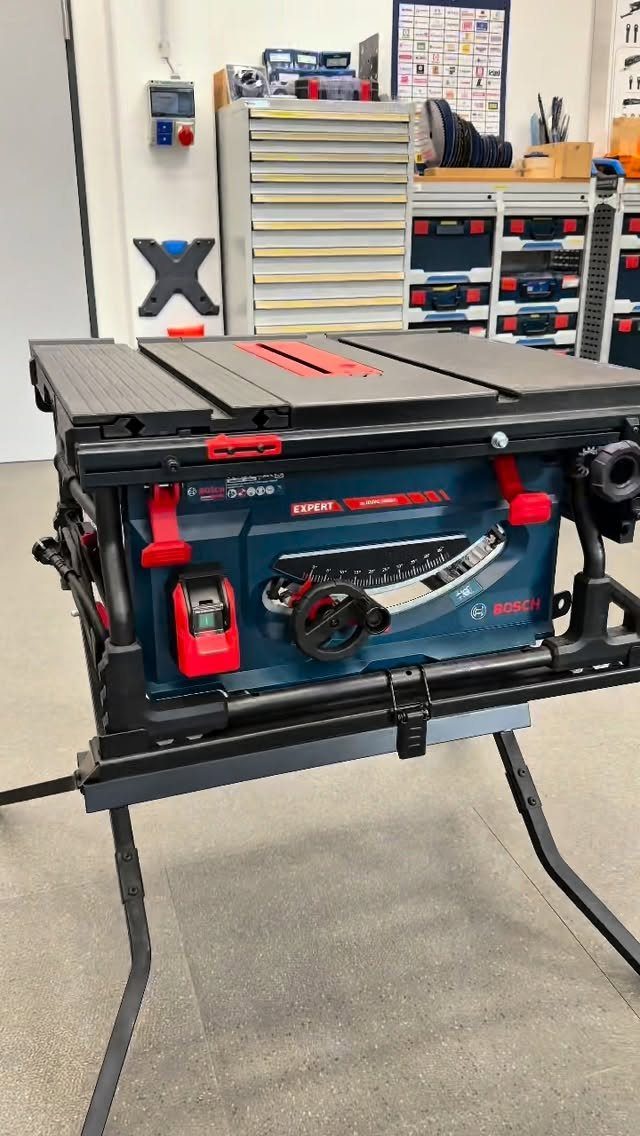
A portable jobsite table saw on a folding stand is the version I’d point a small-shop beginner toward, because it can be rolled out for a project and tucked away after.
The stand keeps the tabletop at a workable height without a dedicated bench.
Rip cuts along the length of a board are its specialty, the job a miter saw can’t do. Use a push stick, keep your hands well clear of the blade, and never stand directly behind the board.
Buy this after the miter saw. It costs more and asks for more caution.
8. Wood Carving Gouge
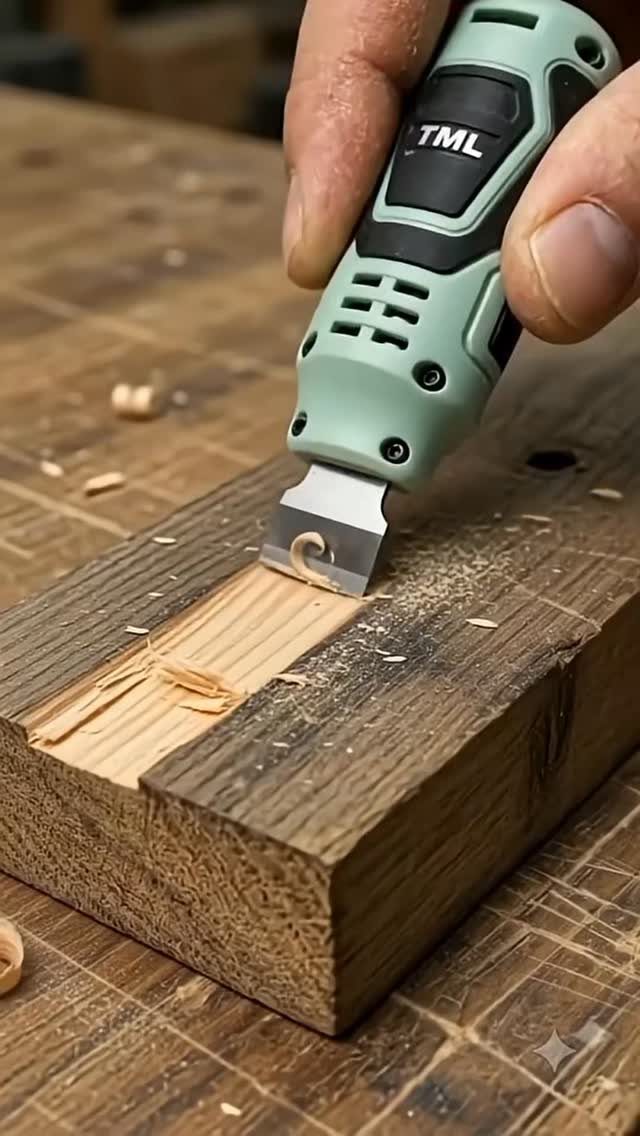
Cutting a channel into a block takes a gouge, a chisel with a curved blade that scoops wood out in a rounded groove. A flat chisel can’t make that shape.
Clamp the block so both hands stay free, then push the tool forward in short, shallow strokes.
Keep your off hand behind the cutting edge, never in front of it. Deepen the groove with several passes instead of one heavy bite, and follow the grain so the edges stay clean.
Like any chisel, a gouge cuts best when sharp, so plan on honing it before you start.
Safety First
Safety glasses, hearing protection and a dust mask or respirator are the 3 pieces of gear I’d buy before any saw. Wood dust is harmful to your lungs, hardwoods especially, and so are the fumes from stains and oils.
Side shields matter more than the frame style, since sawdust and wood chips fly in from the edges, so try the glasses or goggles on and check that they sit snug against your face.
A respirator with swappable filters protects your lungs far better than a thin paper dust mask, and the filters cost just a few dollars to replace.
Power tools are loud, and hearing loss from noise builds up over time. Earmuffs or earbuds rated for shop noise both work, so pick whichever you’ll actually wear.
Keep the workspace clean too. Sweep up sawdust and clear scraps off the floor and bench before you start a cut, not after.
Start Small
Start with a few essential tools and learn them well before adding more. A small first project teaches cutting, sanding and assembling without asking much of your budget or your patience.
Buying one new tool after every 2–3 projects keeps the budget in check and lets each purchase prove its worth before the next. That gives you time to master the one in your hands before the next one arrives.
A drawer full of tools you barely understand teaches less than a short kit you use every week.
Buy as You Go
Buy a tool when a specific project calls for it, not before. Read your next project’s cut list first, then ask which step your current kit can’t handle.
That single gap is your shopping list. Anything else can wait, and the money saved goes toward better versions of the tools you already use.
Adding one tool every 2–3 projects keeps spending slow and gives each purchase a job. A tool bought for a real task gets used right away, while one bought "just in case" tends to sit in the box.
Frequently Asked Questions
What are the tools everyone needs?
Safety gear comes first: safety glasses, hearing protection and a dust mask or respirator.
After that, a combination square, a marking knife and a small set of sharp chisels cover layout and joinery cheaply. Power tools like a miter saw and orbital sander can wait until a project calls for them.
What are the top tools for woodworking?
A combination square, a marking knife, chisels, a miter saw and an orbital power sander cover most of what a beginner does.
The square and knife handle accurate layout, the miter saw makes square crosscuts, and the sander finishes surfaces in minutes instead of hours. A table saw and a router are worth adding later, since both cost more.
What tools are essential for beginners?
Start with something to cut with and something to join with, plus a way to measure and mark. A combination square, a pencil and a marking knife handle the measuring and marking.
For someone who mostly trims boards to length, a miter saw is the first power saw I’d buy, and an orbital sander saves hours of work by hand.
What is the best way to start woodworking?
Start small: a handful of core tools and one easy project, and get comfortable with each tool before adding the next. Something like a small box or shelf covers measuring, cutting, sanding and glue-up for very little money.
Adding one new tool every 2–3 projects gives you time to master it, and reading your next cut list shows which gap in your kit actually needs filling.
Can I teach myself woodworking?
Absolutely; plenty of woodworkers are self-taught, using free video tutorials and a lot of time in the shop.
Keep the first projects small so you practice cutting, sanding and assembling without wasting much money. Wear eye, ear and lung protection from day one, since bad habits with saws are harder to unlearn than to avoid.






