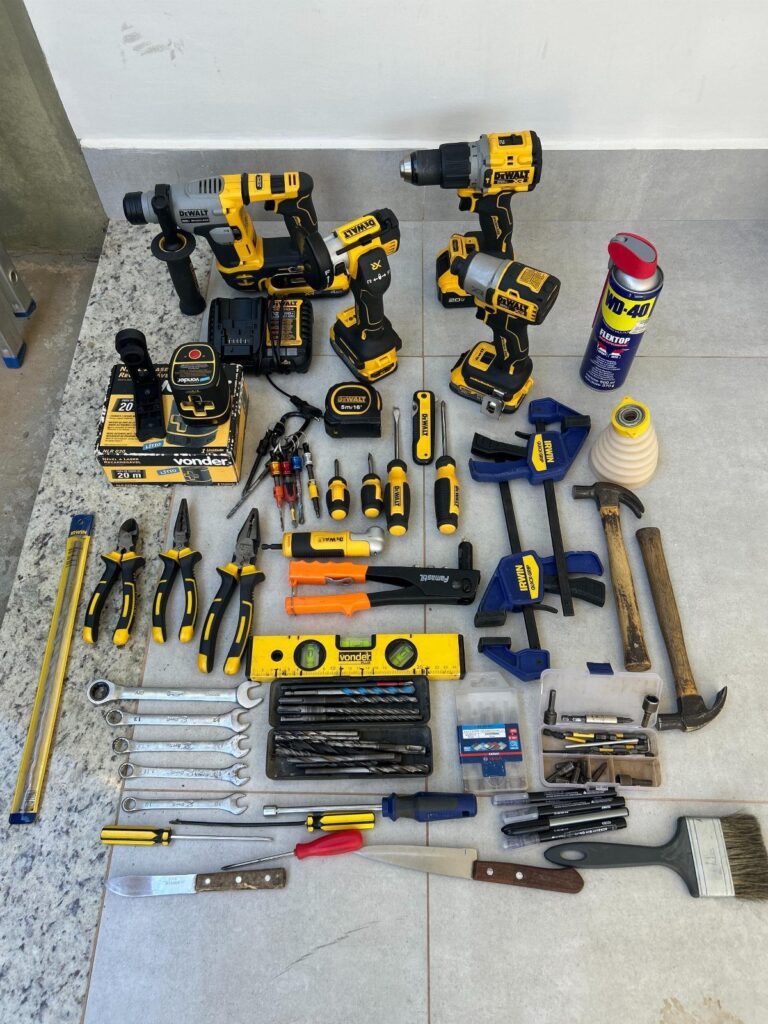
The tools here run from a speed square that costs a few dollars to a table saw with a real price tag and a big footprint, and how much room and budget your shop has decides which ones you buy.
A beginner in a small space can cover most cuts with a circular saw, a hand saw and a 25-foot tape, then add a miter saw or track saw only after repeat cuts or frequent sheet goods call for it.
1. Hammer
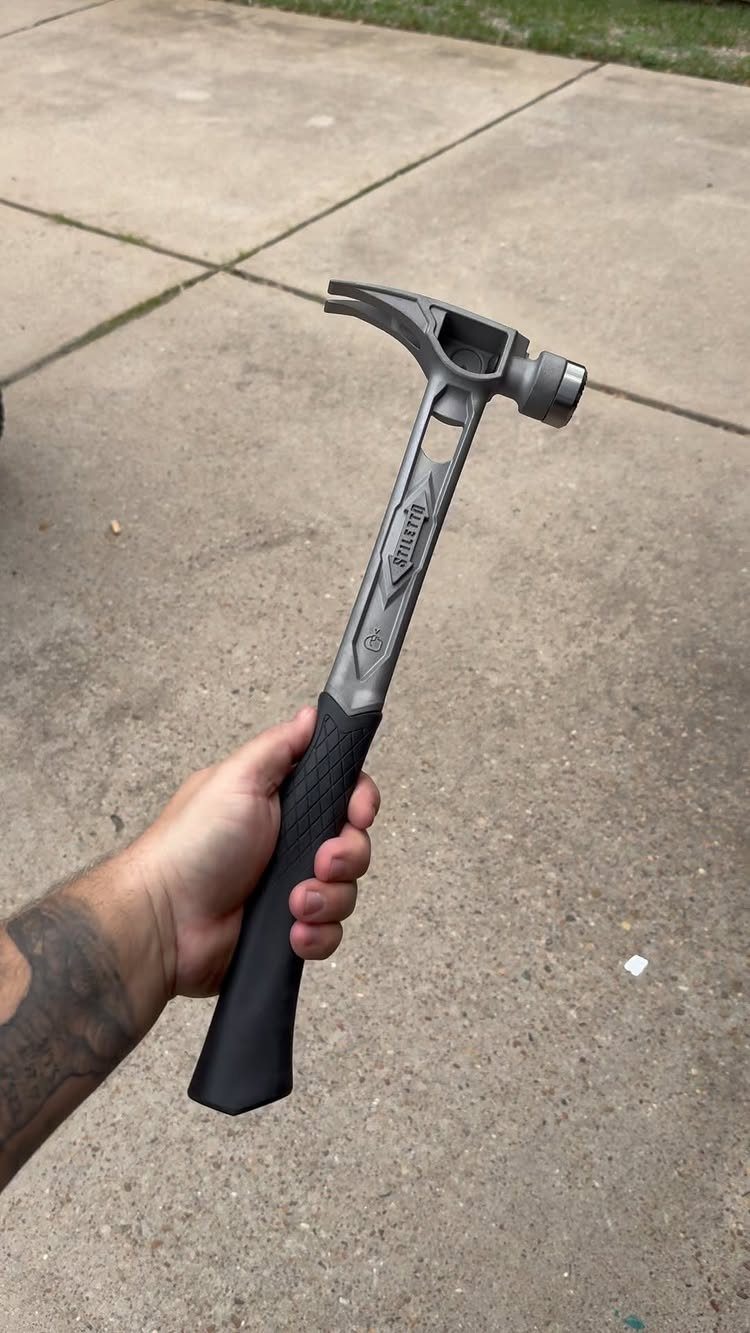
A claw hammer covers most of what a first toolbox needs: the flat face drives nails and the curved claw pulls them back out.
Wait, that weight is my own rule of thumb, so treat it as a typical starting range, not a spec.
Look for a grip that feels secure in your palm, such as a black rubberized one, since a slick handle gets tiring fast. Hold the handle near the end for power and choke up for small finish nails.
2. Tape Measure
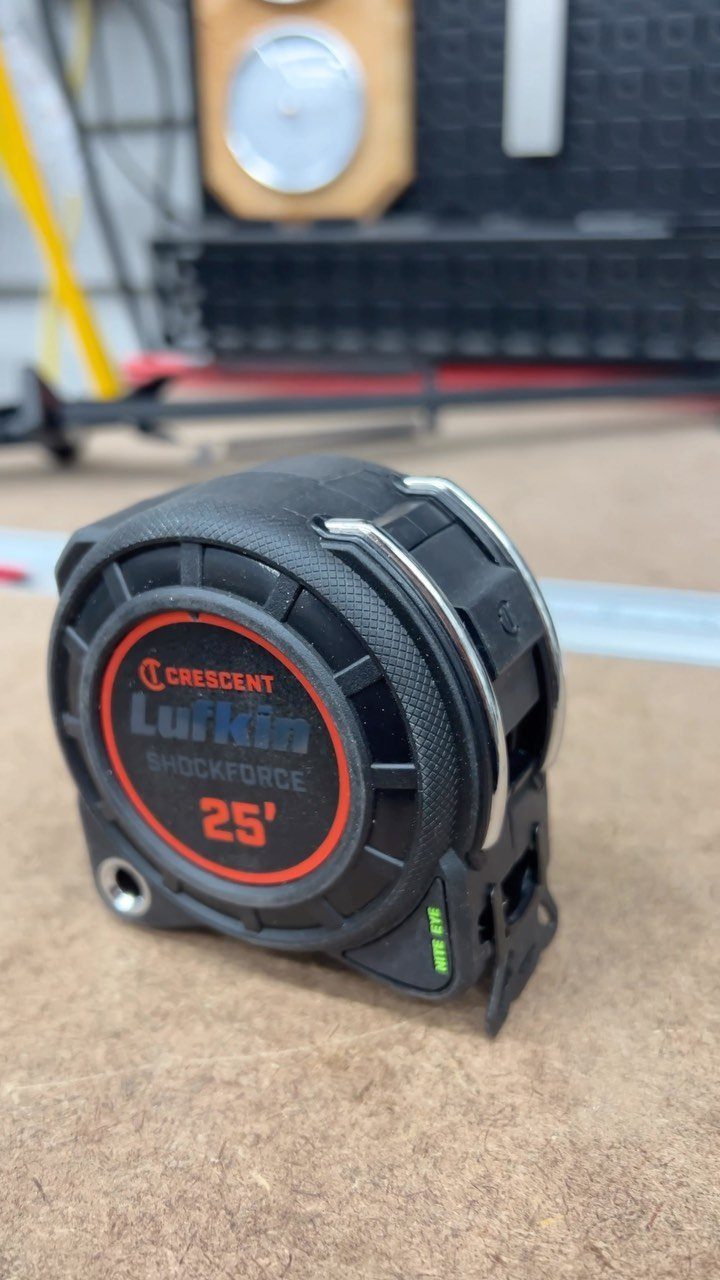
Every cut starts with a number, and a 25-foot tape like this Crescent Lufkin gives a beginner plenty of reach for boards, shelves and a full sheet of plywood.
Longer than that and it gets bulky; shorter and you will be stitching measurements together.
Hook the end on the edge and let it slide; that small give is built in to account for its own thickness.
Measure twice, mark once, and always use the same tape for one project so any small error stays consistent.
3. Block Plane
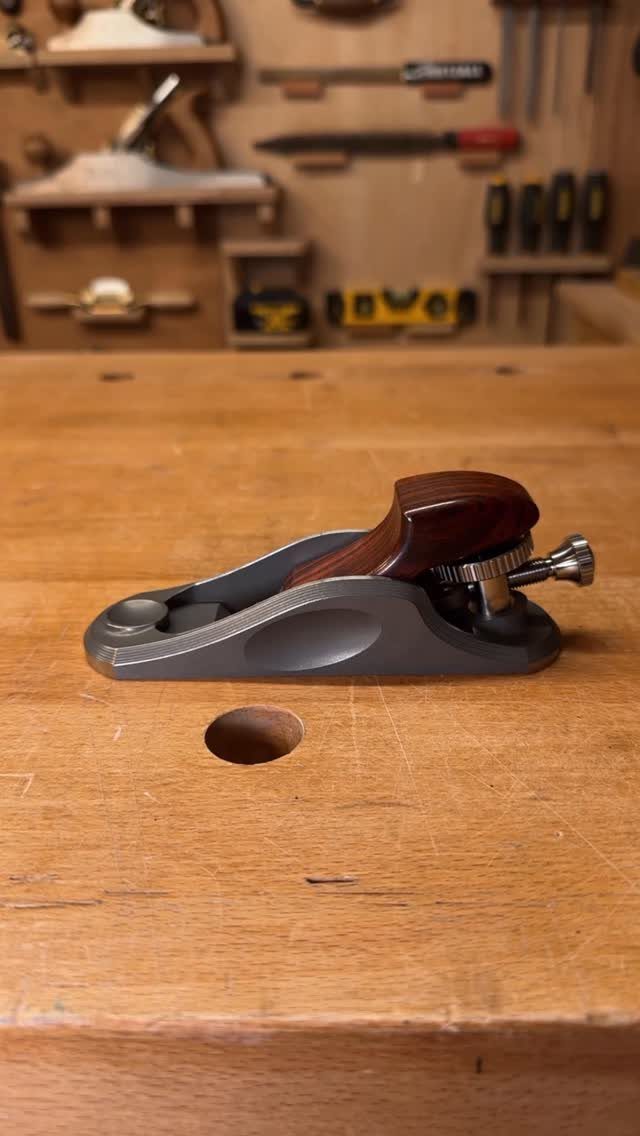
Small enough to palm, a block plane shaves a thin curl off end grain, softens sharp edges and fits a door or drawer that sticks.
For a beginner on a tight budget, it replaces a lot of sandpaper and a bigger tool.
Take light passes with a sharp blade, and plane with the grain whenever you can. A wooden handle feels warm and comfortable in the hand, though any plane will work if the blade is sharp.
4. Miter Saw
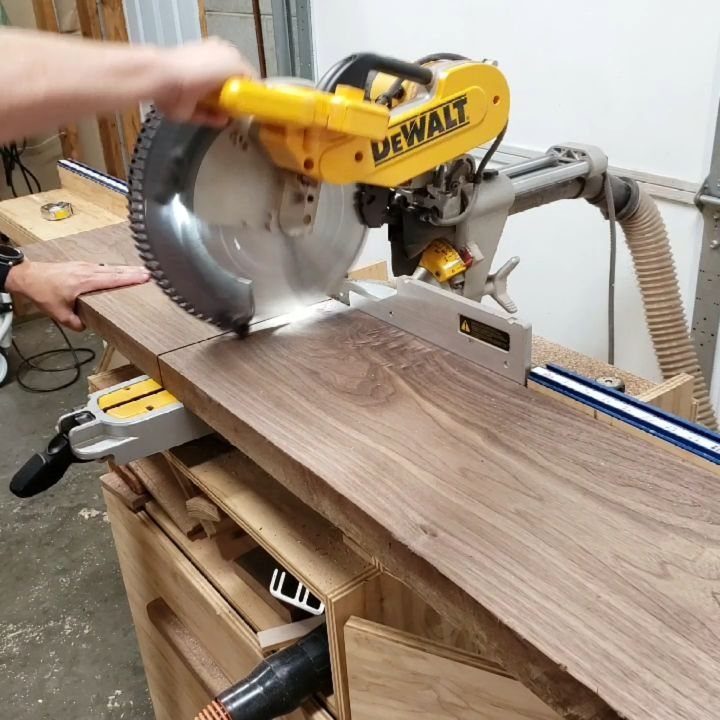
Crosscuts are where a miter saw earns its bench space. Drop the blade through a board and you get a square end every time, or tilt the head for angled cuts on trim and frames.
It is a bigger purchase than a hand saw, so I would buy one only after you know you build things that need repeat cuts.
Clamp the wood firmly, wait for the blade to reach full speed, and keep your free hand well clear of the cut line.
5. Table Saw
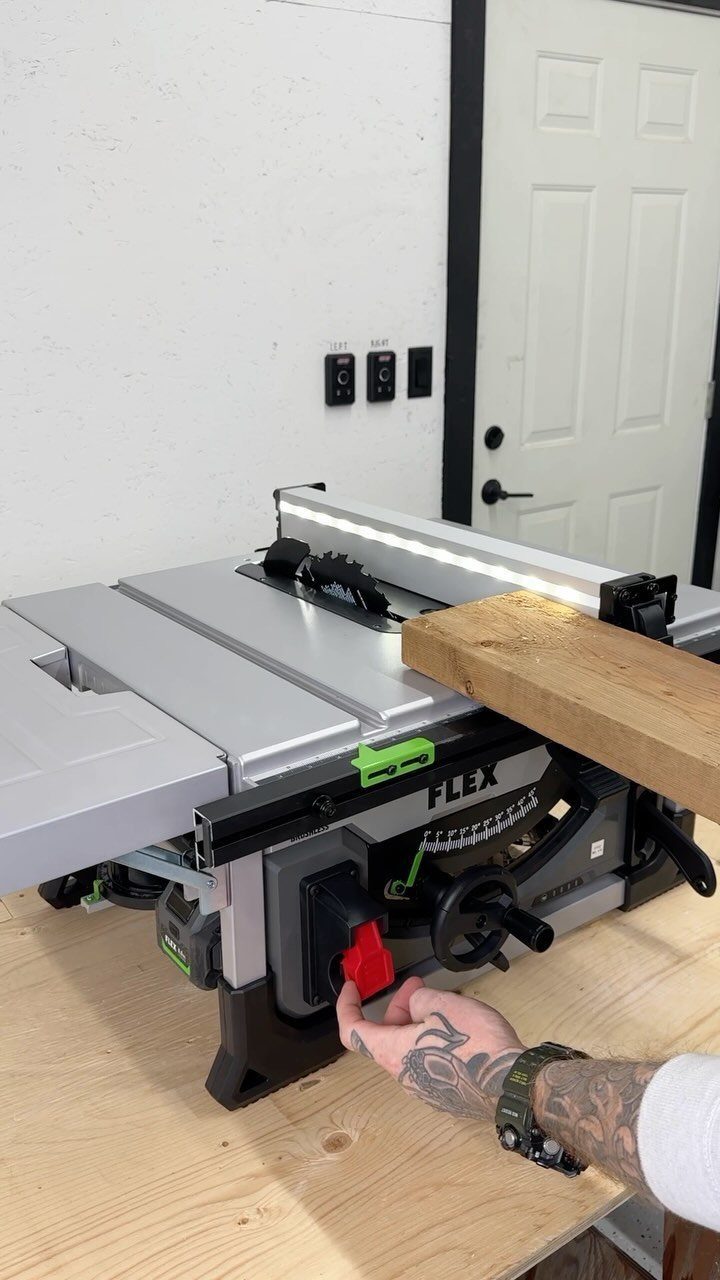
Ripping a board straight along its length is the table saw’s job, and the fence is what makes it accurate.
A rack and pinion fence, like the smooth one with a built-in LED light that the maker describes on this FLEX saw, slides parallel and locks without fuss.
Expect a real cost and a large footprint, which is the trade-off for a beginner with a small space. If you have the room, it is the tool I would save for.
6. Speed Square
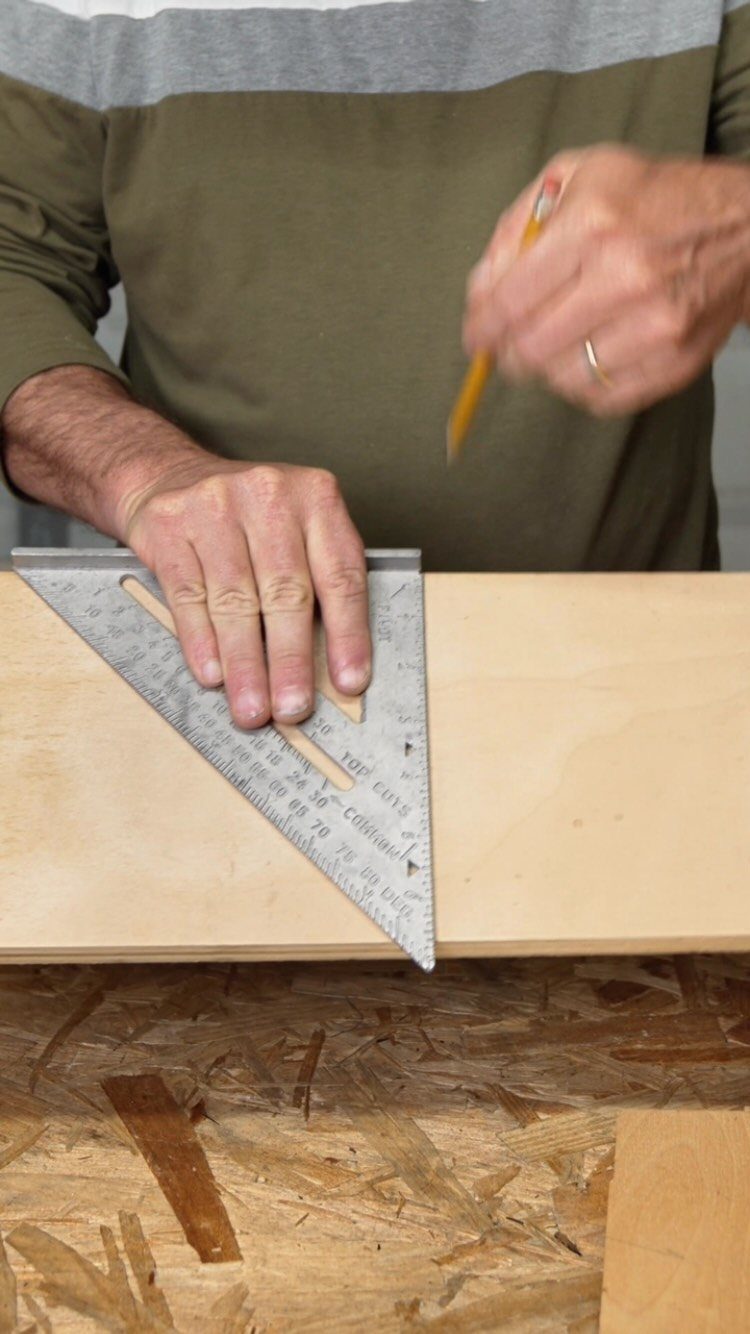
Pencil lines drawn against a speed square stay straight and square, and this metal triangle costs very little.
Hold the thick lip tight against the board’s edge, slide the pencil along the face, and you have a 90-degree line for a cut.
Printed markings, like the "TOP CUTS" on this one, help with common angles. It is also a handy guide for a circular saw, so I consider it a must for any starter kit.
7. Tool Belt
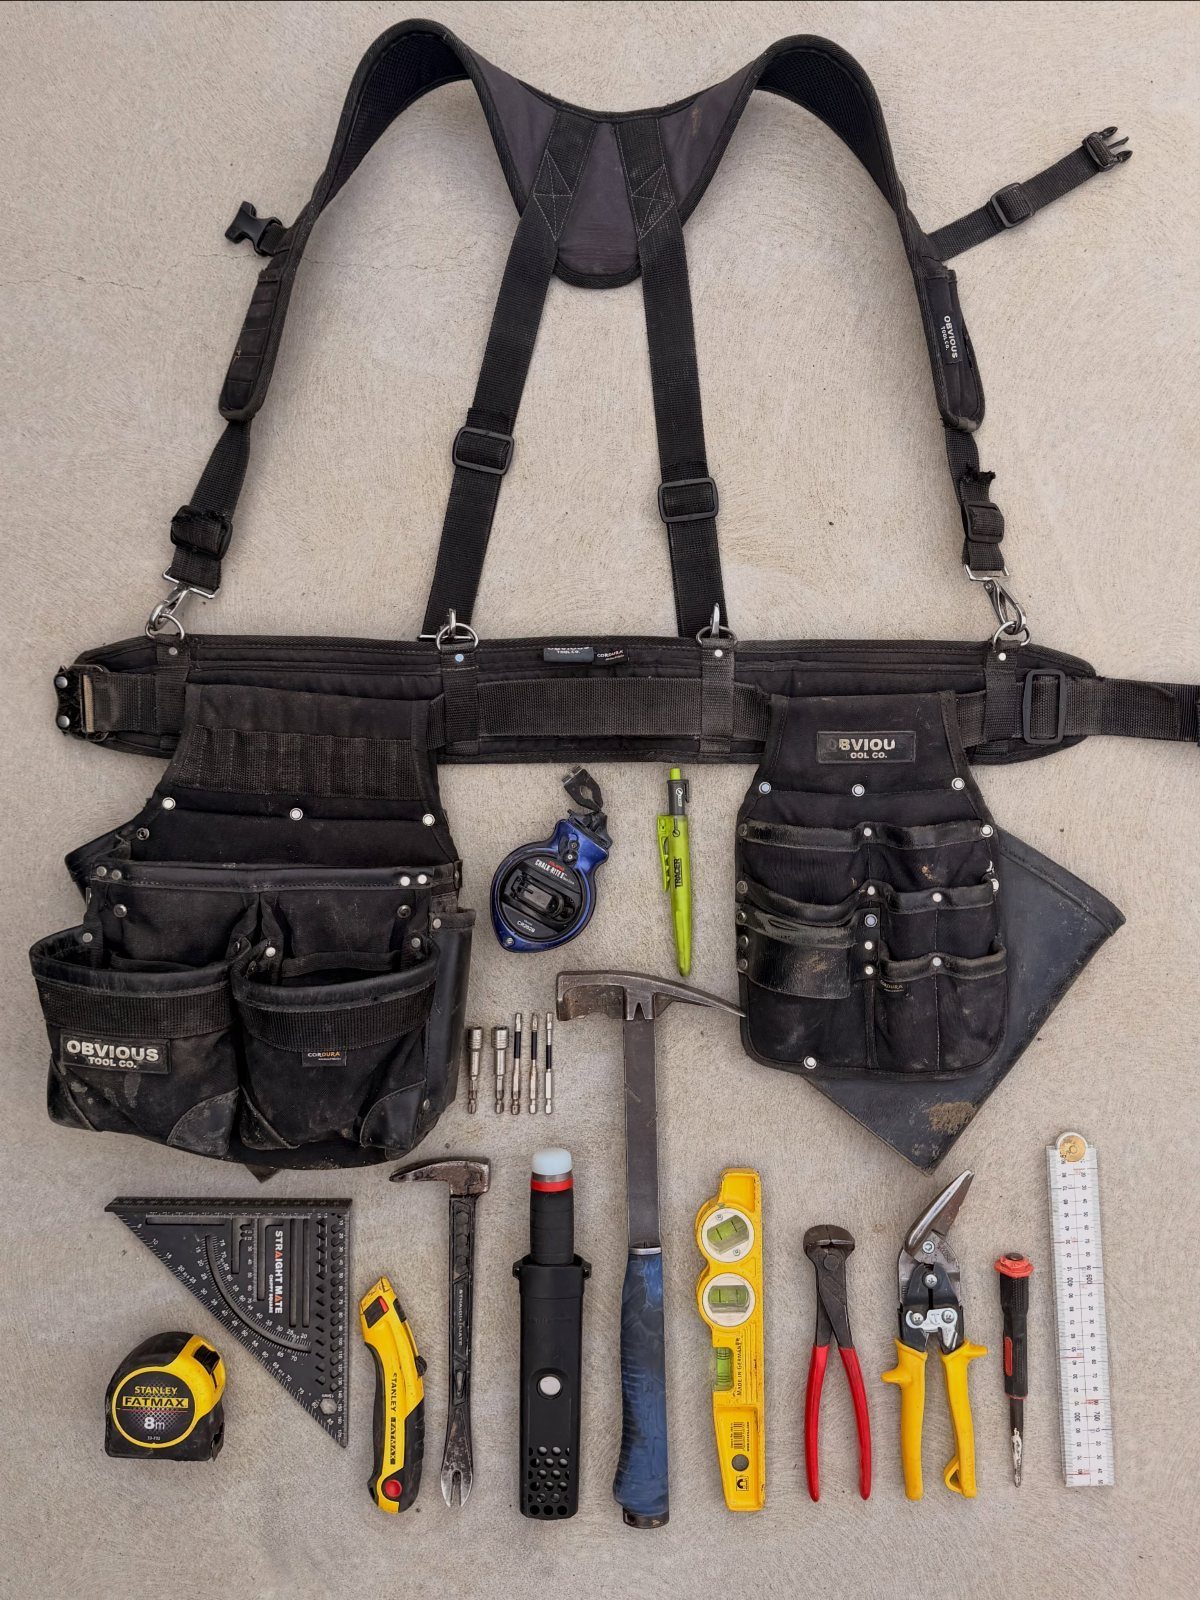
A tool belt with suspenders, like this black one, moves the weight off your hips and onto your shoulders.
Weight matters once a hammer, level and tape measure are all hanging from it, so pick a belt with a padded, wide back that spreads the load across your hips.
For a beginner, a belt keeps your hands free on a ladder or a roof, and it saves the walk back to the toolbox.
8. Wooden Sawhorse
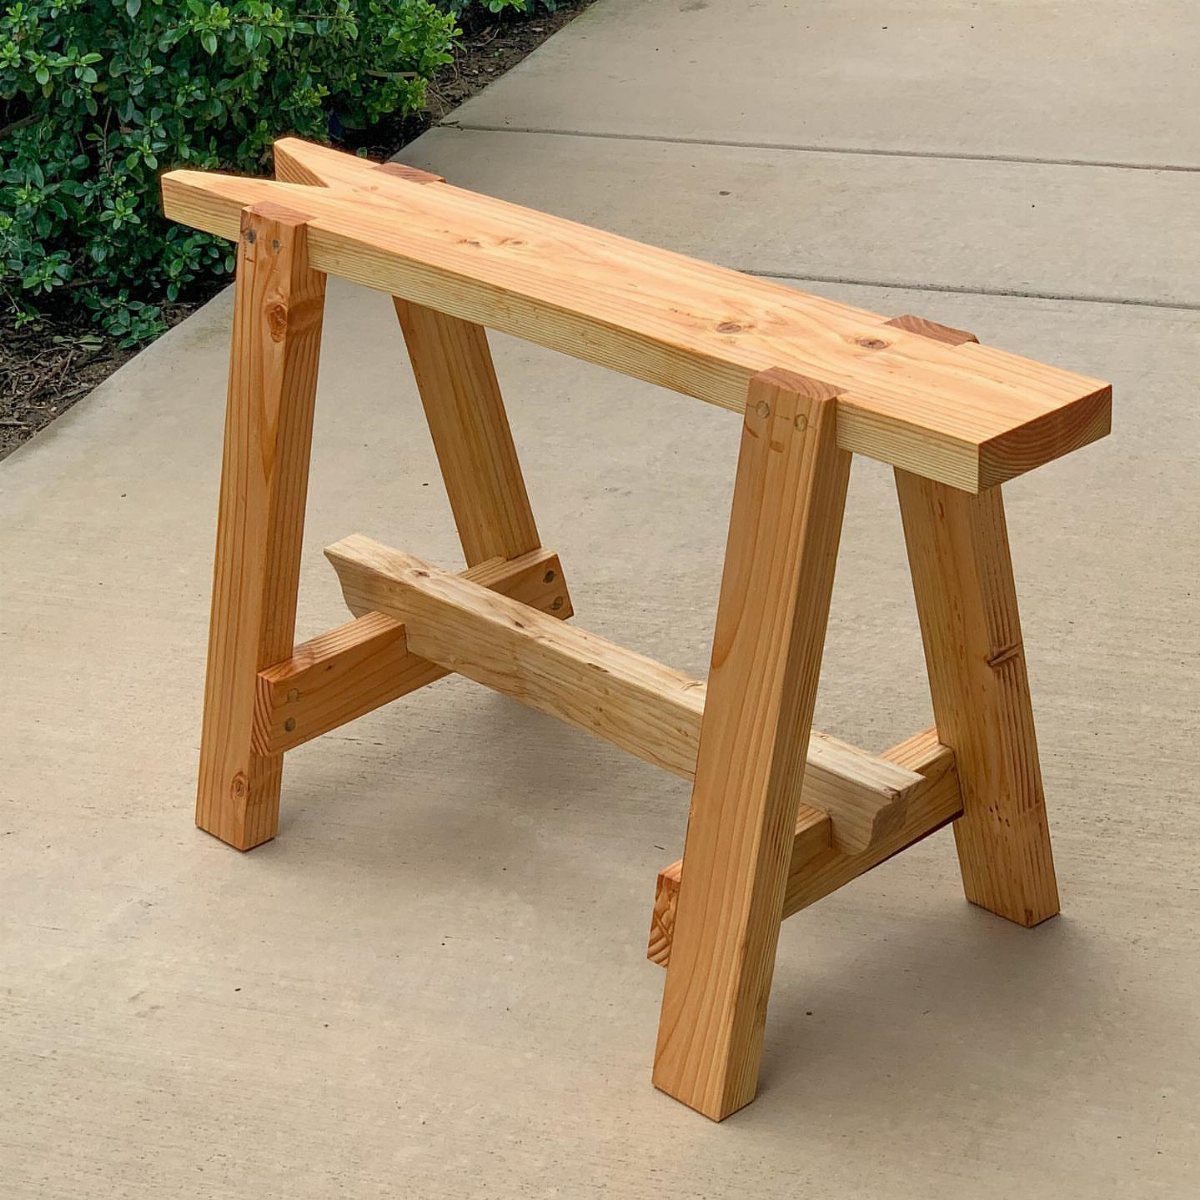
2 sawhorses give you a work surface anywhere, and a pine pair is cheap to build from basic lumber. Set a board across them and you have a cutting table that stores flat against a wall when you are done.
Light pine is easy to cut and carry, though it dents sooner than hardwood.
Place the legs on level ground so the top does not rock, and position the cut line over open space between the horses, not over the rail.
9. Circular Saw
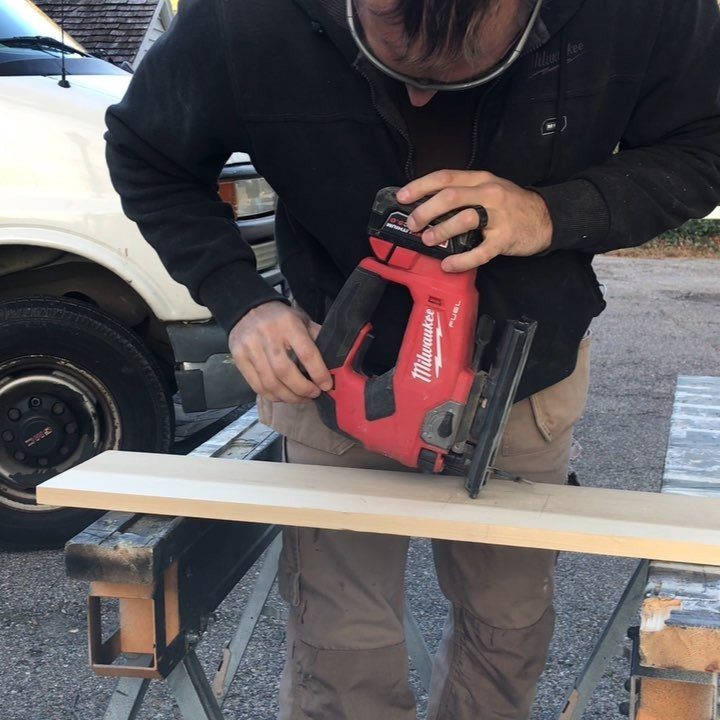
Most first sheet-goods cuts happen with a circular saw, and a corded or cordless one like this red Milwaukee costs far less than a table saw. It is my pick for a beginner with little space.
Support the board on both sides of the cut and set the blade depth just below the wood.
Clamp a straightedge, such as a speed square, for a straight line. Wear eye protection, and let the blade stop before you set the saw down.
10. Cordless Drill
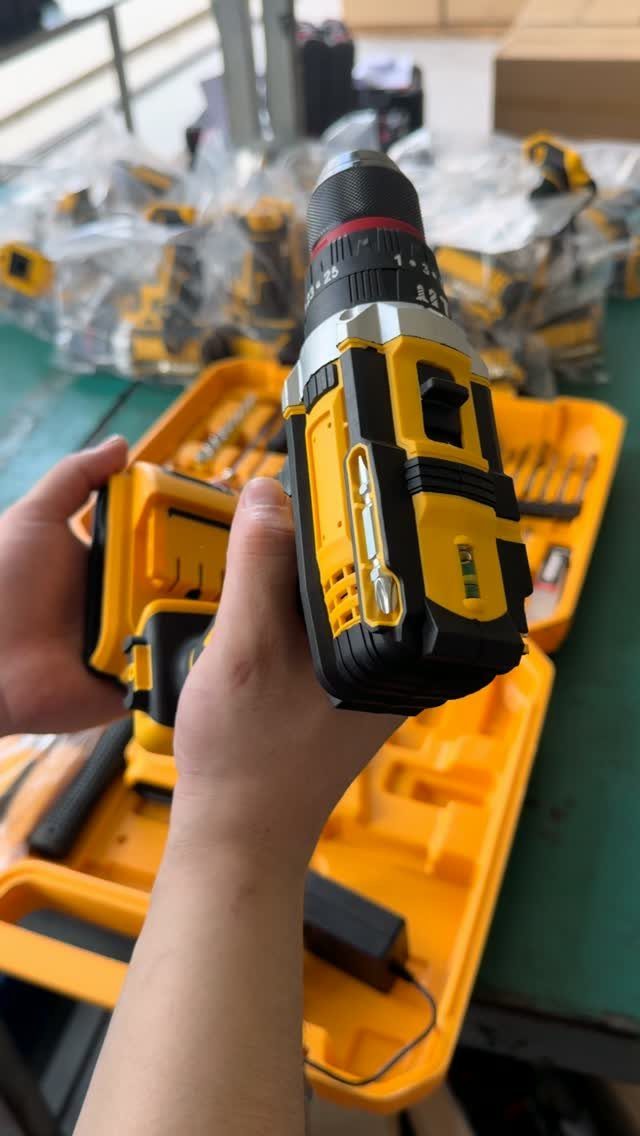
Drilling holes and driving screws are the two jobs a cordless drill handles all day, and a kit with a case keeps bits and accessories in one place. That is handy when space is tight.
Pick a drill that feels balanced in one hand, since your wrist tires first.
Choose a bit slightly smaller than the screw for a pilot hole, and start slowly so the bit does not wander. If I could buy only one power tool first, this would be it.
11. Hand Saw
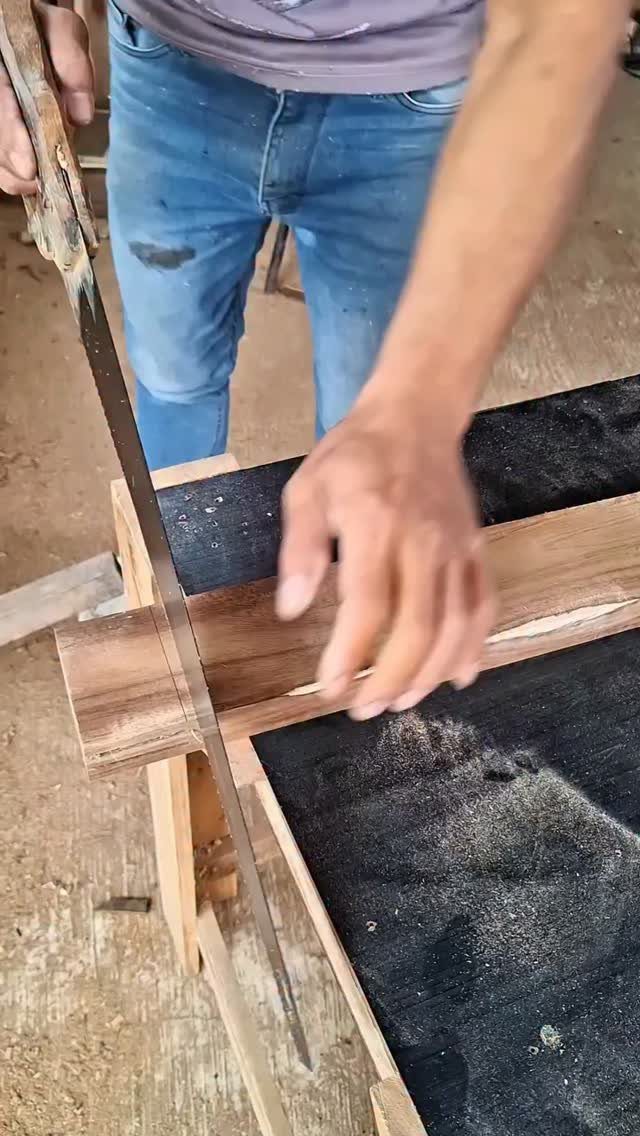
A hand saw needs no cord, no battery and almost no storage space, which suits a beginner on a budget. Pushing the blade through a board yourself also teaches you what a straight cut feels like.
Clamp the board to a workbench, start the cut with a few light pull strokes, then use long, even push strokes and let the teeth work.
Do not force it. A sharp saw cuts cleanly, so replace or sharpen a dull one.
12. Track Saw
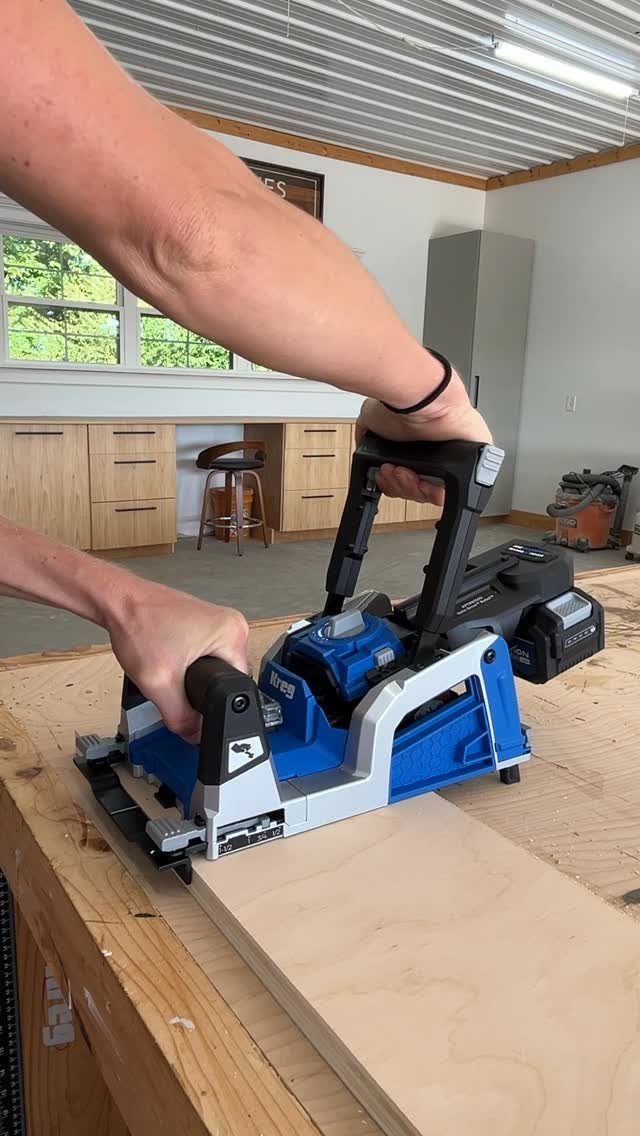
Riding on a guide rail, a track saw makes long, splinter-free cuts in plywood and can plunge into the middle of a board. The rail is what keeps the line straight.
It costs more than a circular saw, so I would wait until you cut sheet goods often.
Line the rail’s edge with your mark, clamp it if it can slip, and push at a steady pace. For occasional cuts, a circular saw with a clamped straightedge will do.
13. Bow Saw
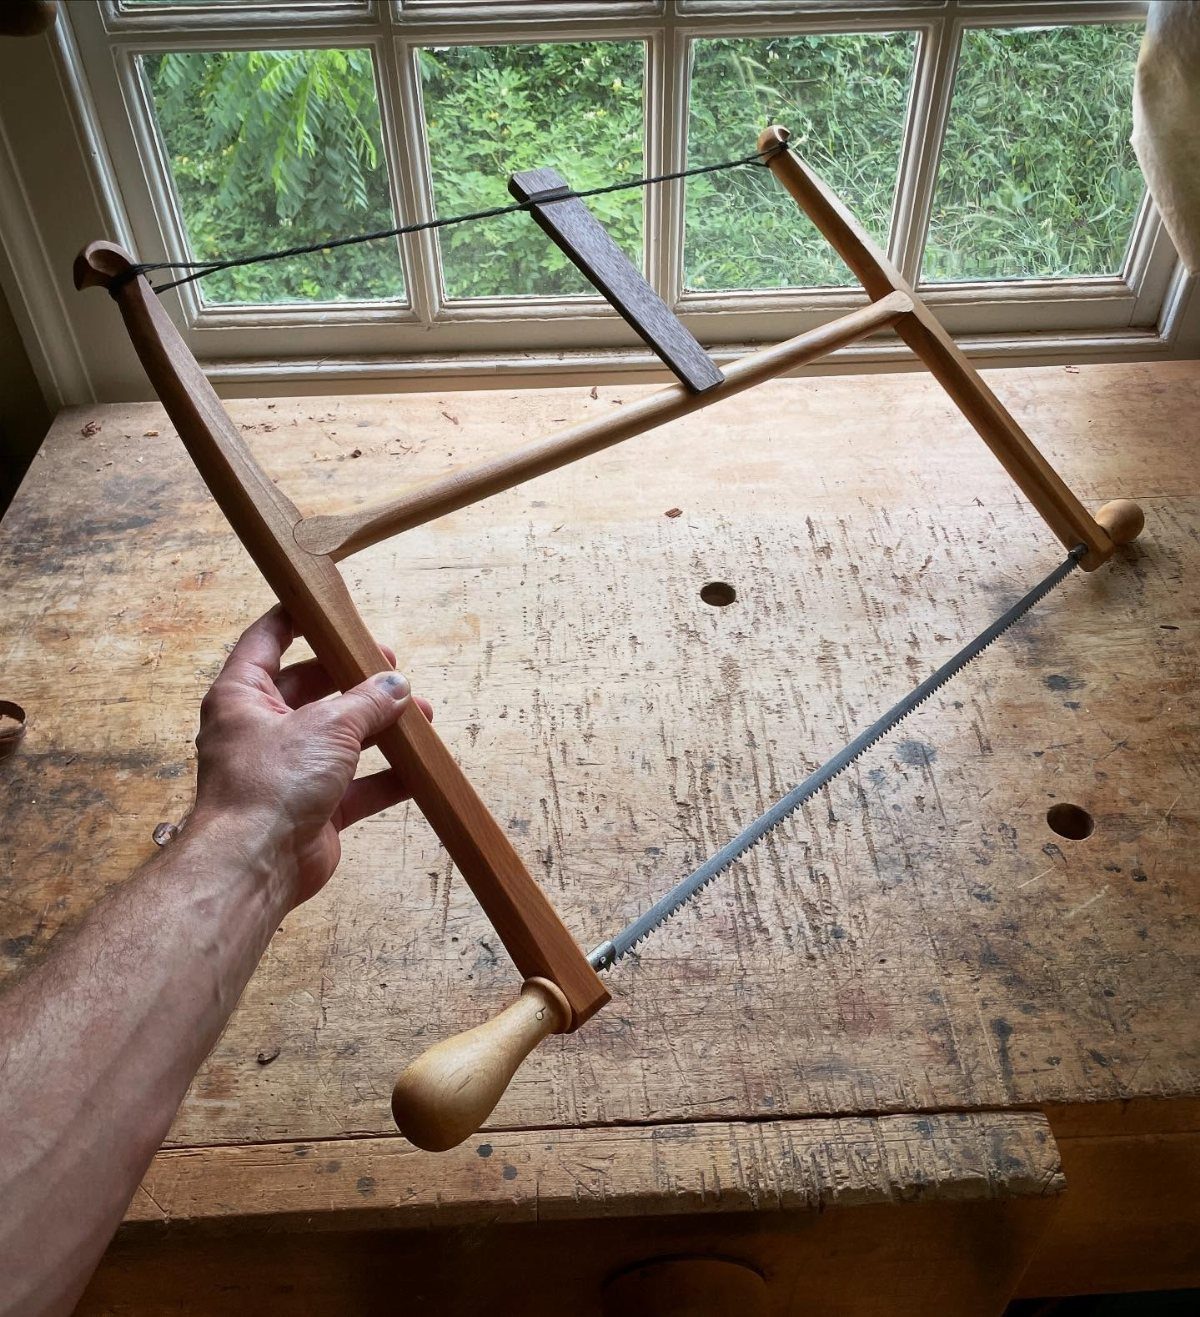
A wooden-frame bow saw holds a thin blade under tension between 2 arms, and that tight blade is what lets it cut curves and trim branches a rigid hand saw can’t follow.
For a beginner on a budget, it costs little, needs no power and hangs on a wall hook.
Let the weight of the saw do the work, with long, steady strokes and a light grip. Forcing it makes the thin blade bind or wander.
Pin the workpiece down with a clamp first, and park your off hand well behind the blade’s path. Because it is a rough cutter, I would pick it for curves and green wood, and a hand saw for clean joinery.
Investing in Quality Tools
A well-made tool pays you back in fewer ruined boards. A square that is truly square and a blade that holds its edge cut down on recuts, and recuts cost both lumber and time.
Sharp, dependable tools are also safer. A dull or loose tool makes you push harder, and that is when slips happen.
The one purchase I would not cut corners on is a workbench. You can build one from 2x4s and plywood, and that works fine to start.
But a solid, professional-grade bench gets used on every project, so it’s the single expense that earns its price. Spend there first and buy the rest of the kit gradually.
Choosing the Right Tools
Basic woodworking tools fall into 5 groups: tools that cut, finish, assemble, measure and hold. Check your kit against that list and the gaps show up fast.
Most beginners overbuy in the cutting group and forget the holding group. Clamps and a vise keep the wood still, and that makes every other tool more accurate.
Buy one tool per group, then add to it only when a project stops you. That keeps the budget small and means each new purchase has a job waiting for it.
Woodworking Techniques
Owning a good tool is only half of it. Results come from how you use it, and technique is cheap to practice on scrap.
Before any project, cut a few pieces of scrap and test each step: a straight cut, a pilot hole, a pass with a plane. Mistakes made on scrap cost nothing.
Go slowly at first.
Speed comes after your hands know what a clean cut feels like, and it comes sooner than you’d expect. Clamp your work every time, and keep your eyes on the line you marked, not on the tool.
Frequently Asked Questions
What are the main tools a carpenter needs?
A claw hammer, a tape measure, a speed square, a saw and a cordless drill cover most of the basics.
Add a block plane for fitting and smoothing, and a circular saw for sheet goods. A drill would be my first power tool purchase, because it bores holes and drives screws on nearly every project you’ll build.
What do I need to start woodworking?
Start with one tool from each of five groups: cutting, finishing, assembling, measuring and holding.
New woodworkers tend to spend on saws and chisels while skipping clamps and a vise, yet holding the board steady is what makes each cut and joint come out accurate.






