Of everything on this list, the thickness of your benchtop does more than project size or style to decide which end vise will fit.
The 5 here run from a pine-and-wood-screw build to a cast iron unit bolted to the bench edge, and a 12 inch quick-release model runs about $200, so measure your top before you shop.
1. Twin-screw Vise
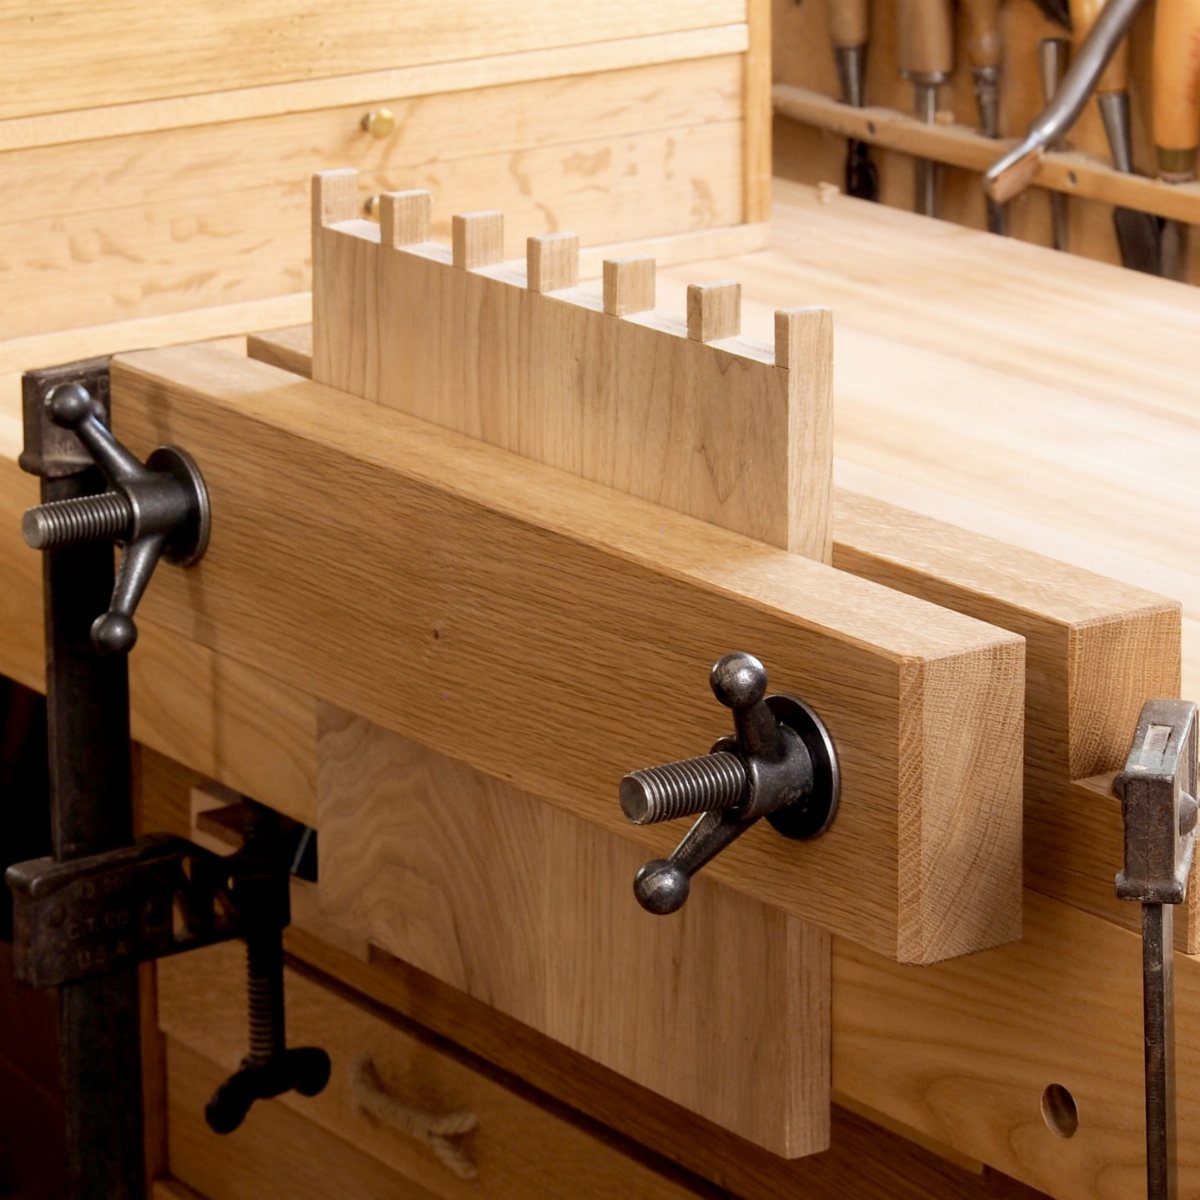
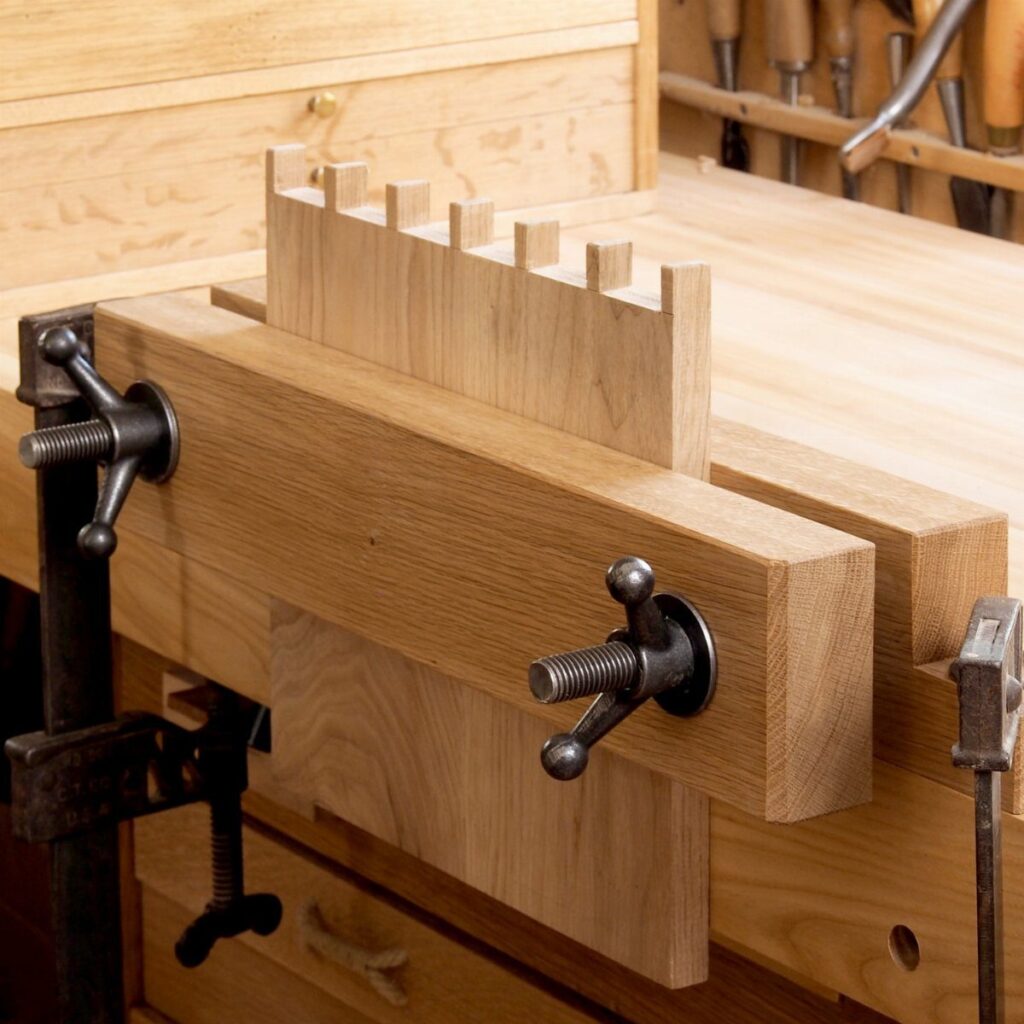
A twin-screw vise grips a wide board with 2 screws, so the jaw stays square to the work instead of pivoting like a single-screw vise.
That is why it suits larger workpieces, and why I’d pick it for panels and boards with joinery cut into them.
Turn both screws in small, even steps. If one runs ahead of the other, the jaw racks and the grip loosens on one side.
The cost is a second screw to tighten every time, which slows quick clamp-and-release work.
2. Traditional Wooden Screw End Vise
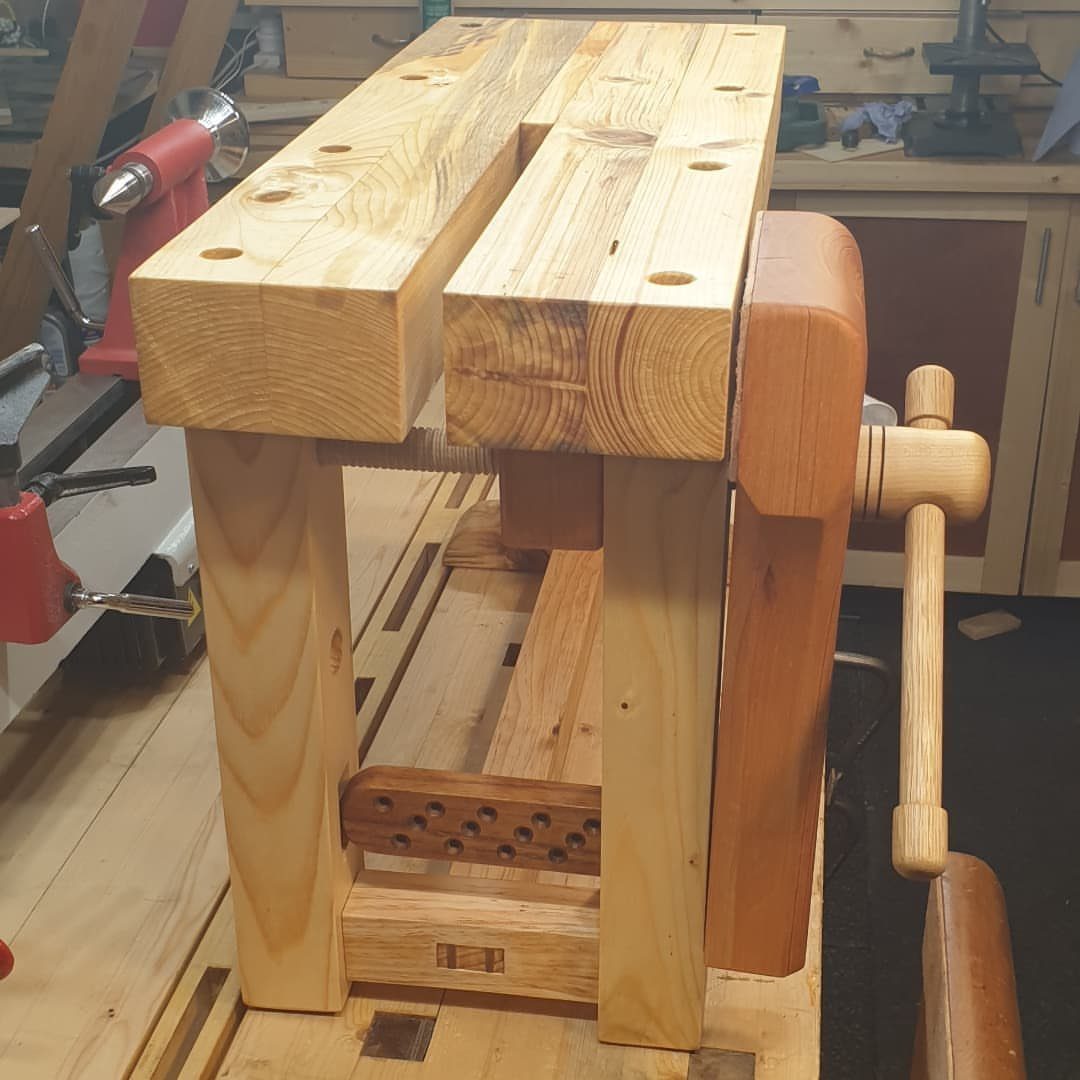
Pine keeps a traditional wooden screw end vise affordable, and a large wooden screw gives it a slow, firm grip along the bench edge.
Dog holes in the top let the vise pinch a board against a bench dog, which holds work flat for planing and sanding.
Use the handle to snug the jaw rather than crank it hard. Soft pine can dent, so a light touch protects both the workpiece and the vise.
Wood on wood is gentle on your stock, but the screw takes more turns than a metal quick-action design.
3. Metal Screw Wooden End Vise
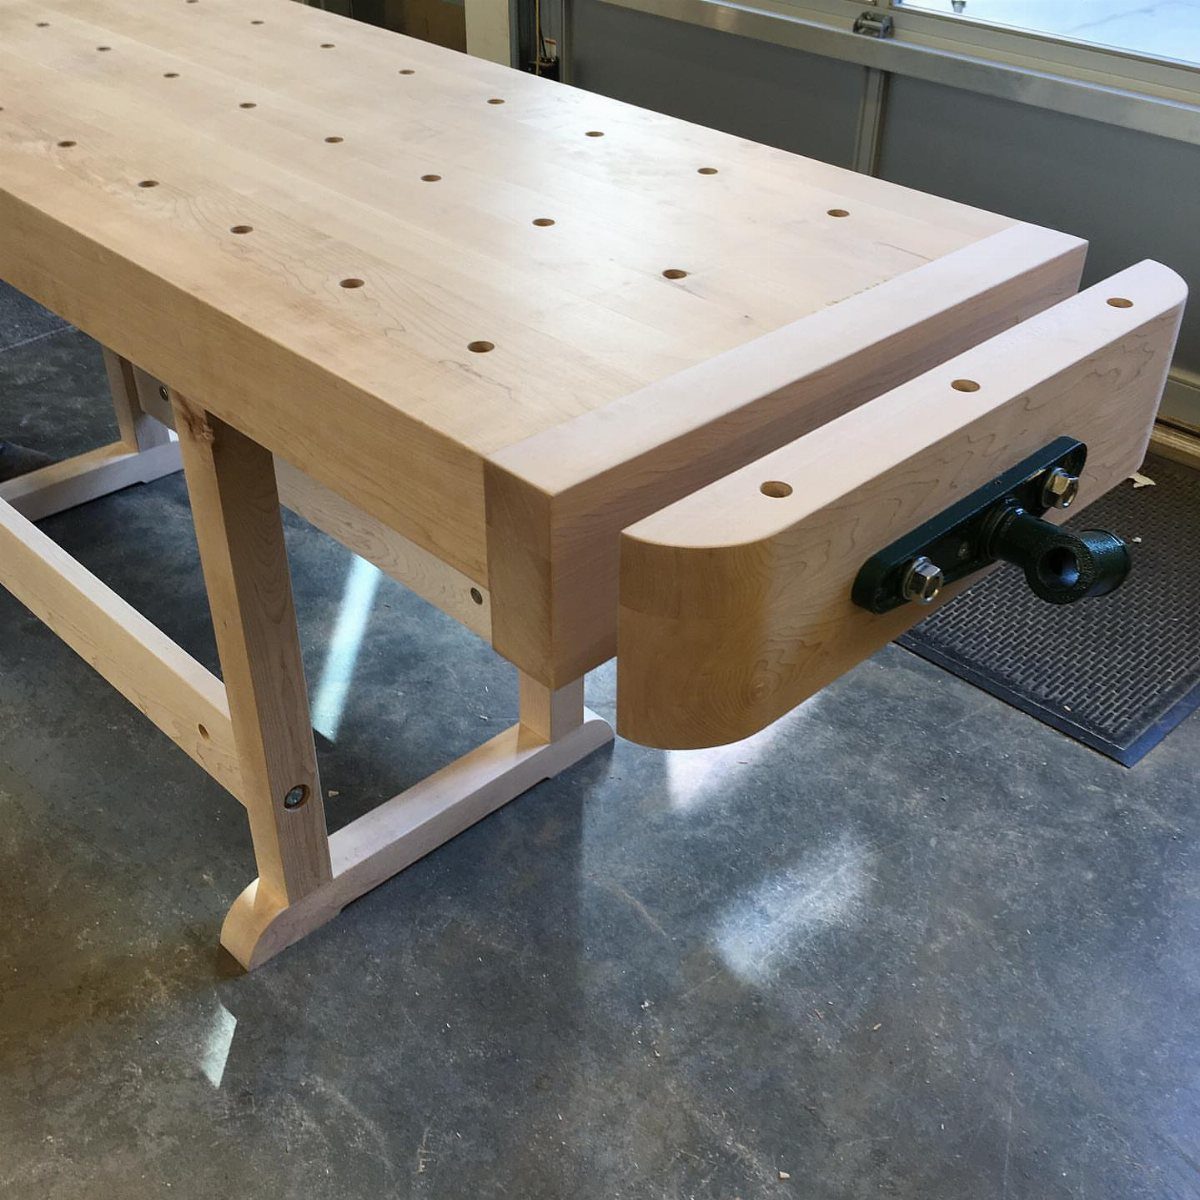
A single metal screw drives the wooden jaw on this style of end vise, and the whole thing mounts to the edge of a timber bench.
A metal screw is the part I’d least want to wear out, so putting it in a wooden jaw makes sense on a budget.
With a grid of dog holes across the top, the jaw and a bench dog hold long boards flat. Keep the dog holes in line with the vise jaw, or the clamping pressure will pull sideways.
I like this setup for its simplicity: one screw, one jaw, few parts to fail.
4. Cast Iron Bench End Vise
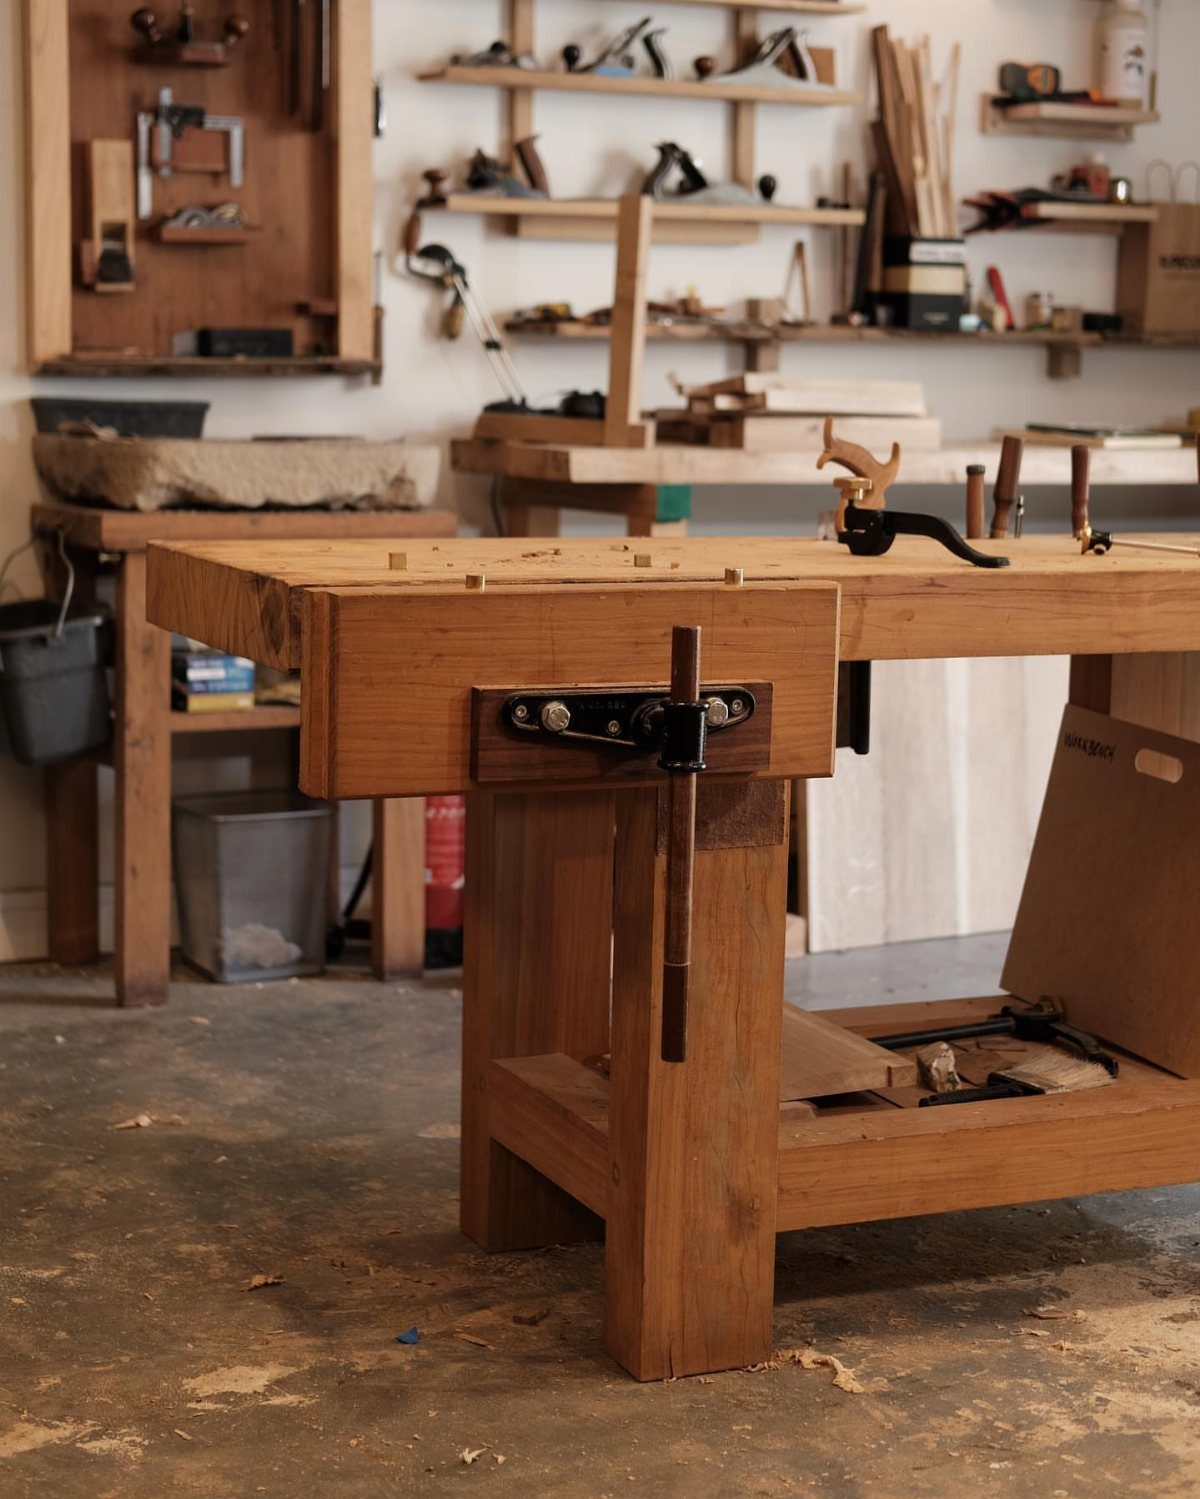
Bolting a cast iron vise to the side of a wooden bench is the quickest way to get a working vise without building one.
The metal body arrives as a finished unit, so the work is mostly mounting it to the wood.
Check that the jaw faces sit flush with the bench edge. Add wooden pads to the iron jaws so they don’t mar your stock.
Cast iron is heavy and hard on tools, so keep chisels and plane irons away from the jaws.
5. Hand-knob Wooden End Vise
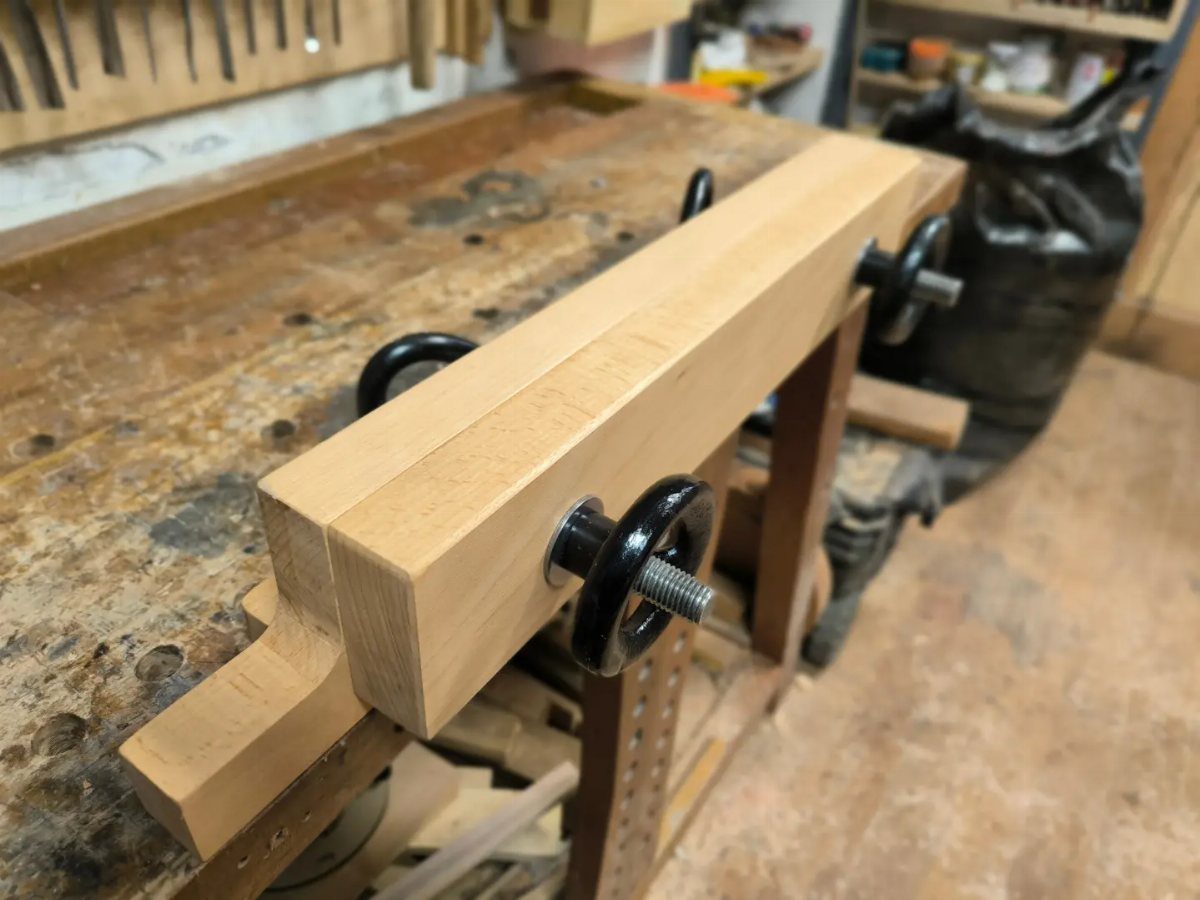
Round black hand-knobs turn the screws on this wooden end vise, which keeps the setup simple and the jaw easy to adjust along the bench edge.
Wide round knobs let you turn the screw with your whole hand and get real clamping force, with no long handle swinging around the shop.
Tighten each knob evenly so the jaw stays parallel. Uneven pressure will leave a gap at one end.
I’d choose this for small to medium pieces. Big panels want a vise with more screws or more reach.
Choosing the Right Vise
Start with the projects you build most, because they decide which vise belongs on your bench. Wide panels and long boards call for a different grip than small boxes and picture frames.
Bench thickness matters as much as project size. A top 4 inches thick or more can leave the jaws sitting well below the work surface, and a vise sold for a 1.5 inch top will not line up without changes.
Price is a real factor too.
A 12 inch quick-release model runs about $200, which is a lot for a first vise. A simpler design can do the same job for less, so buy for the work you do now.
Vises are sorted by where they sit on the bench: front vises on the long face, end vises on the short edge. Decide which position your projects need before you shop.
Installation Tips
Taller jaws tend to twist when you clamp near one side, so keep the work centered on the jaw whenever you can. Pressure that sits off to one side will rack the jaw instead of gripping evenly.
With a thick slab top, 4 inches or more, the vise body won’t sit flush on its own, so cut a recess into the underside and let the jaws come up even with the surface.
Test-fit before you drill any mounting holes.
Check the vise’s rated bench thickness before buying, since some are made for a top around 1.5 inches. Support the mounting area well, because a vise bolted to thin or unsupported wood will flex under load.
If you want bench dogs with a twin-screw setup, lay out the dog holes before you mount anything.
Maintenance Advice
Inside a quick-release vise, a split nut grabs the screw threads when you turn the handle about half a turn, and lets go just as easily.
That nut is the part to watch, since it does the most work and sees the most wear.
Open the vise fully every so often and look at the screw threads for dirt, sawdust and dry spots.
Brush them clean and apply a light coat of lubricant. Wipe off any excess so dust doesn’t cake onto it.
Work the handle through its whole range, and note any spot where it catches or the nut fails to grip. A nut that slips under pressure needs attention before it ruins a project.
Keep glue and finish off the threads, and wipe the jaws after each session.
Frequently Asked Questions
What is the best vise for woodworking?
It depends on what you build most.
A twin-screw vise suits wide panels and boards with joinery because two screws keep the jaw square, while a cast iron vise is the fastest way to get a working vise onto a bench without building one.
For small to medium pieces, a hand-knob wooden end vise is simple and easy to adjust.
What are the main types of vises?
Vises are sorted by where they sit on the bench: front vises go on the long face and end vises on the short edge.
The notes from other sources also list tail vises and leg vises. Pick the position your projects need first, then the style.
Are Harbor Freight vises good quality?
Quality varies, and some users report satisfactory performance from budget options. Bolting a cast iron vise to a wooden bench gets you working quickly, though bare iron jaws will dent softer boards, so line them with wood.






