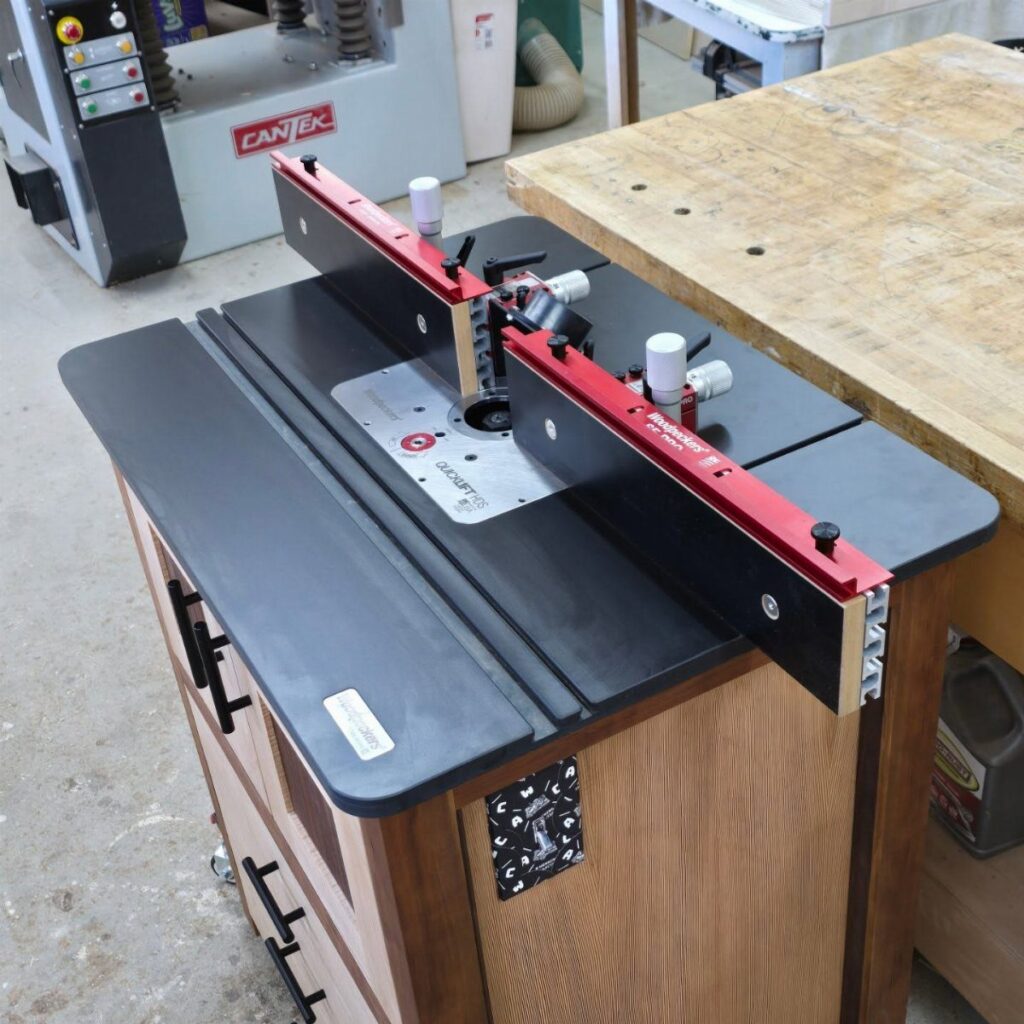
Where a router table lives decides which of these setups is yours: a bench that already does double duty suits open metal legs, while a shop that stays put can take a wooden cabinet with drawers for bits and wrenches.
The ideas run from a metal stand that goes together fast, to a wooden cabinet base with closed storage, an aluminum top, a setup with dust collection and a white fence that makes bit position easy to read, plus maintenance tips and advice on choosing a router.
1. Woodpeckers Router Table with Metal Stand
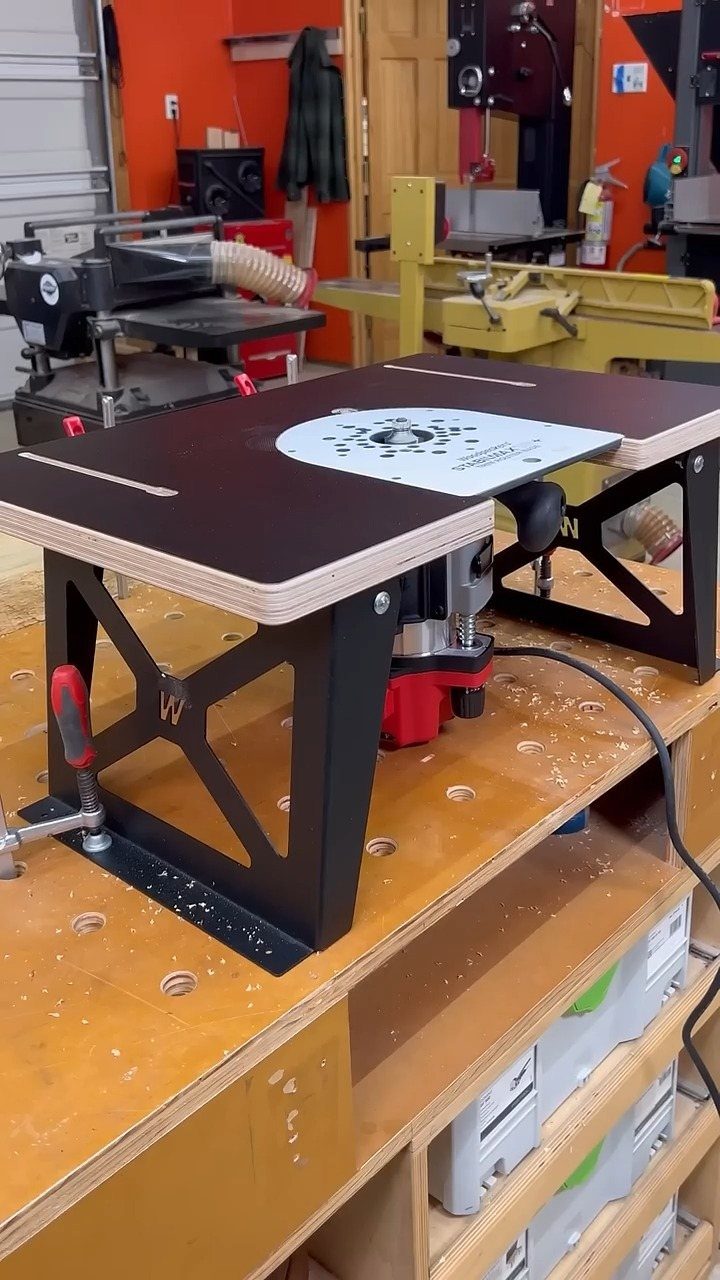
A dark top on black metal legs keeps the router table’s footprint small, and that suits a shop where the workbench already does double duty.
Open space under the top means no cabinet to build, so this is the quickest version to get running.
Storage is what you give up with a metal stand: the open frame has no cabinet or drawers, so bits, wrenches and inserts need a home somewhere else.
Bits, wrenches and inserts need a separate home, since nothing is enclosed. I would hang a small bit tray on the wall within arm’s reach.
2. Woodpeckers Router Table on Wooden Cabinet
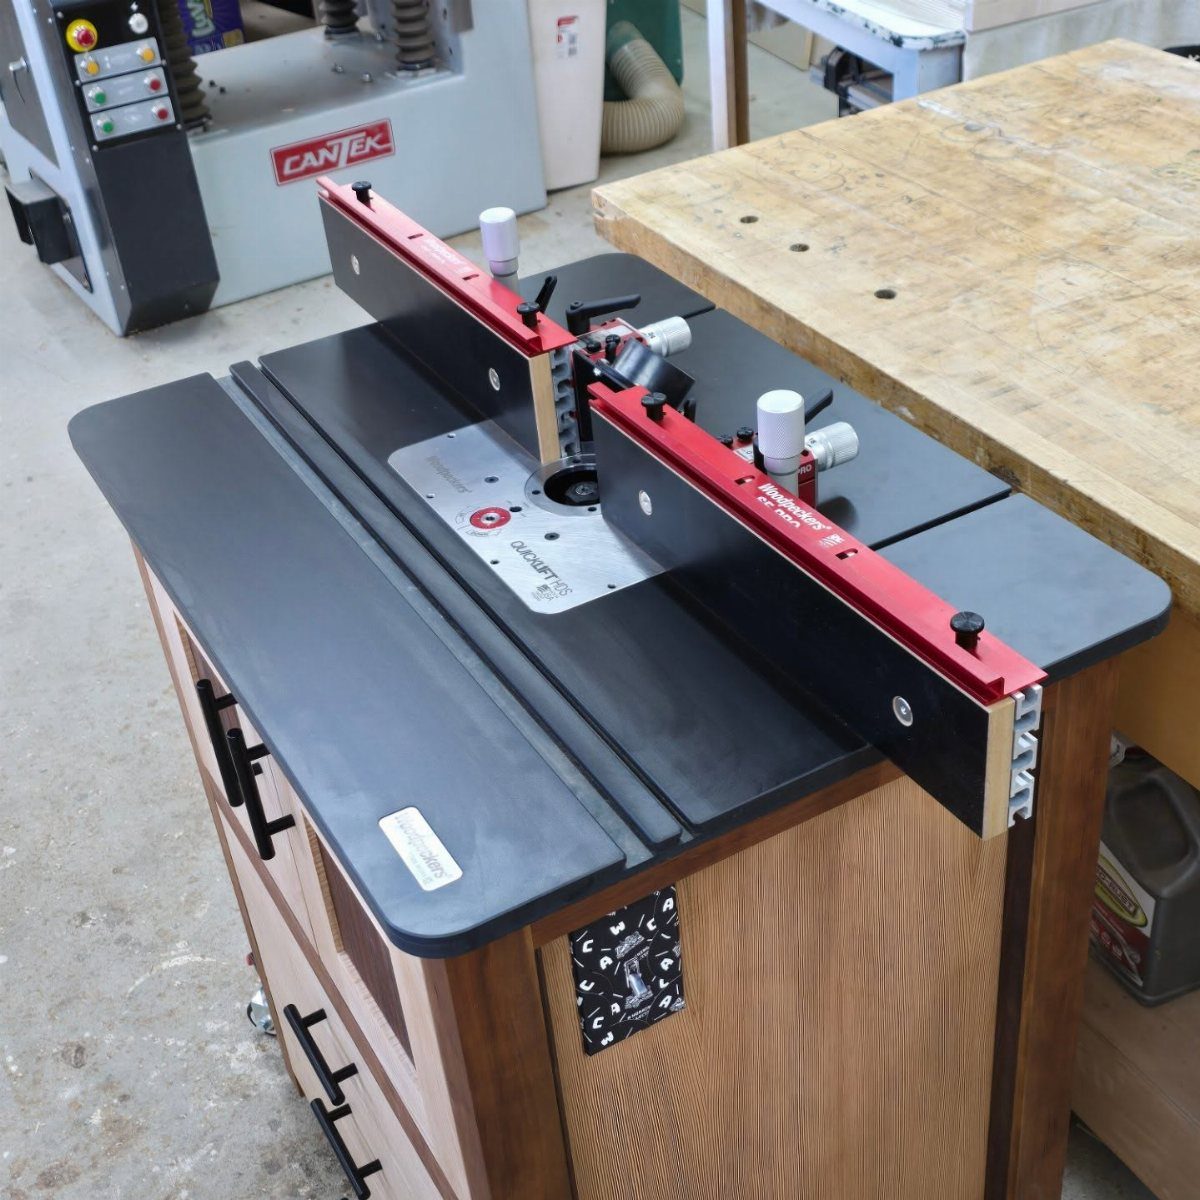
Mounting a black top with a red fence on a wooden cabinet gives the router a heavy, closed base and a place to put everything else. Drawers below the top hold bits and wrenches right where you use them.
Plan the cabinet before you buy the top, because the opening has to match the plate and the router’s height.
The cost is floor space; a cabinet takes far more room than open legs. For a shop that stays put, I would pick this one.
3. Woodpeckers Aluminum Router Table Top
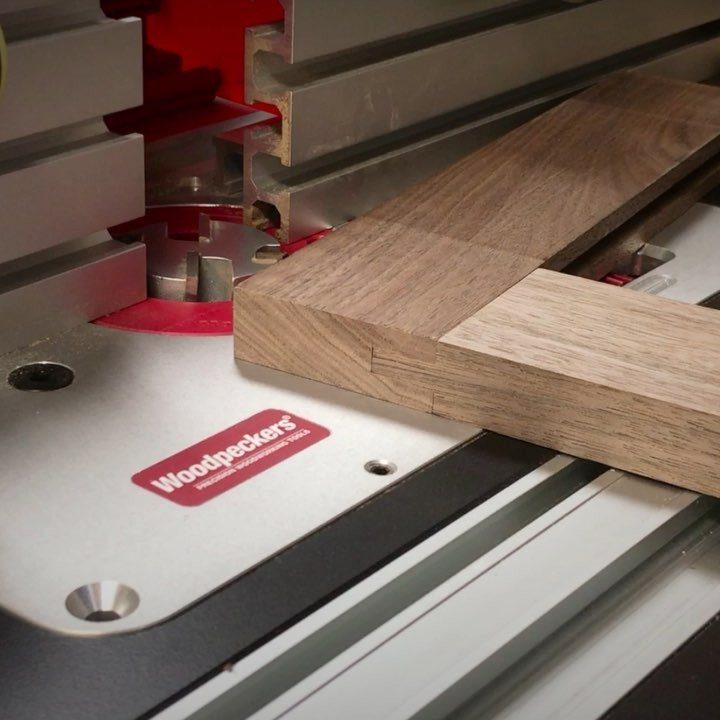
An aluminum top with a red mounting plate and fence tracks puts a flat metal surface under the workpiece, so stock slides without catching. Metal also resists the swelling and sagging that can creep into wood-based tops.
The fence tracks let you slide and lock the fence parallel to the edge.
Wax the surface lightly now and then to keep boards gliding. Expect to pay more than for a basic laminate top.
4. Woodpeckers Router Table with Dust Collection
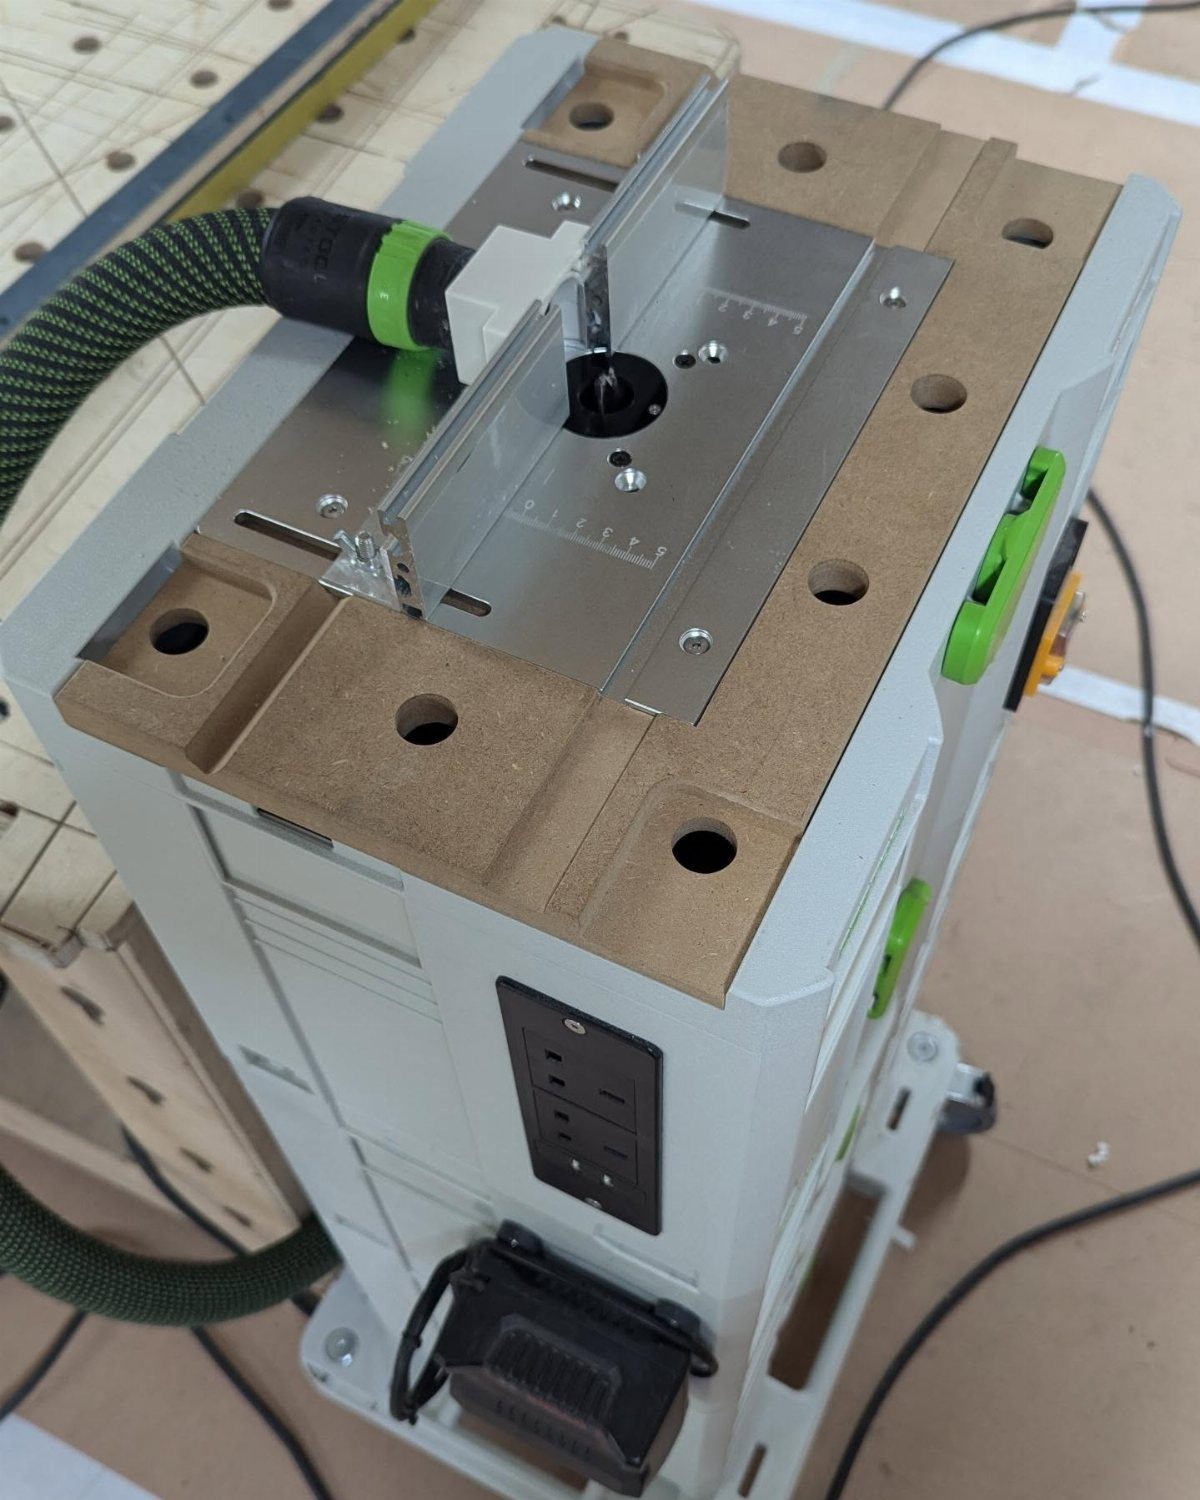
Routers throw chips fast, so a brown MDF top paired with a silver fence and a green extraction hose is a setup I would copy. Hooking a hose to the fence keeps the cut line visible and the floor cleaner.
Check that the hose diameter matches the fence port, and use a shop vacuum or collector with enough pull for the job.
The hose adds drag when you swing large panels, so route it up and away from your work area.
5. Woodpeckers Router Table with White Fence
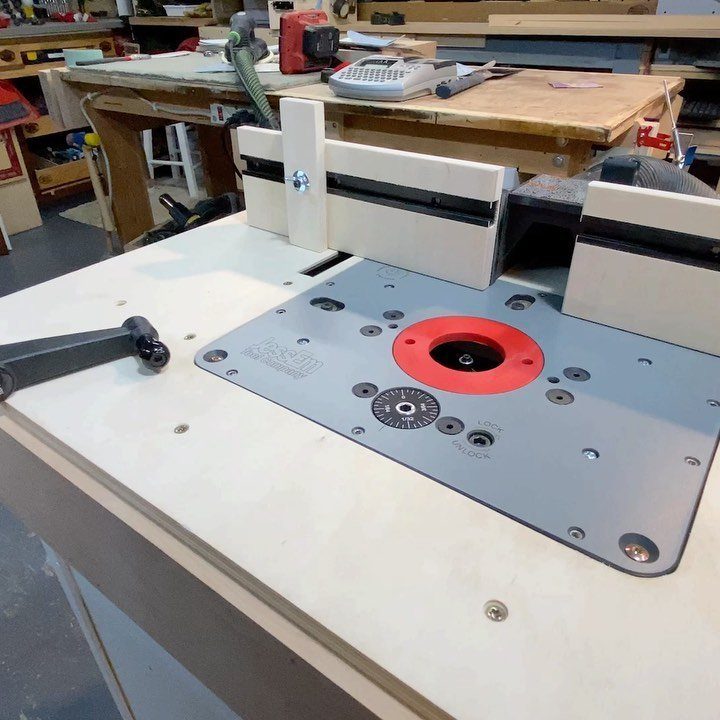
White fence faces make dark bits and pencil marks easy to read, and that is the reason I like this version.
Paired with a grey insert plate and a red center ring, the setup gives clear visual cues for bit position.
Swap the center ring to match your bit size, since a tight opening supports small stock near the cutter. White surfaces show scuffs and dust sooner, so wipe the fence down before setting up a precise cut.
Router Table Maintenance Tips
A router table top only works as well as it is flat, so check it on a schedule.
Lay a straightedge across the surface in a few directions and look for light under it. Do this every few months, and again any time the shop has swung hard in humidity.
Dust ports clog quietly. Clear them before each long session, since a blocked port starves the extraction and lets chips pile up around the bit.
A quick look inside the port and hose takes under a minute and keeps the machine running the way it should.
Choosing the Right Router
Pick the router after you know the lift and the table size, not before.
The motor has to fit the lift’s clamp or carriage, and the table has to have room for the plate that holds it. Check the lift’s listed compatibility before you buy either one.
Top size matters more than most people expect. At 27 inches wide and 43 inches long, the Woodpeckers PRP-4 phenolic top gives me enough surface to carry nearly any furniture part, from a table apron to a long rail.
Flatness set it apart too: in one side-by-side test, the PRP-4 stayed true across its face while the other phenolic tops sagged a little.
That kind of size and flatness pays off with wide panels and long rails, but it asks for bench or floor space. If your parts stay small, a smaller top is a fair trade.
The first thing that stands out is the big, solid-phenolic top. It’s a monster at 27 in. wide by 43 in. long, which is big enough to support just about any furniture part you can make.






