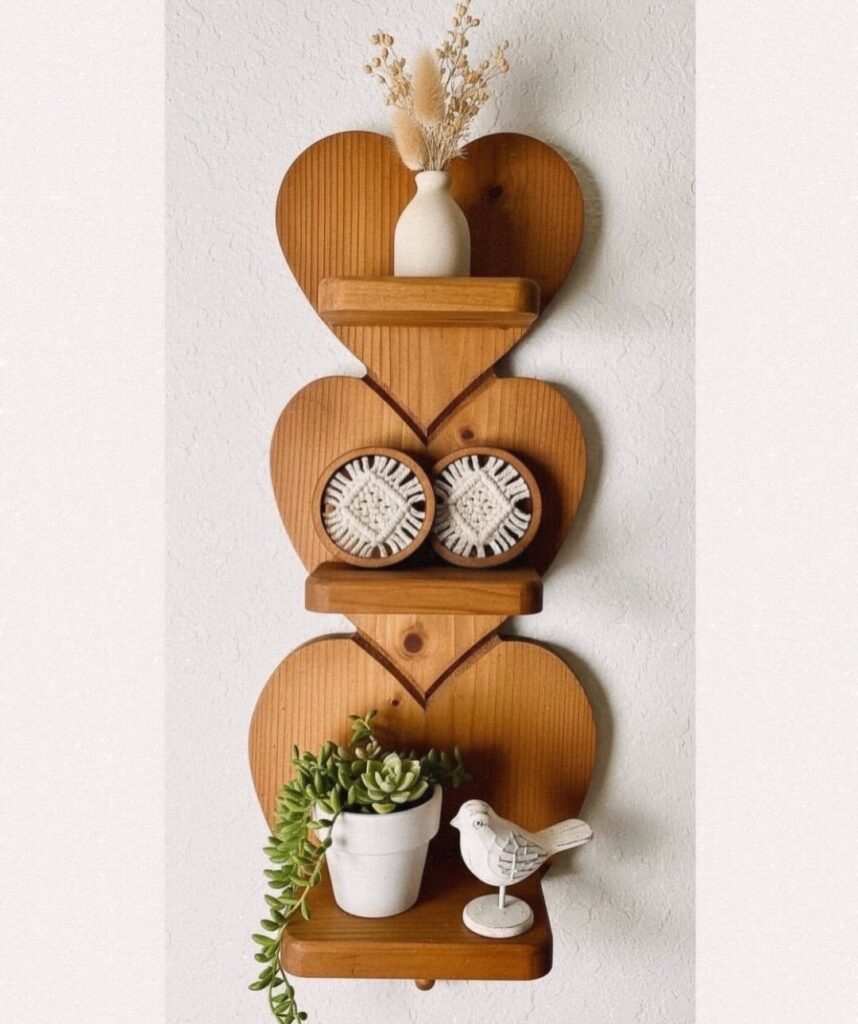
Pick the build by what it has to hold: the heart-shaped tiered shelf, the heart cutout bookshelf or the LOVE letter shelves.
1. Heart-Shaped Tiered Wall Shelf
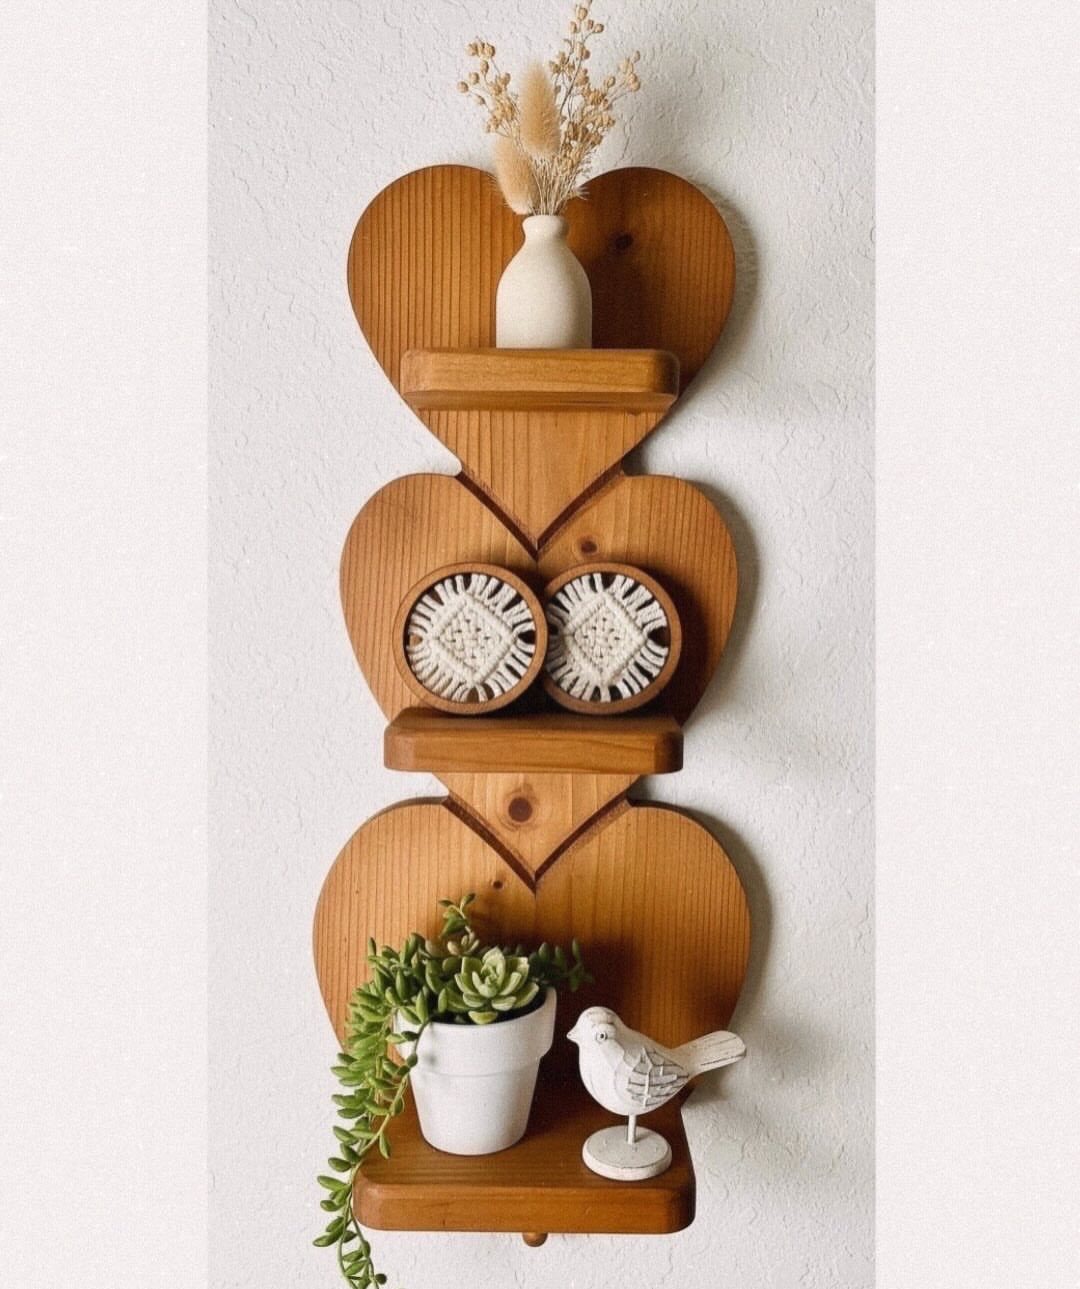
Three stacked hearts turn one narrow strip of wall into a display, which suits small spaces and small budgets.
Each heart frame carries a single little shelf, so the objects have to stay light: a bud vase, a small potted plant, a figurine.
I would cut all three hearts from the same board so the grain matches, then make each one slightly smaller than the heart below it. Screw them together from behind, where nobody sees the hardware.
Hang the stack on 2 wall anchors instead of trusting the drywall alone.
2. Heart Cutout Wooden Bookshelf
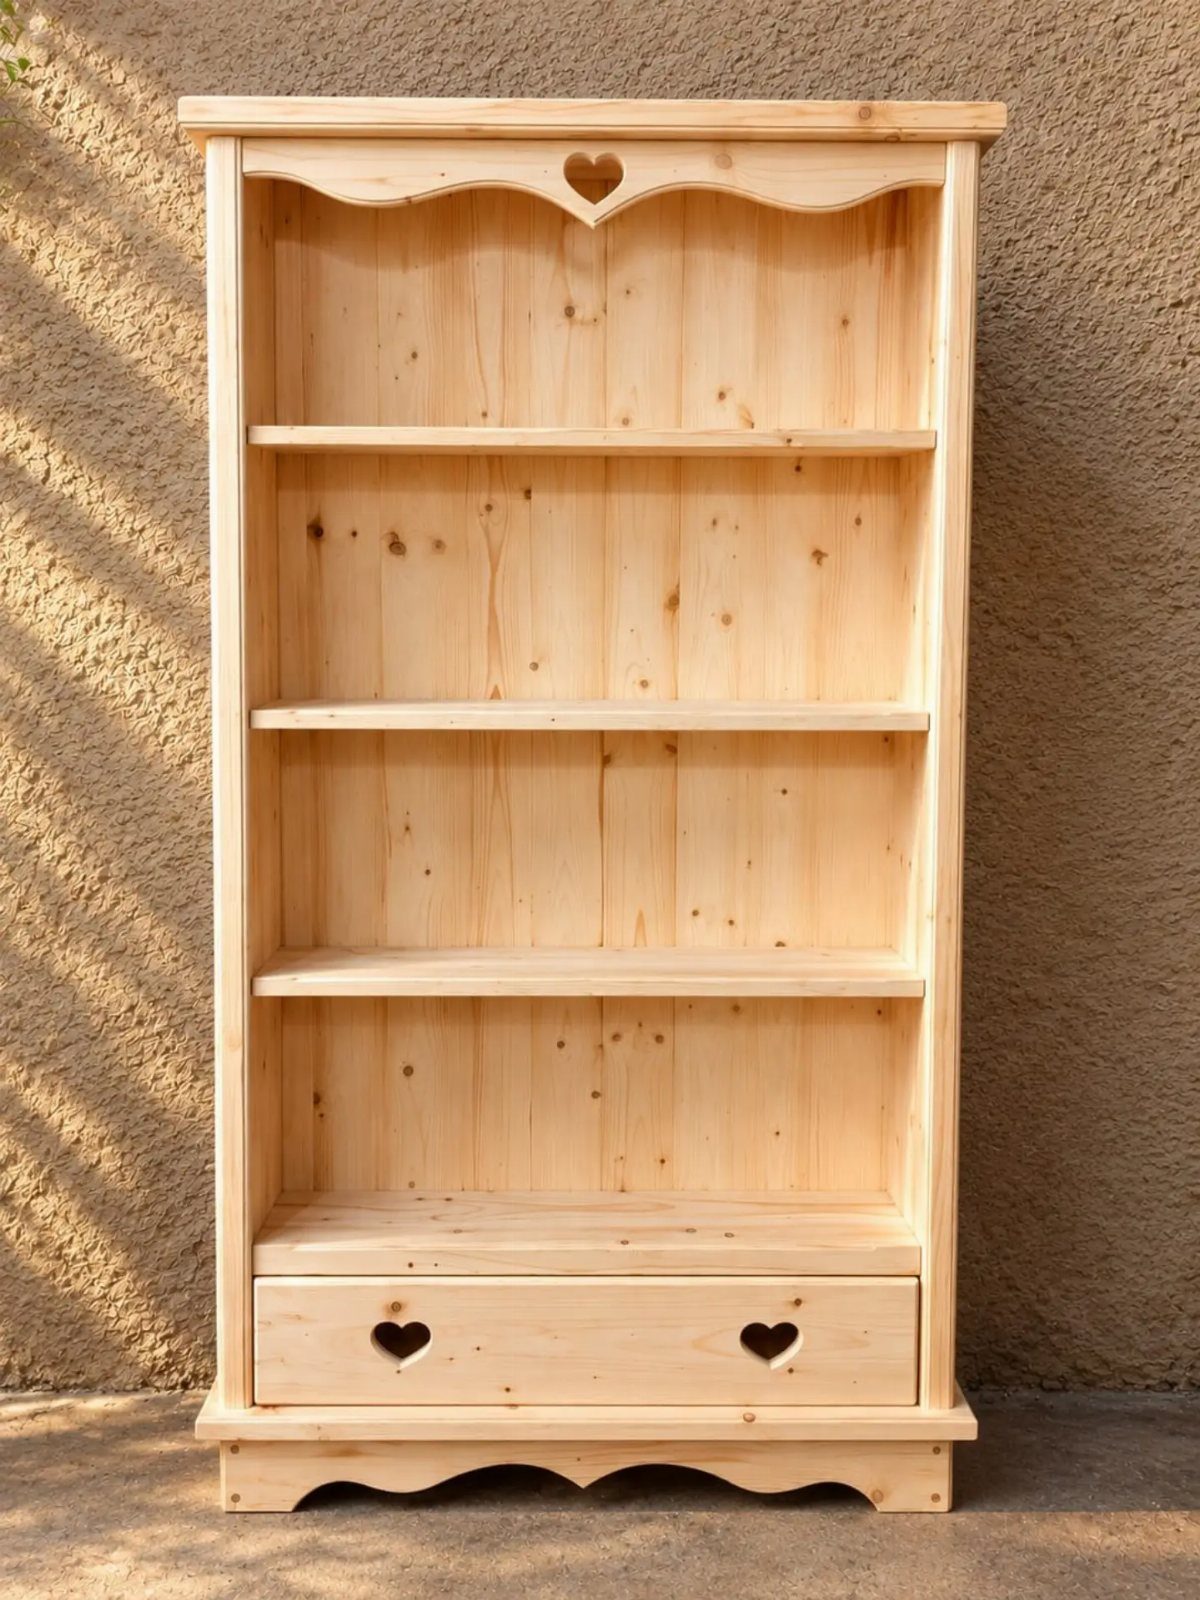
Scalloped trim and heart cutouts give a plain three-shelf bookcase with a bottom drawer a lot of personality, and a jigsaw plus a drill handle most of the work.
Drill a starter hole inside each heart, then cut slowly so the curves stay smooth.
Sanding matters more than the cutting. Run the edges of every cutout and scallop through at least 2 grits, since splintery curves ruin the look.
Left untreated, the pale wood stays soft and light. A clear coat is my pick if the piece will see daily use.
3. LOVE Letter Wall Shelves
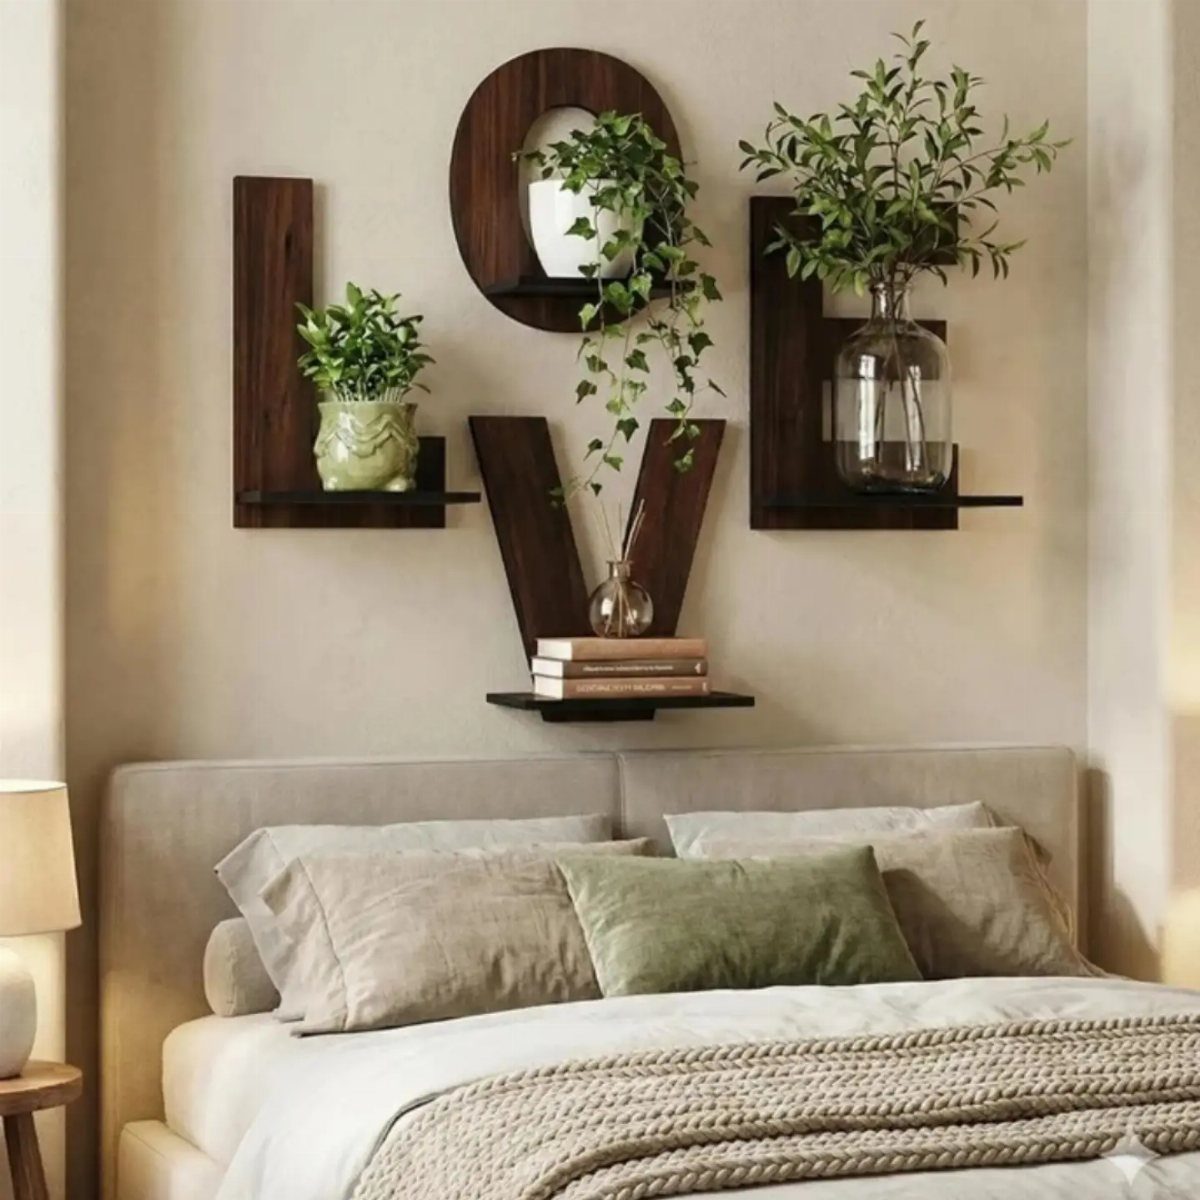
Spelling LOVE in shelves means every letter has to hold something, and the E is the easy winner: its 3 arms are ready-made ledges for small pots.
The L works too. The O and V are trickier because their curves and angles slope, so a plant needs a flat spot cut or glued in.
A dark stain makes the greenery stand out, and it hides small gaps at the joints. Mount each letter into a stud or use anchors, and keep the heavier books on the sturdiest ones.
Tools Required
A drill, a saw, wood glue and a paintbrush cover the whole build. The saw cuts the parts, the drill makes pilot holes and fastener holes, the glue holds the joints, and the brush applies the finish.
Glue alone is rarely enough on a shelf that will carry weight. Add screws or nails at the joints, and drill pilot holes first so the wood doesn’t split.
Clamps are optional but helpful, since they hold a glued joint tight while it dries. Heavy books or a scrap board work in a pinch.
Personalization Options
Color is the easiest place to make a shelf yours.
Pick a paint or stain that matches the trim, the furniture or the wall behind it, and test it on a scrap of the same wood first, since the grain changes how a color looks.
Initials are a personal touch. Carve or wood-burn them into the front edge or the back panel, and sketch them in pencil first so the spacing looks right.
Other decorative elements, like stenciled patterns or small painted details, work best when kept to one area. Too many ideas on one shelf compete with whatever you set on it.
Safety Tips
Wear safety goggles any time you cut, drill or sand. Wood chips and dust travel farther than you expect, and eyes are the part that can’t be fixed with sandpaper.
Work in a well-ventilated area, especially when sanding or applying stain, paint or clear coat. Crack a garage door or a window for airflow, and pull on a respirator or N95 mask whenever the sander is running.
Rather than steadying the board with your hand, clamp it to the bench first, then make the cut or drill the hole.
Keep your fingers clear of the blade or bit, and unplug the tool when you change a blade or bit.
Let finishes dry fully before you load the shelf.
Frequently Asked Questions
What materials do I need to make a DIY love shelf?
Untreated wood, wood screws, wood glue and paint or stain cover the basics. Wood glue by itself seldom holds a loaded shelf for long, so add screws or brad nails at every joint.
How do I hang a heart-shaped or LOVE letter shelf securely?
Mount it into a stud, or use wall anchors if no stud lines up. Drywall alone won’t hold the weight, and a stacked heart shelf needs 2 anchors.
What tools do I need to cut heart shapes in wood?
A jigsaw and a drill handle most of it. Work through at least 2 grits, such as 120 then 220, on every cut face to knock down the splintery spots.






