Whether new stain will hold depends on what’s already on the wood: oil-based and water-based products don’t bond the same way, and a mismatch is behind many adhesion failures.
The ideas here cover cleaning the piece first, sanding it lightly, choosing the right type of stain, and sealing the result with a clear coat.
1. Seal the Stained Surface with Clear Coat
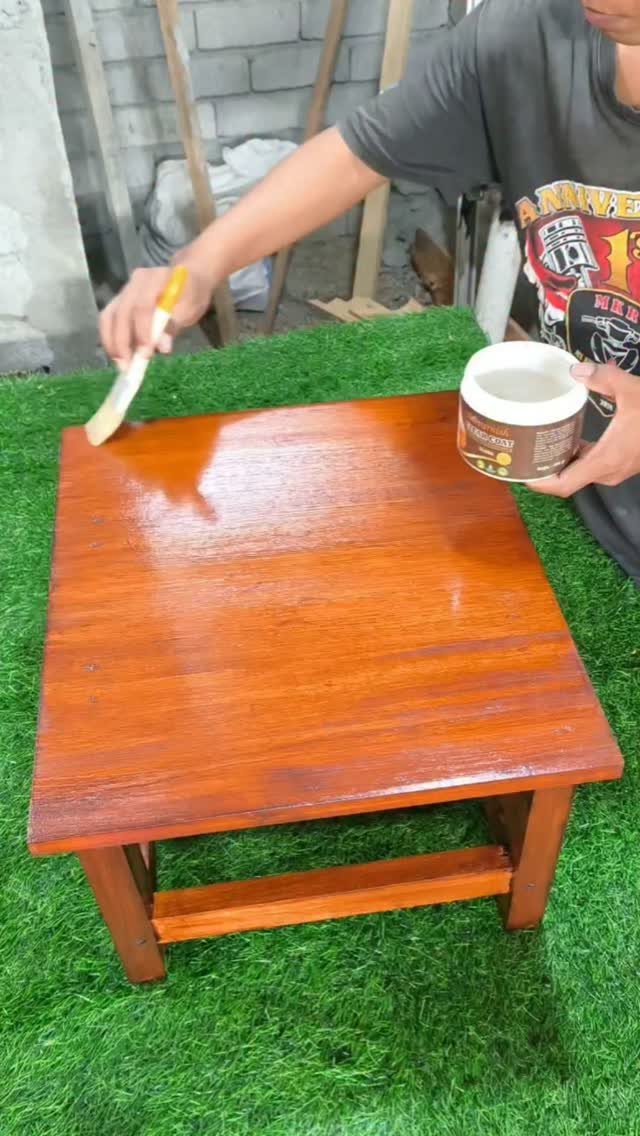
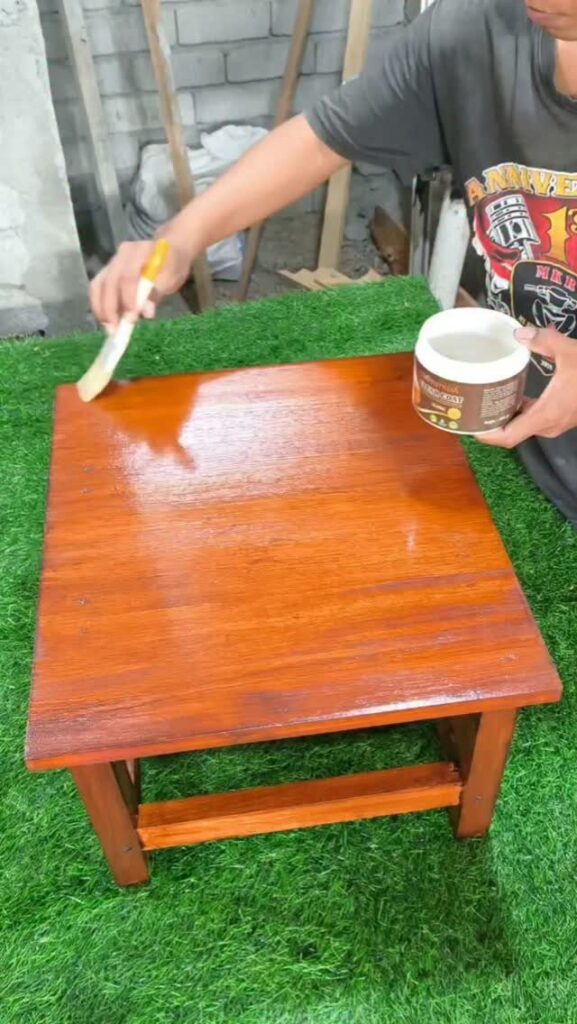
A clear coat is the step that protects new color, and a brush is all it takes to apply it. Stain only colors the wood; it doesn’t shield it, so a sealer on top does the guarding.
Give the stain a full day to cure, longer in a damp garage, before the first coat of clear goes on.
Pull the brush along the grain in long, even strokes, and thin layers win every time since a heavy coat will drip and turn cloudy.
Check the can for dry and recoat times, since they vary by product.
A: Kudos to you for doing right by a family heirloom! And you certainly can paint over stain, choosing the method that best suits the type of stain on the surface and the kind of paint you wish to use.
— Bob Vila
2. Cleaning Before Staining
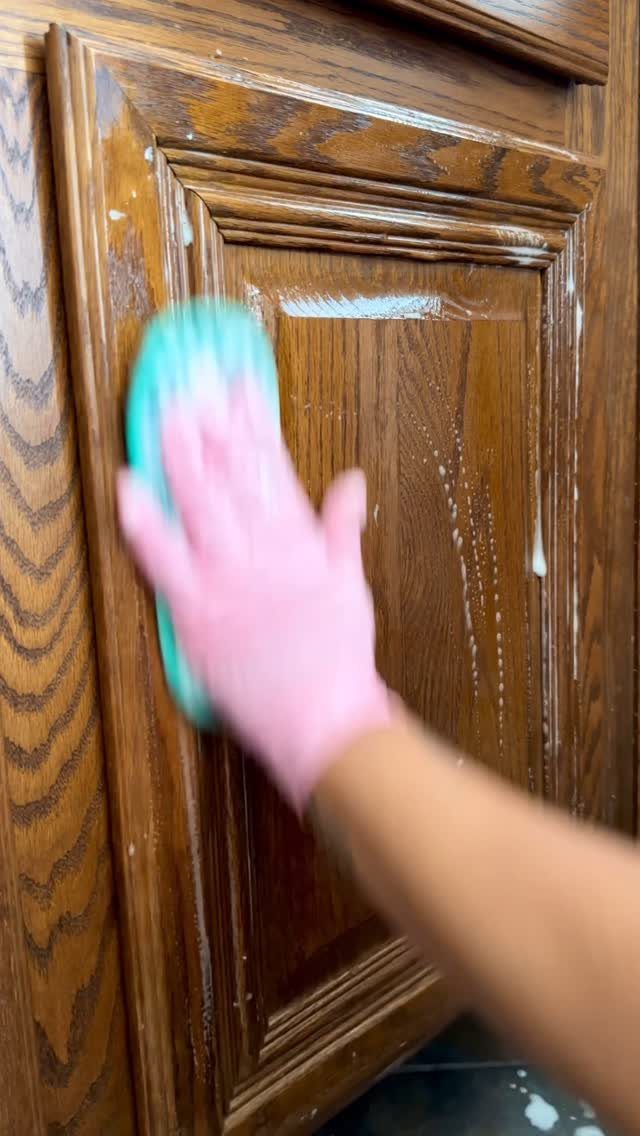
Stain goes on best over a clean surface, and that includes a surface that already has stain on it. Grease, dust and grime on a door or cabinet panel block the new color and leave it blotchy.
Soapy water and a sponge handle most of it. Wear gloves, wipe the whole panel, and rinse the soap off with a clean damp cloth.
Stain goes on evenly only over a surface that is clean and fully dry, so give the wood time to dry out after wiping it down and before you open the can.
Cleaning costs almost nothing, so I wouldn’t skip it.
3. Light Sanding Before Staining
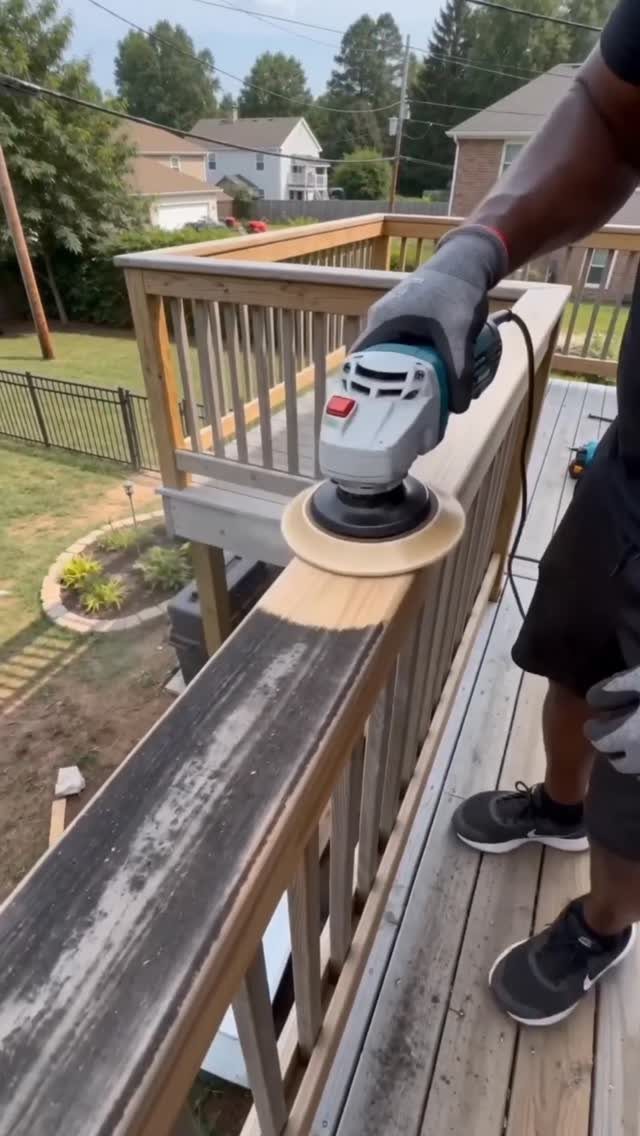
Sanding gives the old finish a rough enough surface for new stain to grip. On a railing, a power orbital sander covers the ground much faster than hand sanding.
Keep the pressure light and the sander moving, and follow the grain. Your goal is to scuff and level the surface, not to strip it to bare wood.
Wipe away all the dust before staining, or it will show up in the finish. Hand sanding is the better choice for corners and tight spots the sander can’t reach.
Importance of Preparation
Skipped prep shows up later as peeling, blotchy patches and color that looks different from one board to the next. Each of those starts with the old finish, so check it before you open a can.
Look at what’s there.
Peeling, cracking or flaking stain won’t hold a new coat, so sand it back or strip it before anything else goes on. If it has only faded or gone dull, you can often skip the heavy sanding.
Fresh stain can only grip what is sound underneath it, so fix the weak spots first.
Types of Stains
Oil-based and water-based stains don’t behave the same way, so find out which one is already on the wood before you pick the new one.
Stain grips best when the new product is compatible with what’s already on the wood, and a mismatch is behind a lot of adhesion failures.
If you plan to cover an oil-based stain with paint, the prep gets longer. Wear safety goggles and gloves, and run a fan to move the air.
Go over the surface with a wrung-out sponge, do it a second time, then leave the wood to air dry.
Rough spots get sanded smooth, then a damp rag picks up the dust, and a bonding primer goes on with a brush.
A water-based bonding primer is made to grip glossy, hard-to-paint surfaces like varnish and polyurethane. Follow the directions on the can.
2 coats of paint finish the job. Use interior paint indoors.
Frequently Asked Questions
How to stain wood without sanding?
A light scuff sanding is still the better route, because it gives the old finish enough grip for new stain to hold.
If you want to cut back on prep, gel stain is the one to try, since it sits on top of the wood and needs only minimal prep.
Clean off grease and grime first either way, or the color will go on blotchy.
Can I use gel stain over paint?
Gel stain is thick enough to sit on top of a cured finish, and brushed over paint it acts like a tinted glaze rather than soaking in.
It sits on the surface instead of soaking in, which is why it behaves differently from traditional stain. Clean the surface and give it a light sanding first so it has something to grip.
Do I need to seal wood after staining it?
Yes. Color is all stain does, since it leaves the wood exposed, so I count on a clear topcoat to take the wear and moisture.
Give the stain a full 24 hours to cure, and more time in a humid room; after that, brush the clear coat on in thin layers with the grain, because a thick layer runs and dries cloudy.






