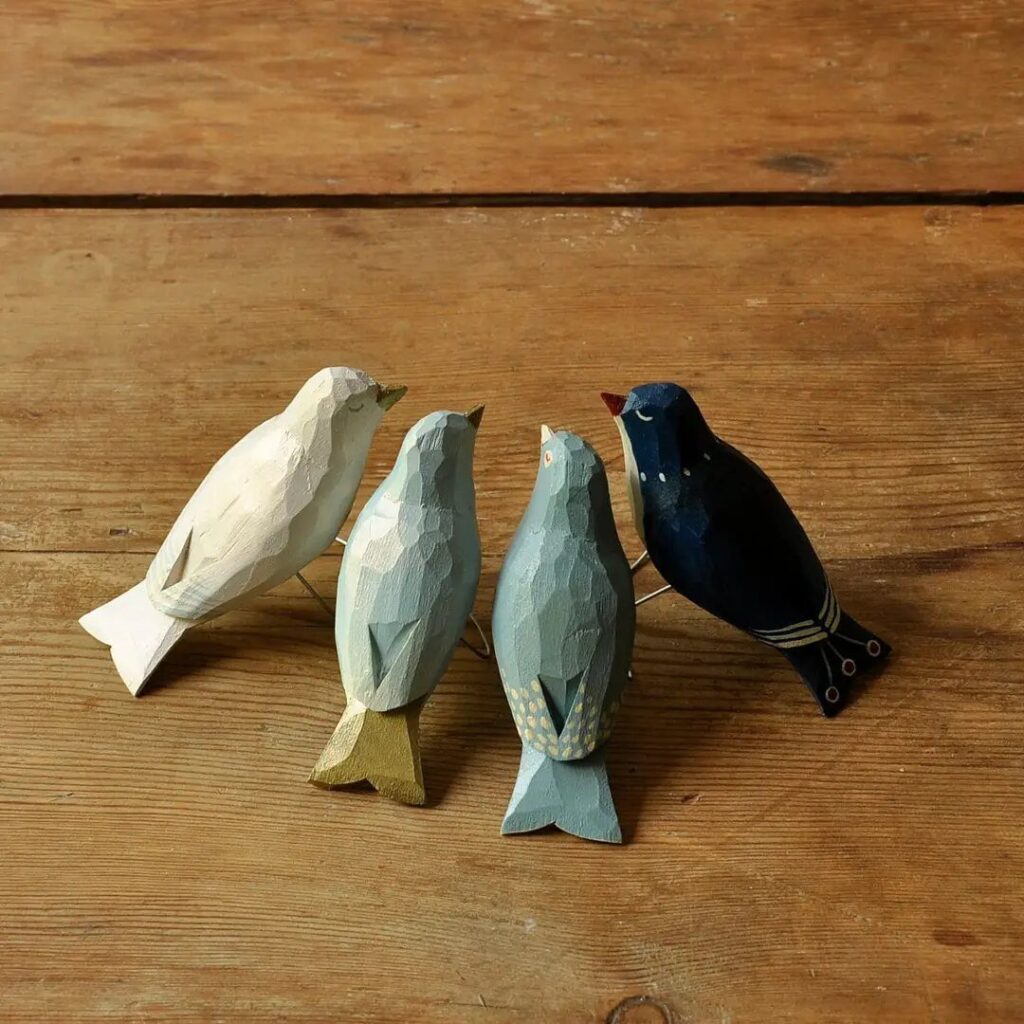
Projects here run from a mushroom you can finish in an afternoon to a walking stick with a stone bound on top by leather straps, and the cut that separates them is the one you haven’t practiced yet.
Pick by the skill you want next: the Wooden Mushroom teaches a clean stop cut, the Simple Spoon asks for a bent, hooked blade, and the Small Carved Turtle rewards shallow, repeated cuts across its shell.
Whatever you choose, the Best Wood for Beginners section points to basswood, which is where I’d start, and the Tools for Whittling section covers the one sharp knife the first projects call for.
1. Wooden Mushroom
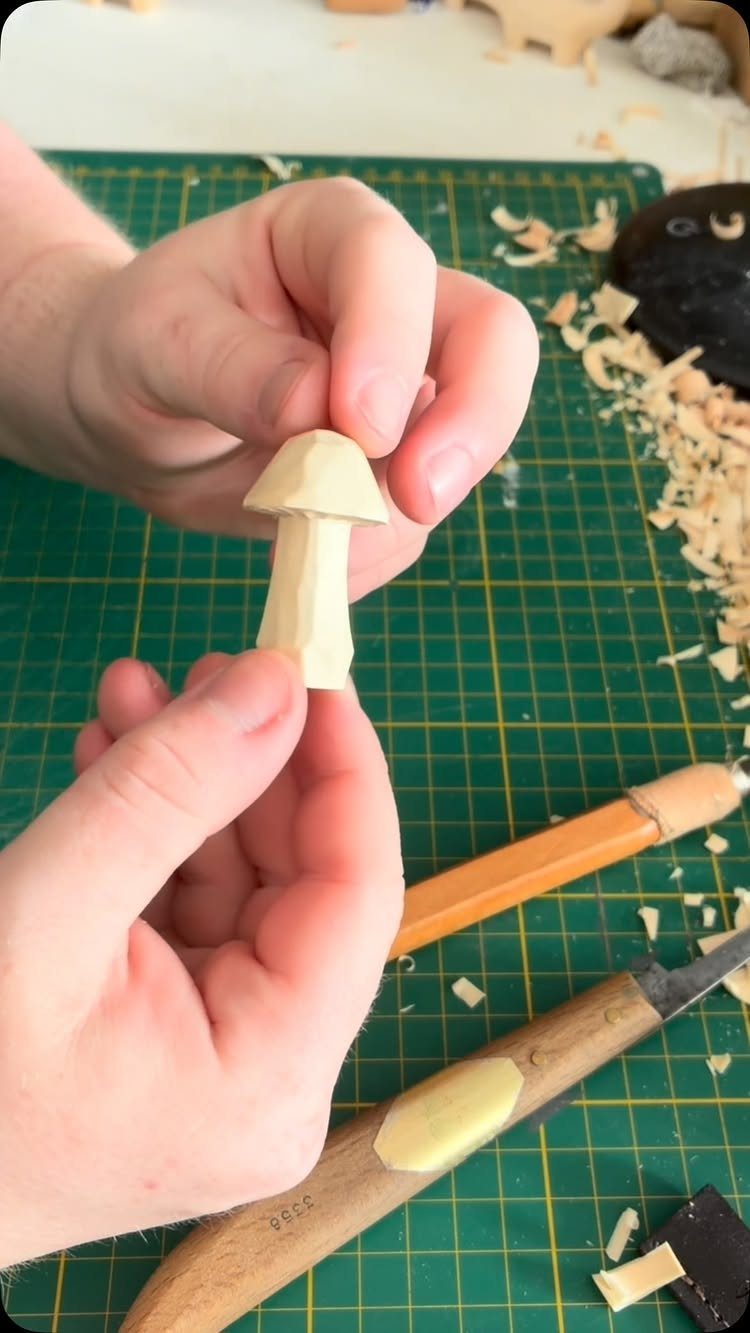
A mushroom is where I would start, because the cap and stem meet at a line you have to cut around without slicing into either.
That is a stop cut: you press the knife straight in along the line, then carve toward it from the cap side so the waste pops free.
Soft, straight-grained wood makes the practice easier. Make the stop cut a little deeper each pass, and take thin shavings instead of prying out chunks.
A small mushroom takes an afternoon at most, and a few spare blanks let you repeat the cut until it feels automatic.
2. Gnome
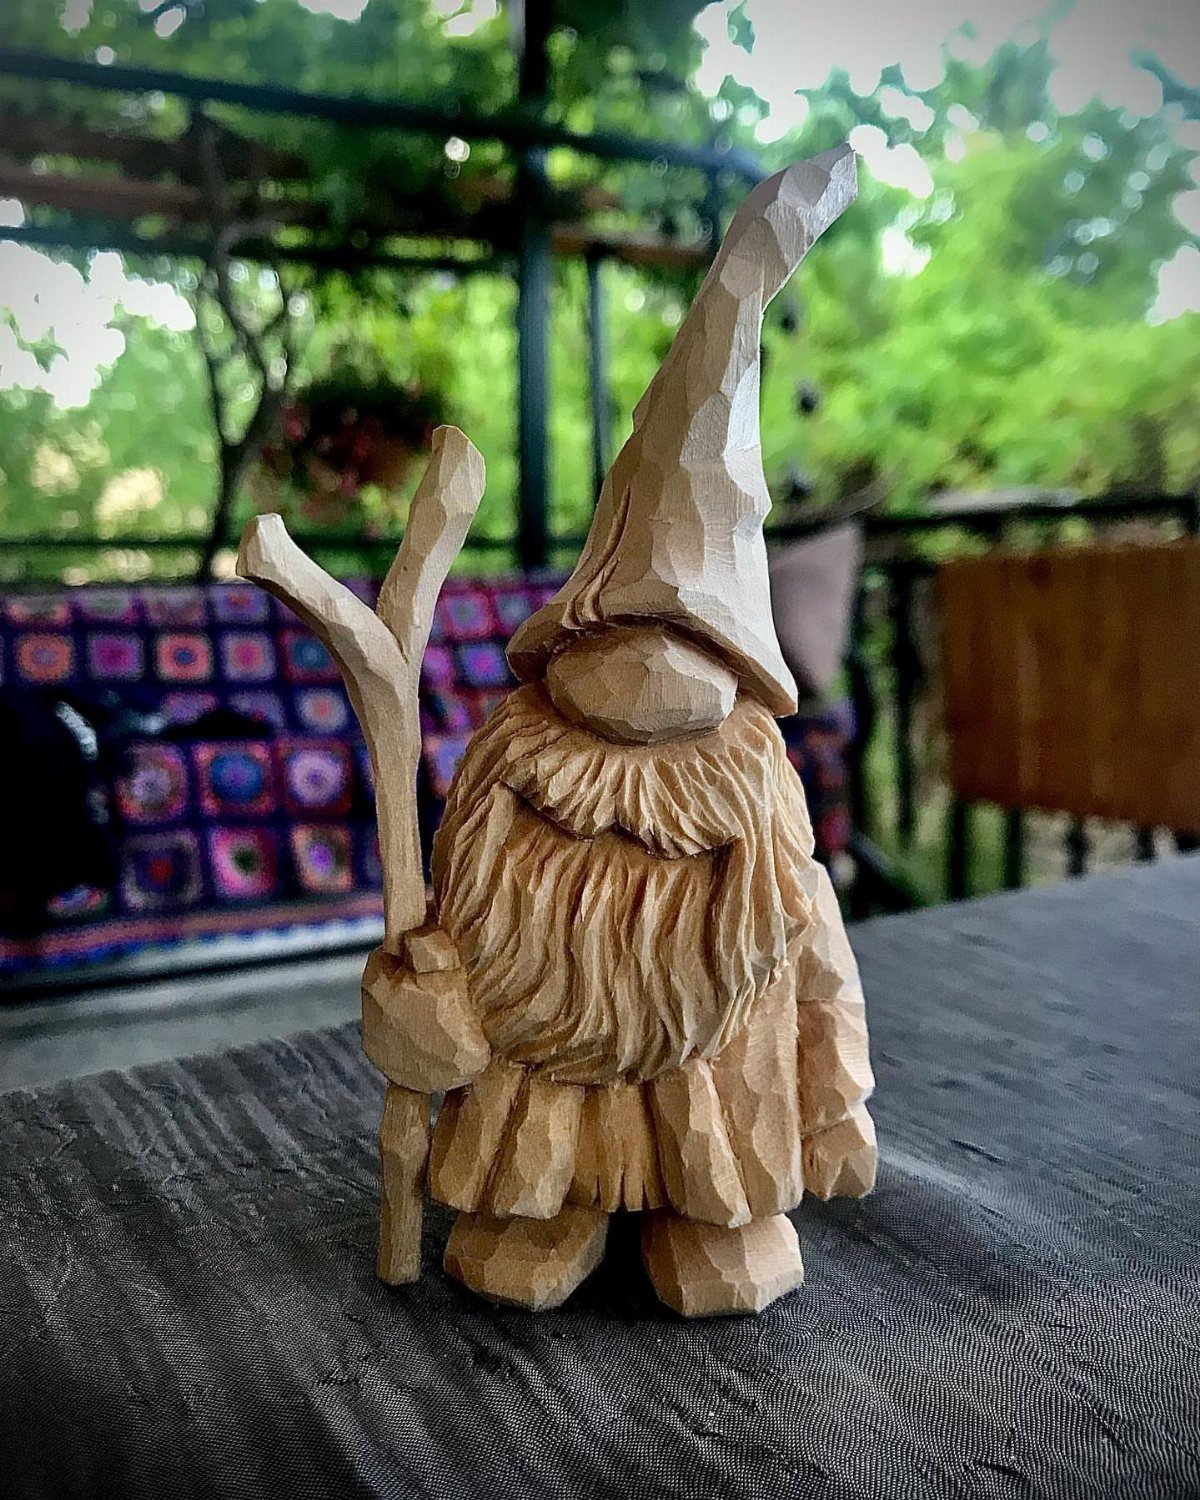
Long beard, tall hat, a staff in one hand: a gnome packs several cuts into one small figure. Planing a flat face, rounding the hat into a cone, and shaping the beard each use a different knife move.
Block the whole body out as a simple tapered shape before adding any detail. The beard and hat do most of the character work, so spend your patience there and keep the face minimal.
Expect a longer session than a mushroom. I would still call it the best second project, since every cut you learn on it carries into the next piece.
3. Simple Spoon
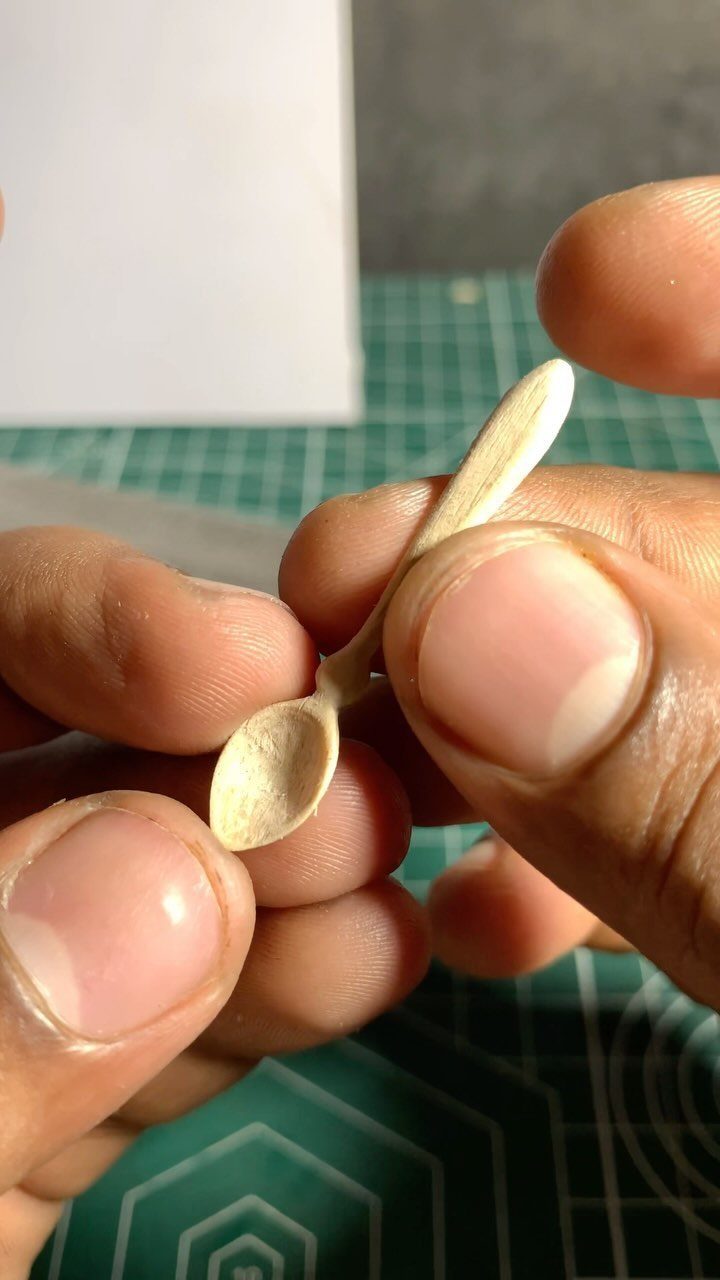
Carving a spoon means working a bowl, and that calls for a hook knife, a curved blade that scoops out the hollow. Pull it toward you in short strokes, following the grain, and stop before the wall gets thin.
Roughing out the handle with a straight knife first makes the bowl easier to hold steady. Keep your off hand behind the blade’s path.
A spoon is the one project here you can actually put to use, and that earns it a spot on the list even though the hook knife means buying one more tool.
4. Small Wooden Bird
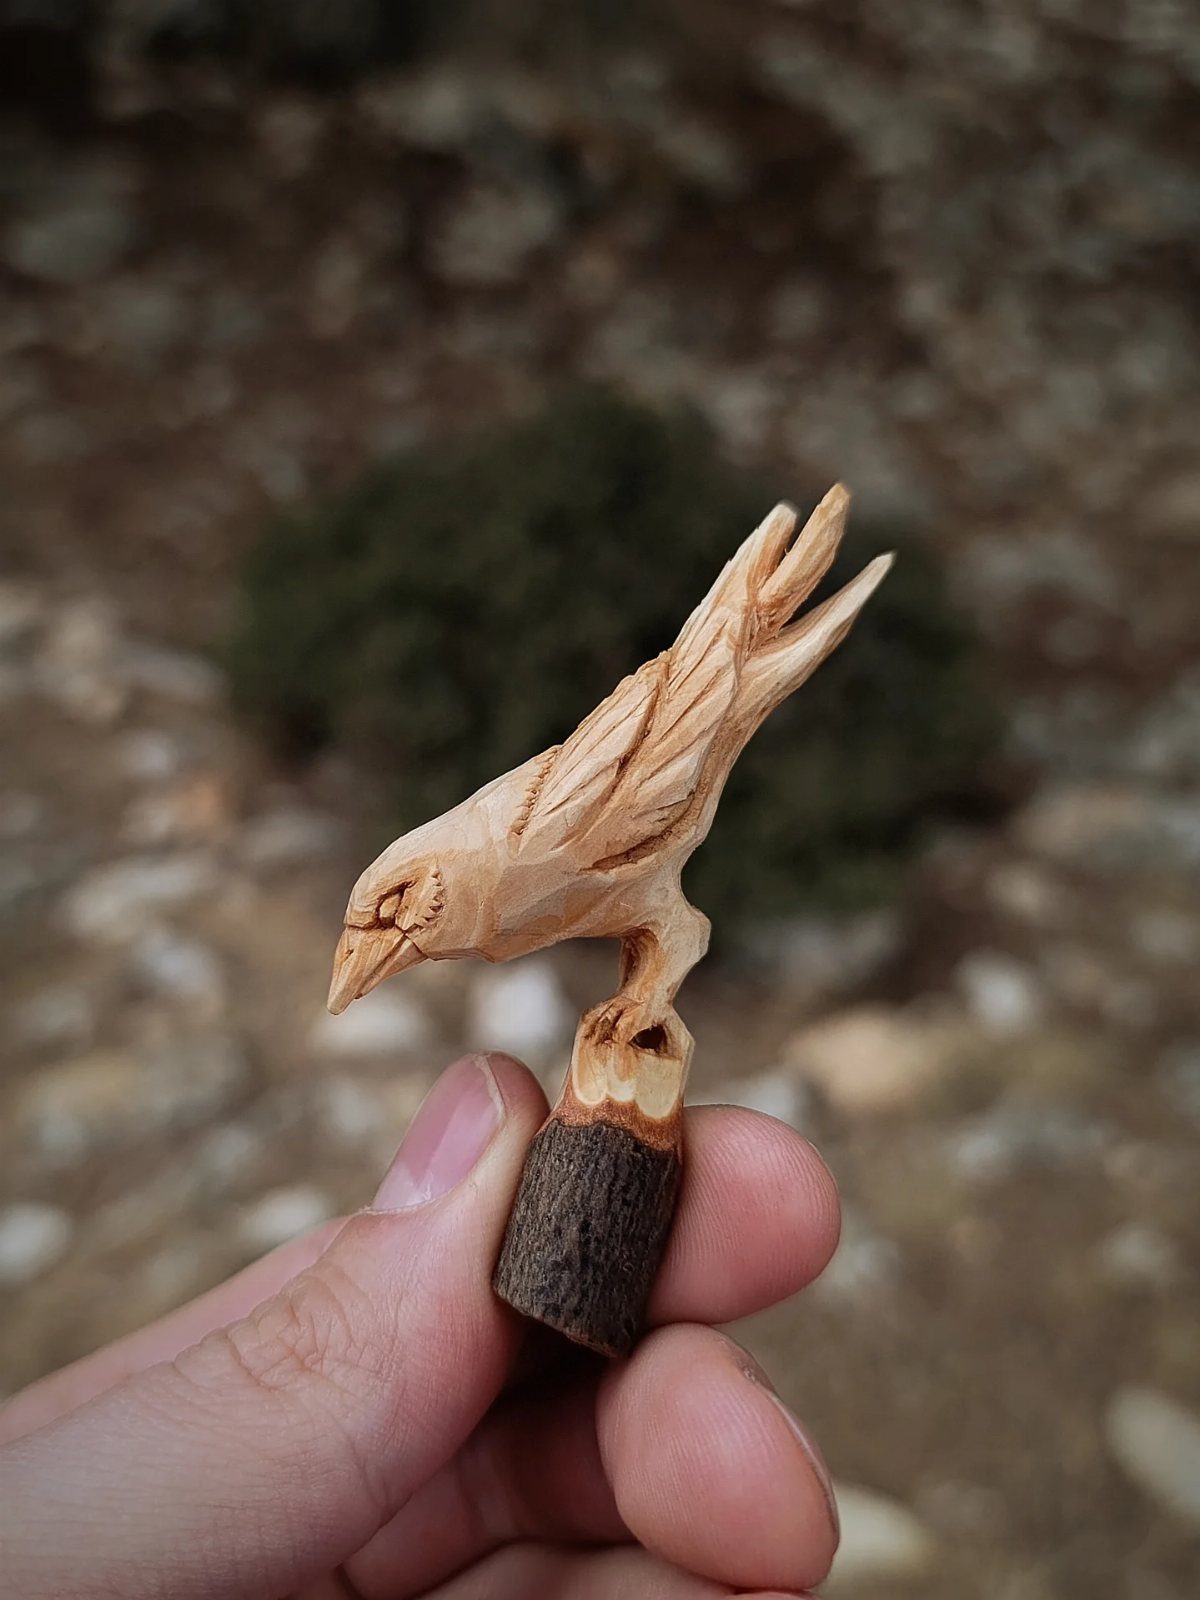
Perched on a bark-covered branch, a small bird gives you a finished piece and a built-in base. Carving it in the hand works fine: round the body into an egg shape first, then taper the tail and mark the wings.
Feather lines are the detail that sells it, and they come from shallow, repeated V-cuts. Go light; a deep cut on a small bird can snap a tail.
If the base feels fussy, skip it and let the bird sit in your palm.
5. Wood Spirit Face
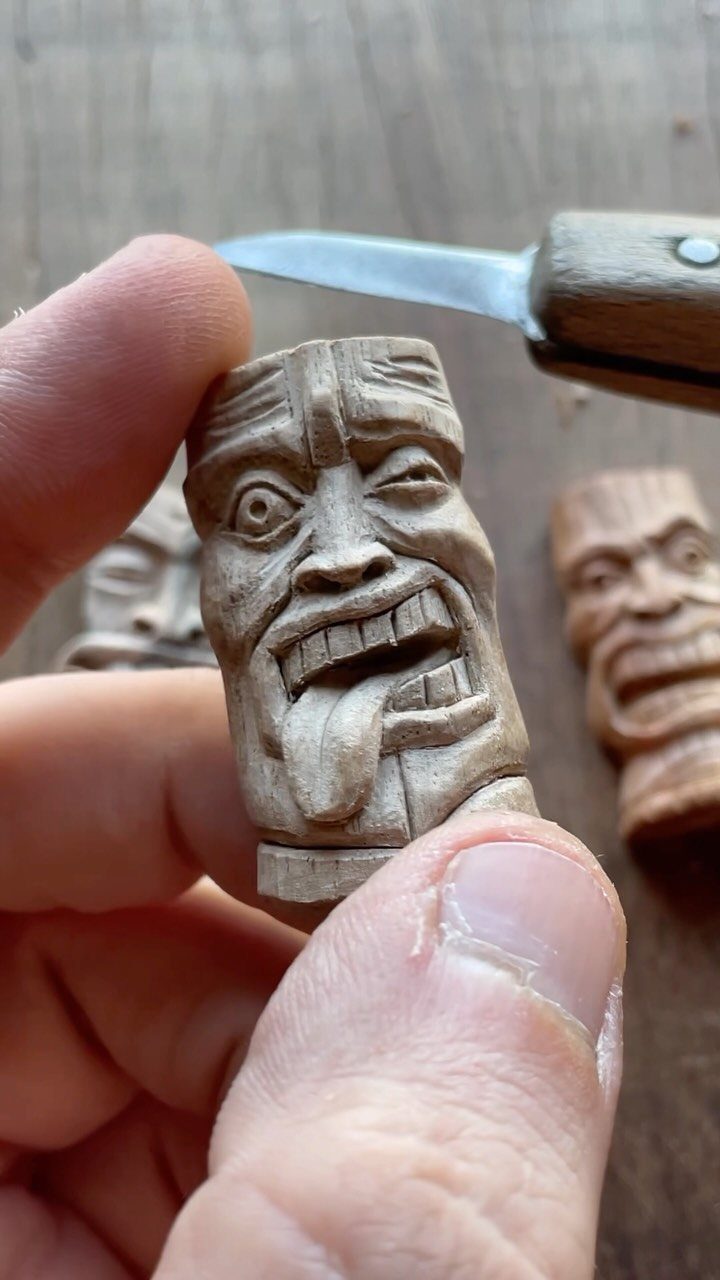
A face with its tongue stuck out is a forgiving project, since a slightly lopsided expression only adds to the personality.
Begin by marking the brow, nose and chin on a squared block, then cut away the wood beside the nose to set the features forward.
The tongue is the hardest part, so shape it last, once the rest of the face is settled. Keep the knife sharp and make small, shallow slices.
Carve a few in a row and each one gets better.
6. Carved Wooden Flowers
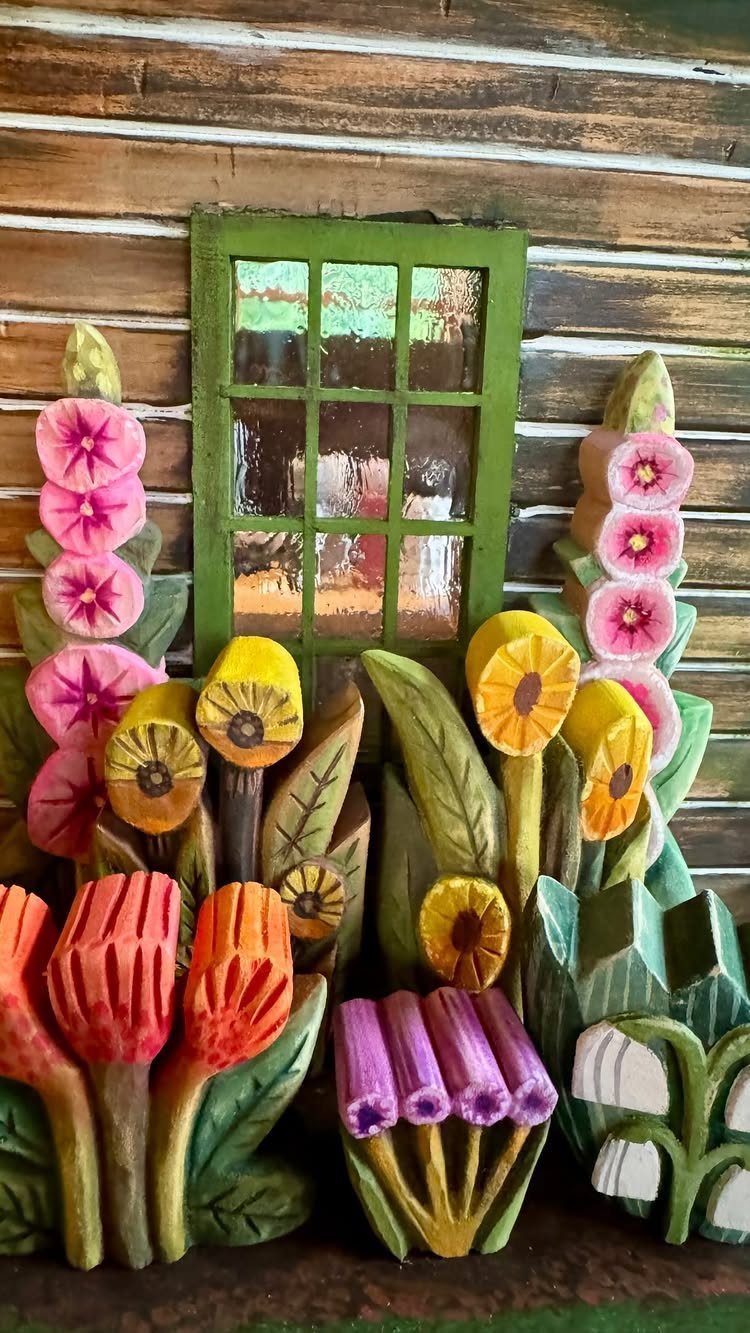
Small carved flowers turn scraps into something bright. Each blossom is basically a few petal cuts around a center, and a leaf is a flat, pointed shape with a center line cut into it.
Paint is what makes a bunch like this work, and I would pick strong, saturated colors so simple petals still read clearly. Seal the wood lightly first so the paint goes on evenly.
Make several in one sitting and arrange them together; repeating one easy shape is good practice for steady cuts.
7. Carved Walking Stick
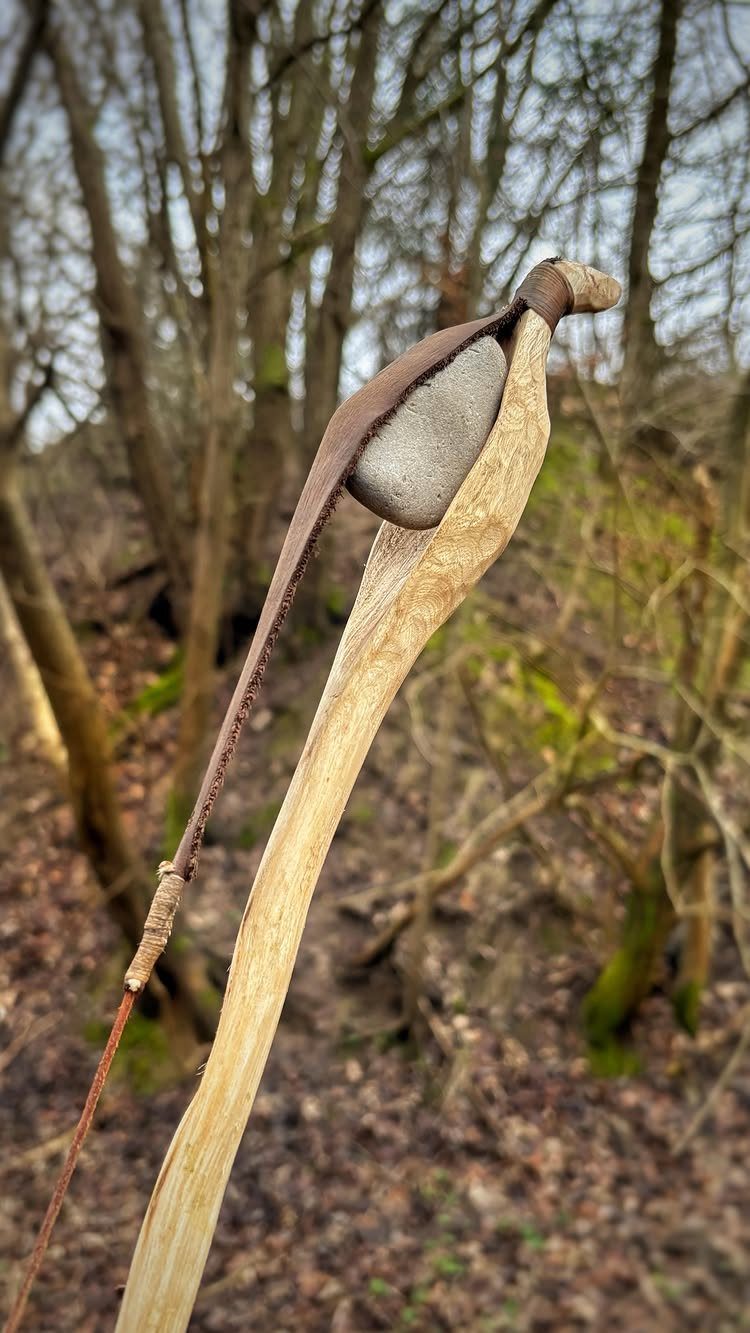
A walking stick is a long project built on one short detail: a stone held at the top by leather straps. The wrap is what makes it a handle and a finished piece at once.
Start with a straight branch and leave the bark and natural curves alone, since that rough surface suits the stone.
Cut a shallow seat at the top so the stone sits snug, then bind it with leather, pulling each turn tight.
Whittle the lower end smooth if you want a cleaner grip.
8. Small Carved Turtle
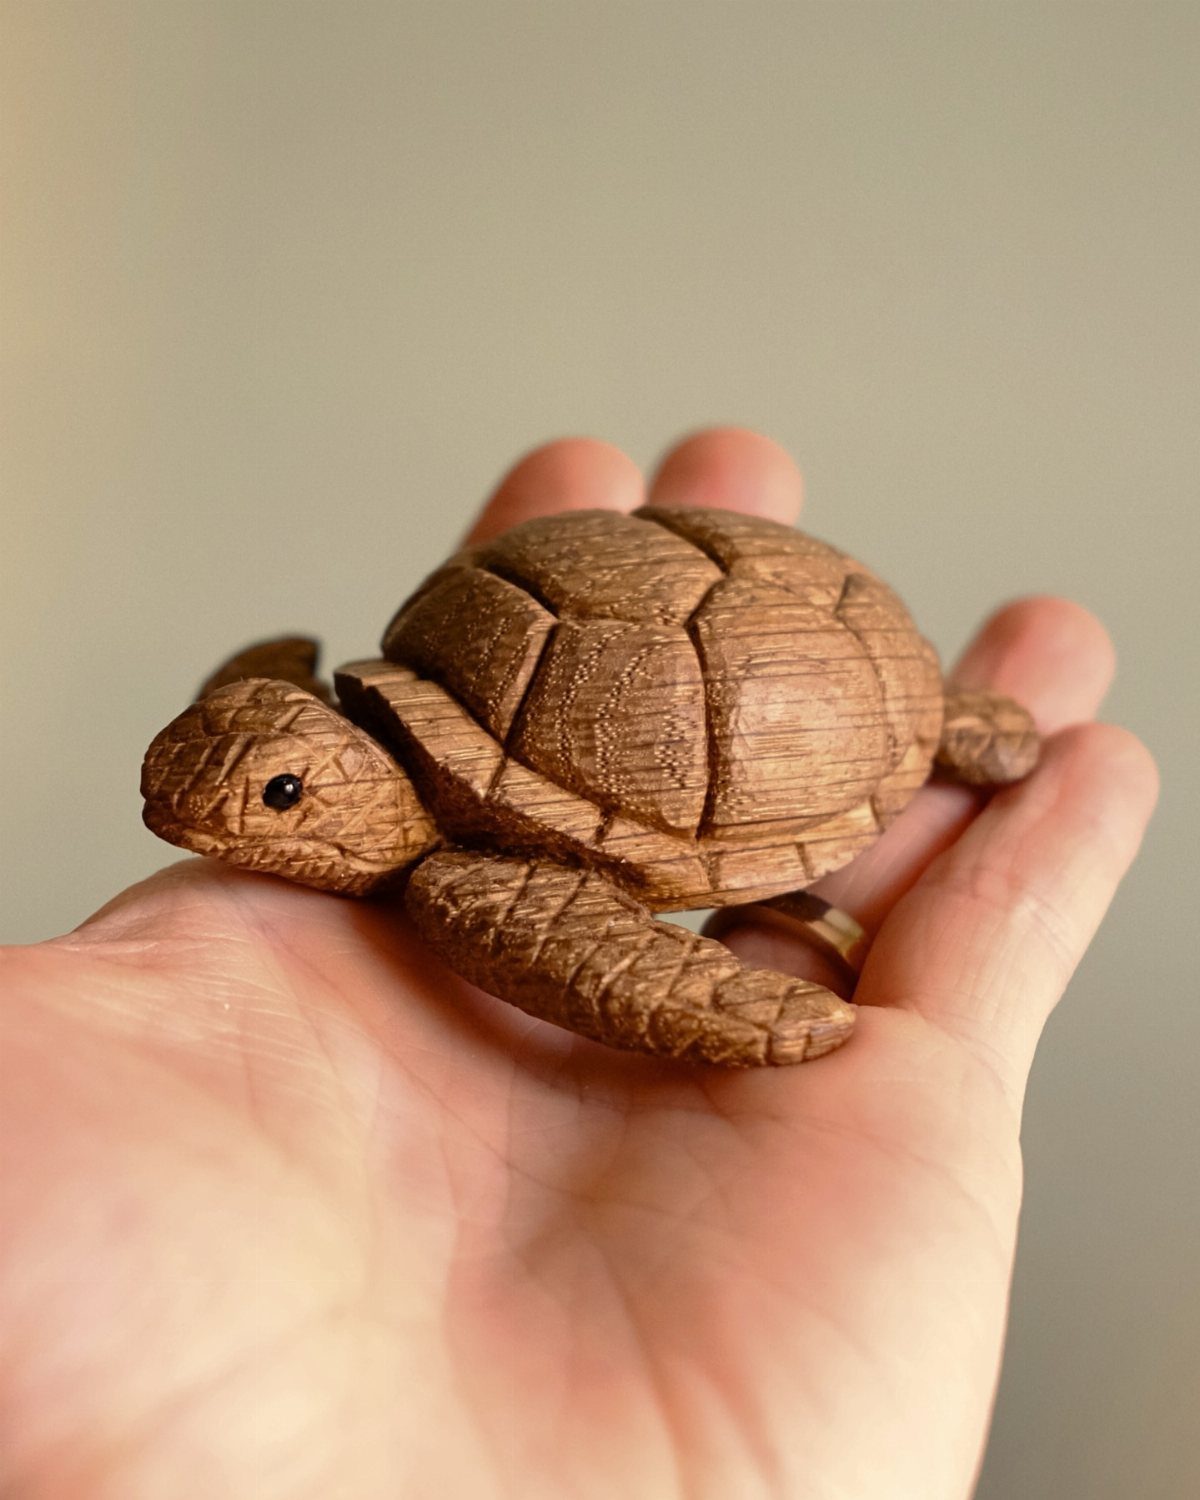
Small enough to sit in your palm, a carved turtle is mostly a shell with a head and stubby legs.
Start by rounding the shell into a dome from a small block, and keep the head and legs thick so they survive handling.
The shell texture is where it comes alive. Press shallow, repeated cuts into the dome in a rough pattern of plates, and keep the depth even from one to the next.
I like this one for beginners because the body is forgiving, and a slightly uneven shell just looks natural.
9. Carved Wooden Star
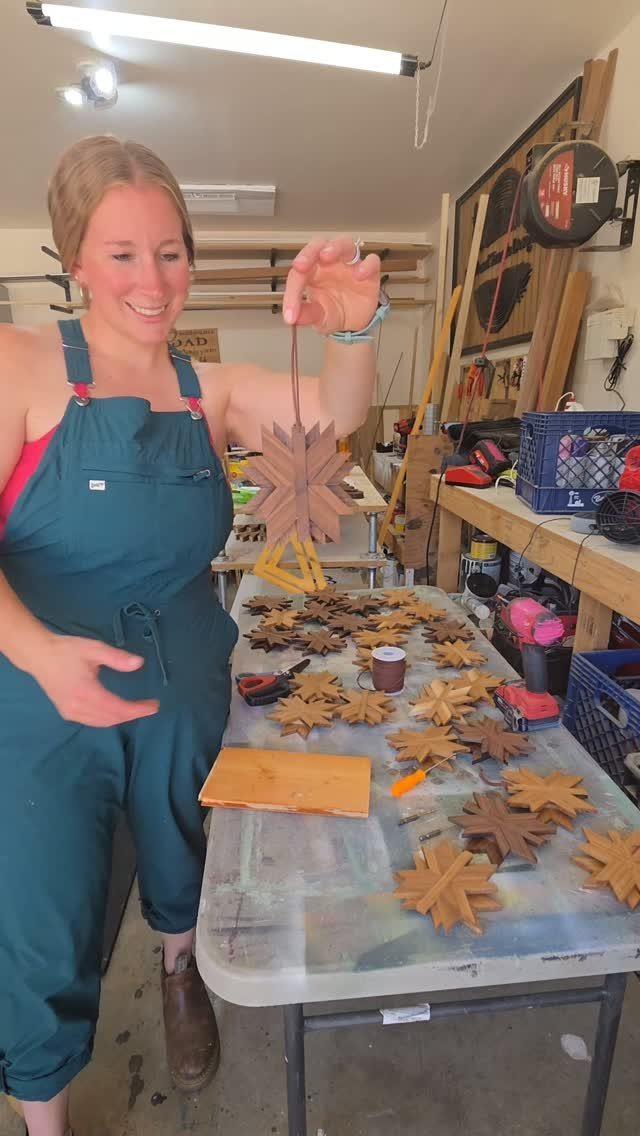
Faceted stars are an easy project to repeat: each point is cut from a few flat planes, so the pattern is easy to learn and easy to copy.
Mark the center and the points on a flat piece of wood, then shave each arm into a shallow ridge.
Keep the angles the same on every arm so the star looks balanced. Slow, thin slices beat deep ones.
Make a batch rather than a single star. By the third or fourth, the cuts speed up and the points start matching.
Best Wood for Beginners
Basswood is the wood I point beginners to first. It is soft, pale and has a structure that cuts easily, and the light color takes paint well if you plan to finish a piece that way.
Poplar is a workable alternative when basswood is hard to find, though it is harder and less even in grain. Both are soft enough for whittling.
Hardwoods are a poor place to start, since they fight the blade and wear out a new carver quickly. If a hardwood is all you can get locally, you can still learn on it, and softwood will feel easy afterward.
Carving Safety Tips
Before each carving session, pull the blade across a leather strop a few times so you start with an edge that bites cleanly.
A dull edge needs force, and force costs you accuracy as well as safety. Nothing sharpens your carving for less money than 60 seconds on a leather strop loaded with polishing compound.
Wear a carving glove on the hand that holds the wood, and keep your free hand and body out of the path of the blade. Brace your elbows and keep your strokes slow.
Stop while a piece still looks slightly unfinished. Early slips rarely sink a piece; the extra cut you make when you should have stopped does, and delicate parts like thin stems, noses and rims take the damage.
Tools for Whittling
A sharp knife matters more than any other tool you own. Start with a sloyd knife, the all-purpose blade that handles push cuts, tapers and general shaping.
For small, controlled cuts and fine detail, a trimming knife makes a handy second blade.
Buy tools as the projects call for them. One sloyd knife, kept sharp, covers a surprising amount of ground.






