The ideas here run from a quick bench build to joints that carry a full frame, and the tools shift with them: brackets and bolts for a first knee brace, wooden pegs and a sharp chisel once you want no visible hardware.
Which one is yours depends on how much hand-cutting you’re ready to do, since a through tenon shows every layout error on both sides of the post.
Starting with a bench keeps the stakes low while you practice the same tenons, mortises and shoulders a larger frame uses.
1. Shoulder of Timber
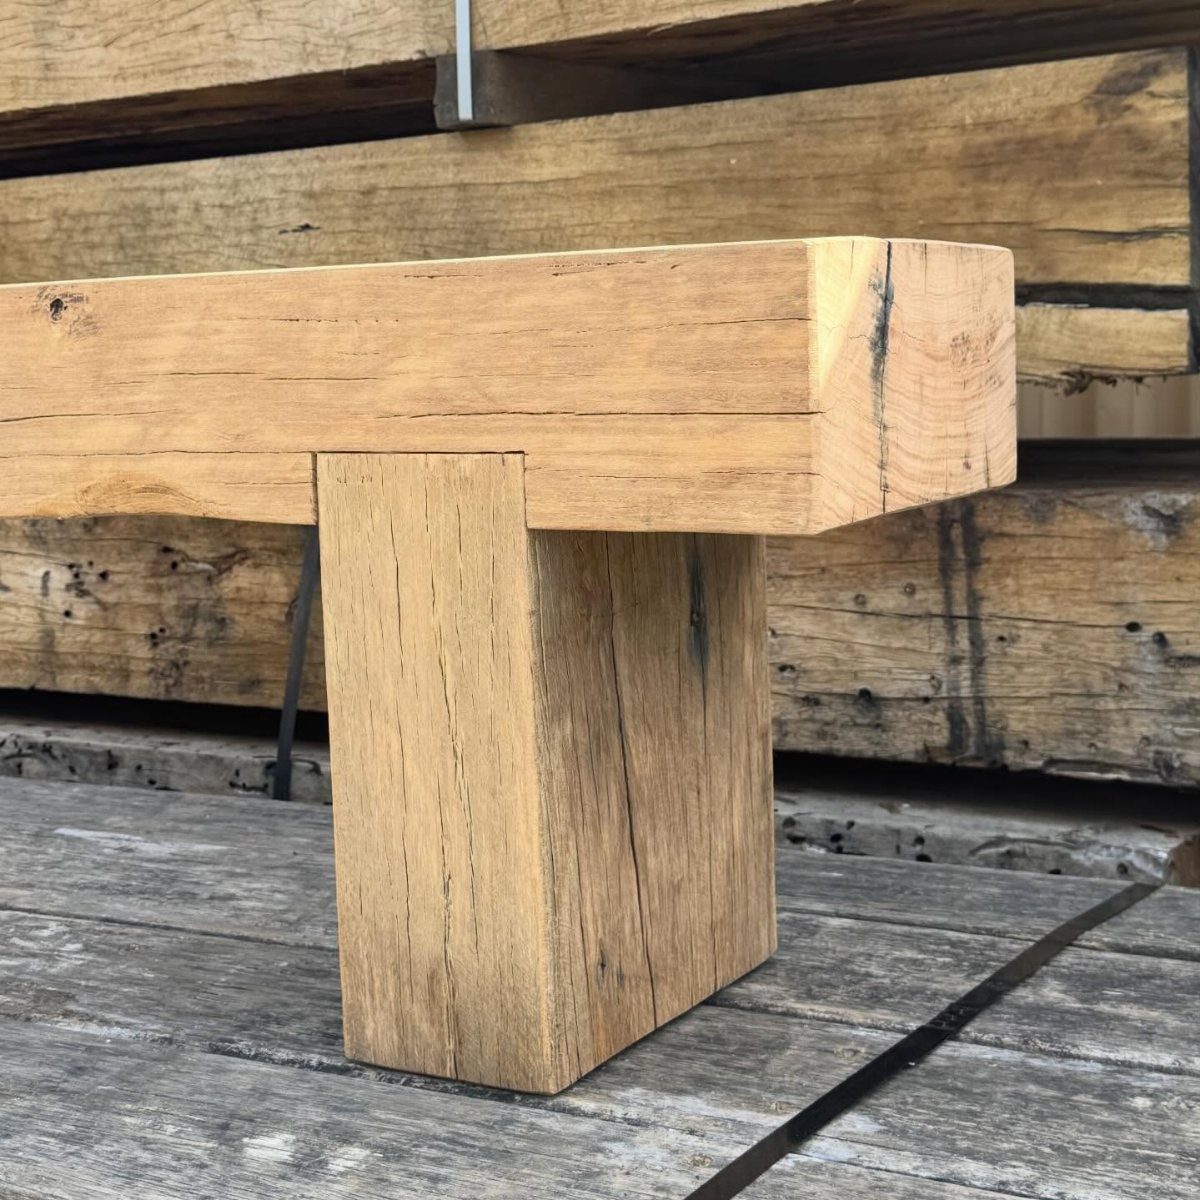
Downward force passes straight into the post instead of riding on the tenon alone, which raises the load a beam can carry.
I cut the shoulder square and flat so the beam sits tight against the post with no gap. A sloppy shoulder leaves the tenon doing work it was never meant to do.
For a first frame, practice on scrap timber before touching the good stock.
2. Knee Braces
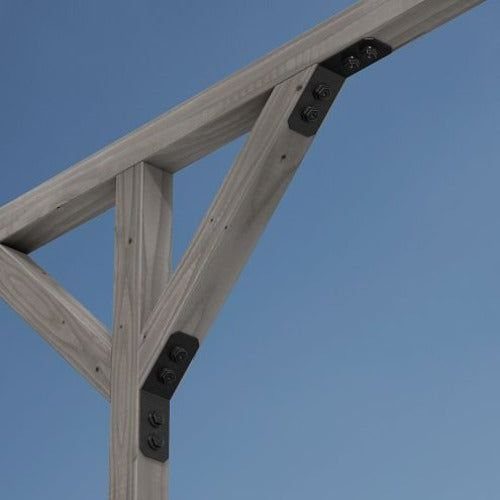
Diagonal braces tie major posts to beams, and that connection is what steadies a frame. Each brace runs at an angle between a vertical post and a horizontal beam, so the corner can’t easily rack.
Black metal brackets and bolts are a fair way to fasten a knee brace, and they suit a modern look.
Traditional frames use a wooden peg through a drilled hole, which is stronger in the long run and keeps the lines clean, but brackets are easier with basic tools.
That is a simpler route for a beginner than cutting every joint by hand, and the dark steel looks good against light timber.
Pegged joints are the traditional alternative if you want no visible hardware.
3. Through Tenon
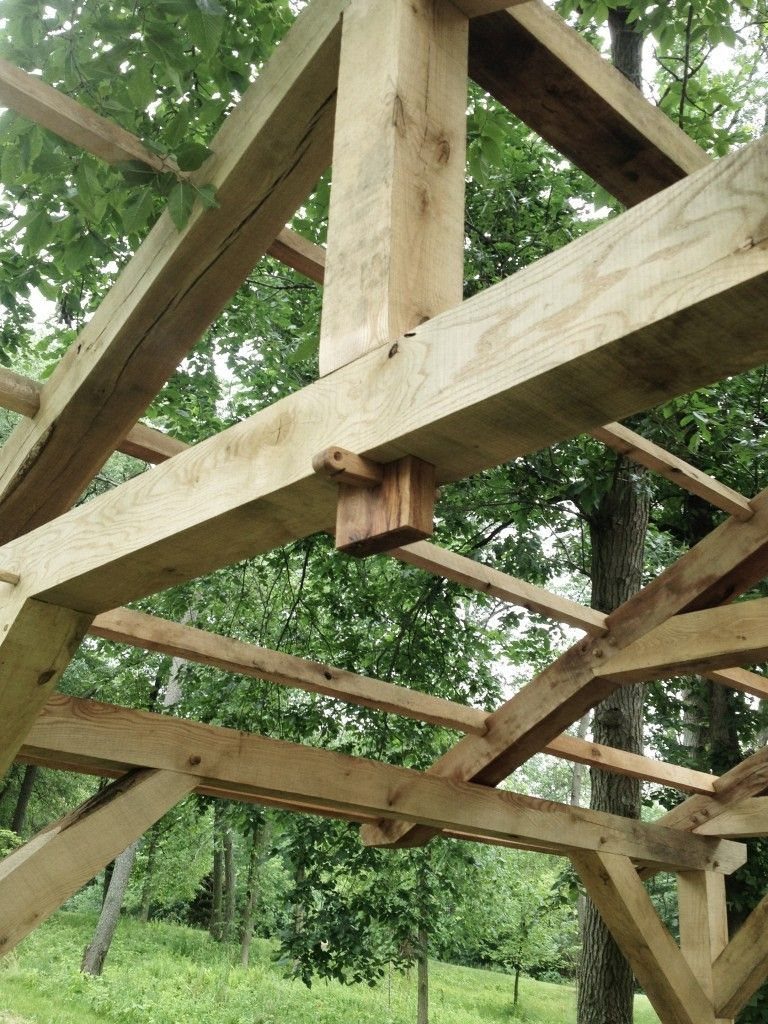
Through tenons push all the way across the mortise and stick out the opposite side of the post. That visible end is the whole appeal: you see the joint doing its job.
Cutting the mortise clean through takes patience. Chisel from both faces and meet in the middle, so the exit side doesn’t blow out and splinter.
I’d choose this joint when you want the joinery on display. It asks for more careful layout than a blind tenon, since any error shows on both sides.
4. Timber Frame Bench Joinery
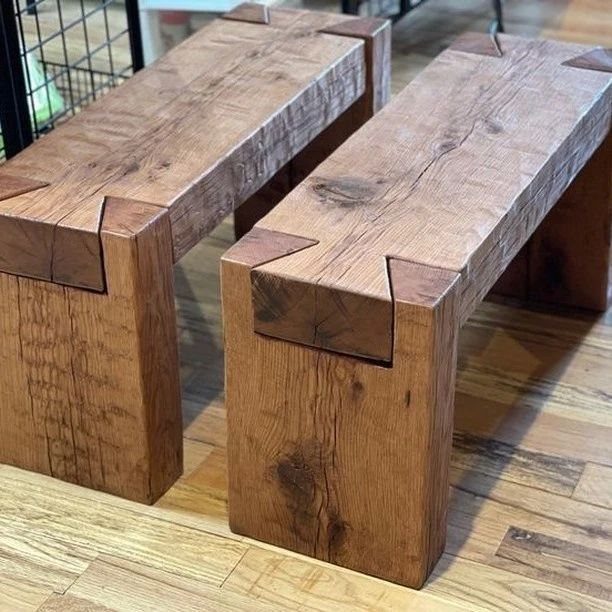
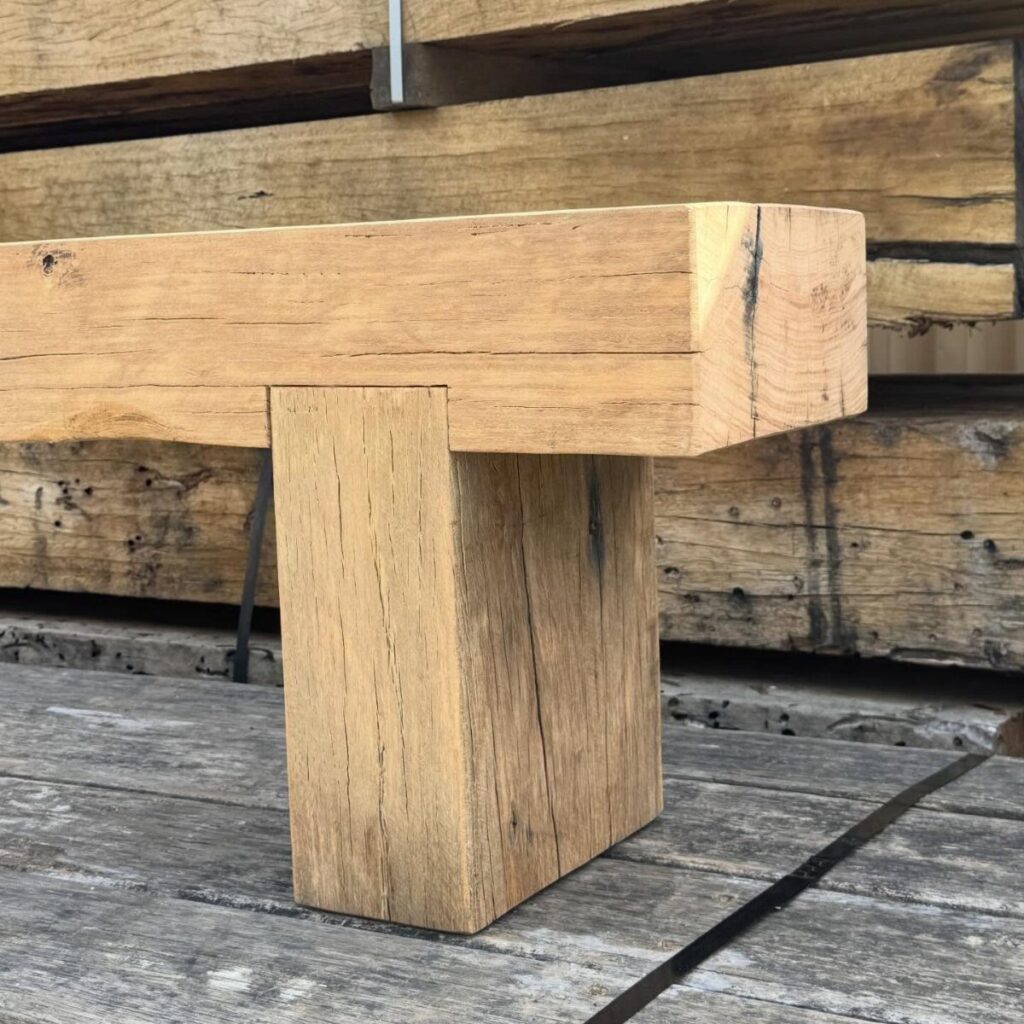
Thick timber beams make both the seat and the legs of a timber frame bench, and the joints stay exposed. The bench becomes a small-scale lesson in frame joinery.
A bench is how I’d start. The parts are few, the stakes are low, and you can finish it in less time than a full frame would take.
Use heavy stock so the proportions look right, then practice the same joints a larger frame uses: tenons, mortises and shoulders.
Joinery Vs. Carpentry
Carpentry and joinery sound interchangeable, but they split the work differently. Carpentry covers fitting floors, hanging cabinets and putting up shelves.
Joinery is the making of the structure itself: door and window frames, trusses, stairs. Joinery is what ties one timber to the next in a frame, and the cuts decide the angles, the layout and the finished shape.
Joints also move loads and stresses from one timber to another, so each type has a specific job. Match the joint to the job before you pick up a chisel.
Tools for Joinery
A traditional frame needs no nails or metal plates: mortises, tenons and wooden pegs hold the timbers together. Those joints can be made with hand tools, with modern precision machinery, or with a mix of both.
For an afternoon project, a mix makes sense. Use power tools such as a circular saw to remove the bulk of the waste, then switch to a sharp chisel to pare the walls and shoulders to the line.
Power saves time on the rough cuts, but the final fit is chisel work. Take it slowly there.
History of Timber Framing
Timber framing is old. Japan’s Horyuji Temple, built around 600 C.E., still stands, and many medieval cathedrals in Europe rest on the same kind of timber structure.
European settlers made timber framing the main building method in North America. It continued into the early 1900s, until cheaper dimensional lumber and wire nails and a demand for fast, inexpensive housing let stick-built construction take over.
That wasn’t the end of it.
Interest in old timber frame barns and houses picked up again in the 1970s, as a small group of builders and craftspeople began reviving the method, and Shelter Institute opened in 1974 to teach people how to build their own frames.
Frequently Asked Questions
What are the types of joinery for timber homes?
Mortise and tenon joints show up most, with dovetails and lap joints close behind.
Mortise and tenon comes in several forms, including the shouldered version, the through tenon and the brace joint. Pick each joint for the load it has to carry, and settle that before a single cut.
What is timber framing?
Instead of screws, nails or steel plates, timber framing ties heavy beams together with joints cut right into the wood. A chisel and saw can cut these joints, as can a CNC machine, and plenty of builders use both.
What are the most common types of frame construction?
Timber framing, with its pegged mortise and tenon joints, is the traditional method, and stick-built construction with dimensional lumber and wire nails is the one that replaced it in the early 1900s.
Timber framing came back in the 1970s as builders began reviving it.
Are there disadvantages to timber frames?
Skill is the biggest hurdle, since a through tenon is visible from both faces and a layout mistake has nowhere to hide.
Cutting by hand also rewards a slow pace, because a shoulder that doesn’t seat tight forces the tenon to carry loads it was never sized for.
Black metal brackets are an easier option with basic tools, though they replace the traditional pegged look.






