Location comes first: a shelf in a dry hallway can get by with pine and a coat of wax, while a porch rail or a bench by the back door needs rot-resistant cedar or treated lumber and an exterior finish.
The projects run from a tic-tac-toe board with a 3×3 grid of dimples to a mudroom bench made from 4 – 8-foot 2x4s, and most come together in an afternoon with a saw, a drill and sandpaper.
Pick the spot first, then the project that suits its humidity and wear.
1. Wine Rack
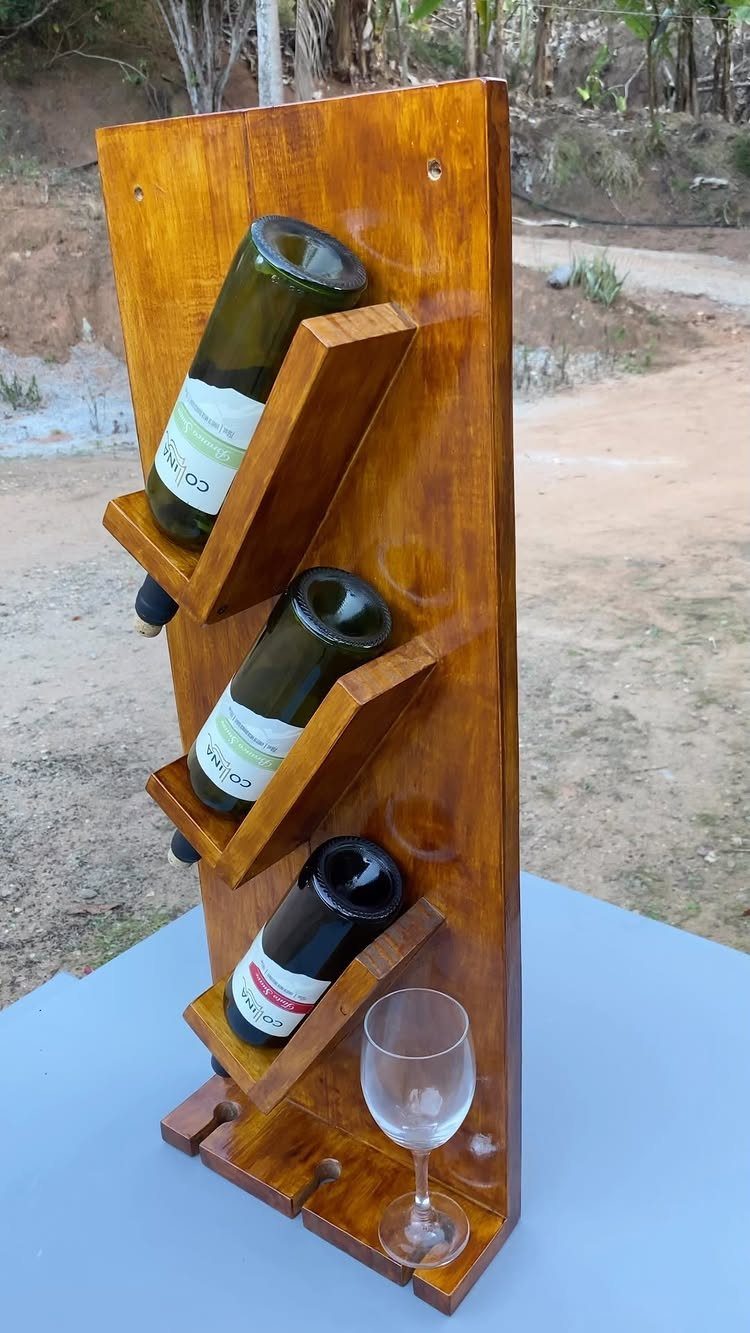
A vertical rack like this one keeps bottles upright and takes up a few inches of counter instead of a whole shelf.
It suits a small kitchen or a patio table, and 3 bottles plus a glass is a good size for an afternoon build.
Sand every edge before finishing, since bottles slide against the wood each time one is pulled out. A coat of clear finish keeps the grain visible and wipes clean after a drip.
2. Wall Hooks
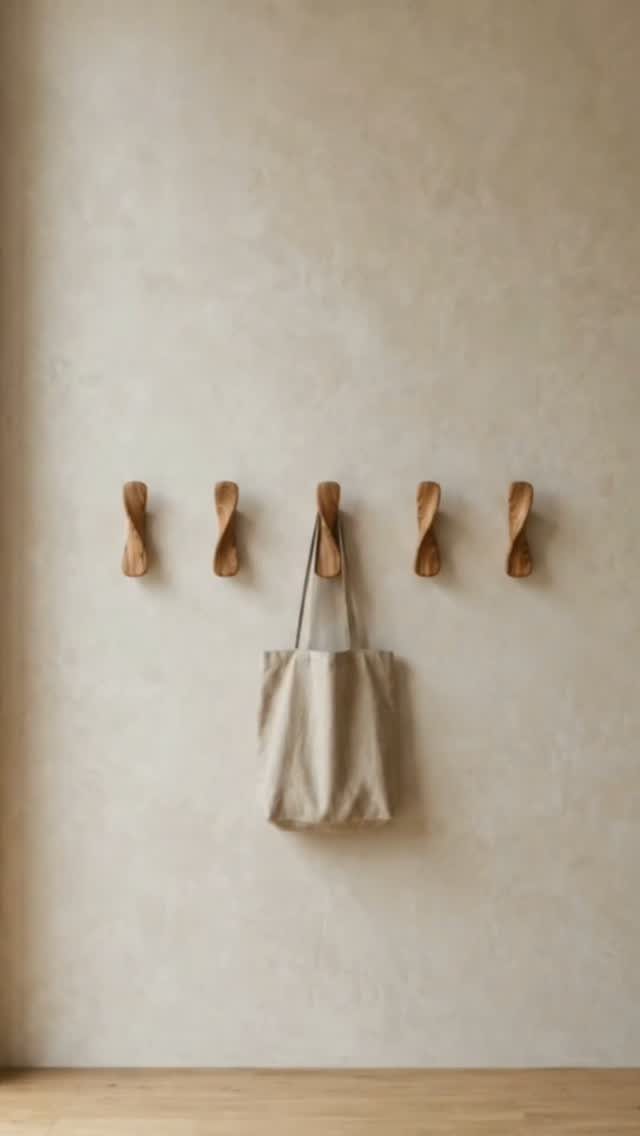
Twisted hooks give a plain wall some shape, and five in a row will hold more than a tote bag. Cutting them from one piece of stock keeps the spacing even.
Mount them into studs or use wall anchors if the hooks will carry coats or heavy bags. A straight row at one height looks tidy; staggering the heights is a way to make it feel looser.
Pencil your spacing on the wall first, then drill.
3. Plant Stand
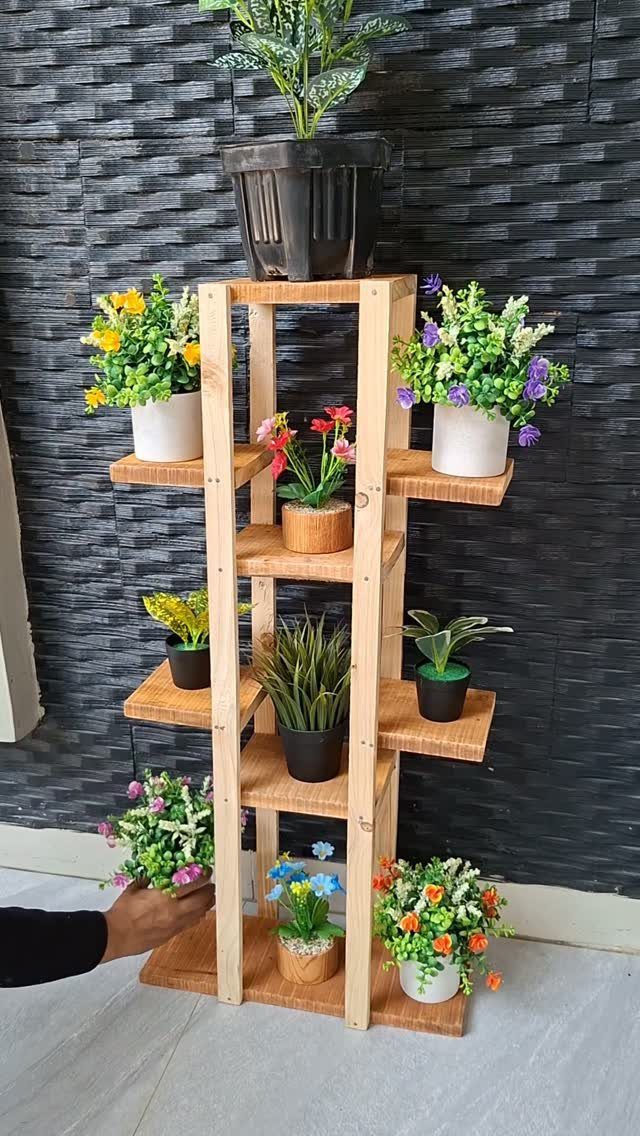
Tiers let a few small pots share one footprint, and a light wood stand like this one lets the greenery and flowers carry the color. That makes it a good choice against a dark wall, where pale wood stands out.
I would build it with wide, stable steps rather than narrow ones, so a pot can be nudged without the stand rocking. Seal the wood, because watering will leave rings on bare boards.
4. DIY Desk Organizer
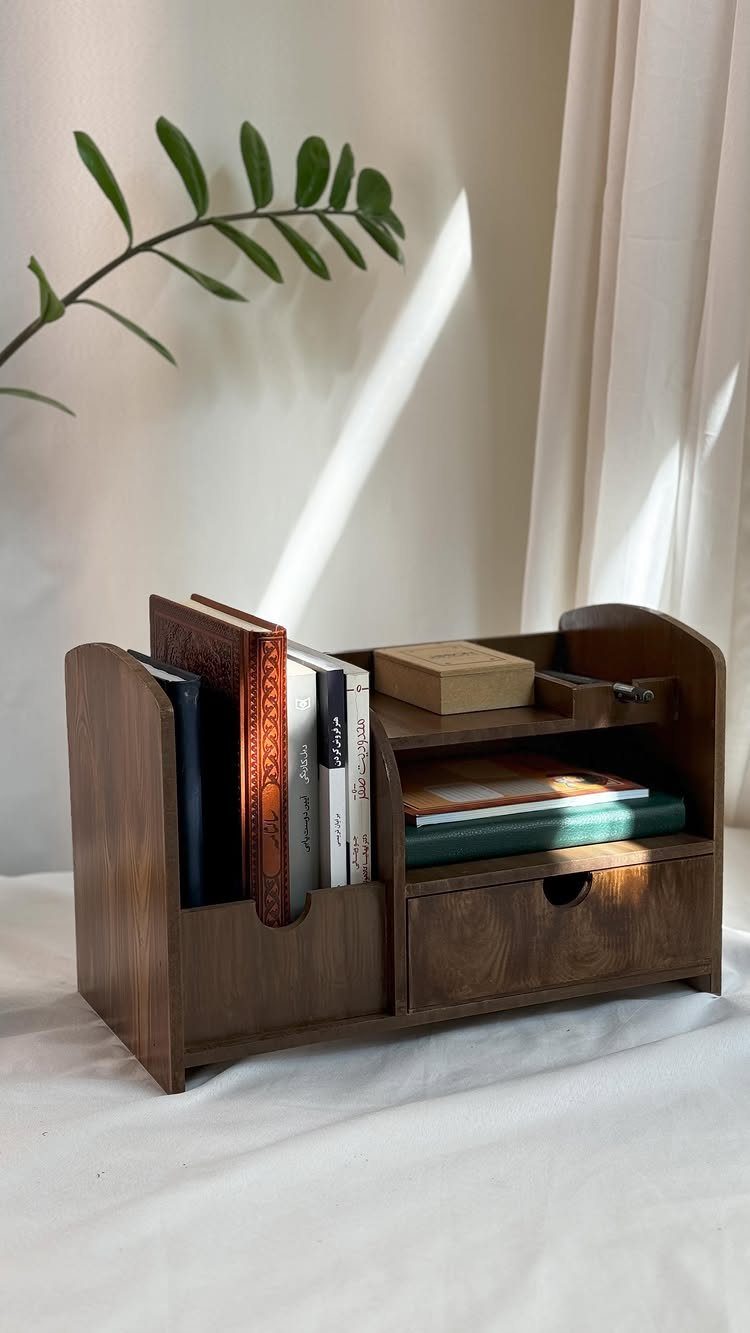
A dark wood caddy gathers books, notebooks and small boxes into one spot, so the desk surface stays clear. It uses scrap pieces well, which keeps the cost low.
Size the compartments to what you actually keep on the desk, and measure your notebook before cutting. A dark stain hides pen marks better than a pale finish, and a coat of clear sealer on top helps it wipe clean.
5. Toolbox Organizer
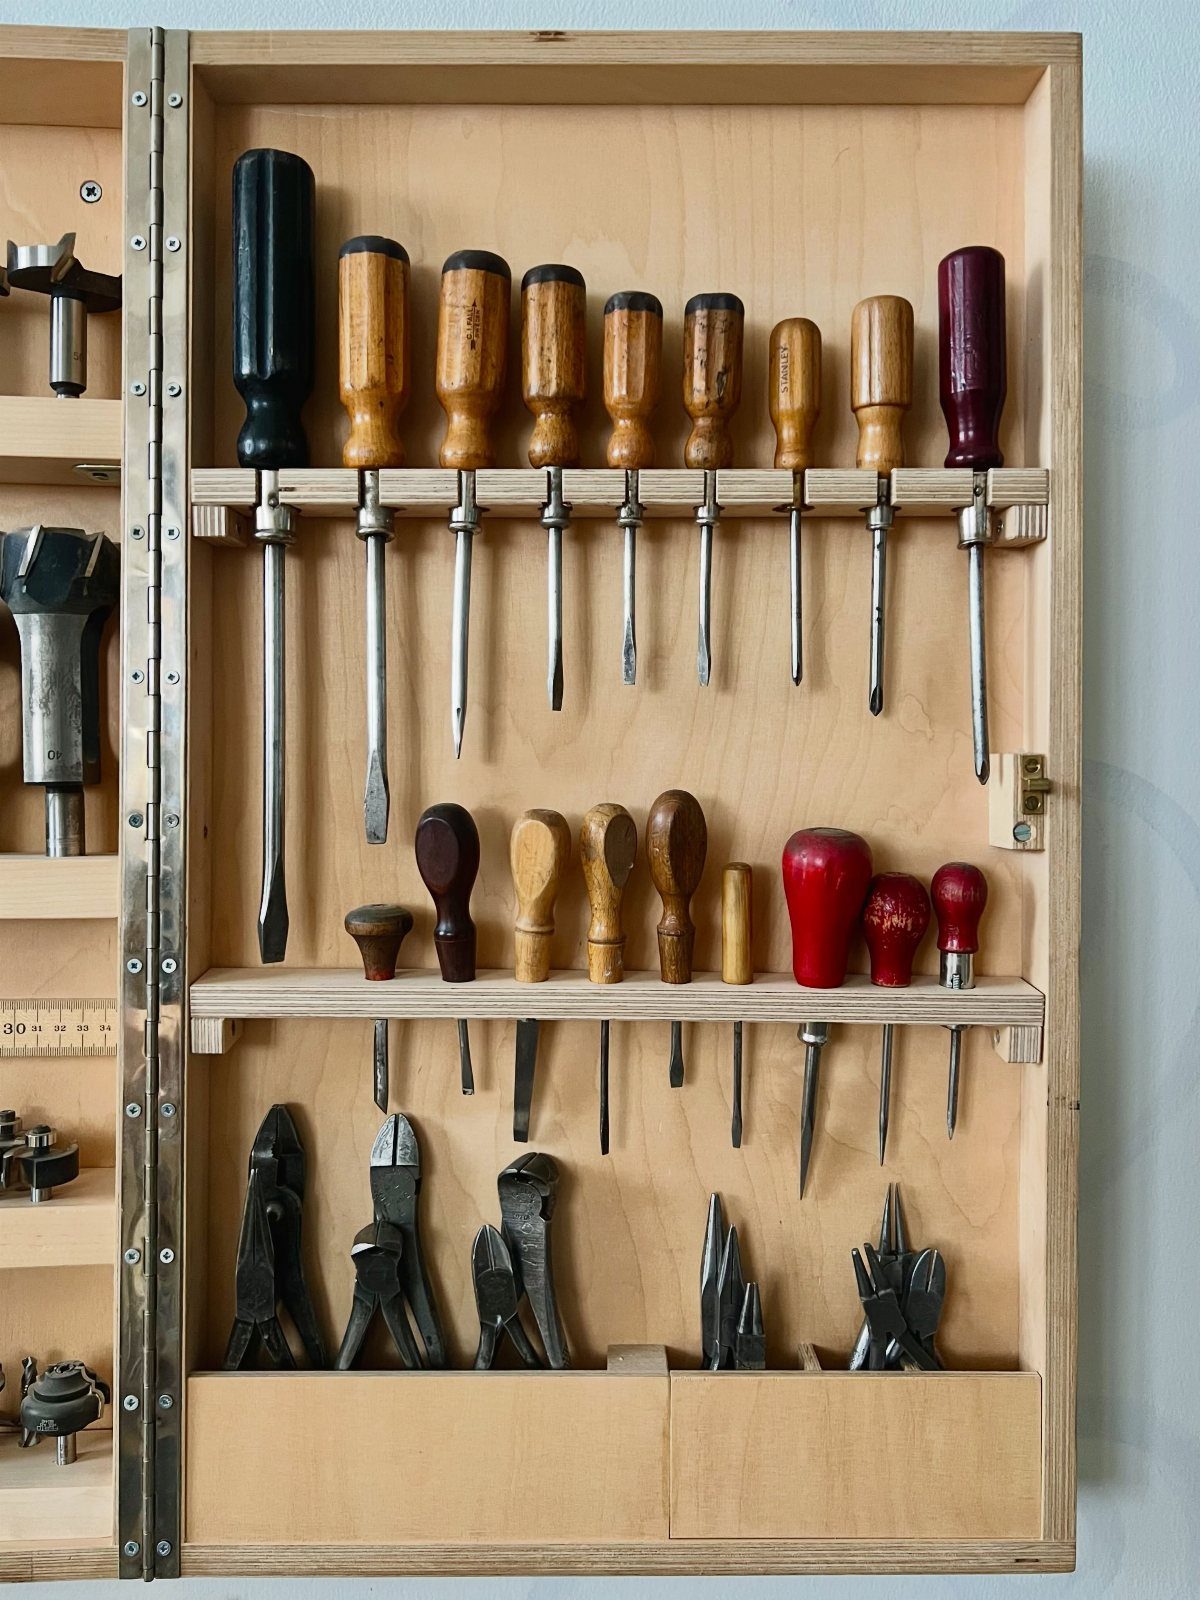
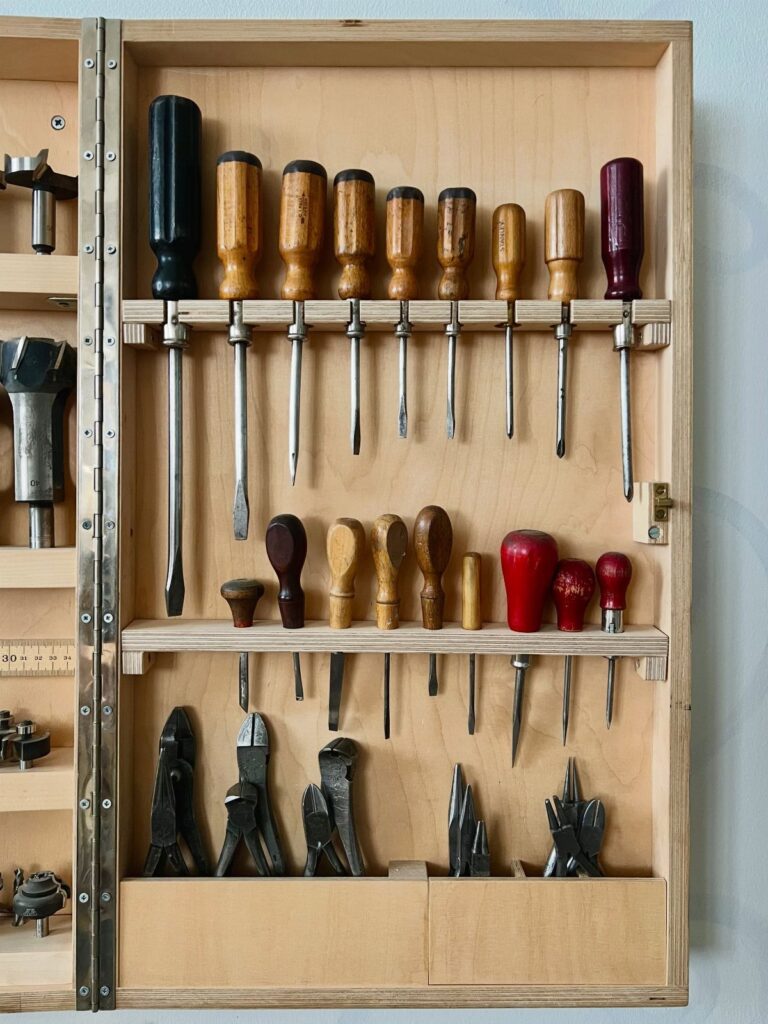
Chisels and pliers lose their edge and their place when they pile up in a drawer. A wall-mounted organizer with shelves and a bottom compartment gives each tool a home you can see at a glance.
Lay your tools out on the board before building, then size each shelf to what it holds.
Slots for chisels and a deeper bin underneath for bulkier pieces is the layout I would copy. Screw it into studs, since tools are heavy.
6. Serving Tray
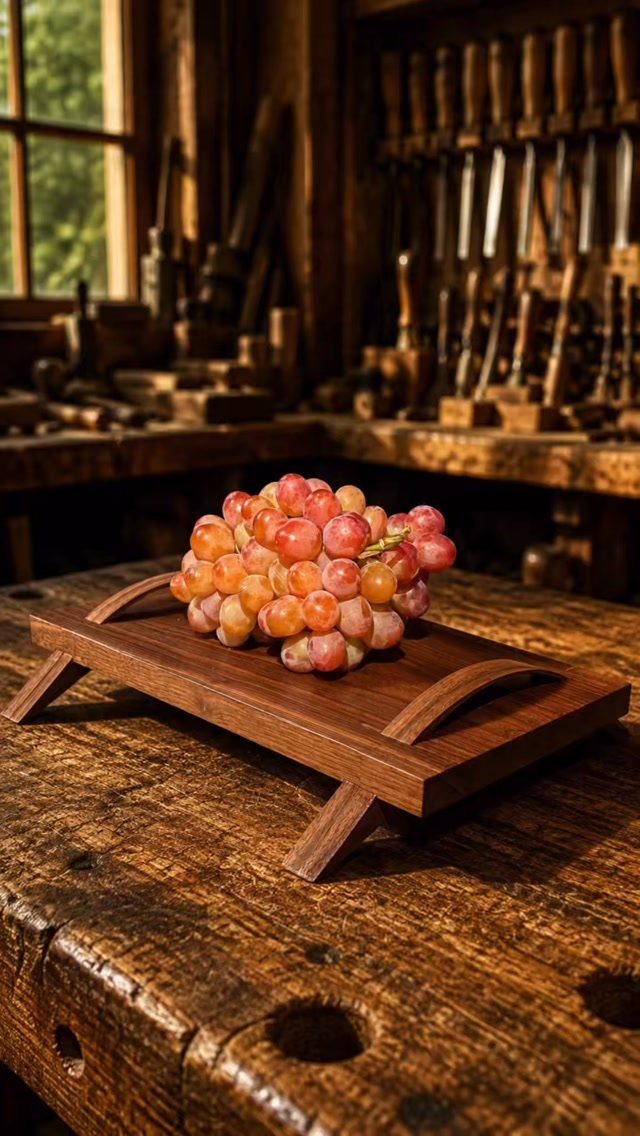
Handles and legs turn a plain board into a tray that can sit on a table or workbench, and it comes together in an afternoon with basic tools.
Legs keep the food off the surface and make the tray easy to lift.
I would round the handle openings and sand them well, because that is where your hands go. Use a finish made for food contact if it will hold grapes or snacks directly.
7. Step Stool
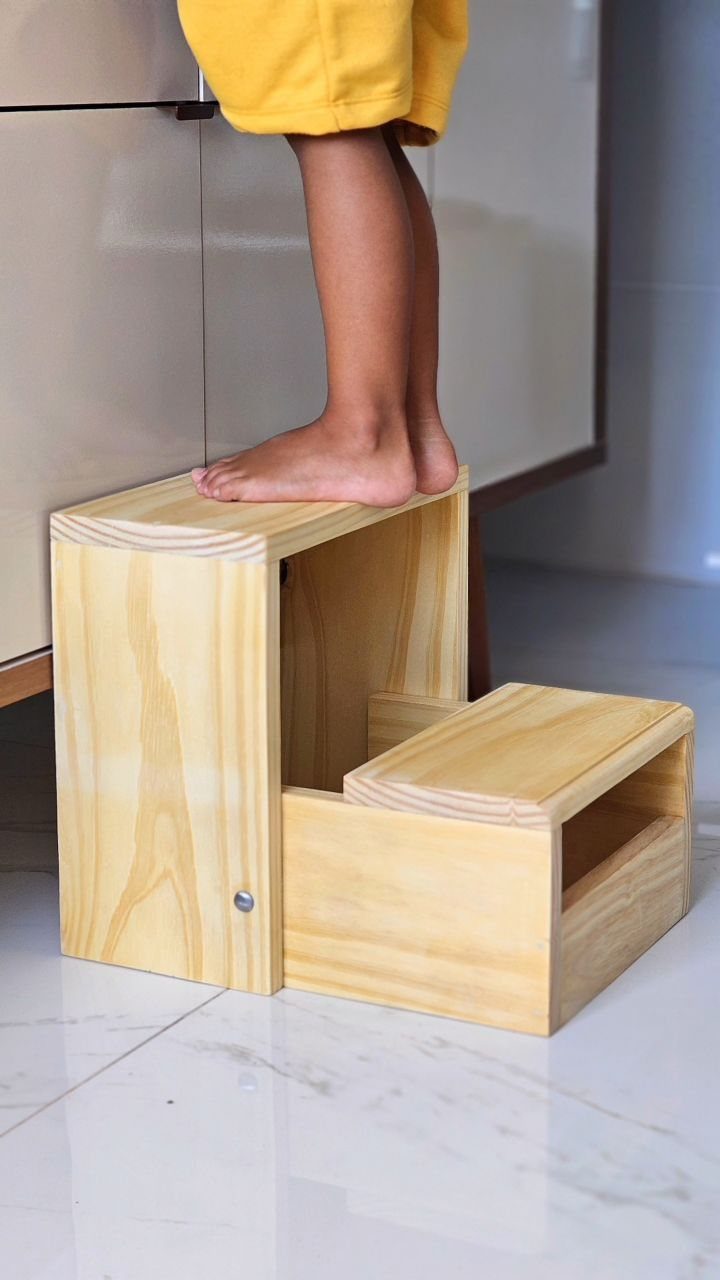
Two steps is the right height for a child at a counter or sink, and a light wood stool like this one blends into a white kitchen instead of becoming one more piece of plastic in the room.
I would make the steps wide enough for two bare feet side by side. Round every edge and sand the top step until it feels smooth under a palm.
8. Blanket Ladder
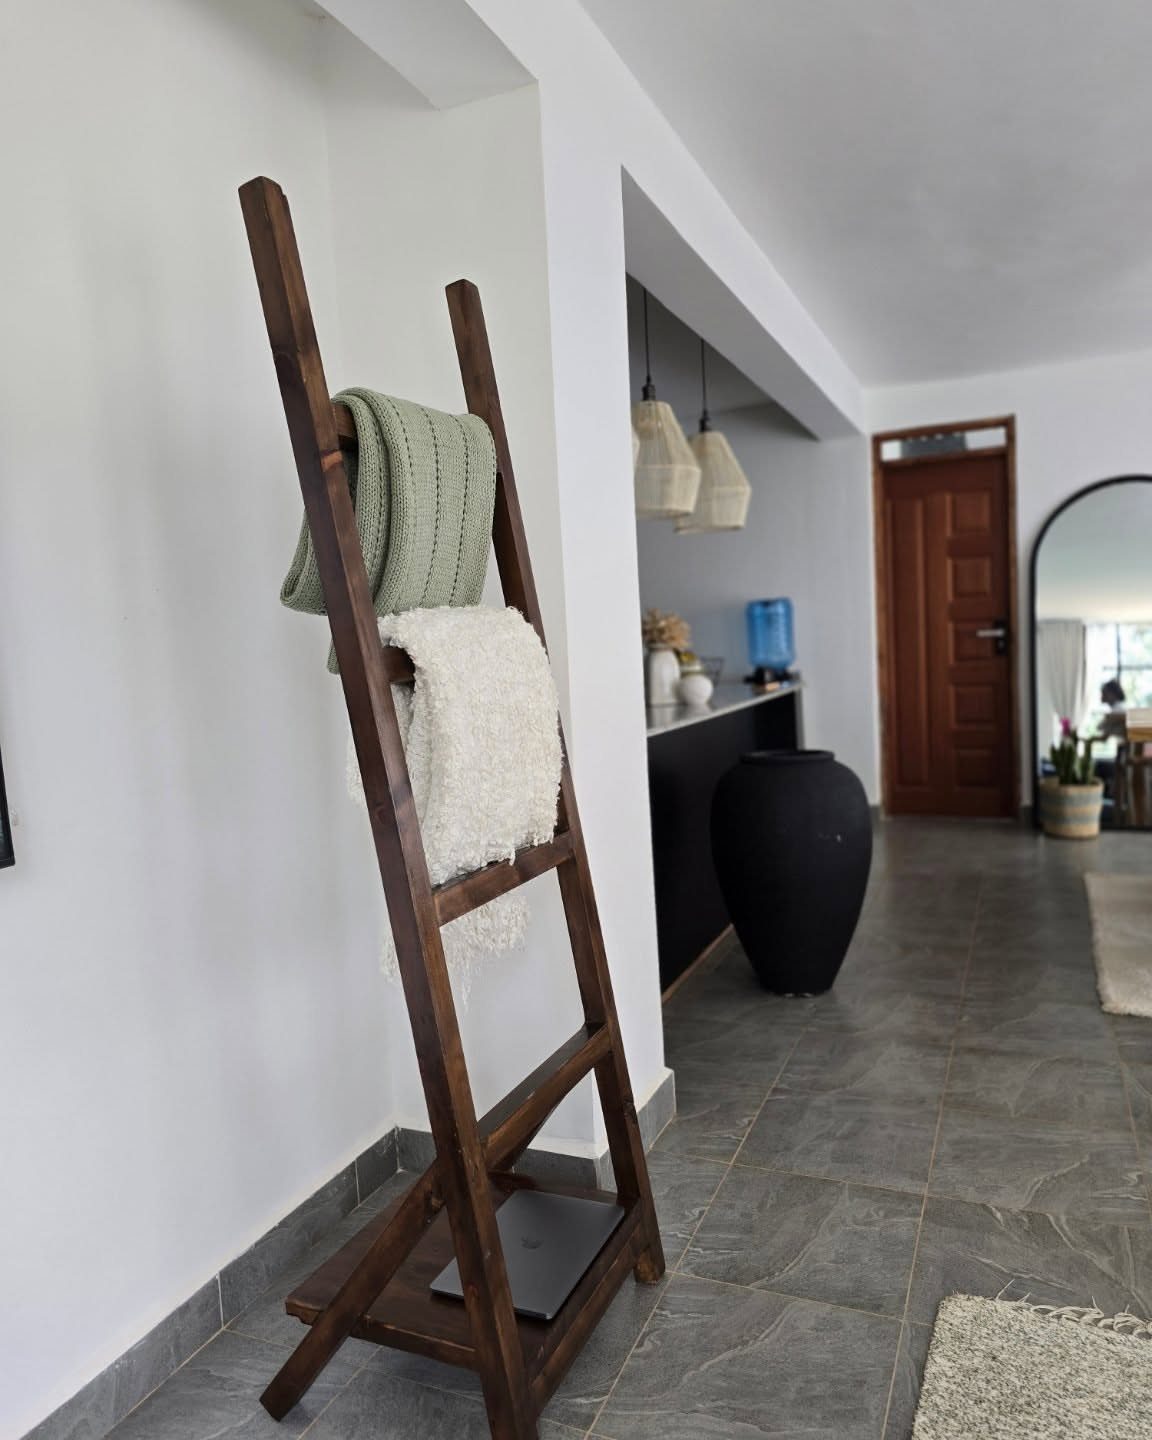
A leaning ladder gives folded blankets a place to hang in the open, and dark wood makes a green or white throw stand out against a pale wall.
Two long side rails and a handful of evenly spaced rungs are all it takes.
Sand the rungs well, because blankets snag on rough spots. Rest the ladder against the wall at a gentle angle, and test it with the heaviest blanket you own before you call it done.
9. Tic-Tac-Toe Game Board
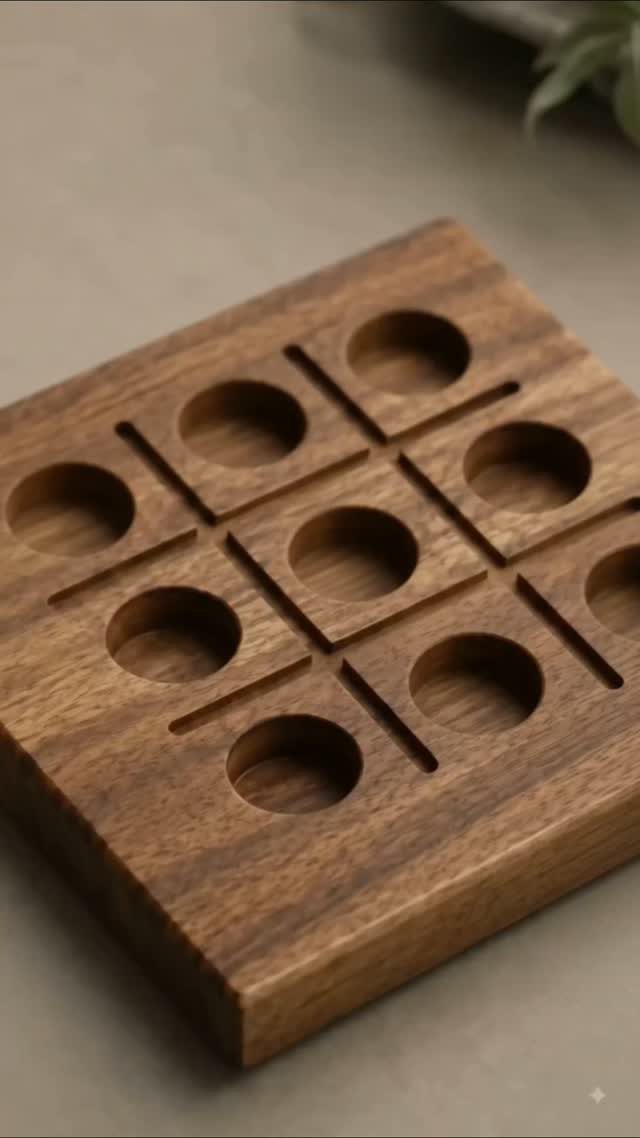
A 3×3 grid of round dimples replaces the pencil and paper, and the pieces sit in the holes instead of sliding around. A square board in a single wood is simple enough for beginners.
A drill bit or Forstner bit makes the circular holes.
Mark the grid with a ruler first so the spacing stays even. Sand the board smooth, then choose two kinds of pieces that look different from each other, such as a light wood and a dark one.
10. Christmas Village
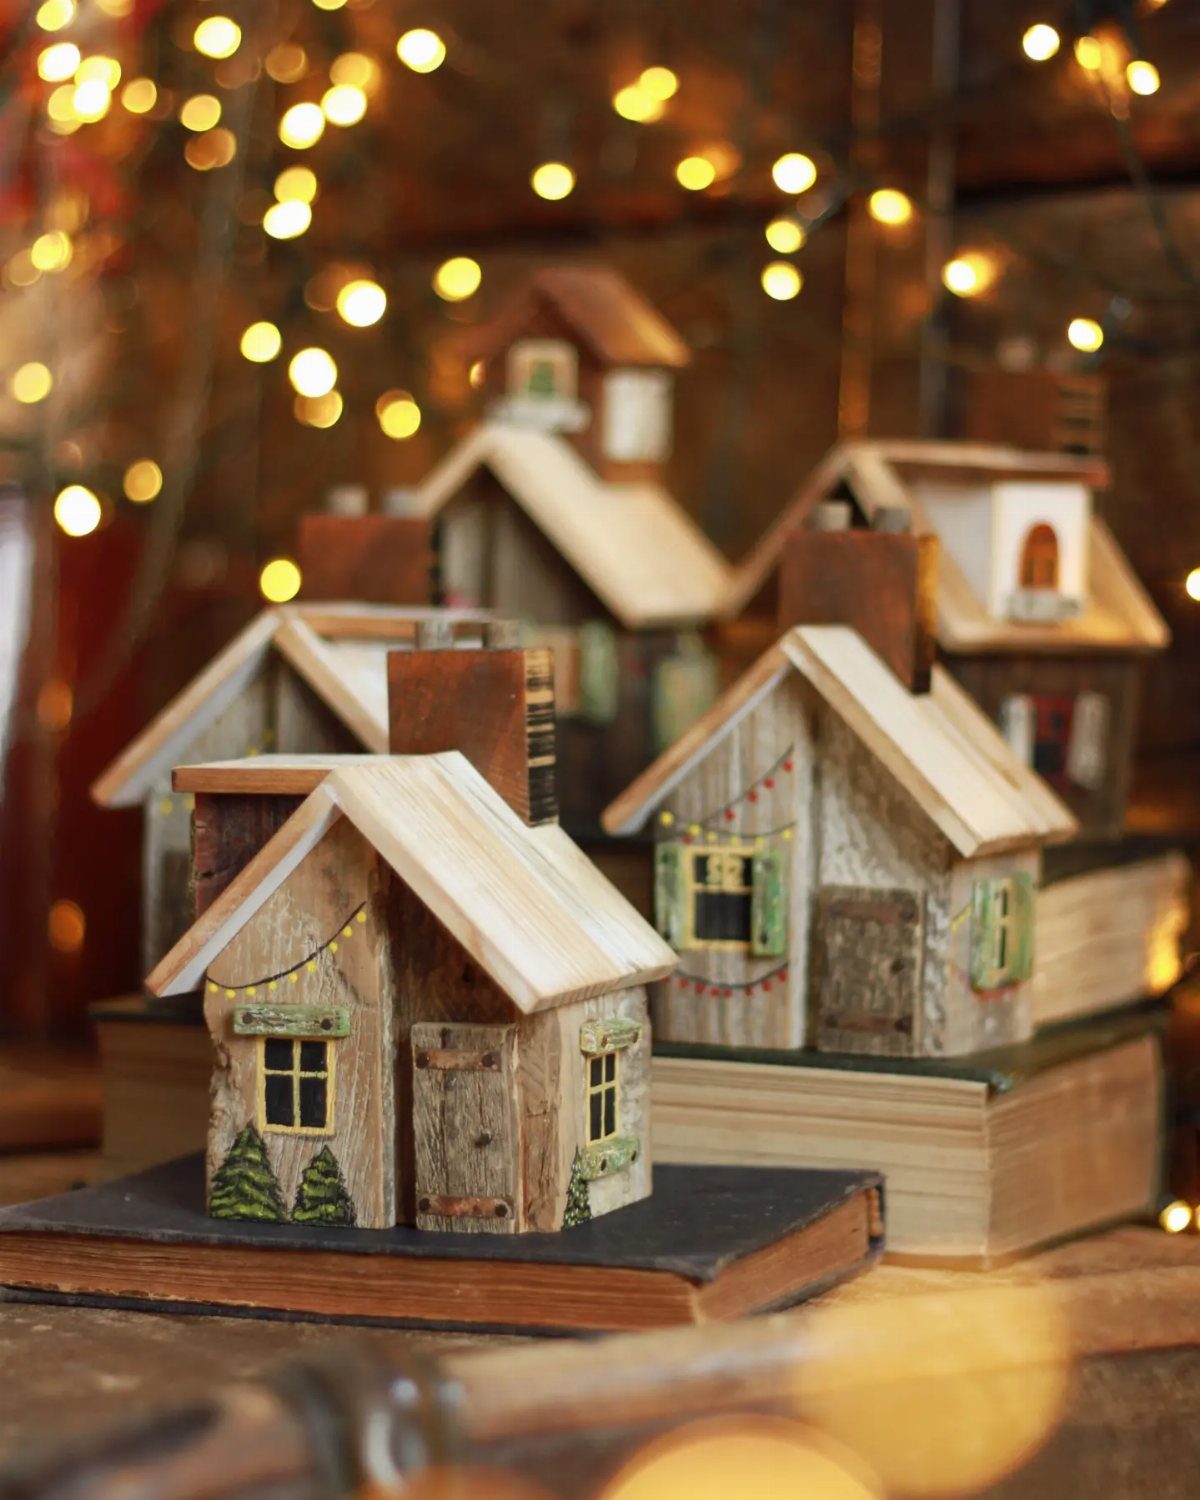
Small houses with simple rustic shapes look best in a group, and a shelf or a stack of old books gives them a base.
Vary the heights and roof angles so the village looks like it grew over time rather than came off a production line.
I would leave the wood unpainted, since warm string lights behind them already add the glow. Make a few each afternoon and add more each year.
11. Birdhouse
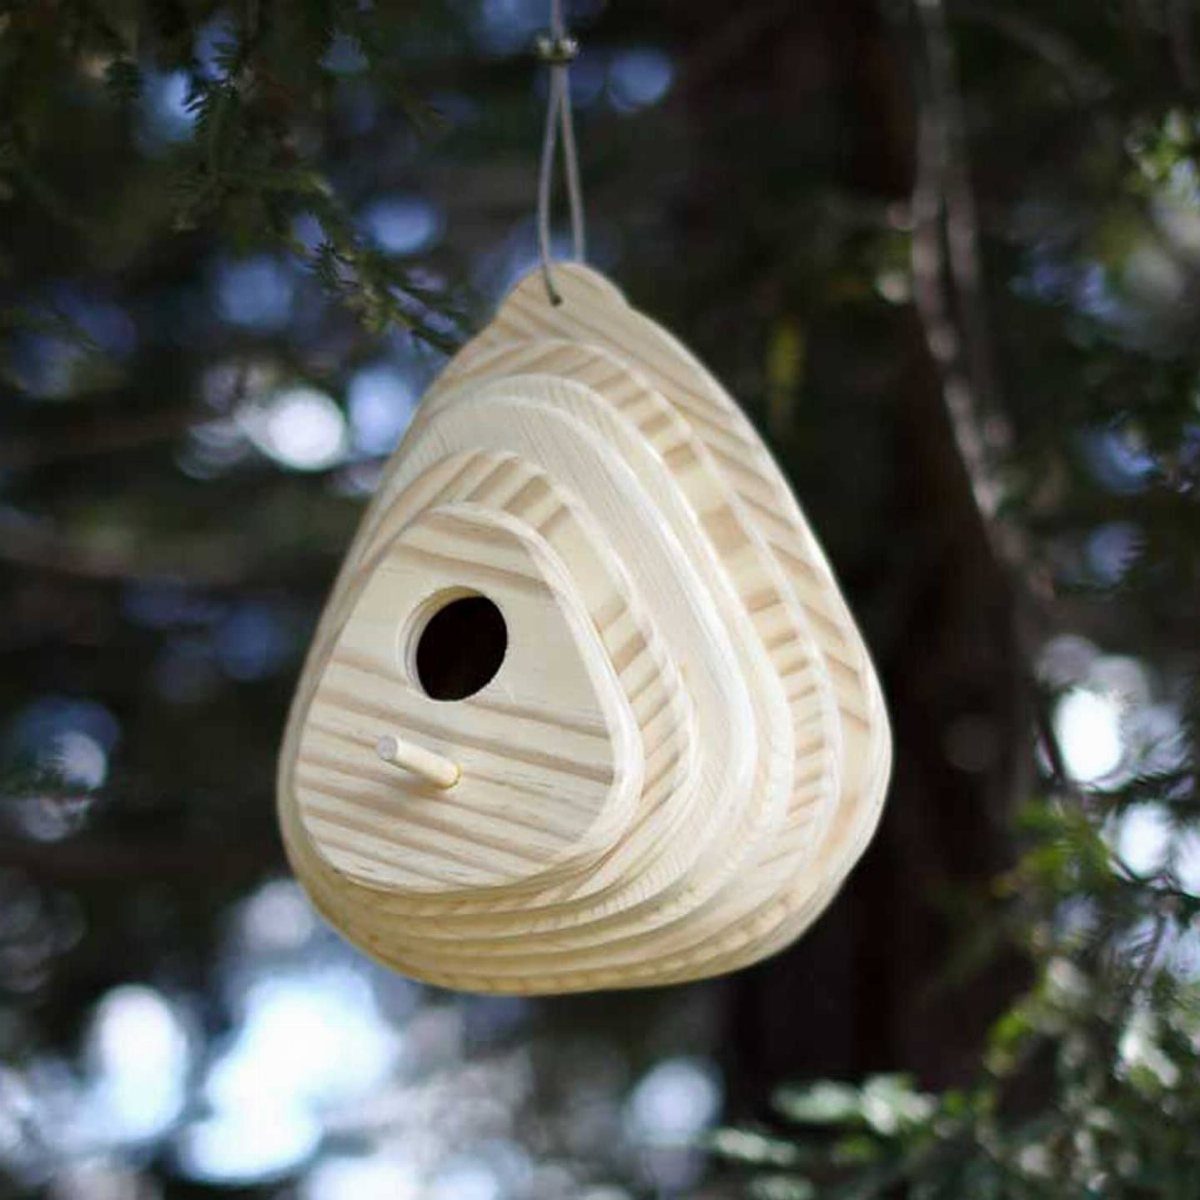
Layered plywood stacked into a teardrop shape gives a birdhouse a soft outline, and it can hang from a single string in a tree.
It works as a garden ornament first, so I would treat the build as decoration with a hole in it.
Cut each layer slightly different in size, then glue and clamp them together.
Sand the edges to blend the stack. For something outdoors, a weather-resistant finish is worth the extra coat.
12. Wooden Box
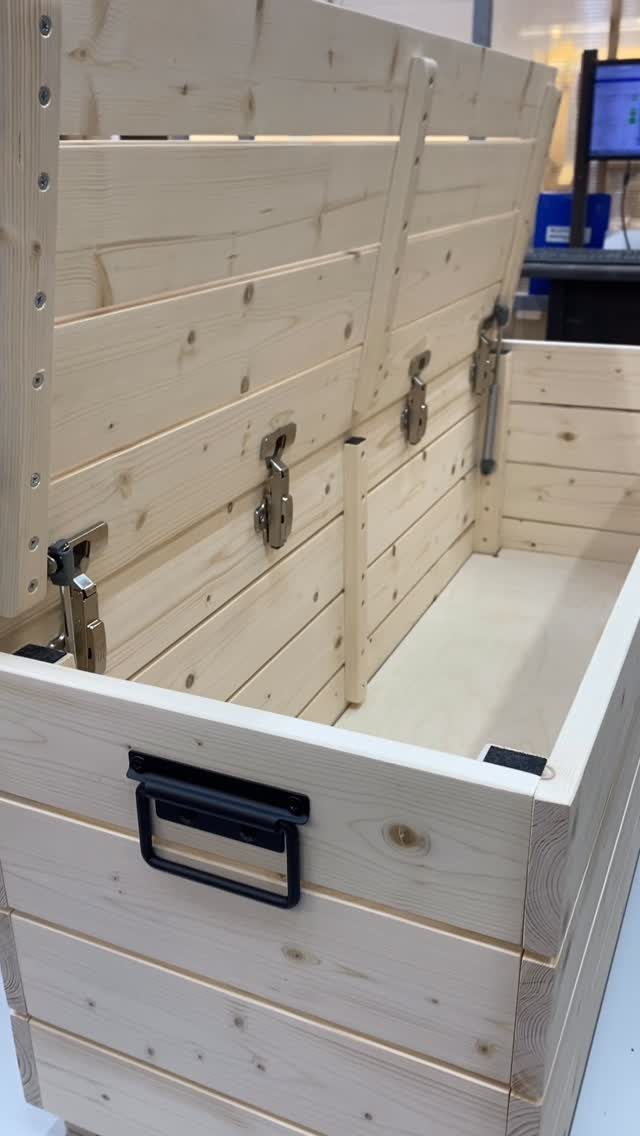
A hinged lid, metal latches and a black side handle turn a plain wooden box into storage that carries easily and stays closed. A light wood keeps it looking at home on a desk or shelf.
Square corners matter most here, so check each joint before the glue sets.
Mount the hinges before the latches, since the lid has to line up first. Size the box to what it will hold: cables, craft supplies or papers each want a different depth.
13. Wood Lanterns

Slatted cylinders turn a bare bulb into a lantern that throws striped light across a ceiling and wall. Vertical slats hung in a cluster of three look best at different heights from one beam.
I would space the slats evenly, since gaps that vary show up the moment the light is on.
Sand each slat before assembly; a splinter is easier to fix on the bench than overhead. Keep the bulb well inside the cylinder, away from the wood.
14. Dog Feeding Station
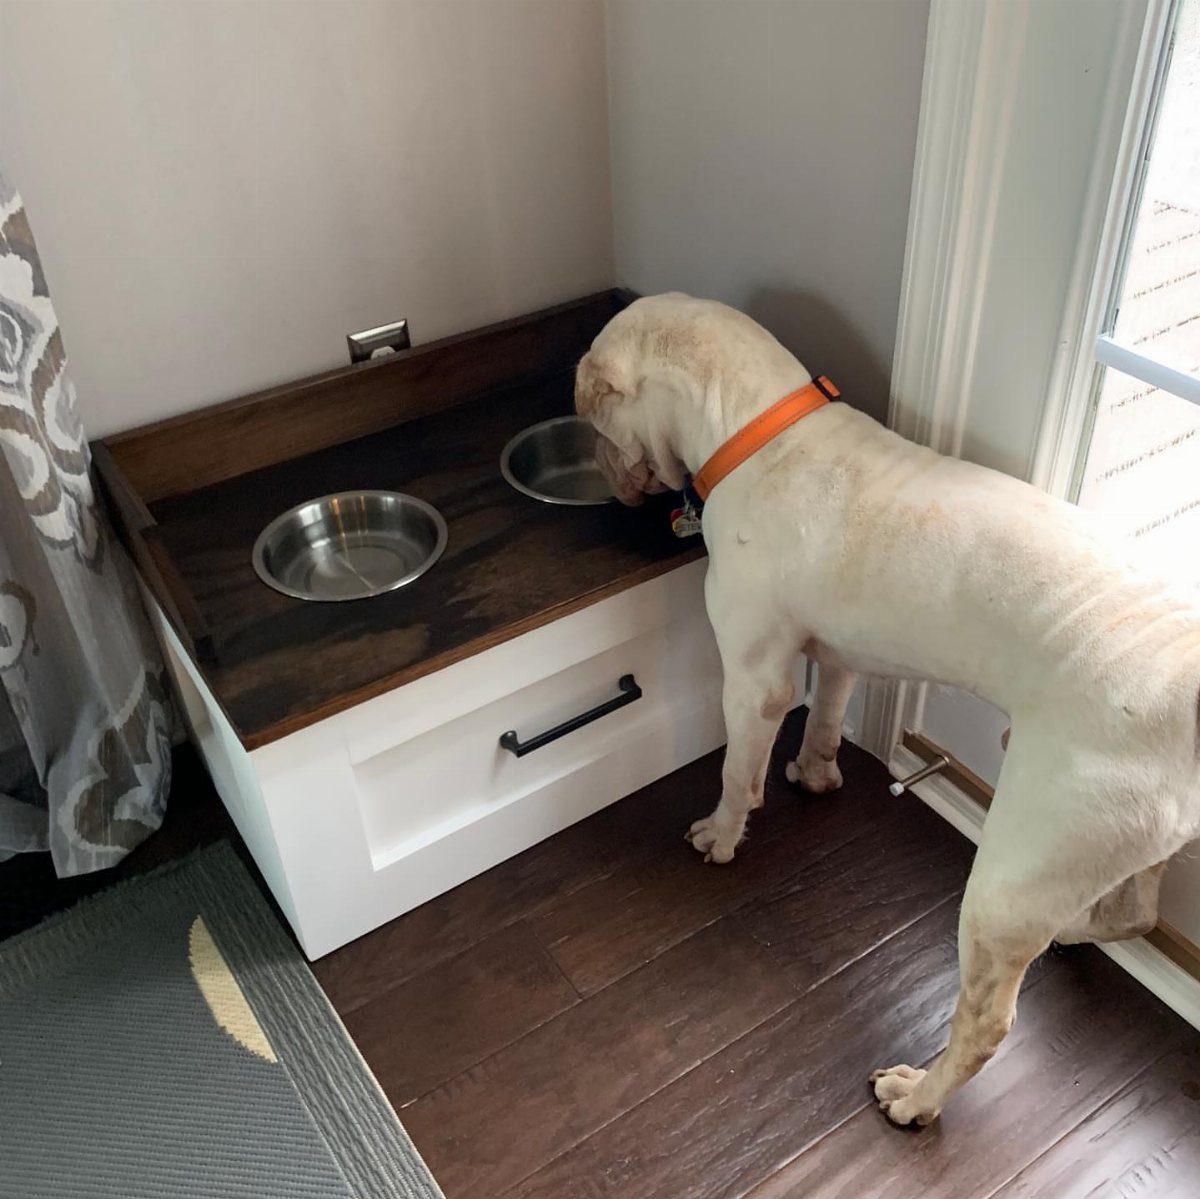
Raising the bowls off the floor and tucking a drawer underneath gives a dog one tidy spot to eat. A white base with 2 metal bowls wipes clean and stays out of the way in a room with dark floors.
Measure your dog before you cut: the bowls should sit near chest height. Cut the openings to fit the bowl rims, and paint the top with a washable finish, because water will slop over.
15. Pet Gate
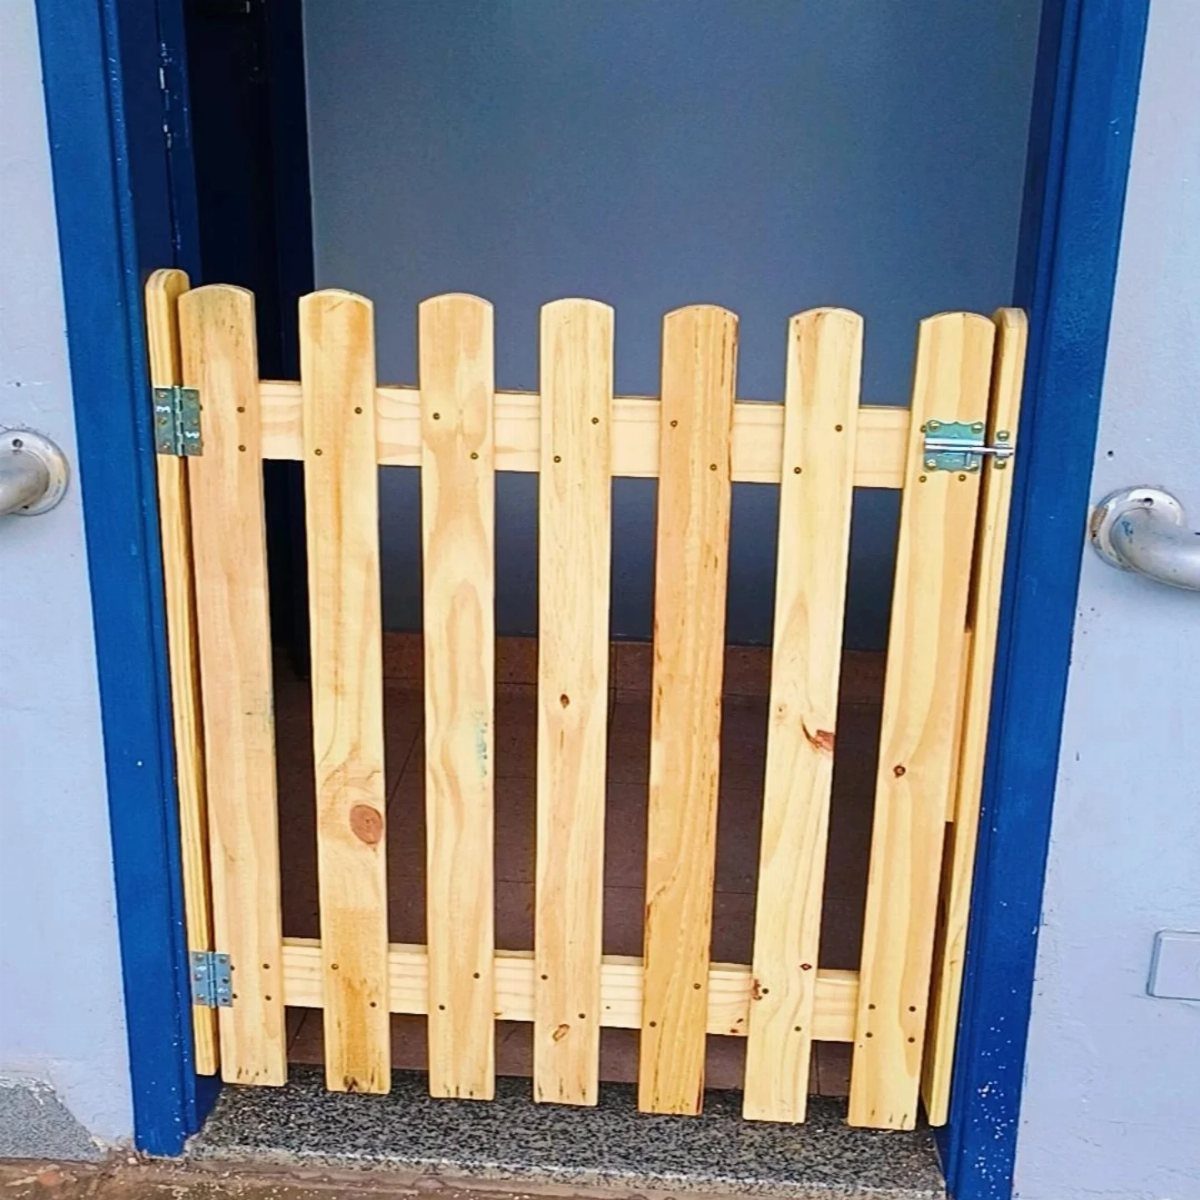
Wooden pickets with metal hinges and a latch make a pet gate that reads as part of the doorframe, not as a barrier bolted on later.
Painting the frame to match the doorway, as in a blue one, helps it blend in.
Build it a little narrower than the opening so it swings freely.
Space the pickets close enough that your pet can’t squeeze a head through. Mount the hinges on solid framing, not just trim, and test the latch a few times before you trust it.
16. Farm Fresh Egg Holder
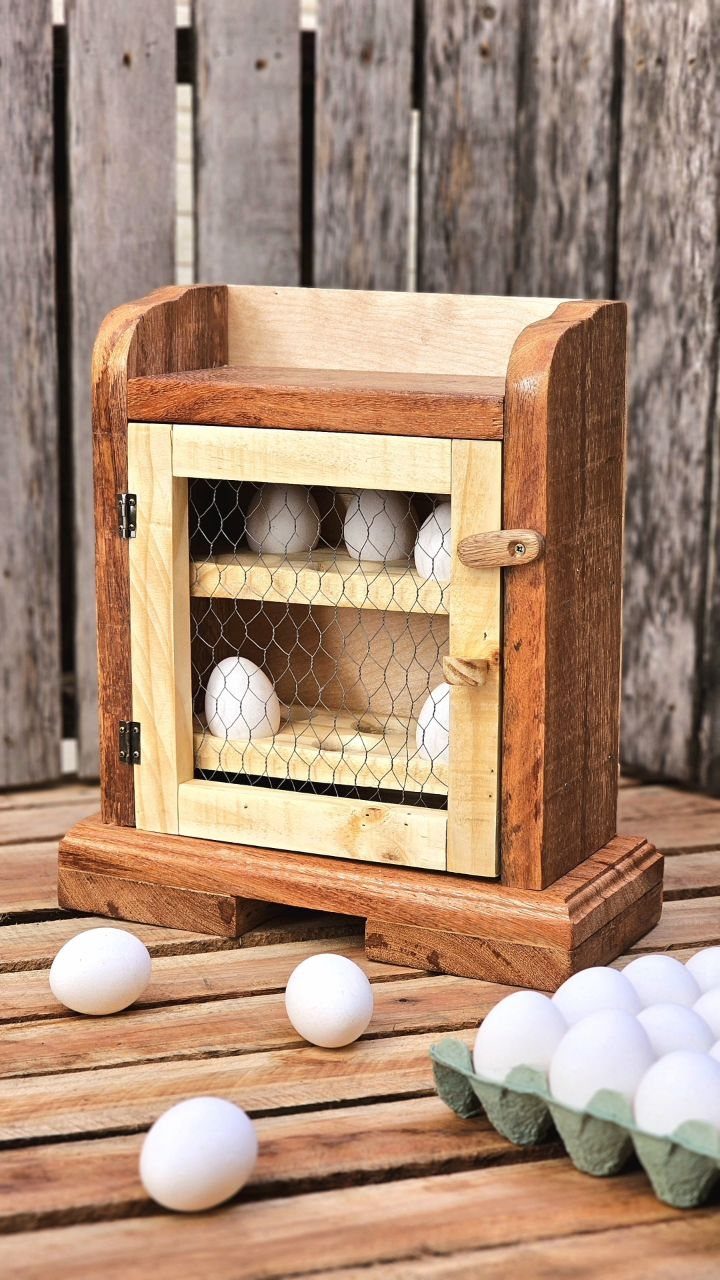
It sits happily on a porch rail or a shelf by a fence.
I would size the box to a dozen or so eggs and leave the wood raw or lightly sealed, since weathered wood suits the look.
17. Wood Block Snowman
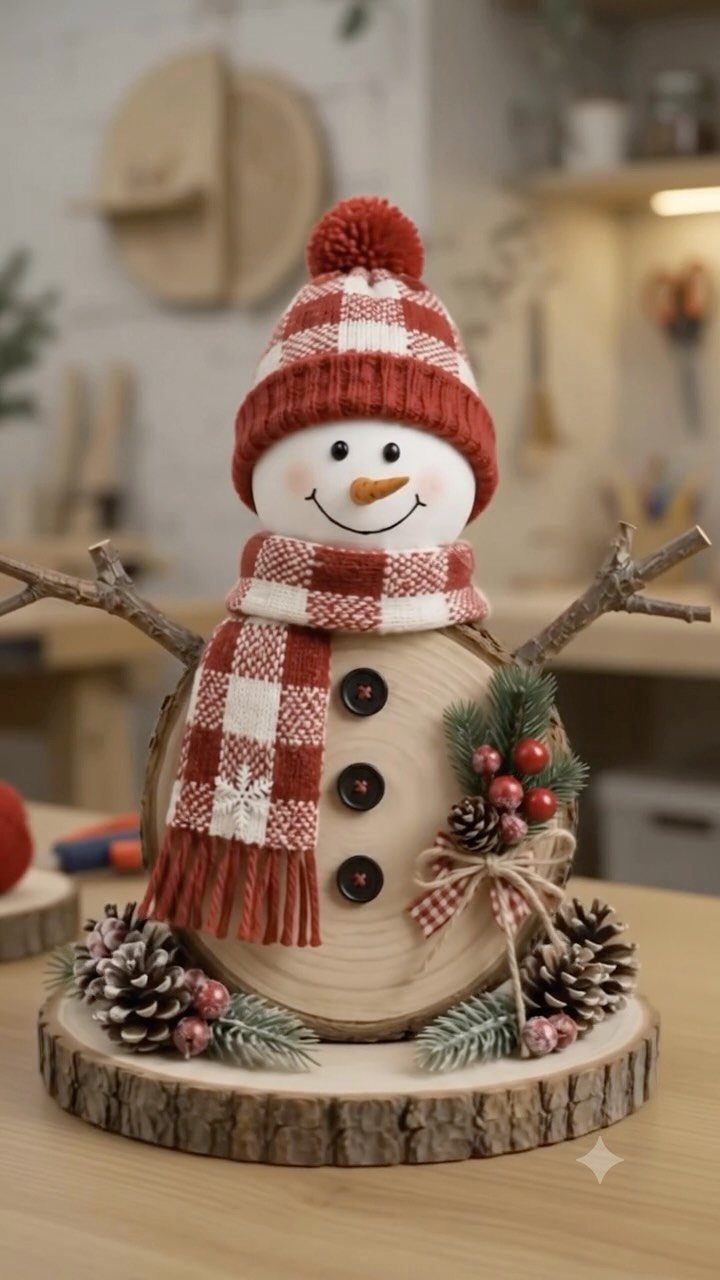
The wood itself is the snow, so I would keep it unpainted and let the bark ring show.
Sand the face flat so it stands steady on a shelf.
Cut a scrap of red checkered fabric for the scarf and glue it on. Drill small holes for the twig arms rather than forcing them in.
18. Simple Mudroom Bench
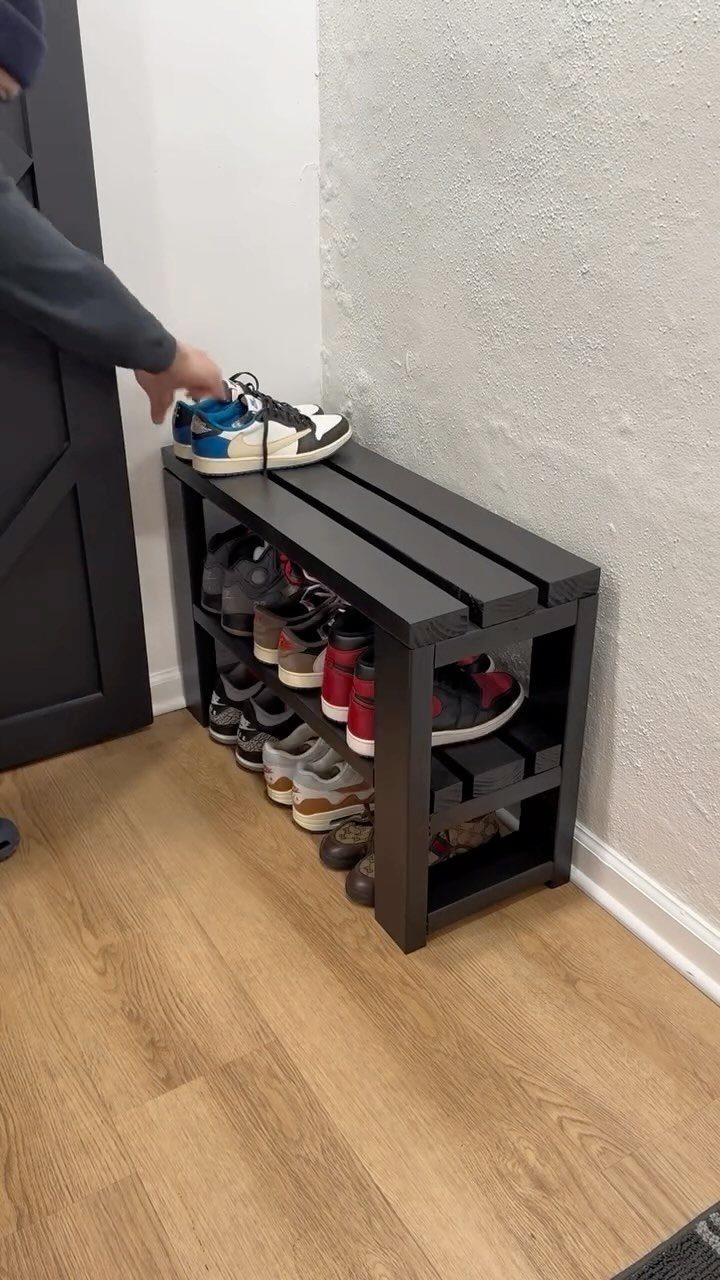
A dark gray bench with shoe storage built in gives sneakers a place to land by the door.
A mudroom bench can be built from 4 – 8-foot 2x4s, so the lumber bill stays modest and a saw and drill cover the whole build.
Sand the 2×4 faces well, since the stamped surface is rough.
I would use a dark paint or stain to hide scuffs from shoes. Leave the lower shelf open for airflow.
Choosing the Right Wood
Wood moves. It swells and shrinks across the grain as humidity rises and falls, and that movement is what warps boards and splits glue joints.
Pick stock that is stable and dry, and check that it has the proper moisture content before you cut a single piece.
Gluing up a frame around cross-grain pieces, or adding breadboard ends, fights that movement and almost always ends in cracks. Let each piece move freely, and use a quality wood glue where grain runs the same direction.
Think about where the piece will live before you buy lumber. A shelf in a dry living room and a bench by an exterior door face very different conditions, so match the wood and finish to the spot.
Skip boards that already bow or show checks at the ends. A good finish and careful sanding help, but they can’t rescue a weak board.
Marketing and Presentation Tips
If you plan to sell what you build, treat the pieces as a line with a look of its own. A simple logo, business cards and consistent packaging make separate projects read as one maker’s work.
For a craft fair booth, keep the display organized and tidy. Props, signage and good lighting show off the wood and finish better than a pile of pieces on a bare table.
Listing your pieces online widens the pool of buyers, and a simple Instagram account, a small shop site or an Etsy listing will each get them in front of people who never walk past your craft table.
That reaches buyers beyond your local fair, and it gives you a way to sell leftover inventory.
Frequently Asked Questions
What can I make out of wood for my room?
A desk organizer, a blanket ladder or a wall hook rail are all good picks for a room.
A blanket ladder leans against the wall and shows off a folded throw, and a row of twisted hooks cut from one piece of stock holds more than a tote bag.
The notes also mention shelves, picture frames and a solid wood headboard for the bedroom.
What type of wood to build?
Start with boards that are dry and flat, and put a moisture meter on them before the saw comes out; 6–9% is the range I look for in furniture projects.
Boards take on and release moisture as the air changes, and since they expand mostly across the width rather than the length, that shifting is what cups a panel or cracks a glue line.
What are some easy woodworking projects for kids?
A birdhouse, a picture frame or a simple open toybox are good starting points.
The toybox is rated beginner level and needs only a tape measure, saw, drill, sander and safety glasses, with 2x material and plywood as the main materials.
A birdhouse built from layered plywood is mostly decoration, so it forgives small mistakes.
A tic-tac-toe board is also simple enough for beginners: a square of one wood with drilled dimples for the pieces. Kids should work with an adult on any cutting and drilling.






