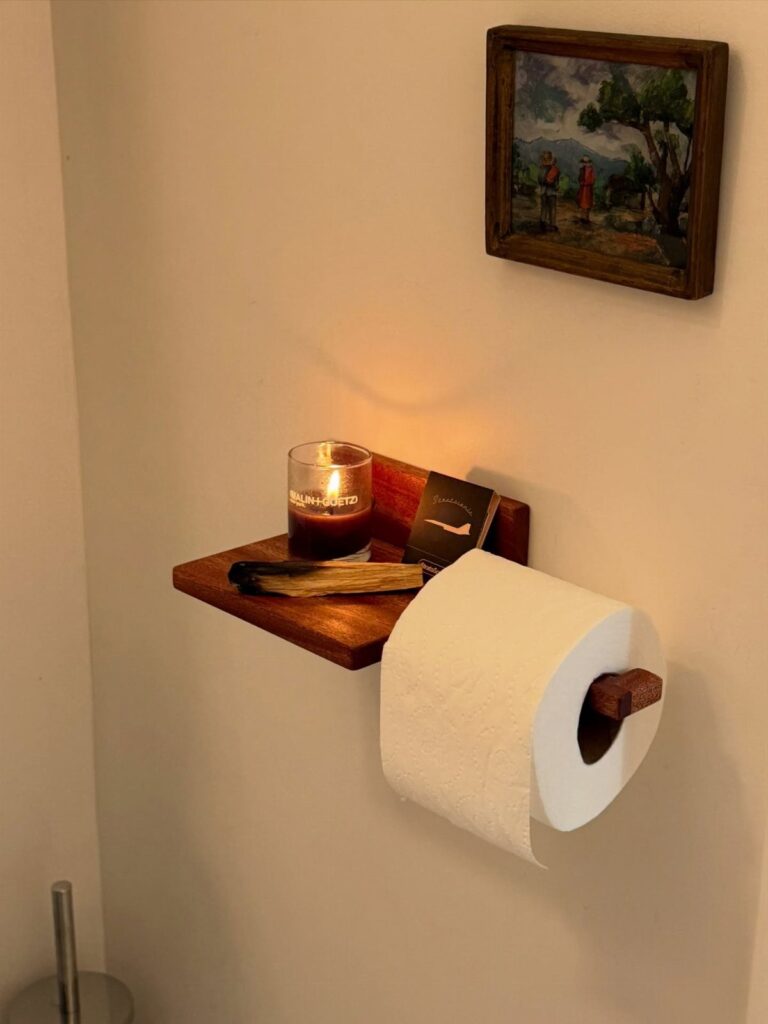
Where the paper sits decides which of these holders fits: a bathroom with little floor space calls for a wall-mounted piece like the Wood Holder with Top Shelf or the Diamond-Shaped Wooden Frame Shelf, while a spare corner can take the Narrow Shelf for Toilet Paper.
The projects range from a Narrow Shelf for Toilet Paper that goes together in an afternoon to a Diamond-Shaped Wooden Frame Shelf where every miter has to close tight.
Because bathrooms are humid, each one gets a water-based finish, and anything holding several rolls, like the tic-tac-toe grid, needs a firm mount.
1. Narrow Shelf for Toilet Paper
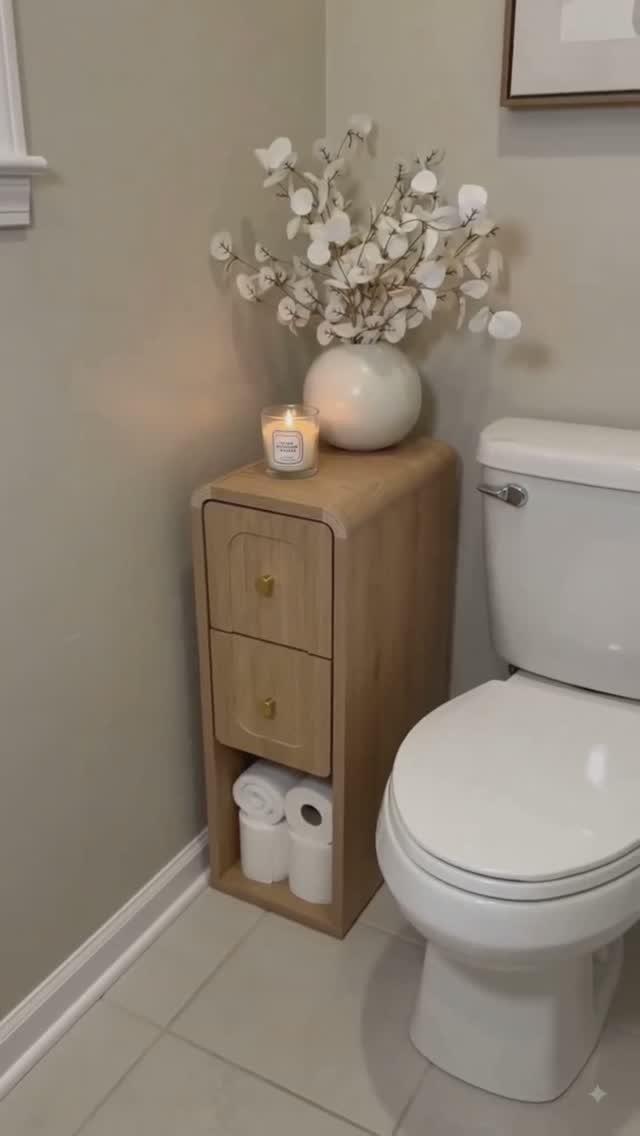
A narrow cabinet like this solves 2 problems at once: closed storage up top keeps the cleaning supplies out of sight, and an open bottom shelf keeps the spare rolls within easy reach, all without a bulky vanity.
The open bottom shelf keeps paper within arm’s reach, and the drawers take the clutter.
I would build it from light wood and keep the footprint slim, since a bathroom this size has little floor to spare.
The flat top of a narrow shelf like this is a good spot for a candle or a small vase of flowers.
2. Wood Holder with Top Shelf
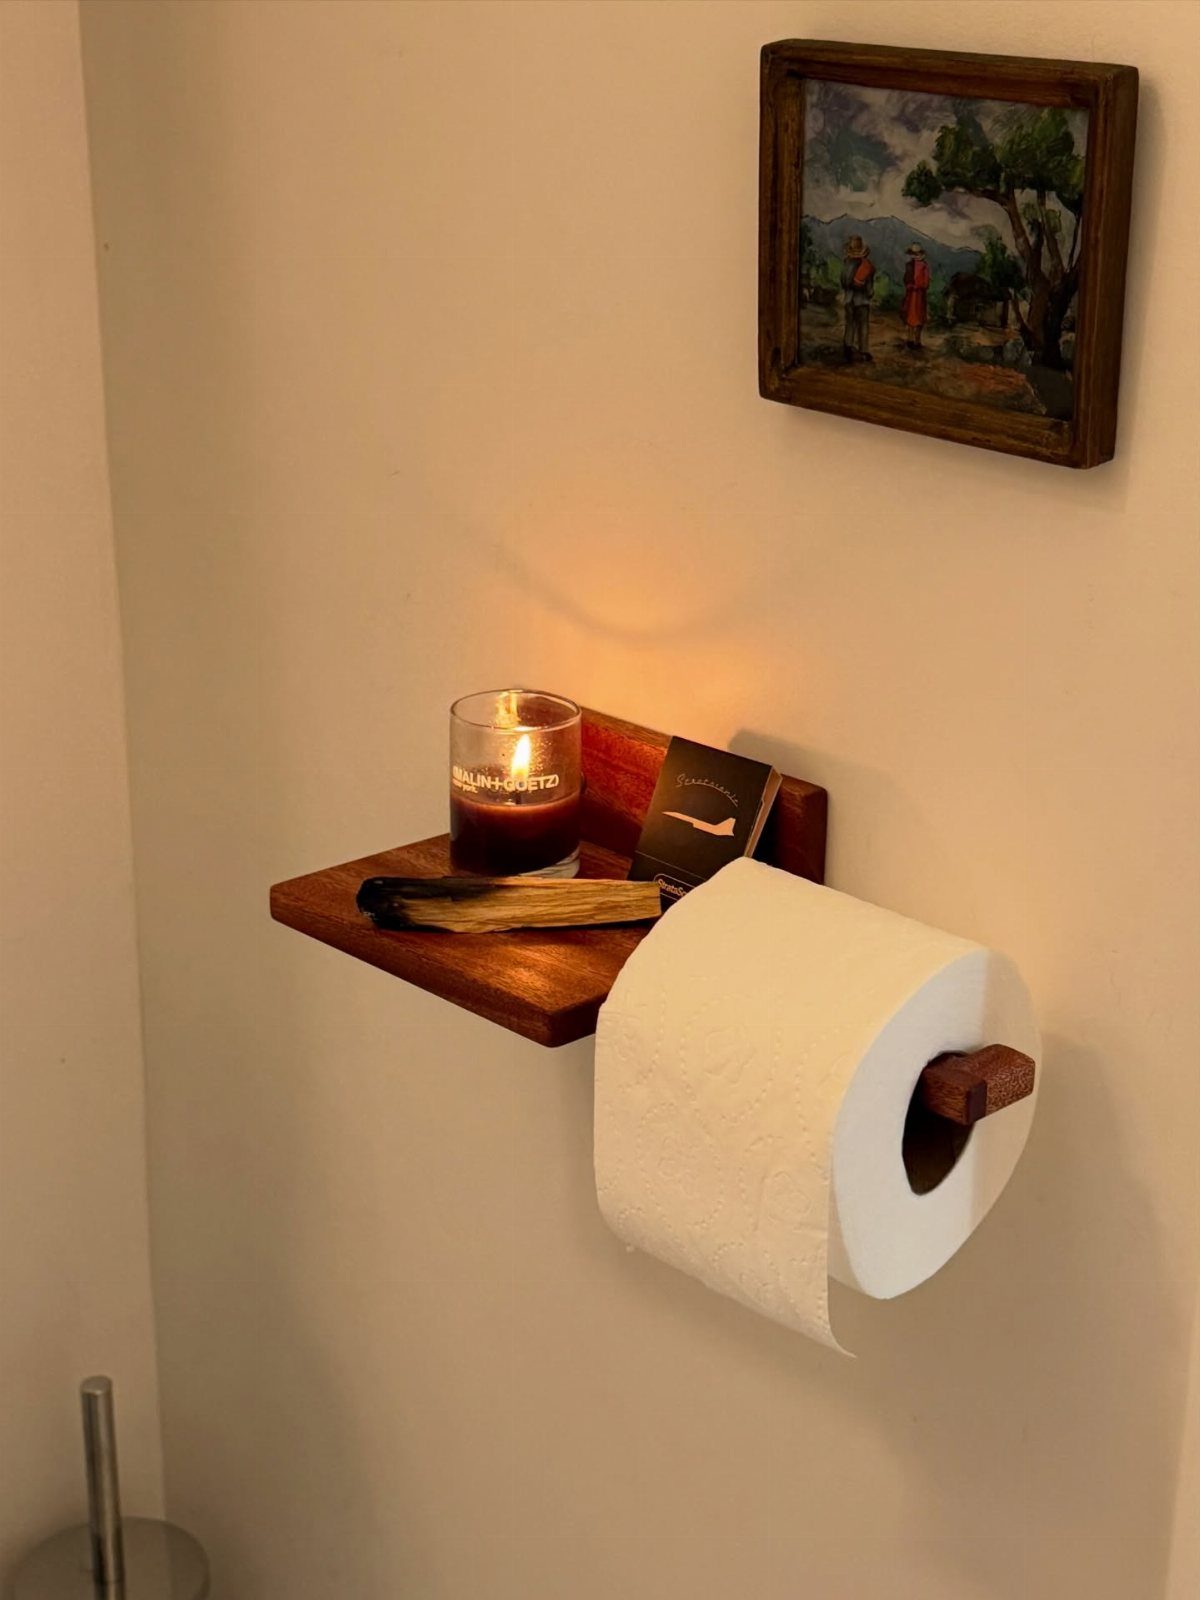
Wall-mounted holders get more useful once a small shelf sits on top. A top shelf gives a candle, a little box and a brush a place to sit, which clears the tank lid and the windowsill.
For a budget build, this needs little wood: a backer board, a shelf, and a roll holder. Mount it where a framed painting can hang above, and keep the heavier items toward the wall side of the shelf.
3. Wood Box Holder with Towel Bar
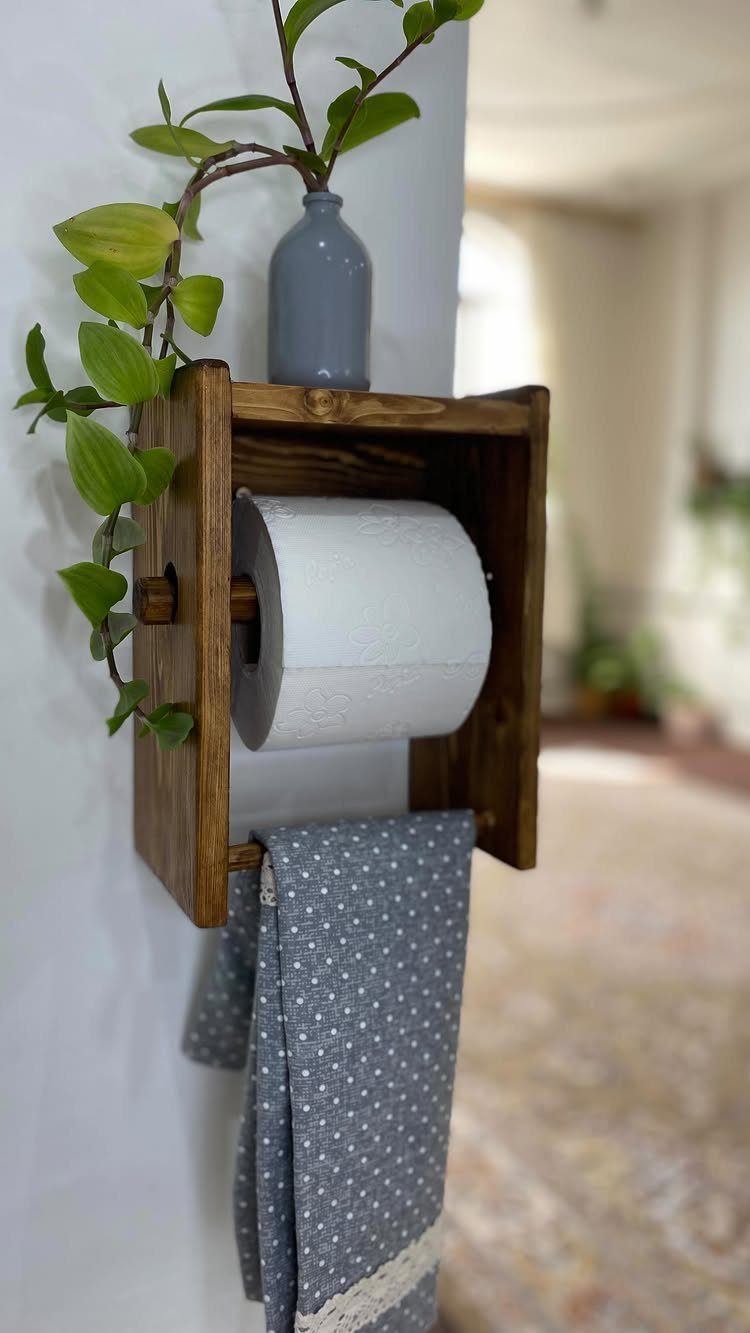
Combining a paper holder and a hand towel in one box means a single piece to mount instead of two.
A dark brown stain gives a plain white wall some contrast, and the top is flat enough for a small plant in a vase.
Build it as an open-front box so the roll and towel stay easy to grab. Mount it to studs or use anchors rated for the load.
4. Tic-Tac-Toe Toilet Paper Shelf
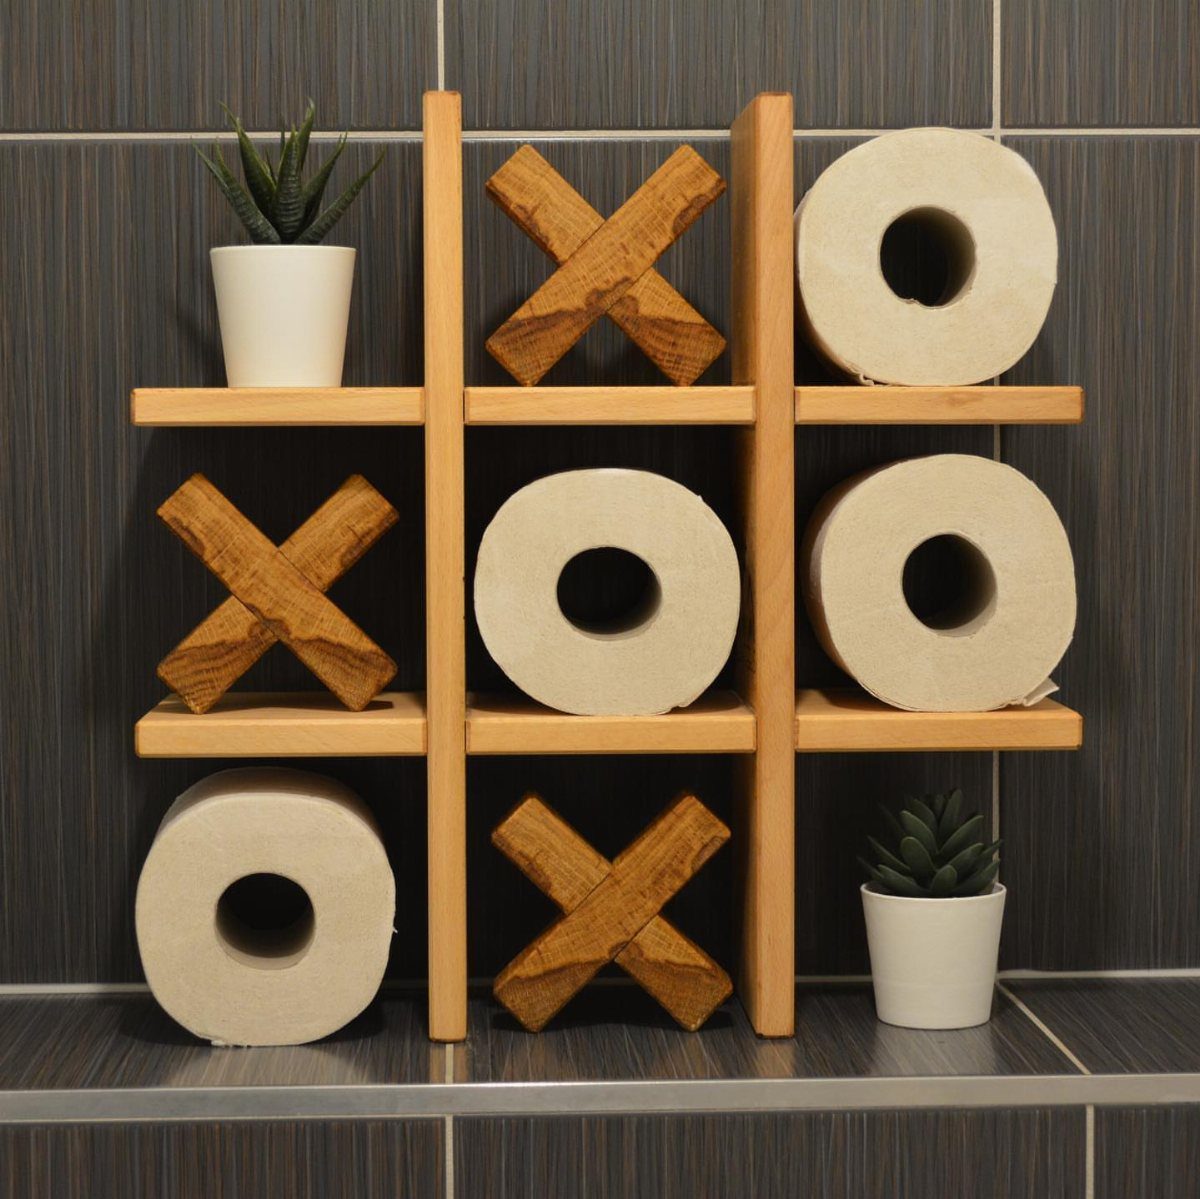
Few projects get a laugh like a tic-tac-toe grid made as a toilet paper holder. Rolls act as the O pieces, and small wooden X shapes fill in the rest, with a couple of plants in open squares.
Cut the grid from straight boards and join the crossings with simple lap or butt joints. Keep each square wide enough for a roll, and mount it on the wall firmly, since it holds several rolls at once.
5. Diamond-Shaped Wooden Frame Shelf
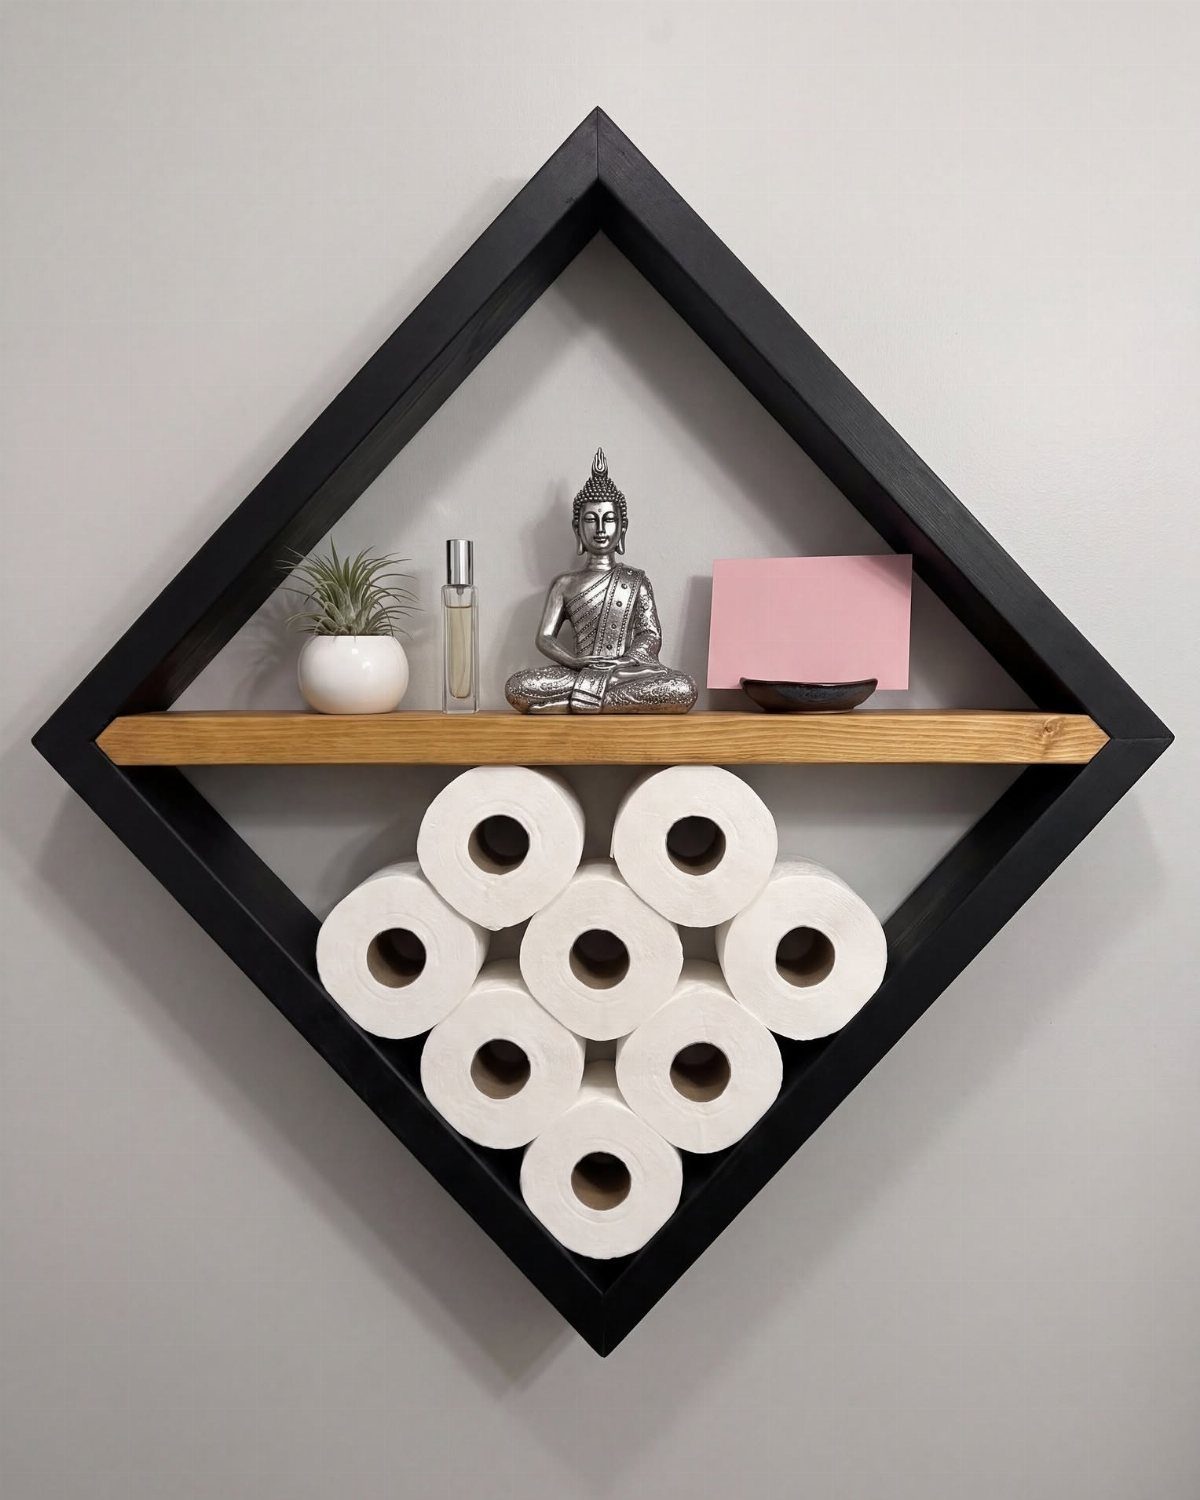
A diamond frame turns storage into wall art.
The black finish makes the diamond read as a bold graphic. The upper section works as a shelf for a plant, a perfume bottle and a few keepsakes, while the lower part holds the spare rolls.
Miter cuts are the hard part of a diamond frame, because every corner has to close tight, so cut a test piece first. Paint the frame before you hang it so the edges stay crisp.
Materials and Tools Needed
Scrap wood covers most of these builds, plus dowels, screws, and wood glue. Pine, whitewood, and fir are affordable, easy to find, and forgiving for a first project.
Sort through the stack and take the boards that sight straight down the edge and feel light and dry in your hand. A warped board fights you at every joint.
A drill, a saw, and a sander handle nearly everything here.
Add a tape measure, speed square, clamps, and safety gear. If you plan to build several holders, a miter saw and a brad nailer save real time, though a handsaw and a hammer will get the first one done.
Clamp the board to your bench, keep the blade sharp, and mark an X on the waste side of the line so the cut lands where you meant it to.
The blade removes some wood as it cuts (the kerf), so account for it in your measurements. Practice on scrap first.
Before you cut, recheck every dimension on your list. One changed measurement can shift several other parts.
Finishing Techniques
Bathrooms are humid, so the finish you choose matters. It holds up well to moisture and cleans up with soap and water.
Sanding decides how the finish looks. Work through the grits until the wood feels smooth, then wipe off the dust before anything touches the surface.
If you plan to paint, prime first. Primer seals the grain and gives the paint an even base, so the color goes on smooth instead of blotchy.
Let each coat dry fully before the next one. A light sanding between coats keeps the surface smooth.
Installation Tips
Measure twice for clearance before you pick a spot. Leave enough room beside the toilet for your knees and for a hand to reach the roll without bumping the wall.
Mark the screw locations with a pencil and hold a level against the piece to check them. A crooked mount is obvious on a plain wall.
Drill pilot holes for every screw. Small starter holes keep the wood from splitting, especially near edges and ends.
Test the piece by tugging on it before you load it up. If it shifts, add a screw or switch to a stronger anchor.
Code requires 15 inches of clearance from the middle of the toilet to the cabinet you build.
— Hunker
Frequently Asked Questions
What materials do I need for a DIY toilet paper holder?
Most of these builds come out of the scrap bin, with a few dowels, some screws, and a bottle of wood glue to hold it all together.
For a first holder, I’d grab pine, whitewood, or fir, since all three cost little, show up at any hardware store, and forgive a crooked cut.
What finish works best on a wood toilet paper holder?
A water-based finish is the best pick, since bathrooms are humid and it holds up well to moisture.
Painted holders need a coat of primer first, which keeps the color even instead of patchy, and each coat should dry completely before the next goes on.






