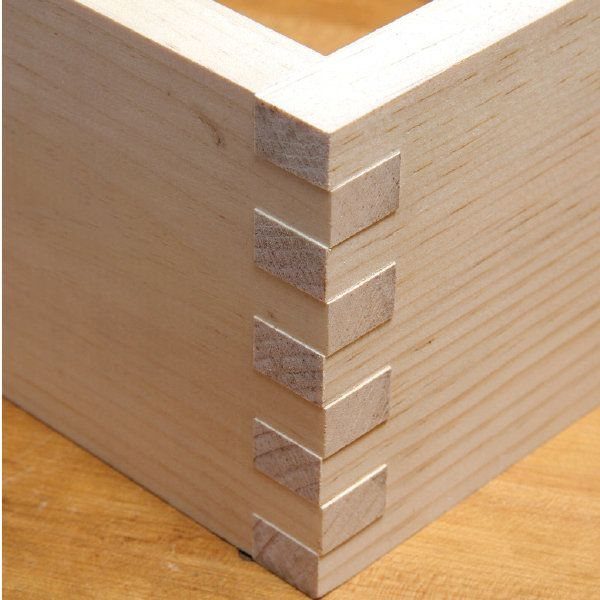
Your gear picks the route before anything else does.
A scrap-wood jig on a table saw you already own costs almost nothing, but a finger joint router bit or a dado stack can add up fast, and that is before you build the jig.
1. Box Joints and Finger Joints
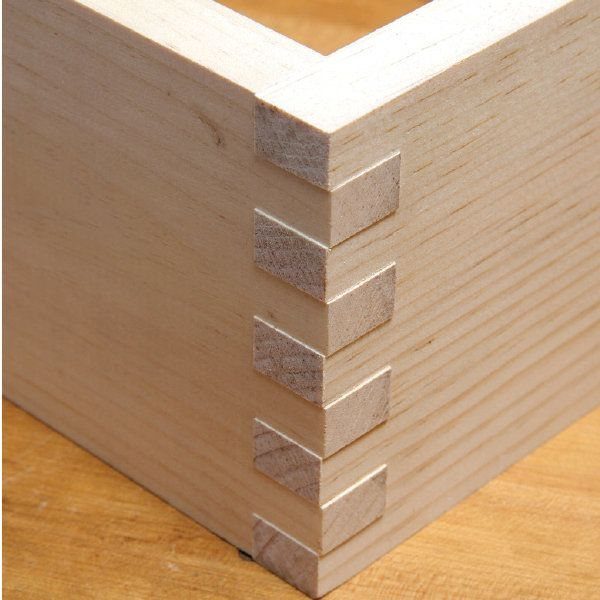
Box joints and finger joints get swapped constantly, and for most shop work the names point at the same thing: square fingers cut into the ends of 2 boards that lock together at a corner.
That is what you see on this light-colored box.
Glue surface is the reason I like them for boxes and drawers. Every finger adds long-grain contact, so the corner holds far better than a simple butt joint.
2. Clamping Finger Joints
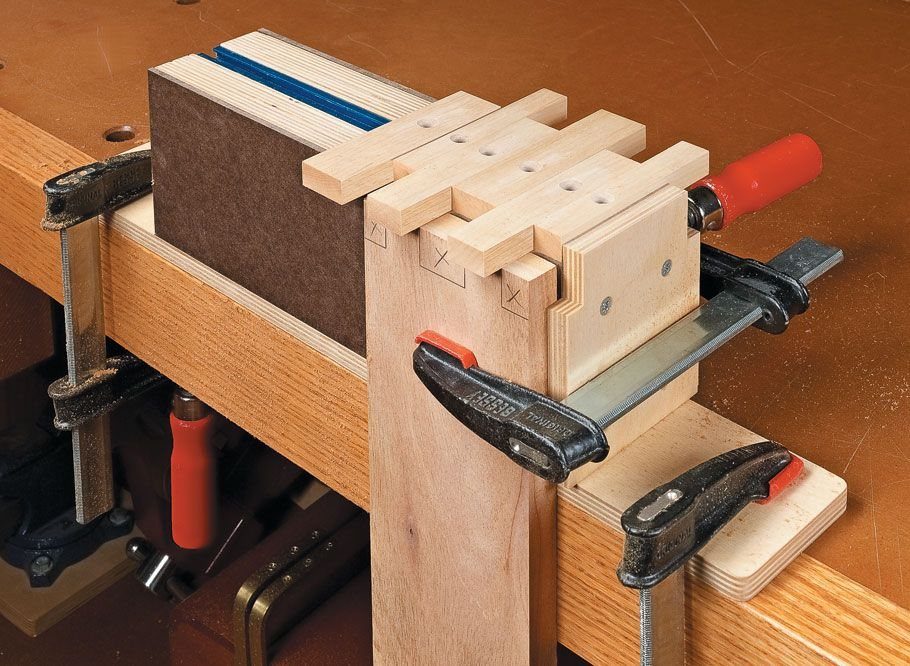
Clamps decide whether a finger joint closes up tight or ends up with gaps.
Set the glued boards on a flat bench, then use a scrap block under each clamp jaw so the pressure spreads across the fingers instead of denting one.
Dry-fit first. If the fingers don’t seat by hand, clamping harder won’t fix it.
Wipe squeezed-out glue right away, since it’s much harder to clean from the inside corners once it dries.
3. Finger Joint Definition
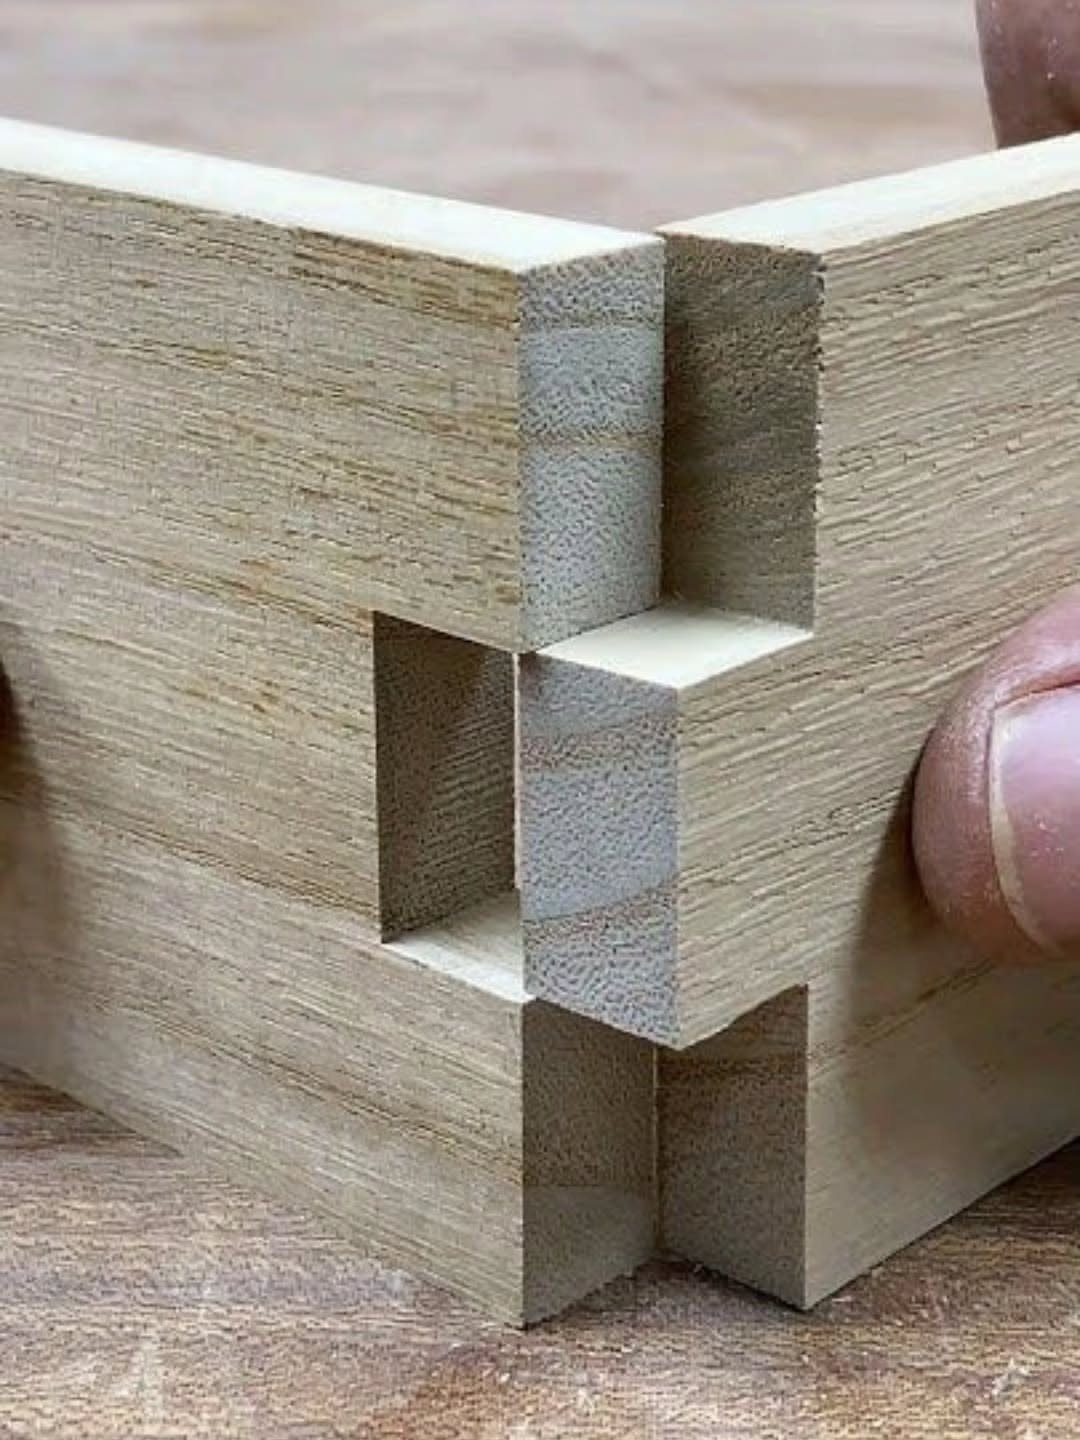
A finger joint is a woodworking joint where two boards are cut with matching, interlocking profiles, so the fingers of one piece slide between the fingers of the other.
For furniture and cabinetry, that interlock gives you a strong corner and plenty of surface for glue.
Light-colored wood like this shows the pattern clearly, which is a nice bonus if you want the joint to be part of the look.
Accurate, even cuts matter more than anything else here.
4. Table Saw Jig for Finger Joints
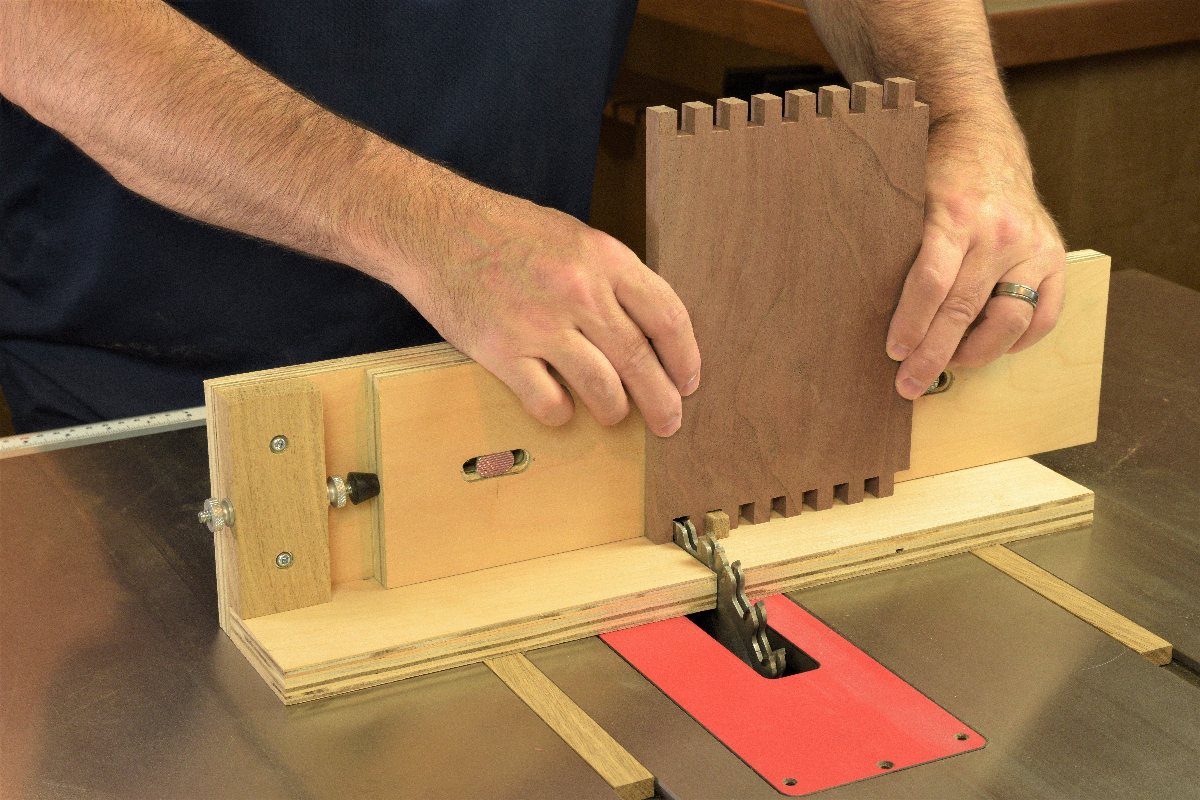
A table saw jig is my pick for cutting finger joints at home, because it makes each cut repeat exactly.
Once the jig is set, you push the board through, shift it over, and cut again, so the fingers match in width and spacing.
That accuracy saves time too, since fewer pieces need fixing afterward. A shop-built wooden jig costs little, and it uses a saw you likely already own.
Cut a test joint in scrap before touching your good boards.
Common Mistakes
Spacing errors show up in 2 ways. Fingers cut too wide or too snug won’t go together, and fingers cut too shallow or loose leave gaps you can see from across the room.
Both come from small misalignments that repeat down the whole board, so one bad setting ruins every finger.
Cut a test joint in scrap first, using the same dado stack and the same thickness of wood as the real pieces, so any gap or slop shows up before it costs you good lumber.
Check that the fingers seat with hand pressure and that the spacing matches on both boards.
Don’t try to hog out a lot of wood in one pass. Heavy cuts can overheat the blade and fill the shop with smoke, and a joint cut that way often comes out much tighter than it should.
Take lighter passes, and if the smell of burning wood shows up, stop and check your setup.
Finger Joint Advantages
Finger joints also let you build from short pieces. Smaller offcuts can be joined into one longer finger-jointed board, and how strong that board turns out depends on the wood type, the adhesive, and the size of the fingers.
For drawers, I’d pick a finger joint over most other corner joints. A published joint-strength comparison found finger joints came out far stronger than the alternatives for drawer corners.
Tooling is where finger joints cost you, since the joint needs more equipment than a simple butt joint or a few screws.
For a small shop, the price climbs fast once you add a finger joint bit and router, or a dado stack for the table saw, and then a jig on top of either.
If you own none of that yet, count the cost before you commit.
Safety Tips
Wear eye protection any time a router or saw is running, and make it a habit before you switch the tool on.
Box joints with a hand-held router need steady, close attention, and chips fly toward your face, so wear safety glasses and keep your hands clear of the bit.
Keep your hands clear of the blade or bit, and unplug the tool when changing bits or blades.
Frequently Asked Questions
What are the disadvantages of finger joints in wood?
Cost of tooling is the main drawback.
A finger joint needs more equipment than a butt joint or a few screws: a router with a finger joint bit, or a dado stack for the table saw, plus a jig for either.
For a small shop that adds up fast, so total it before you commit.
How do I make finger joints in woodworking?
A table saw with a dado stack and a jig is my pick for home shops, though a router table works too.
A test joint in scrap of matching thickness saves a lot of grief, and shallow passes keep the blade from heating up and cutting a joint that fits too tightly.
Is finger joint better than MDF?
Drawer corners are where finger joints earn their place, since a published strength comparison put them well ahead of the other corner joints it tested.
Boards glued up from short finger-jointed pieces can compete with solid wood too, though the result shifts with the species, the glue and the size of the fingers. I don’t have strength figures that pit it directly against MDF.






