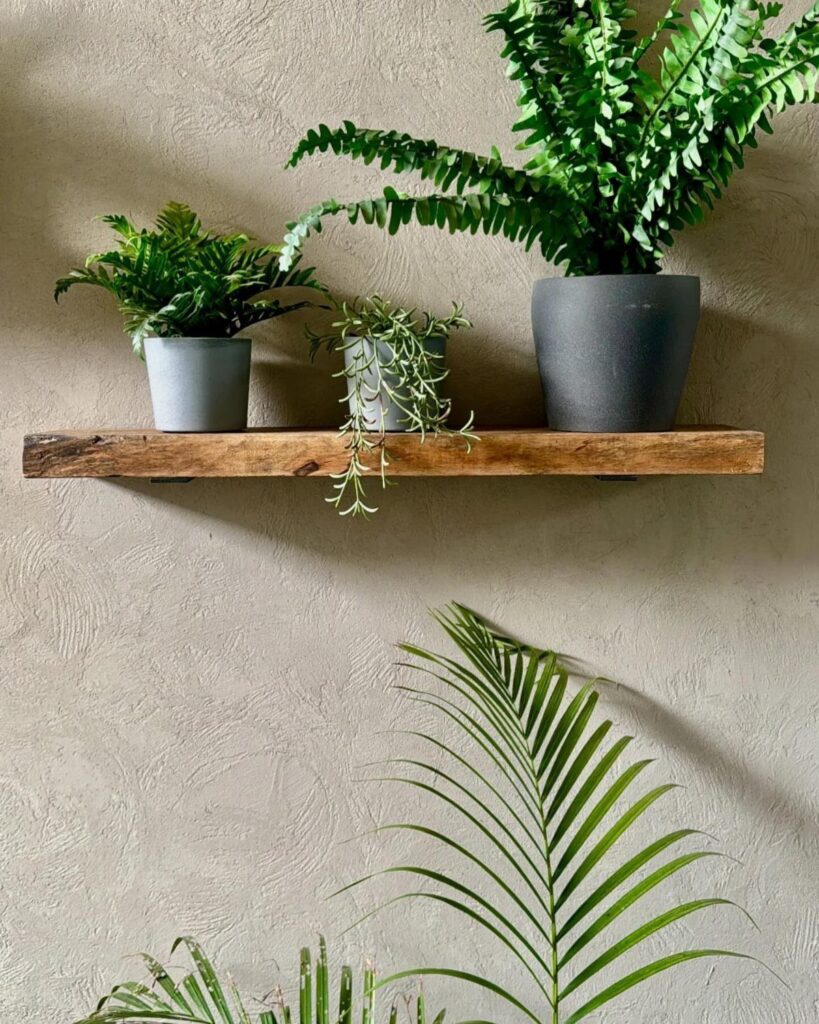
Where the shelf will hang decides which of these builds fits: a tight corner, a small space that needs every inch, or a bare wall each points to a different one.
The ideas run from rope-hung boards that hold little more than a plant and a cup to chunky floating shelves mounted into studs, and most need only a saw, a drill and 1 ¼" or 3" screws.
Wall studs are the one constraint that stays the same: anything heavier than a plant needs to be anchored into one, and the mounting tips below show how.
1. Scrap Wood Shelves for Small Spaces
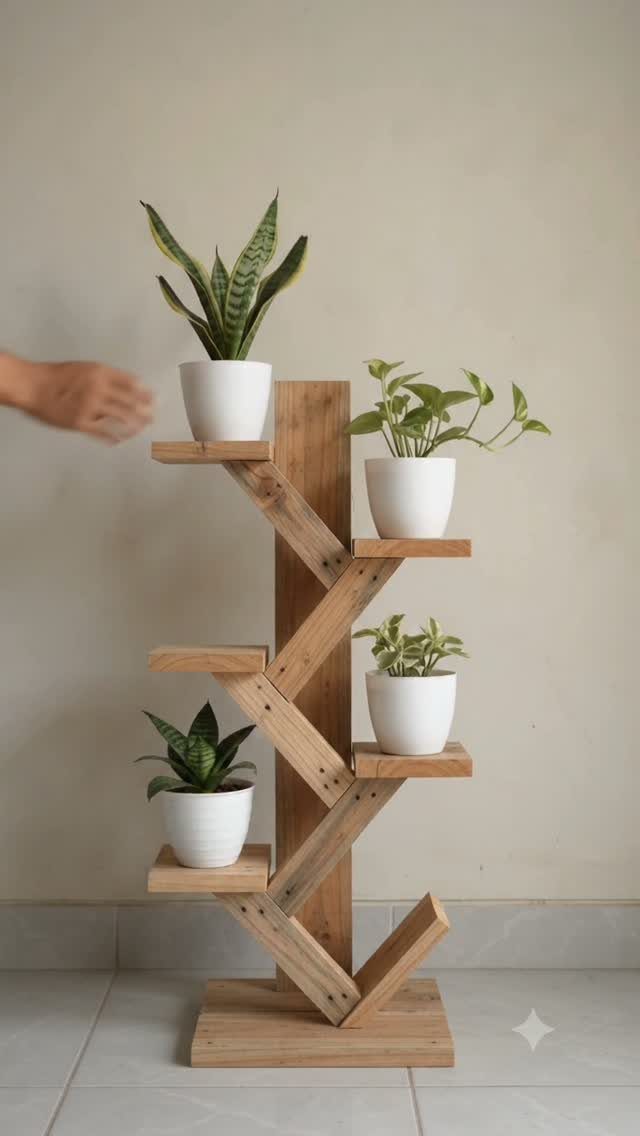
Staggered shelves take up very little floor, which is the whole appeal in a tight apartment.
Because each tier is short, a single board can be cut into several pieces, so odd offcuts that are too small for anything else finally get used.
Stagger the tiers so each pot sits clear of the one above it and gets light.
Screw the pieces to 2 uprights and check for wobble before any plant goes on. I like leaving the wood bare, since green leaves look good against it.
2. Floating Scrap Wood Wall Shelves
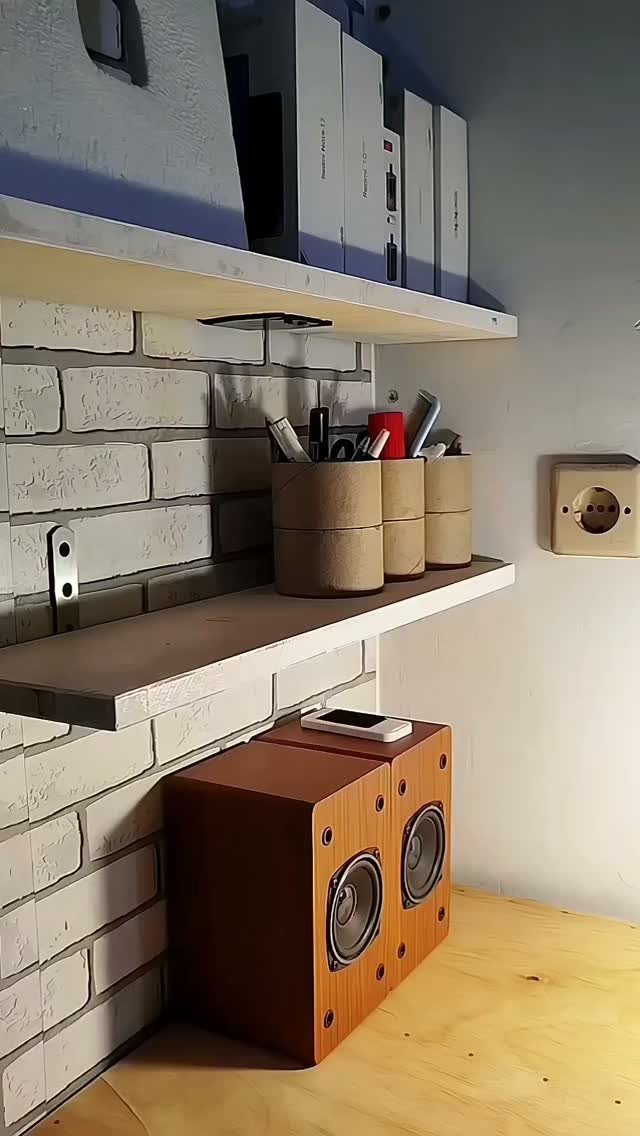
2 floating shelves on a wall can clear a desktop or floor of paperwork, and that is where scraps earn their keep. A short length of board hides all the hardware, so nothing competes with the clutter you are storing.
Binders are heavy, so anchor into studs or use proper wall anchors rather than trusting drywall alone.
White paint helps the shelves vanish against a white wall, though bare wood makes a nice contrast. Keep the heaviest items on the lower shelf.
3. Farmhouse Style Reclaimed Wood Shelves
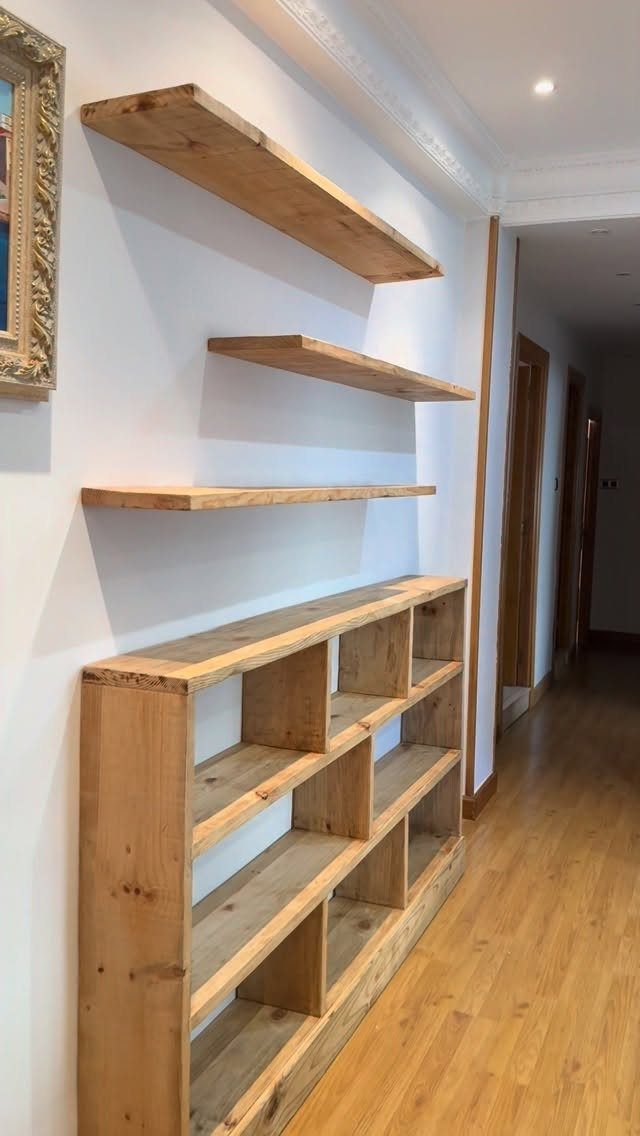
Reclaimed boards already carry the dents, grain and color that new lumber needs stain and sanding to fake. For a farmhouse look, I would leave those flaws alone and only knock off splinters with a light sanding.
A hallway is a good home for a row of floating shelves plus one low unit, since the wall is otherwise empty.
Mix board lengths for a casual feel. Seal the wood with a clear coat so rough surfaces don’t snag sleeves as people walk past.
4. Chunky Scrap Wood Shelves
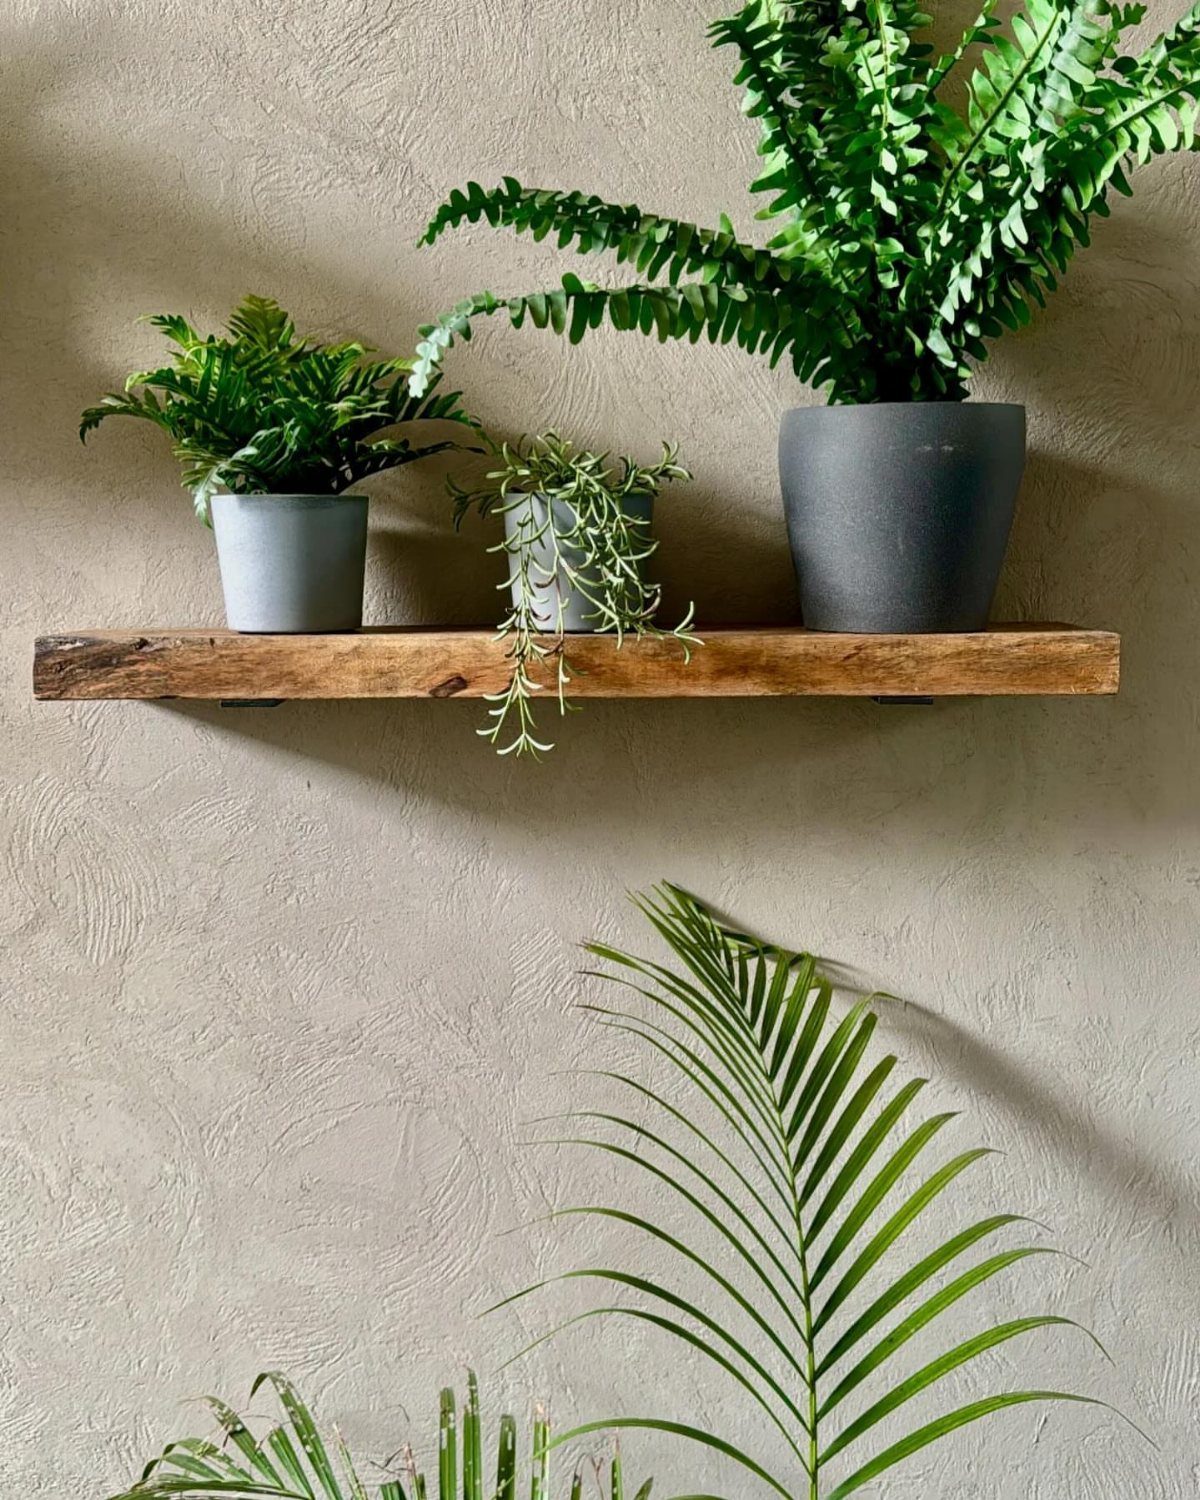
Thick lumber changes the look of a shelf more than any finish does. A chunky floating shelf reads as a deliberate piece, and a heavy offcut gives you that depth without buying a new board.
Because it is thick, drilling a hidden bracket hole into the back edge works well.
Mount it into studs, since thick wood weighs a lot even before the pots go on. 3 plants of different sizes fill it nicely, and a little overhang at the ends looks natural.
5. Hanging Rope Wood Shelves
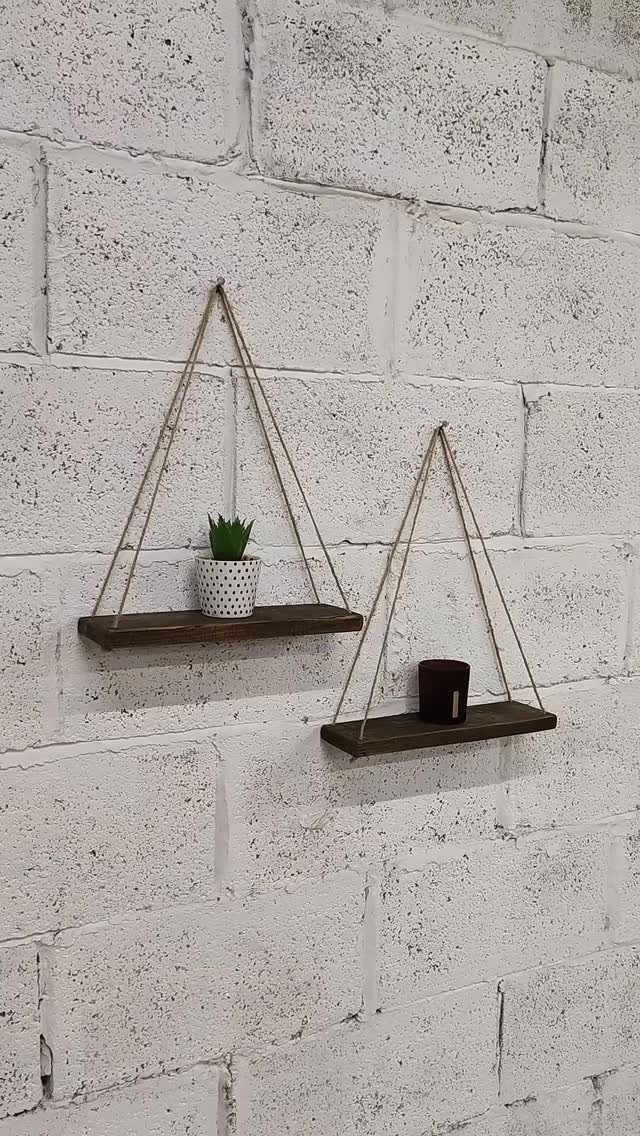
Rope turns a plain board into a hanging piece, and dark wood against a white wall makes the lines stand out. 2 shelves hung in triangular shapes give a lot of style for very little lumber.
Drill a hole near each corner, thread the rope through, and knot it underneath so the board stays level.
Thin rope looks lighter, but check it is rated for what you plan to set on top. Keep the load small: a plant and a cup suit this design.
6. Built-In Corner Wood Shelves
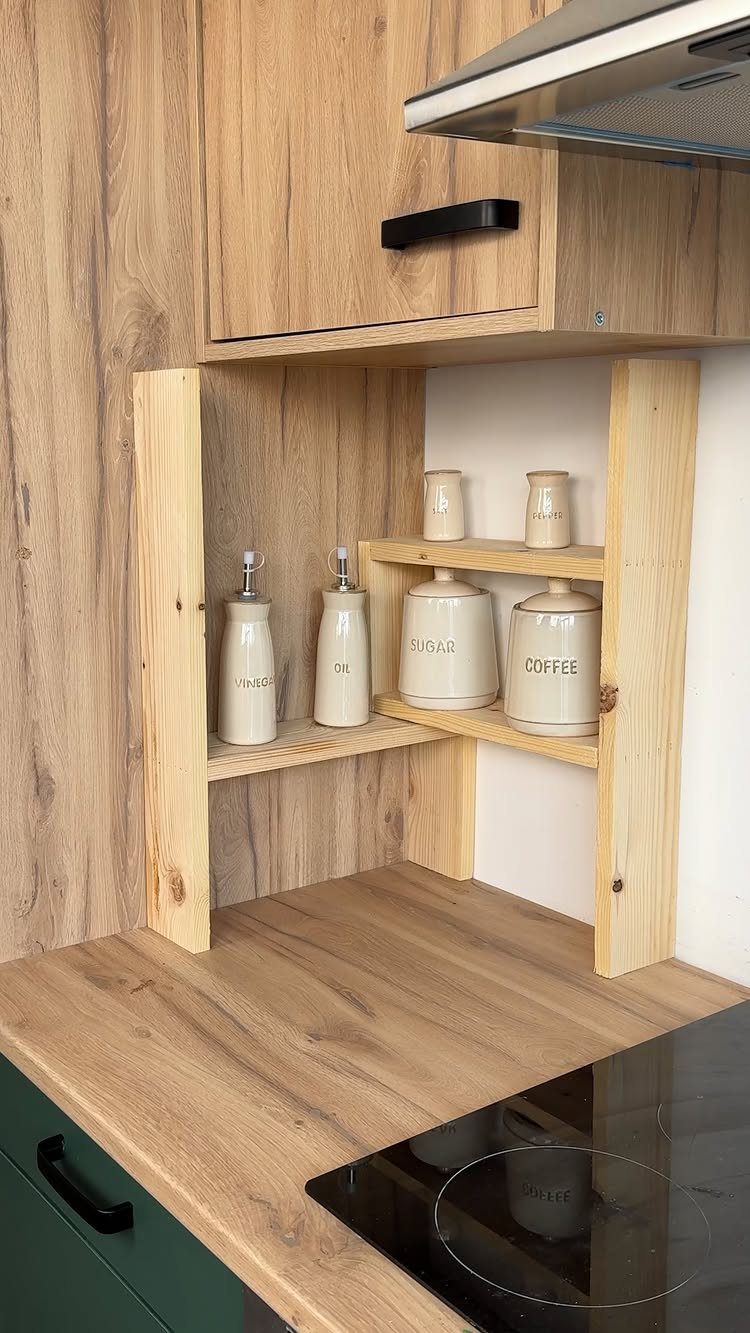
A gap between a cabinet and a wall is wasted space, and a few shelves cut to fit can claim it. Custom fitting is the advantage here, because no store-bought unit matches an awkward opening.
Measure the width at the front and the back, since walls are rarely square. Cut each shelf from scrap, then scribe or trim for a tight fit.
Under a vent hood, grease collects, so I would pick a wipeable finish. Canisters and jars suit the narrow depth well.
7. Geometric Interlocking Wall Shelves
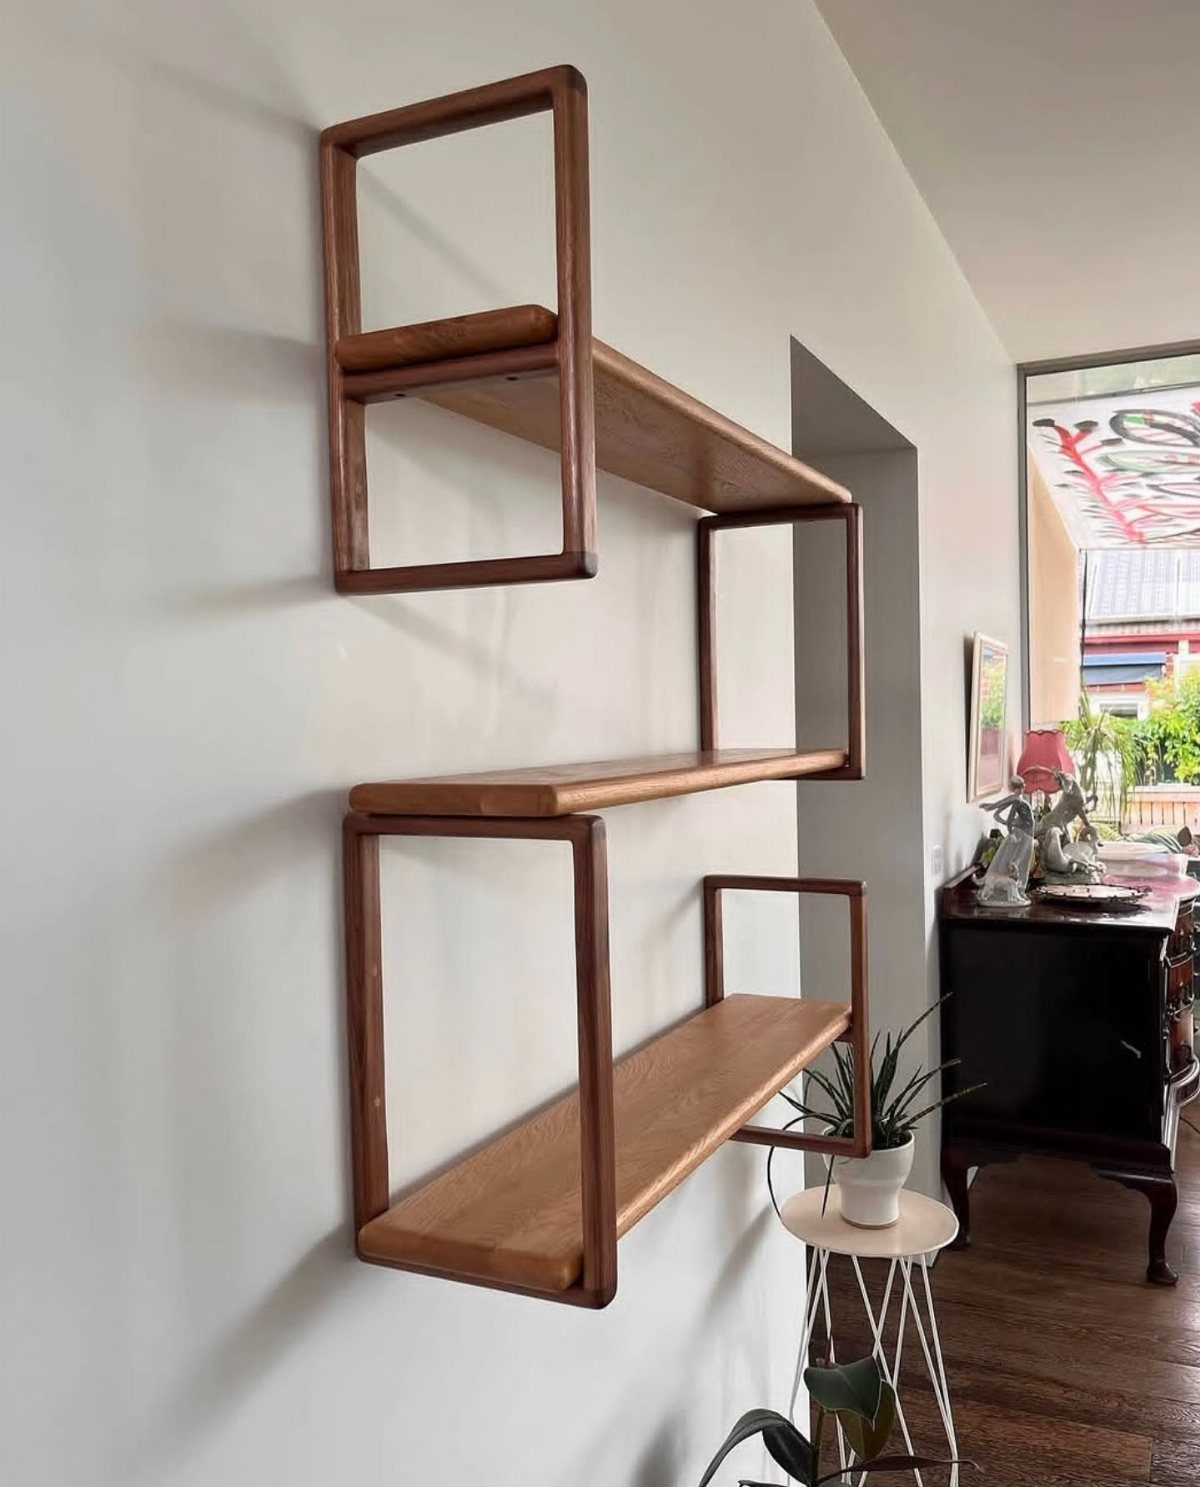
Interlocking rectangular frames turn a wall into a small piece of geometry, and the shelves are the negative space between the boards. Each frame is a simple box, so scraps cut square and to matching depth work well.
Cut all the pieces from one board if you can, so the grain and color stay consistent.
Join each box with glue and screws, then lock the frames together and test the arrangement on the floor before it goes up. A light plant or a few small frames suit the open cubbies better than anything heavy.
8. Tiered Scrap Wood Bookshelf
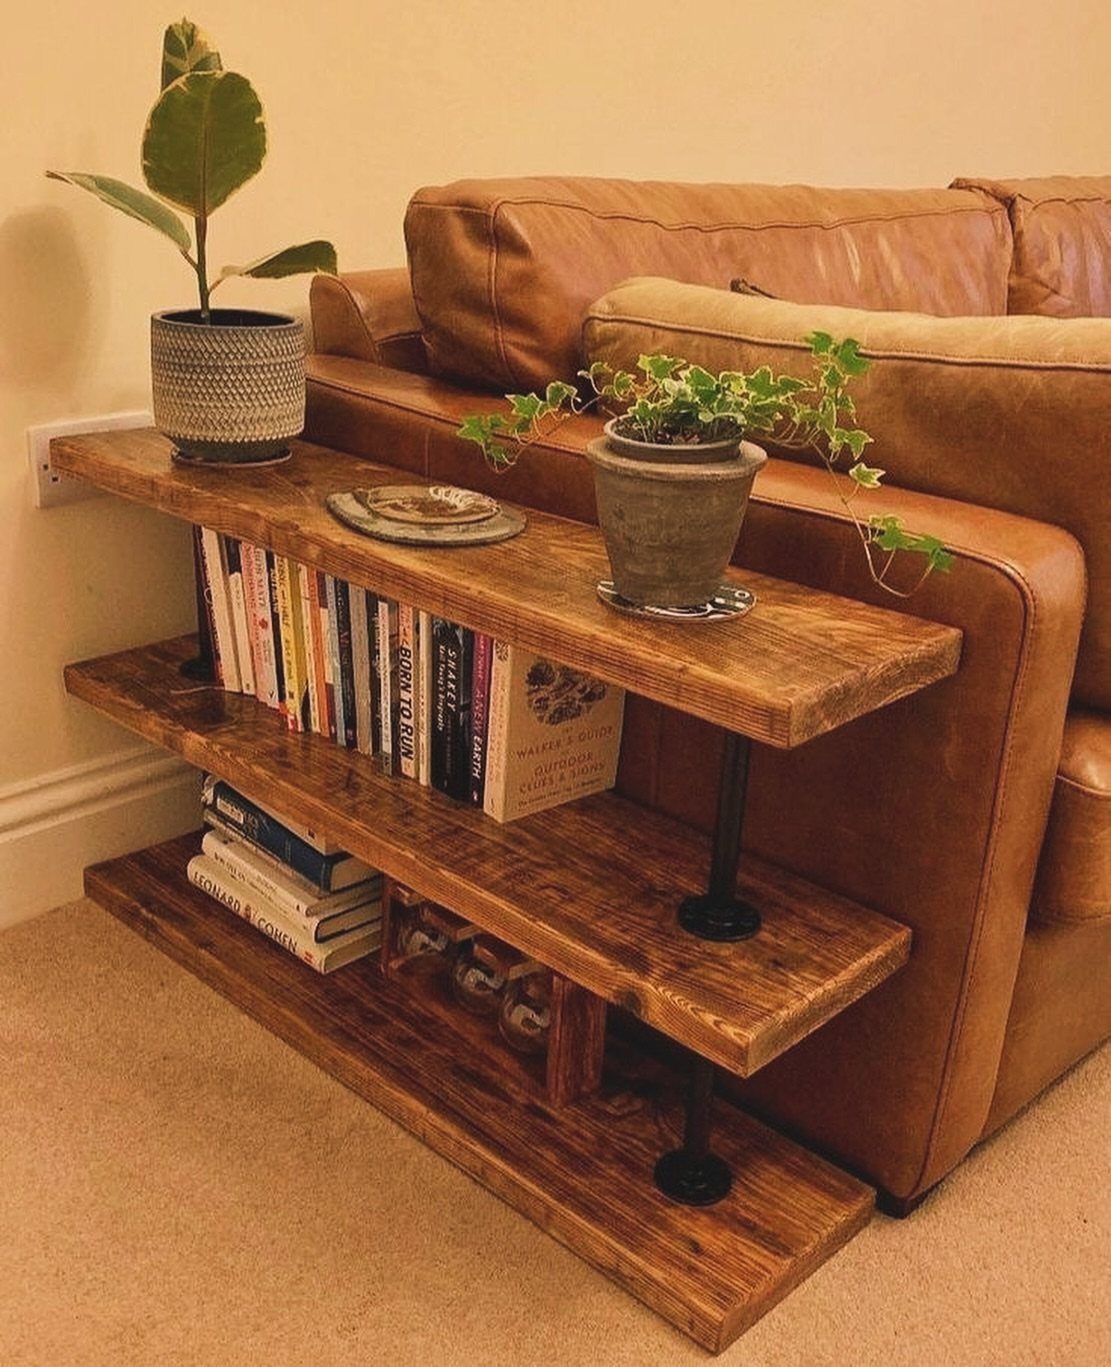
A three-tier shelf with black supports gives a couch corner somewhere to put books, plants and coasters without a trip to the store.
Stained scrap boards can be mismatched in the raw and still read as a set once one stain coat covers them.
I would cut the 3 shelves to the same length so the stack looks planned.
Black supports against stained wood add contrast, and they keep the frame simple to build. Check the unit for wobble before loading it, and put the heaviest books on the bottom tier.
Tools and Materials Needed
A saw, a drill, a tape measure and a few clamps cover most of these builds.
Square cuts don’t require a power saw; a hand saw guided by a miter box gives you the same clean ends, and you only pay for it in time and a tired arm.
For fasteners, 1 ¼" screws suit joining thinner boards, and 3" wood screws work for building a frame from thicker pieces. Add wood glue to every joint, and keep sandpaper nearby for splinters.
Scrap 2x2s and ¾" plywood both make good shelf stock. Plywood pieces around 8" x 24" give a usable shelf without much waste.
If your scrap pile is thin, pre-aged lumber from a home center comes with a weathered, textured look and may need no stain at all.
Stain, paint, and decorative L brackets are extras I’d treat as optional, since the shelf works fine without them. A brad nailer speeds up assembly, but glue and screws can replace it.
Mounting and Installation Tips
A stud finder tells you where the framing sits, so mark those spots first and line the shelf up over them; screws that bite into solid wood hold far better than anything in bare drywall.
Mark each spot with pencil before you drill.
Studs rarely line up with both ends of a shelf. If only one side hits a stud, fasten the other side with a drywall anchor, and expect that side to hold less.
Build the frame first with wood glue and 3" screws, then attach the shelf to the frame and hang the whole unit.
Hold a level on top before the final screws go in, and fix any tilt while the holes are still easy to adjust.
Fastening a thin strip along the front or edges builds a small lip, and that raised rim stops books and jars from creeping off. Decorative L brackets add support at the corners, and they look good doing it.
Finishing Techniques
Stain suits boards with attractive grain, and one coat is often enough to unify mismatched scraps. Wipe it on, let it soak in briefly, and wipe off the excess for an even tone.
Paint hides flaws and works best on plywood edges or boards that don’t match. Sand lightly first so the paint grips.
Polyurethane is the finish I reach for on shelves that will be handled or wiped down.
It adds a hard, protective layer against scuffs and moisture. Apply thin coats, sand lightly between them, and let each coat dry fully.
Keep glue surfaces bare, since wood glue needs open pores to grip and won’t hold well on sealed wood. Touch up screw heads and edges afterward.
Frequently Asked Questions
Where can I get cheap wood for shelves?
Offcuts from your own projects cost nothing, and short pieces of 2×2 or ¾" plywood are already the right size for small shelves. A plywood scrap near 8" x 24" makes a shelf with almost nothing left over.
Where can I find free wood scraps?
Check the garage or basement first: leftover boards, even awkward ones too short for anything else, can be cut down into short shelves and staggered on the wall.
I can’t point to a specific place that hands out free wood, so check what you already have first.
Does Lowes or Home Depot give away free wood scraps?
I can’t confirm that either store gives scraps away, and policies likely vary by location, so ask at the store. Your own offcuts are still the surest free option.






