Your skill level and your wood decide which of these projects to burn first. Beginners do best on pale, tight-grained woods like basswood and birch, where every shade shows and a flop costs one slice.
Match the subject to the heat control you have now: coasters and spoons forgive a shaky hand, while pet and human portraits reward a steady one, so start with the simple pieces and work up.
1. Light-Colored Wood
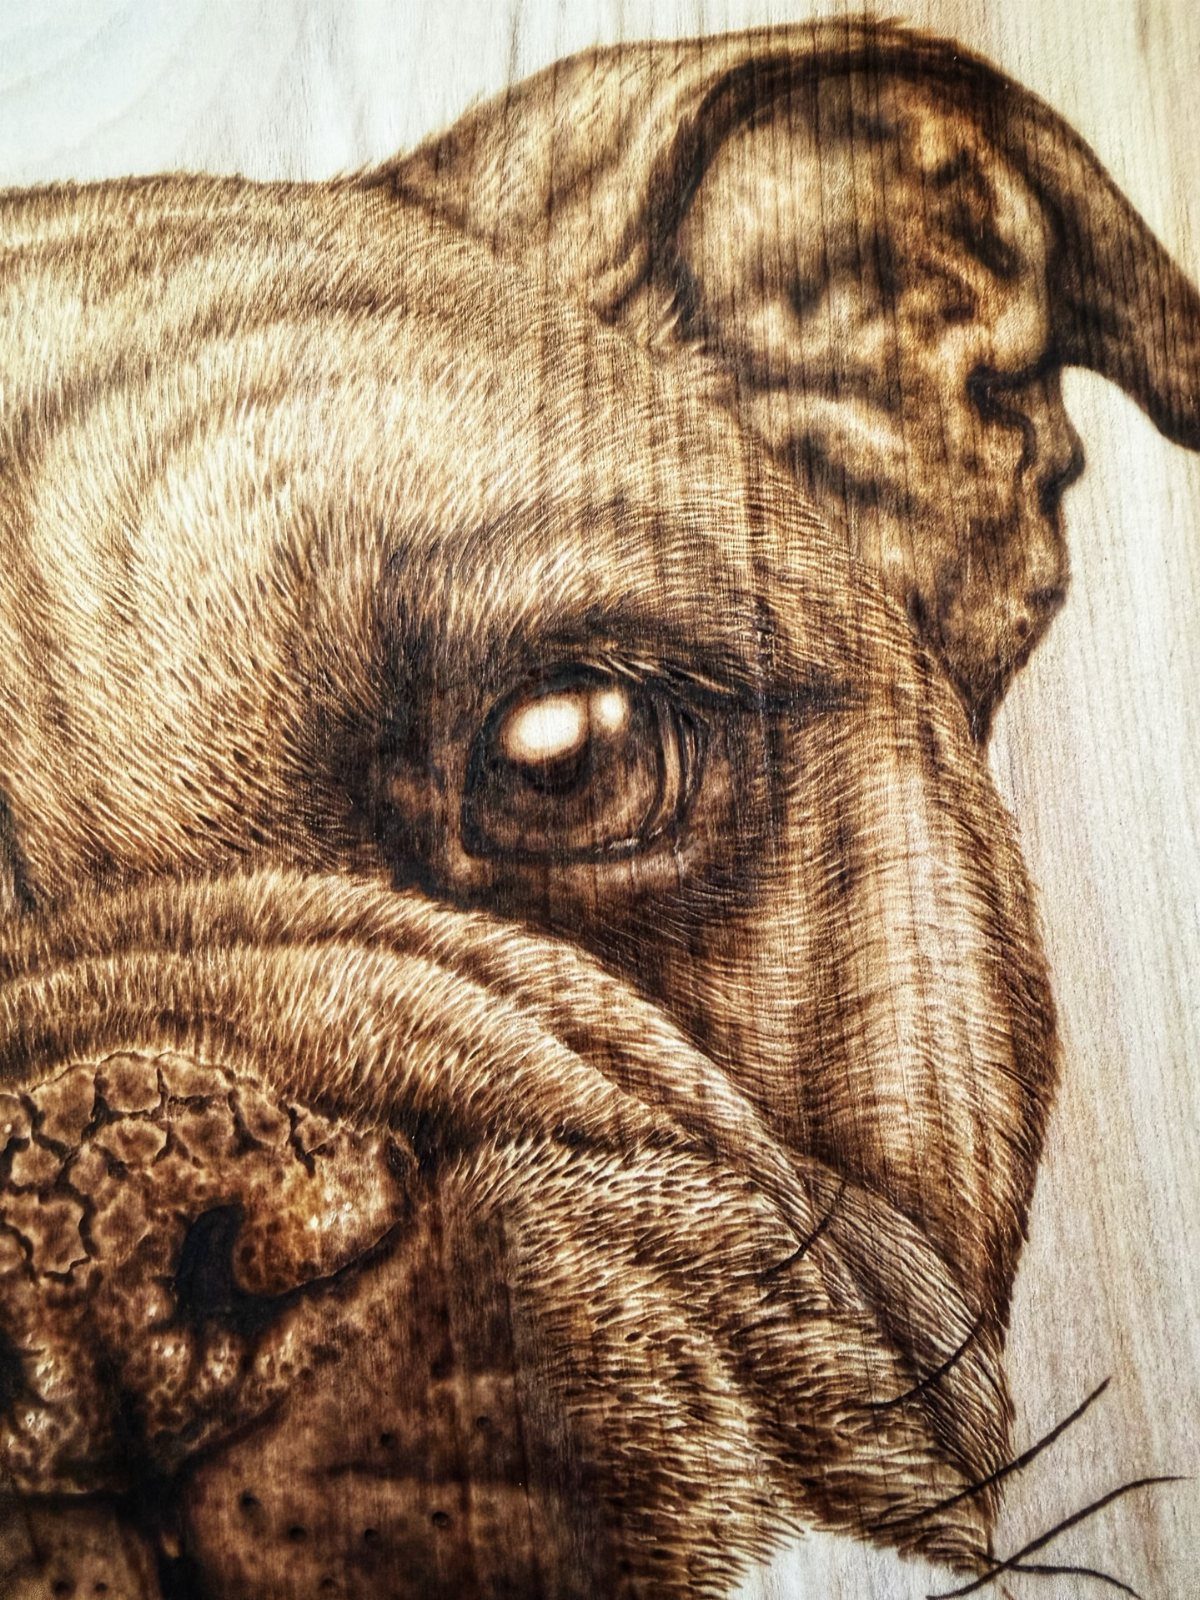
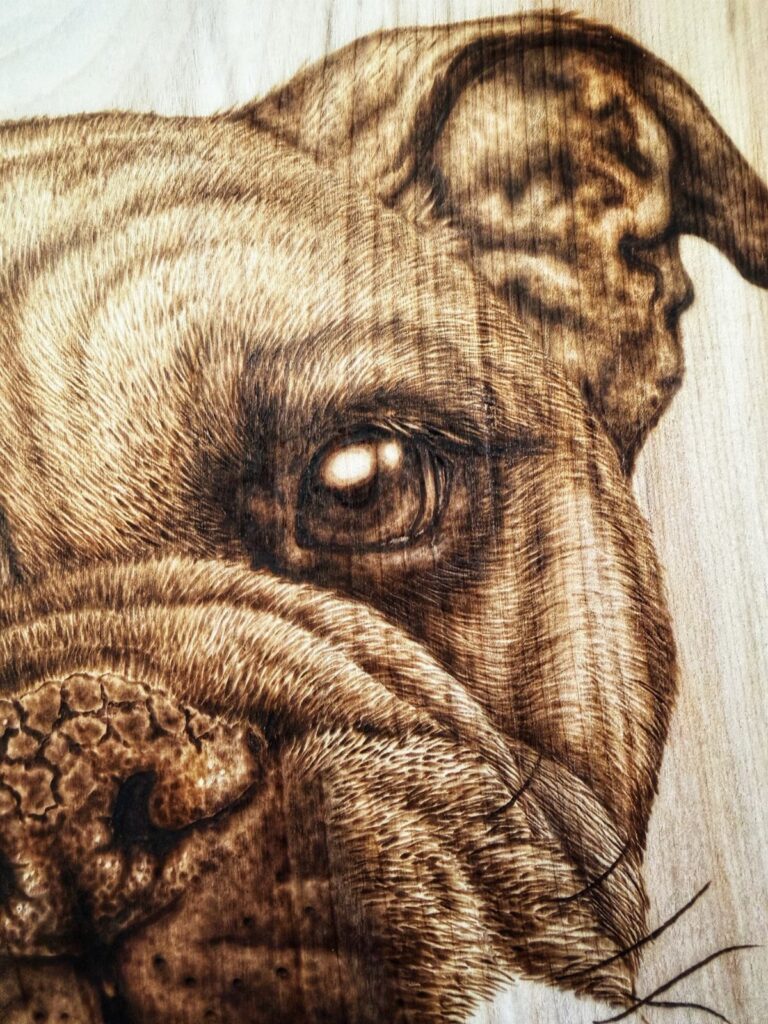
Pale wood gives a burn the most contrast, which is why a bulldog’s wrinkles and fur read so clearly on a light surface.
Light woods like birch, basswood, and maple let every shade of brown read clearly, from a faint tan to near black, so the burn shows its full range.
Beginners benefit most here. Mistakes and light shading are easy to see and judge, so you learn pressure and speed quickly.
Pick a board with tight, even grain. Heavy grain lines compete with fine detail like whiskers and eyes, so save the boldly figured pieces for simpler designs.
2. Wood Burning with Paint
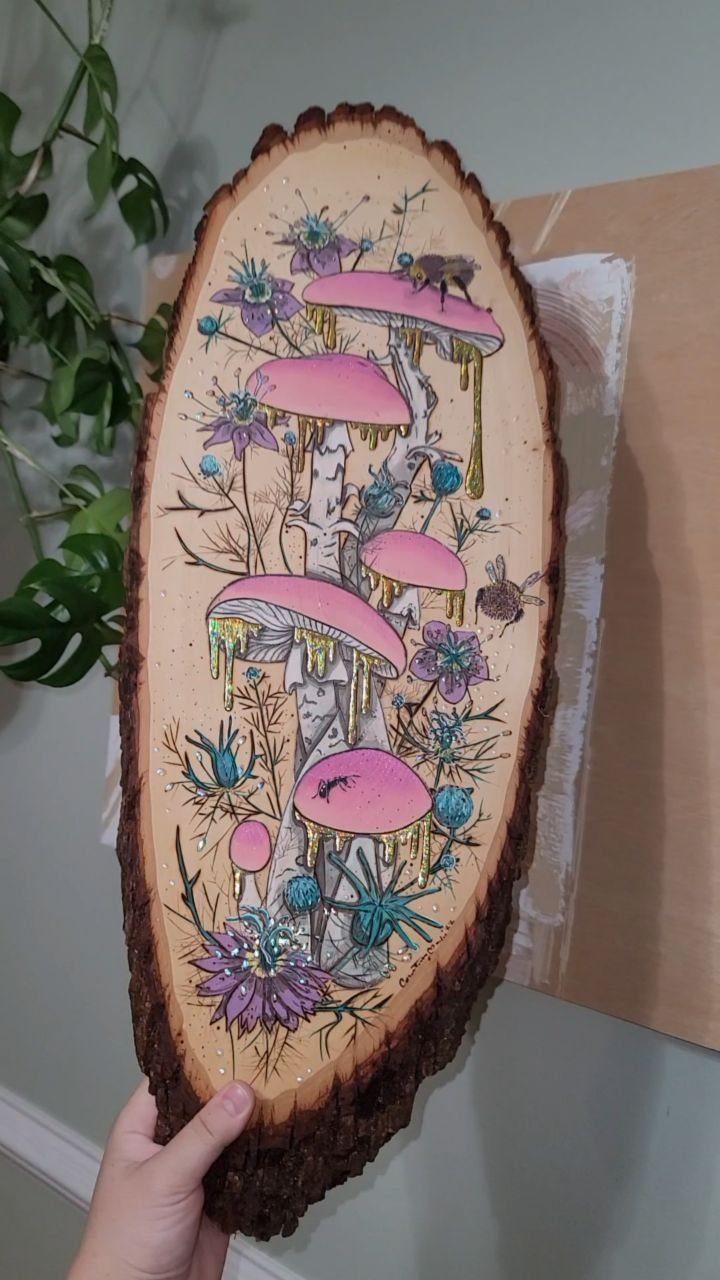
Burned outlines hold color in place, much like the lead lines in stained glass. On a wood slice, the mushrooms, flowers and insects can be drawn in pen-style lines first, then filled with paint.
Burn first, paint second. Paint laid over bare wood can bleed along the grain, and color on top of char can turn muddy.
A little color goes a long way, and it suits a beginner on a budget. A small set of craft paints and one cheap brush is enough, and you can leave some areas unpainted so the burned texture still shows.
3. Wood-Burned Kitchen Spoons
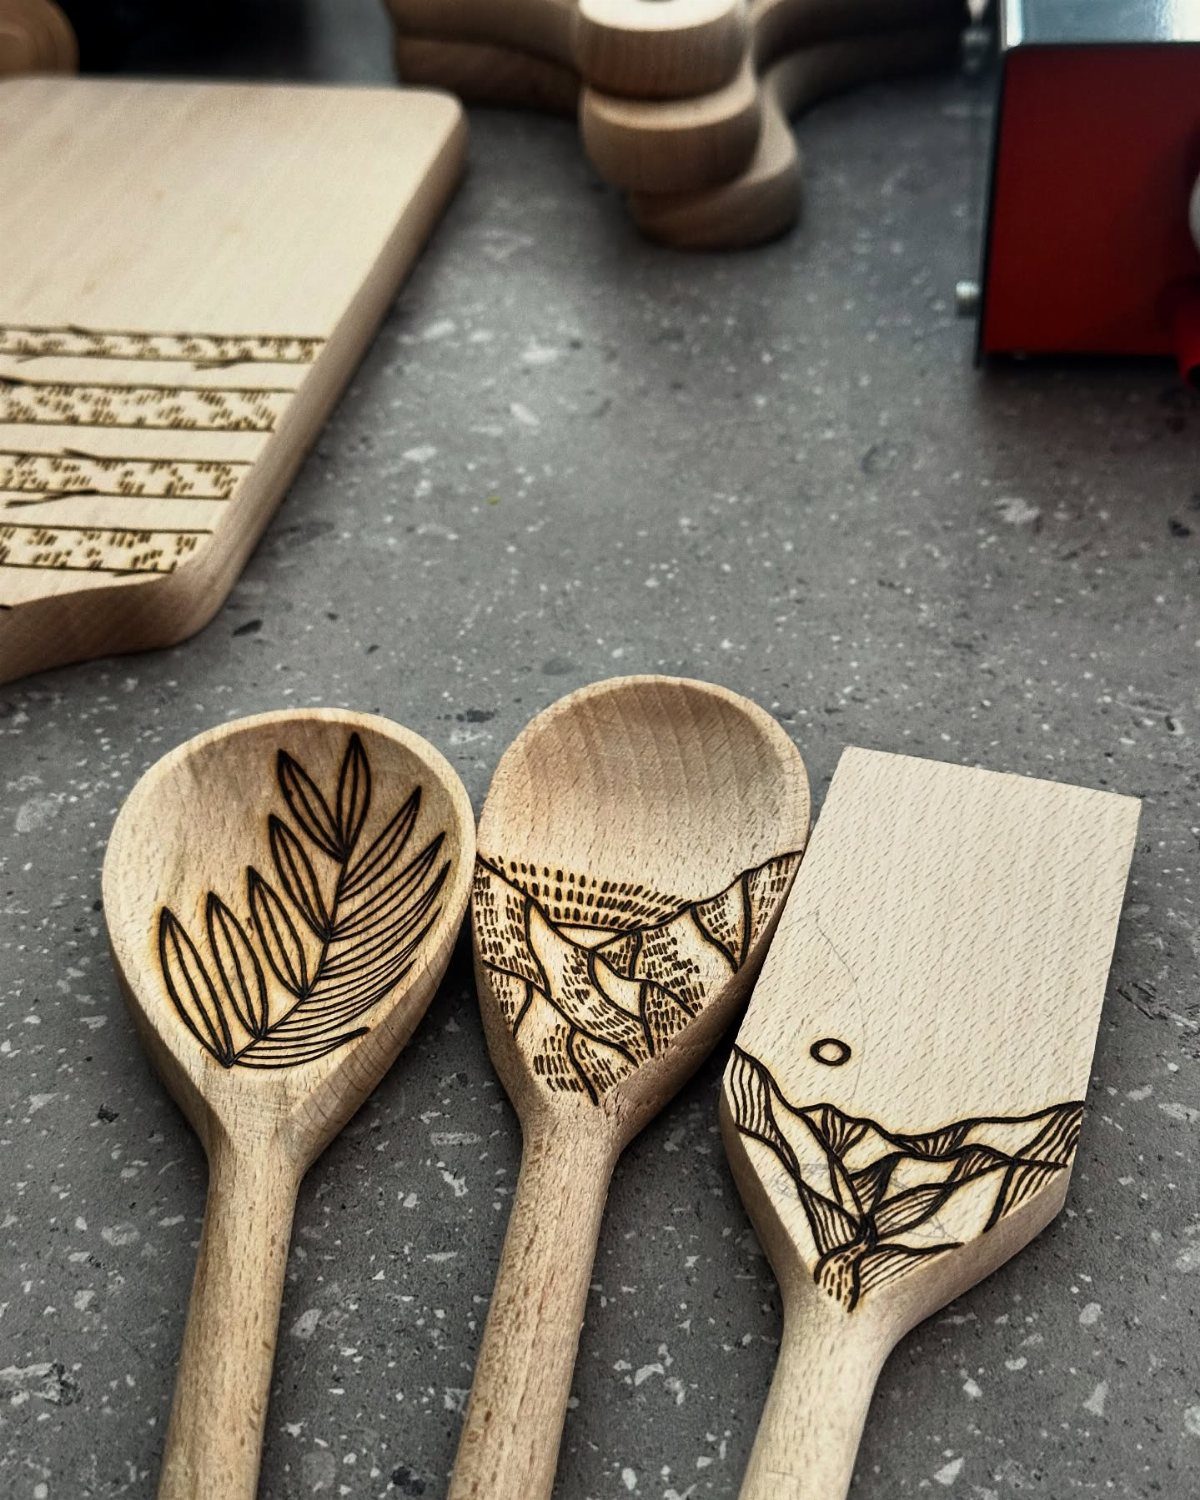
A spoon or spatula is a small, curved canvas, and that shape asks for simple designs. Leaves, stems and little nature scenes fit the narrow handle well, and the flat spatula face gives you room for something bigger.
Plain wooden utensils are cheap, so a few practice pieces cost little. Sketch lightly in pencil first, since the curve makes freehand drawing harder than it looks.
I’d burn the handle and keep the bowl of the spoon clear. Food touches that part, and a decorated handle is the better home for the art.
4. Custom Wood-Burned Coasters
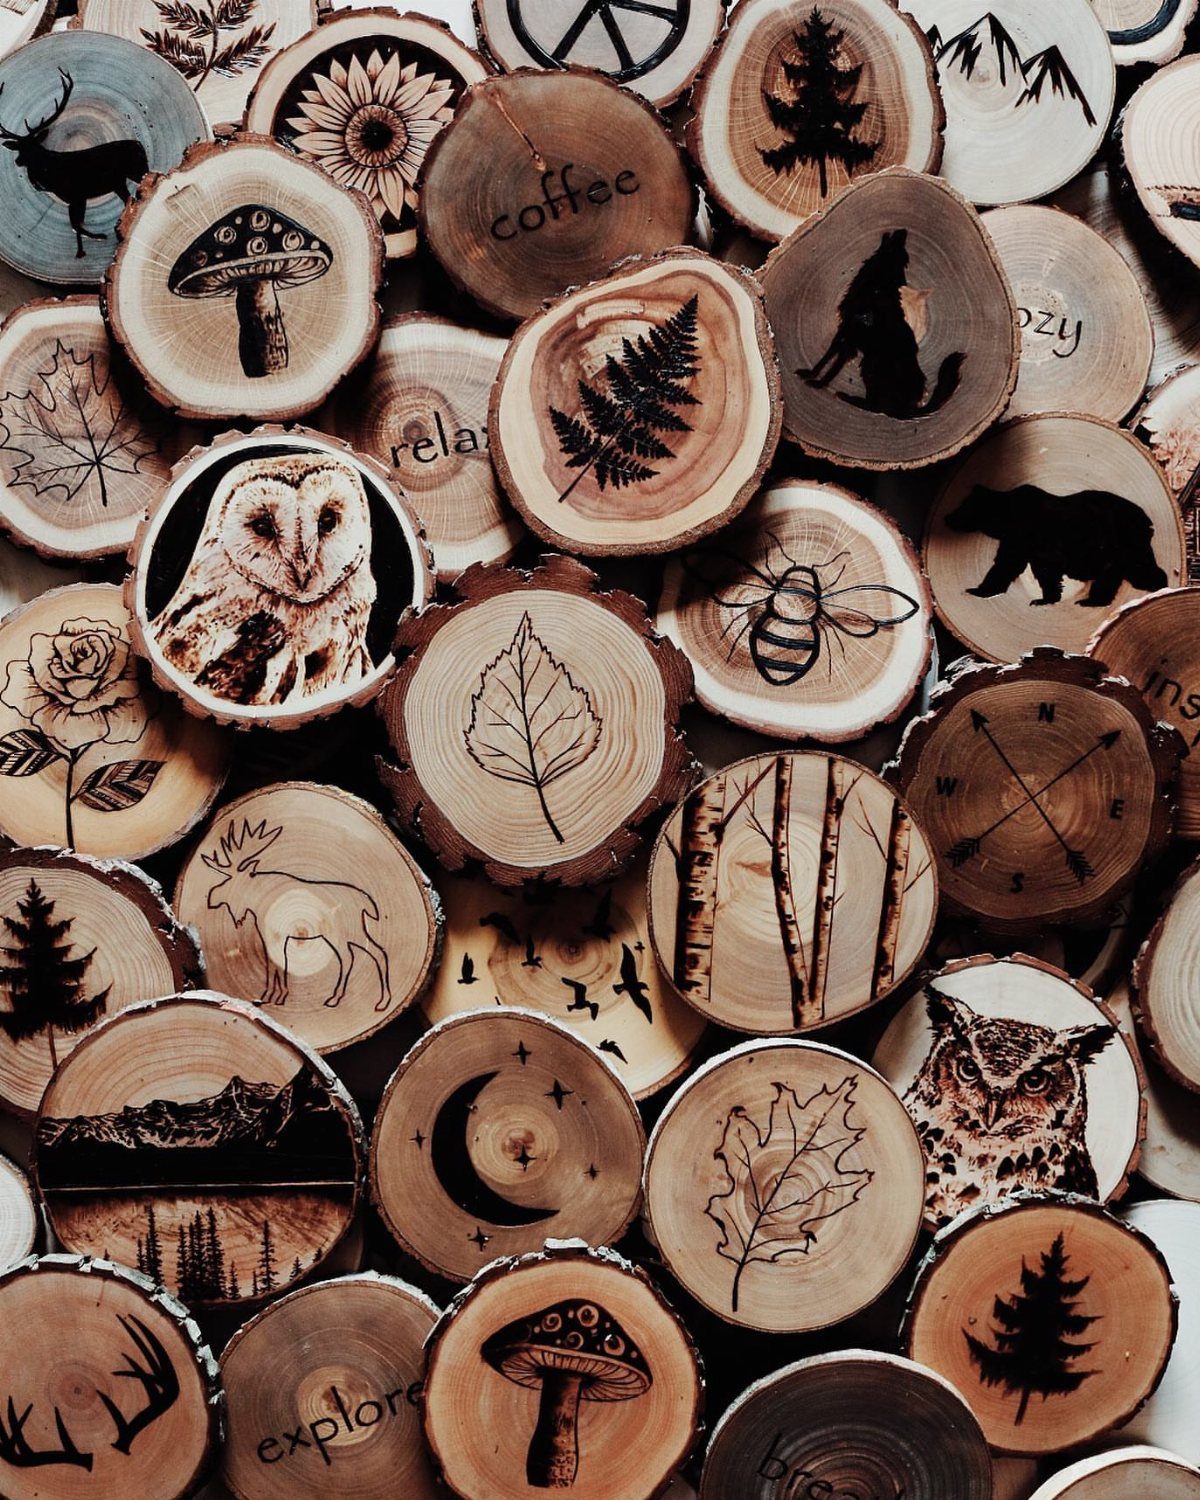
Coasters are the gentlest way into pyrography. A round wood slice gives you a small, forgiving surface, and one word like "coffee" or "relax" is a finished project in an afternoon.
Start with lettering or a single plant or animal. Small designs teach you line control without the long commitment of a portrait, and a flop costs you one slice.
Make a set of several slices with a shared theme, such as nature or words, and they read as a matching collection.
5. Wood-Burned Pet Portraits
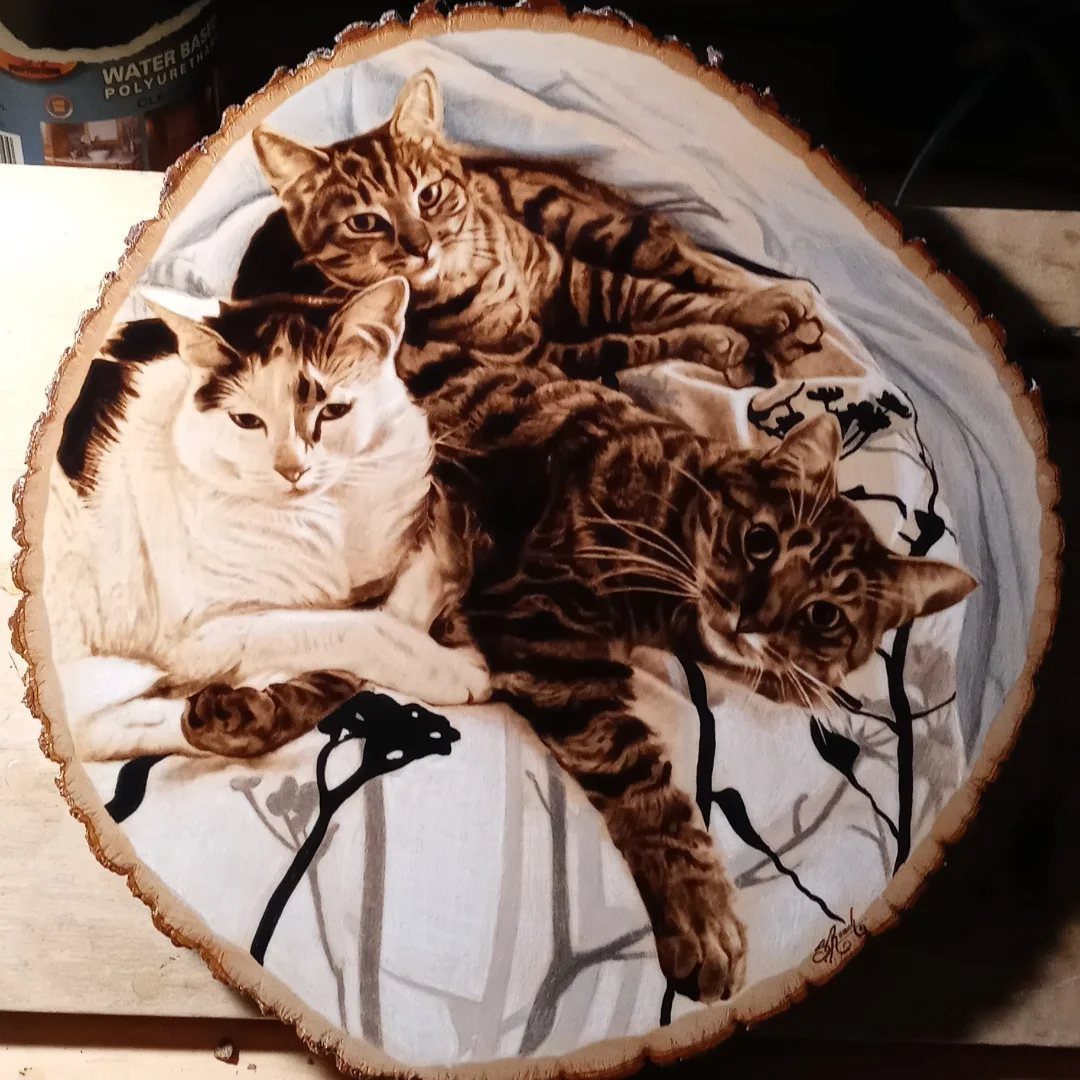
Cats on a round wood slice work because the rustic edge frames the animals without extra effort. Fur is the real challenge: short, quick strokes in the direction the hair grows, with darker burns saved for eyes and shadows.
Work from a clear photo and transfer a light outline before burning. Go slowly around the face, because eyes decide whether the likeness lands.
Once the burning is done, a water-based polyurethane protects the surface. I like it because it brushes on clear and keeps the burn looking natural.
6. Wood-Burned Human Portraits
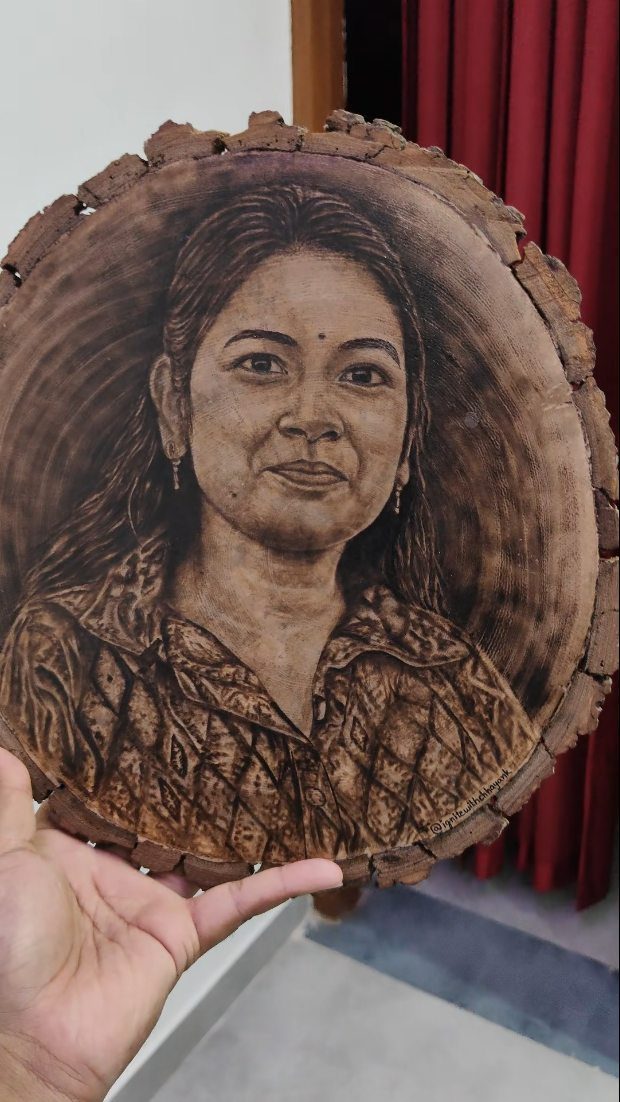
A human face is the hardest subject for wood burning, and I wouldn’t start there. Skin needs smooth, gradual shading, and small errors in the eyes or mouth change the whole expression.
Build tone in light passes instead of one heavy burn, since darkness is easy to add and impossible to remove. A circular wood slice with a smooth, pale surface keeps the grain from interfering with delicate features.
Practice on scrap wood with shading alone before you attempt a real face. Patterned clothing, like the shirt here, adds detail, so a simple collar is kinder for a first try.
7. Pop Culture Pyrography Plaques
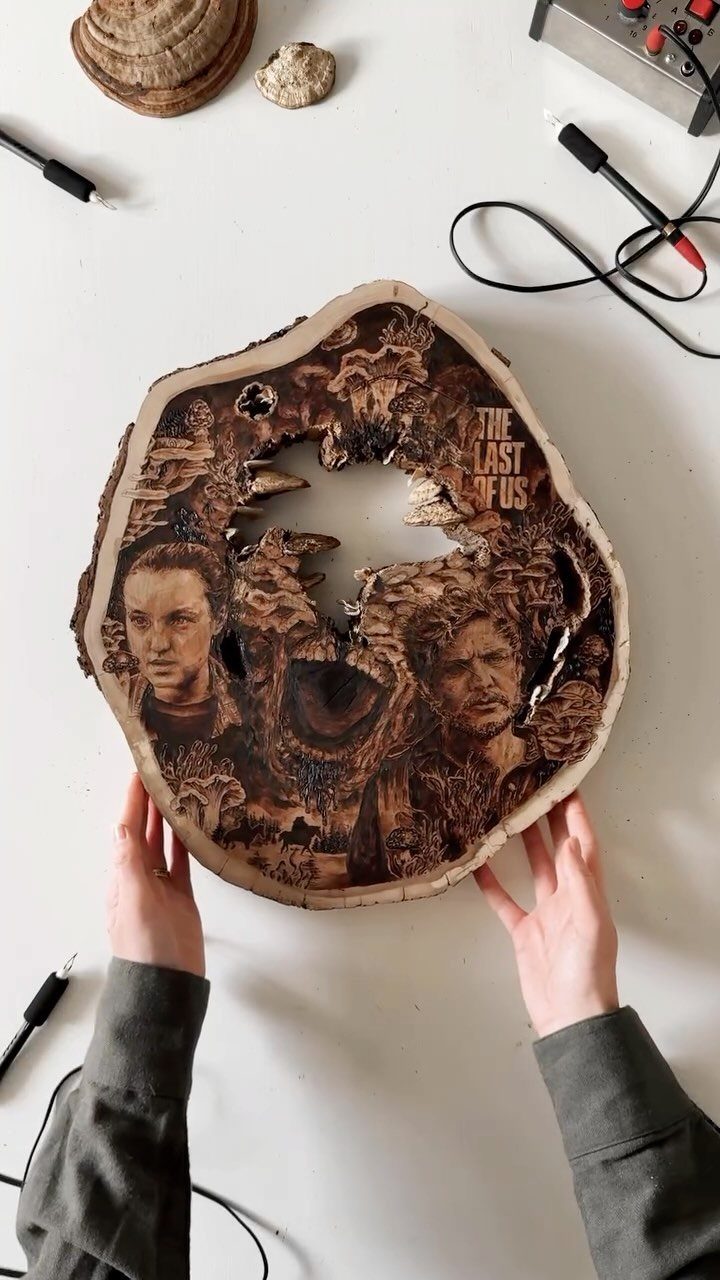
A character plaque turns a favorite game, movie or band into something you can hang on a wall.
A flat wood slice with a natural edge suits it, and the bark frames a pair of faces the way a picture frame would.
Faces are the hard part, so pick art with strong shapes and clear contrast. 2 characters from a game poster are easier than a crowded movie still, and a band logo is easier than either.
Trace a light pencil outline first, then burn the darkest areas last. Practice on scrap wood before the real slice, since likeness shows in the eyes and mouth, and portraits depend on getting those two right.
Pyrography or pyrogravure is the freehanded art of decorating wood or other materials with burn marks resulting from the controlled application of a heated object such as a poker.
8. Botanical and Floral Designs
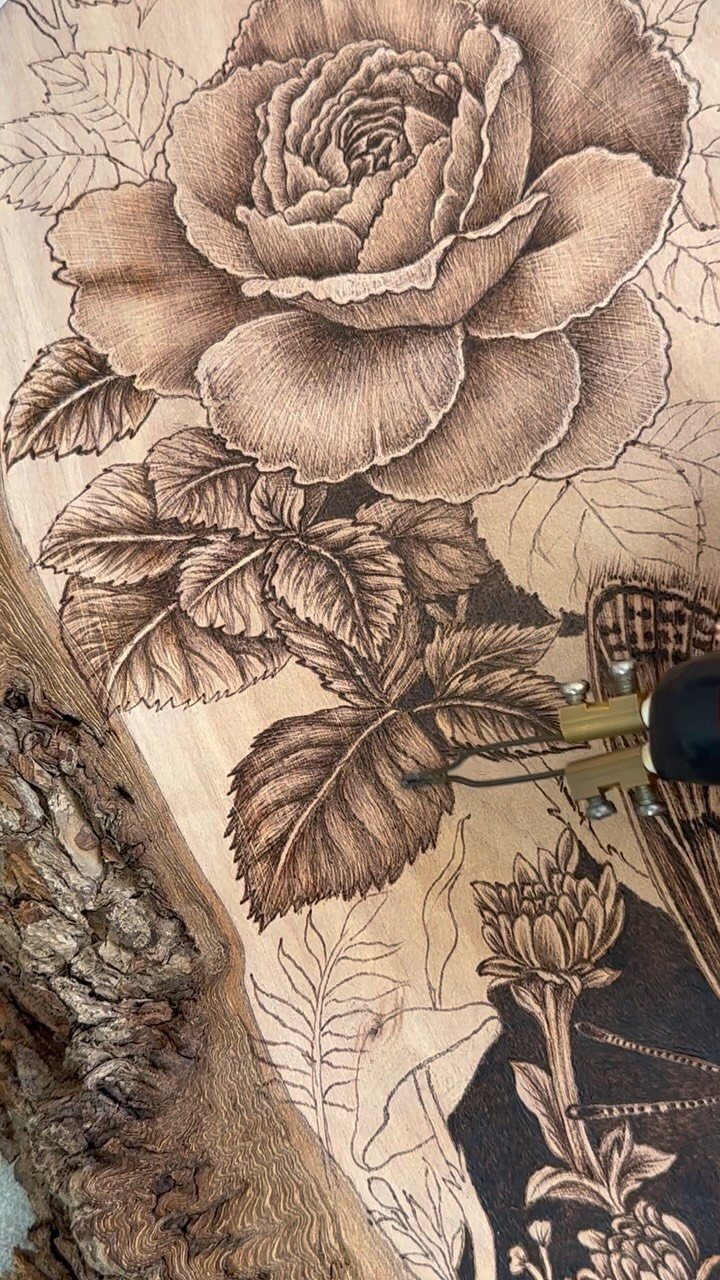
A rose is a good first botanical project because its petals are built from curves that overlap, and shading does most of the work.
Burn the outline of each petal, then darken the spot where one petal tucks under the next.
A live-edge slab gives you a wild border for free, so the flowers can run right up to the bark. Leave the leaves lighter than the bloom, with a single center vein burned in, and the rose stays the focus.
Keep the pencil sketch loose and the first passes light. Dark shading can always be added later, but it can’t be taken back.
Safety Tips for Beginners
Burning wood puts smoke in the air that bothers your lungs, so crack a window and aim a small fan so it carries the fumes away from your face. Fresh air matters more than any gadget on the table.
A fire extinguisher parked near the bench is the best choice, and a bowl or bucket of water is the bare minimum. A stray spark or an overheated tool can turn a quiet afternoon into an emergency in seconds.
Put the pen in a heat-resistant stand any time you set it down, and never walk away from it while it’s hot. Phone, TV and chatty company are all distractions, so save them for after the burning.
Loose sleeves can brush the tip, and long hair can swing into it. Roll up your sleeves, tie your hair back, and let the tool cool completely before you store it.
Heat-resistant gloves are optional, but they help on small pieces you have to hold steady.
Best Woods for Wood Burning
Light color is the first thing to look for, since dark wood hides the burn. Basswood and birch are my picks for beginners: both are pale and show every shade you make.
Check the board for knots. They change how hard the wood is in one spot, so the tool behaves unpredictably and the line skips or digs in.
Smooth, even grain gives a more intentional-looking burn. When grain swings between hard and soft, you spend your time fighting it instead of drawing.
Softwoods like pine burn fast under the pen, and their resin can smoke and spit. If you’re unsure about a board, confirm it’s safe to burn before you start, because not every wood is.
Choosing the Right Equipment
A good pen holds steady heat, and that steadiness is what lets you draw a clean line. Cheap tools often swing in temperature, and that makes every stroke a gamble.
I’d steer clear of no-name kits. They look like a bargain with 20 tips in the box, but the tool itself is usually the weak link.
Truart and Walnut Hollow are 2 brands worth a look. Buy one decent pen with a couple of tips rather than a huge set of mediocre ones.
A heat-resistant stand is worth having, and many pens include one. Check for it before you buy.






