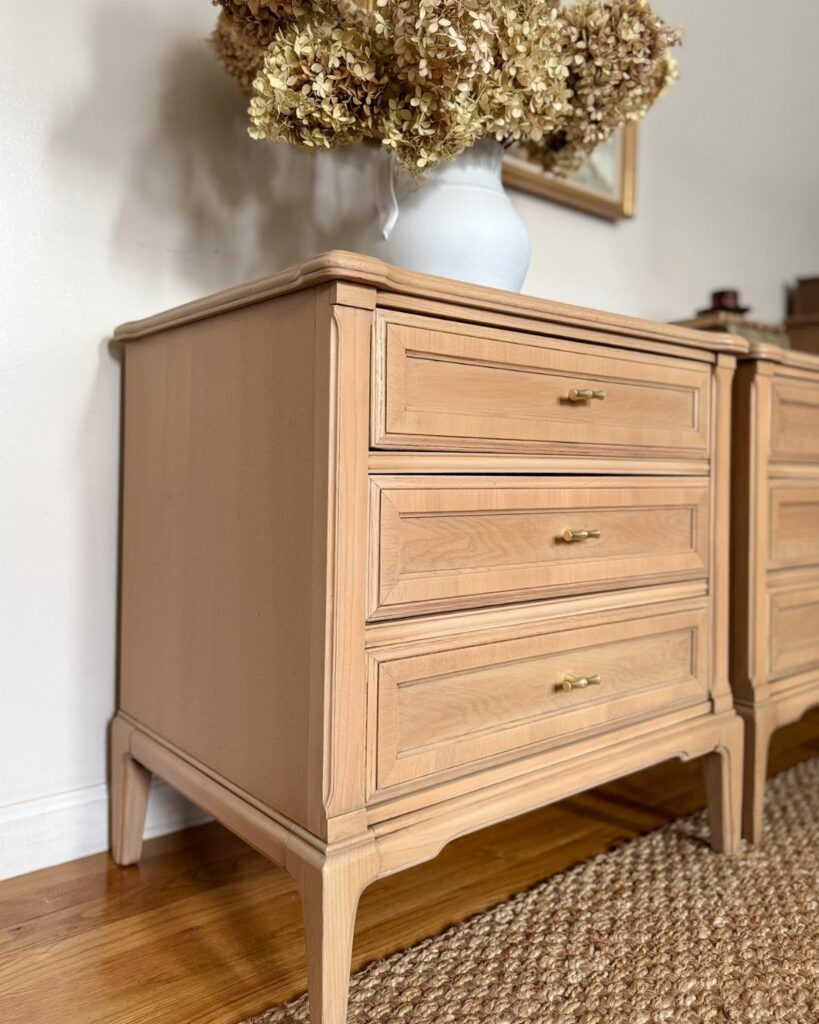
Removing the old finish is the step that changes most from piece to piece: a thick, stubborn coat needs a chemical stripper, while a thin or worn one can go straight to sanding.
The list runs from staining through cleaning off grease and wax and removing the old finish to applying the topcoat, and it ends with notes on choosing products, staying safe and what the job costs.
Grime blocks stain, so cleaning always comes first, no matter which route your piece takes.
1. Stain the Furniture
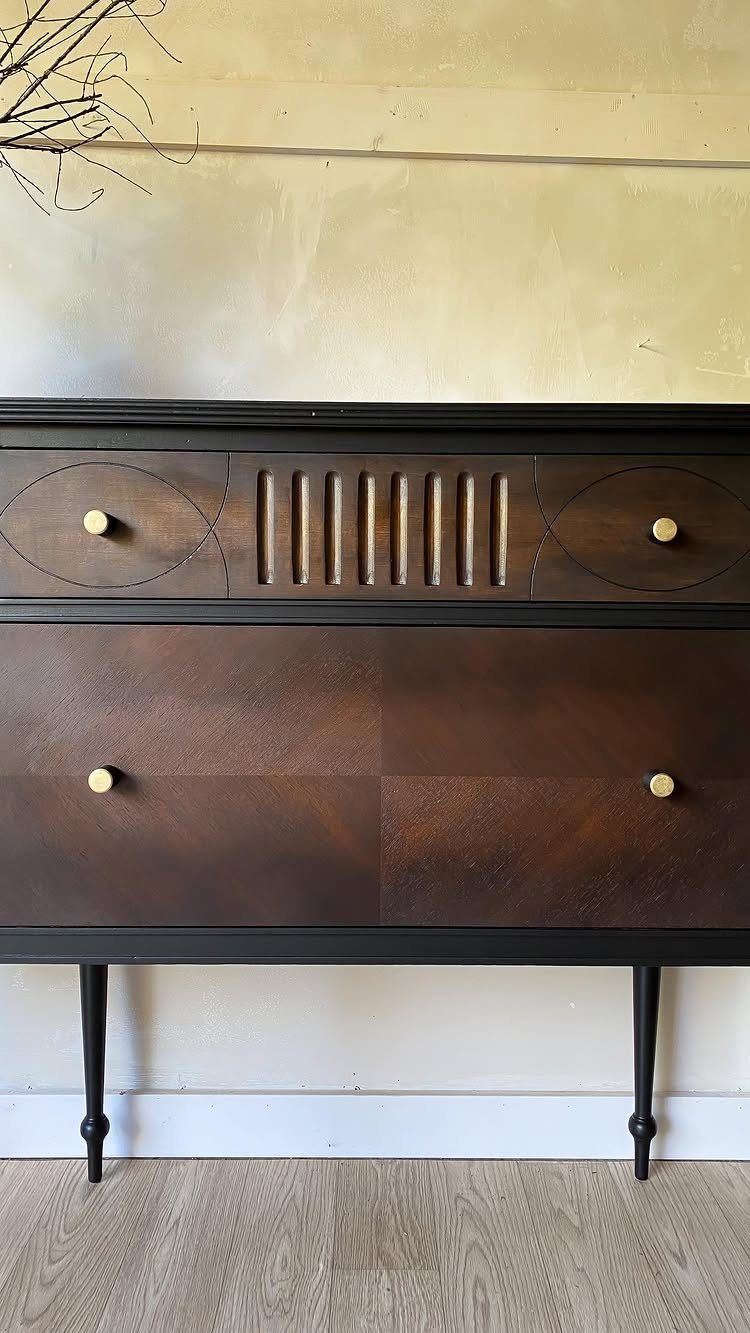
Dark stain deepens the grain instead of hiding it, which is why I reach for it on pieces with good wood and plain lines, like a sideboard with simple legs.
Wipe it on with a rag, work along the grain, and take off the excess before it dries.
Test the color on a hidden spot first, such as the back or the underside.
Wood takes stain unevenly, and a shade that looks right on the can can turn out darker on your piece. A second coat deepens it, so go slowly.
2. Clean the Furniture
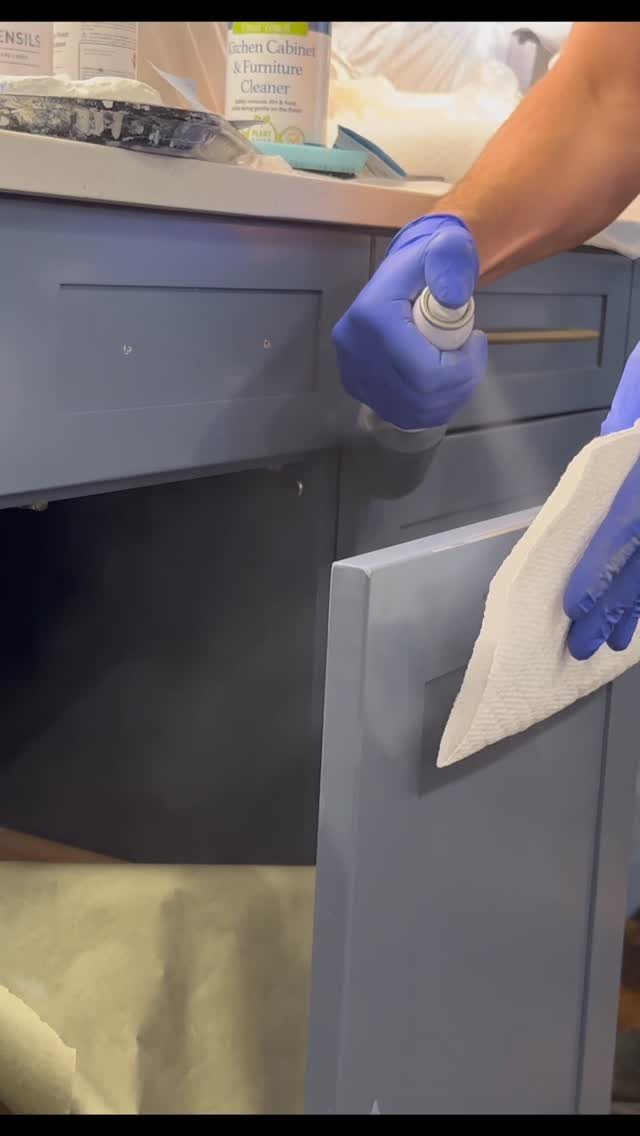
Grease and wax buildup will block stain and finish, so cleaning comes before any sanding. A spray cleaner made for kitchen cabinets and furniture handles most of it, and I wear gloves because the residue is grimy.
Spray a section, wipe it down with a paper towel or cloth, and keep going until the towel comes away clean. Check the corners, edges and around the hardware, since that is where grime hides.
Let the piece dry fully before moving on.
3. Remove the Old Finish
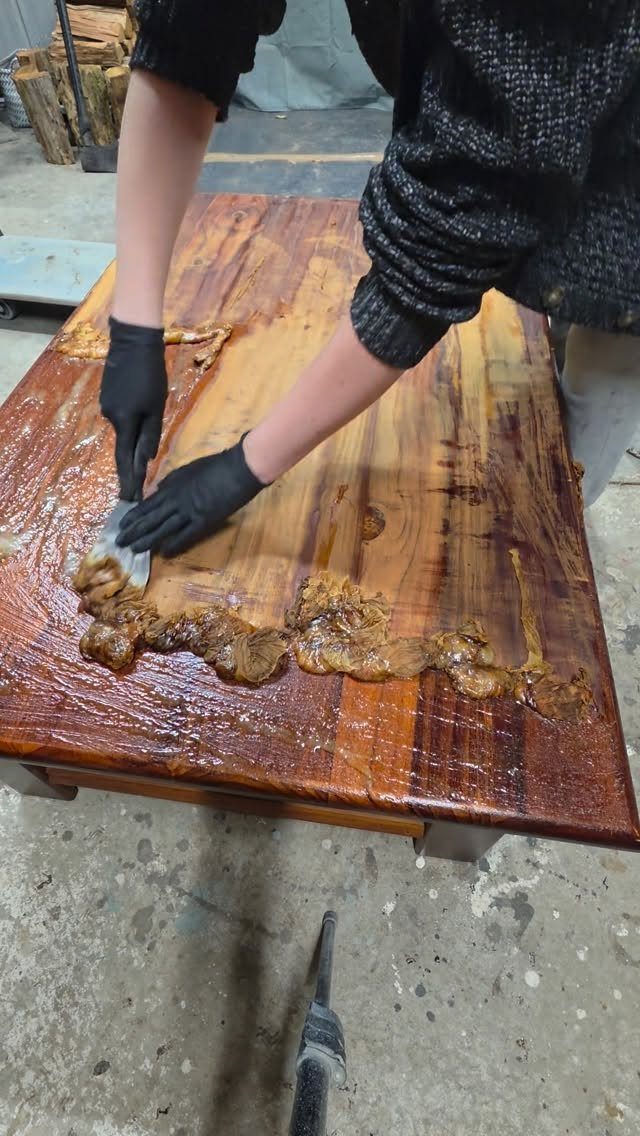
Chemical stripper is my pick for a thick, stubborn finish, because it lifts the old coat without gouging the wood the way aggressive sanding can.
Brush on a heavy layer, let it soften the finish, then push a scraper along the grain to lift the sludge off.
Wear chemical-resistant gloves and work somewhere with plenty of airflow.
Sanding is the quicker route for a thin or worn finish, and it also smooths the surface afterward. For a piece with many coats, I strip first and sand second.
4. Apply the Finish
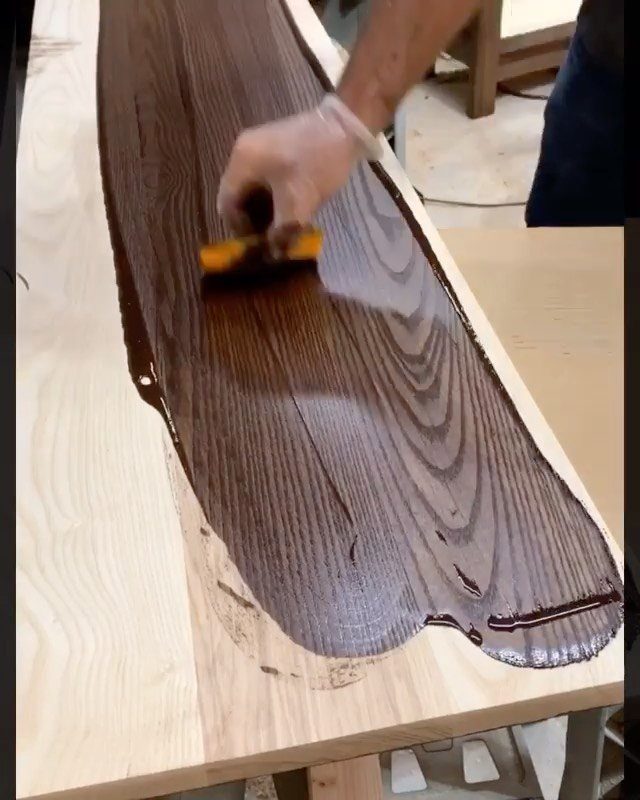
A protective topcoat is what keeps all the earlier work from wearing away, so I never skip it.
A foam sponge applicator lays down a thin, even coat and leaves fewer brush marks than a bristle brush, which makes it my pick for wipe-on polyurethane, stain, and varnish on flat tabletops and drawer fronts.
Wear a glove, keep the strokes going with the grain, and thin coats beat one heavy coat every time.
Let each coat dry before adding the next. A glossy finish shows every flaw, so sand lightly between coats if you want a smooth result.
Choosing Stains and Finishes
Water-based stains give off fewer fumes, so they suit a garage with the door cracked or a spare room with a window. They also clean up with soap and water, which keeps the afternoon moving.
Gel stains are thicker and sit on the surface instead of running, so they are easier to control on upright parts like legs and sides. I pick gel when I want a forgiving first coat.
Pair either one with a clear topcoat.
Many finishes can be tinted and come in flat, low luster, or high gloss, so decide on the sheen before you buy. Flat hides small flaws, and high gloss shows them.
A face mask is worth wearing while you sand, and a sander with a dust pouch keeps most of the mess out of the air.
Safety Precautions
Gloves protect your skin when you handle stain, and they keep dark pigment off your hands for days. Choose a pair that fits snugly so you can still feel the rag and the brush.
Chemical strippers need real airflow. Open a door and a window, or work outside, and take breaks if you smell fumes.
Wear a face mask while sanding, since the dust is fine and lingers.
Stain-soaked rags should never be balled up and tossed in the trash. Spread them flat outdoors to dry, away from anything that could catch fire, then throw them away.
Cost Considerations
Refinishing can be easy on the budget, but the total depends on what goes in the cart.
A small piece with a simple stain and clear coat costs far less than a dresser that needs stripper, several coats, and new hardware.
Spend where it shows. A good paintbrush is worth paying for, since cheap ones shed bristles and leave streaks.
Cheap paint is usually not a bargain either. It tends to need more coats, so the savings vanish and you add labor.
Before you shop, list each step the piece needs: cleaning, stripping or sanding, color, and topcoat. Buy only for those steps.
Frequently Asked Questions
What tools do I need to refinish furniture?
Most projects need sandpaper, a paintbrush or foam applicator, rags, a grease remover or cleaner, and gloves.
If the piece has a stained or painted finish, add a tack cloth for dust, and a scraper plus chemical stripper for thick, stubborn coats.
Fix any damage first with glue, clamps or filler, and wear a face mask while you sand.
Do you have to sand furniture before painting?
Yes, sanding is usually part of the prep, because paint and finish grip a scuffed surface better than a slick one.
Clean off grease and wax first, since buildup blocks finish no matter how well you sand. Use coarse paper, around 120 grit, to take off the old coat, and wipe away the dust before you paint.
How do I stain wood without sanding?
Gel stain is the easiest route, since it is thick and sits on the surface instead of soaking in or running. A product like Restor-A-Finish can also refresh an old finish without stripping it.
Scrub off the grime first, then try the color somewhere nobody will see, like the underside of a tabletop, since 2 boards of the same wood can soak up stain very differently.






