The projects here run from a simple carved spoon to a fairy house, with waves, holiday pieces and carving in the round in between, and the wood you can get your hands on decides which one to start with.
A basswood block suits the spoon and the round carving, while a crooked door and lopsided roof on the fairy house don’t need a perfect board, only fallen materials from the yard.
Skip pine for anything you plan to cut with a knife.
1. Spoon Carving
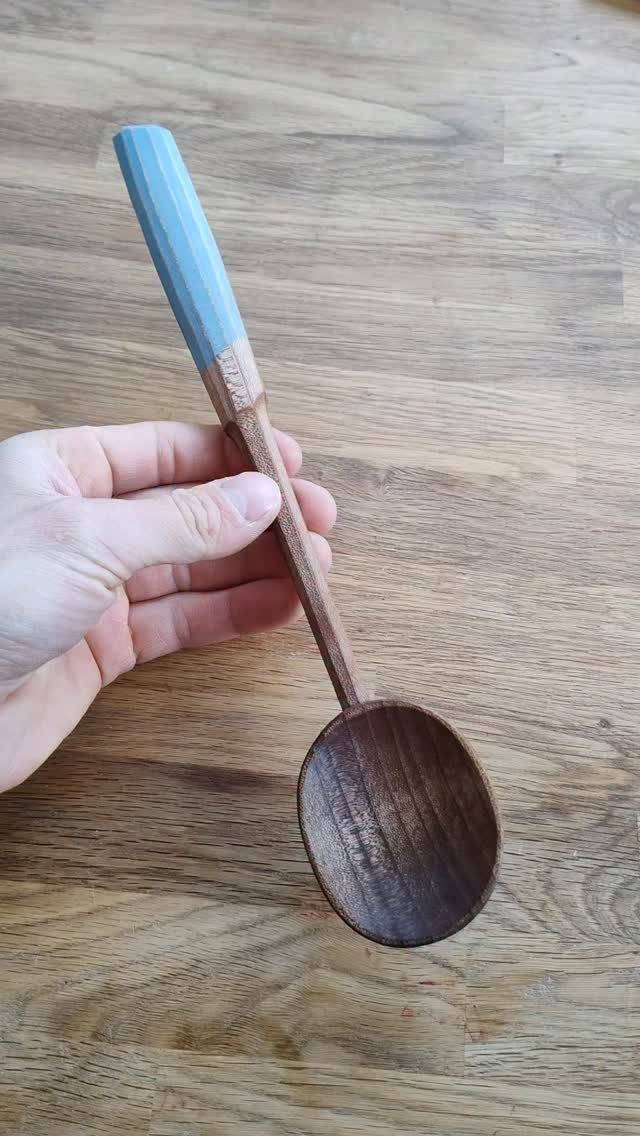
A spoon is the gentlest way into carving, because one small piece of wood and a knife get you a finished, useful object.
Faceted cuts hide wobbly knife work, so a first spoon can look intentional even when the curves aren’t perfect.
Cherry is a good wood to start with: it cuts cleanly, holds fine detail, and darkens to a warm reddish brown as it ages. Milk paint on the handle adds color without covering the grain in the bowl.
Skip symmetry on your first try. An asymmetrical spoon forgives mistakes.
2. Carving in the Round
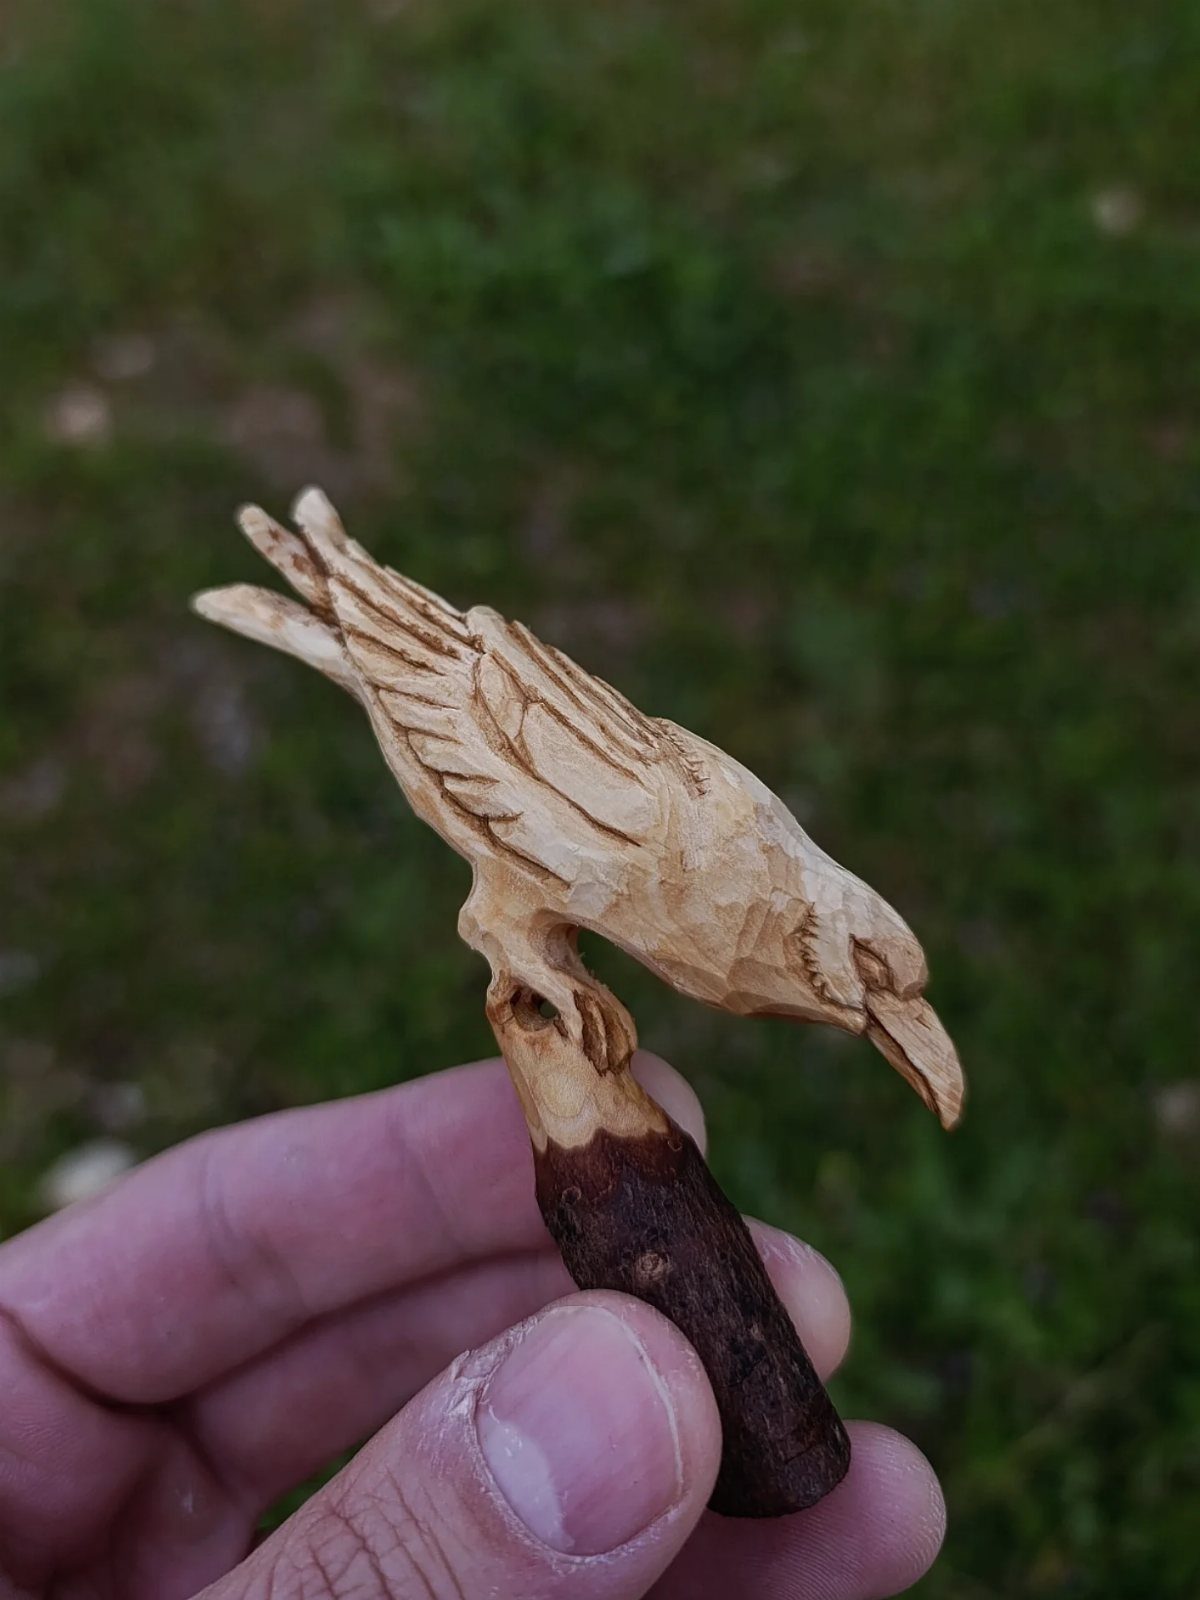
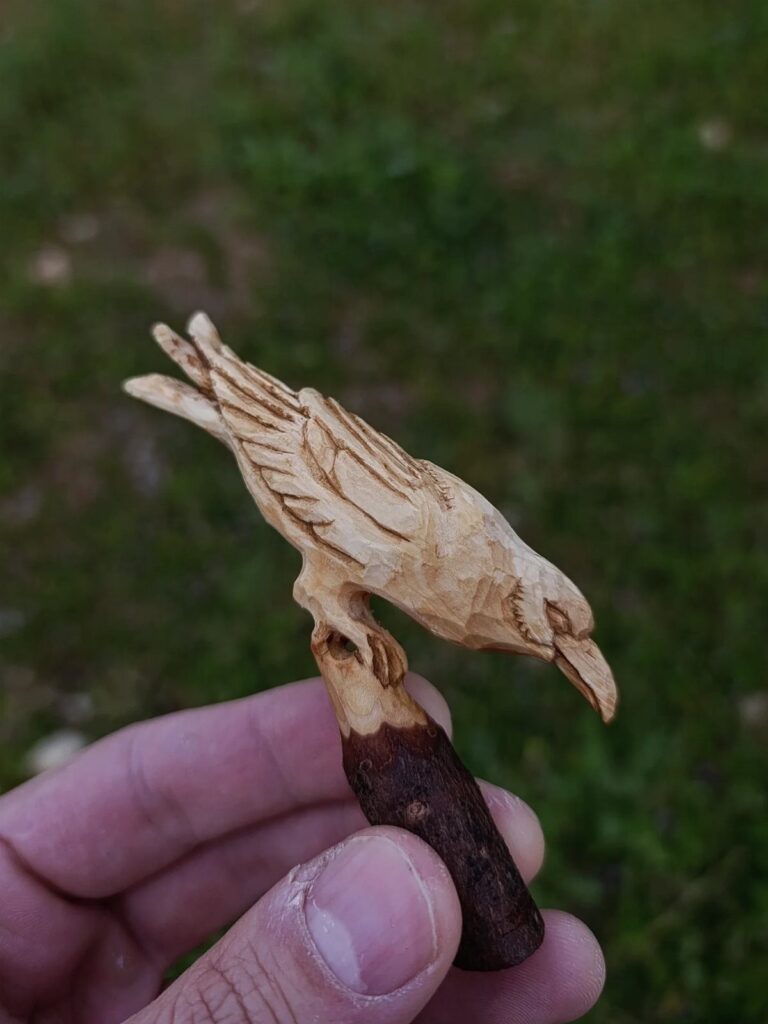
Carving in the round means the piece is finished from every side, so a bird on a branch has to work from the front, back and top.
That makes it harder than relief work, though a small bird is still a fair project.
Start with a block small enough to hold in one hand.
Draw the outline on 2 faces, remove the waste wood outside the lines, then round the body gradually. Take off less than you think you should, since wood won’t go back on.
3. DIY Viral Wood Carving Waves
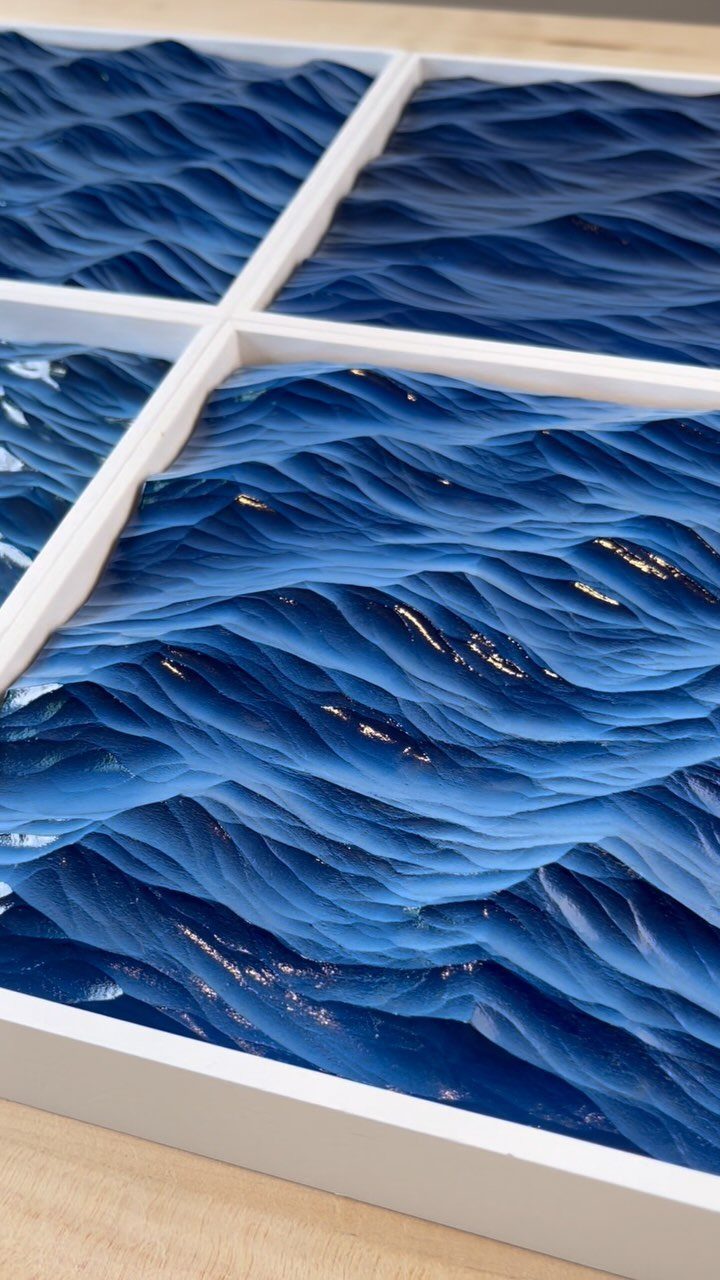
Waves make a good first relief carving because the shapes are simple: curved ridges and troughs repeated across a flat panel. Mistakes disappear into the flow of the water.
Dividing the panel into sections with a white frame keeps each one a small job you can finish in an afternoon. Cut the ridges first, then smooth the troughs between them.
Painting the finished carving in shades of blue is what makes the water read as water, so I’d save the color for last.
4. Festive Holiday Wood Carving Projects
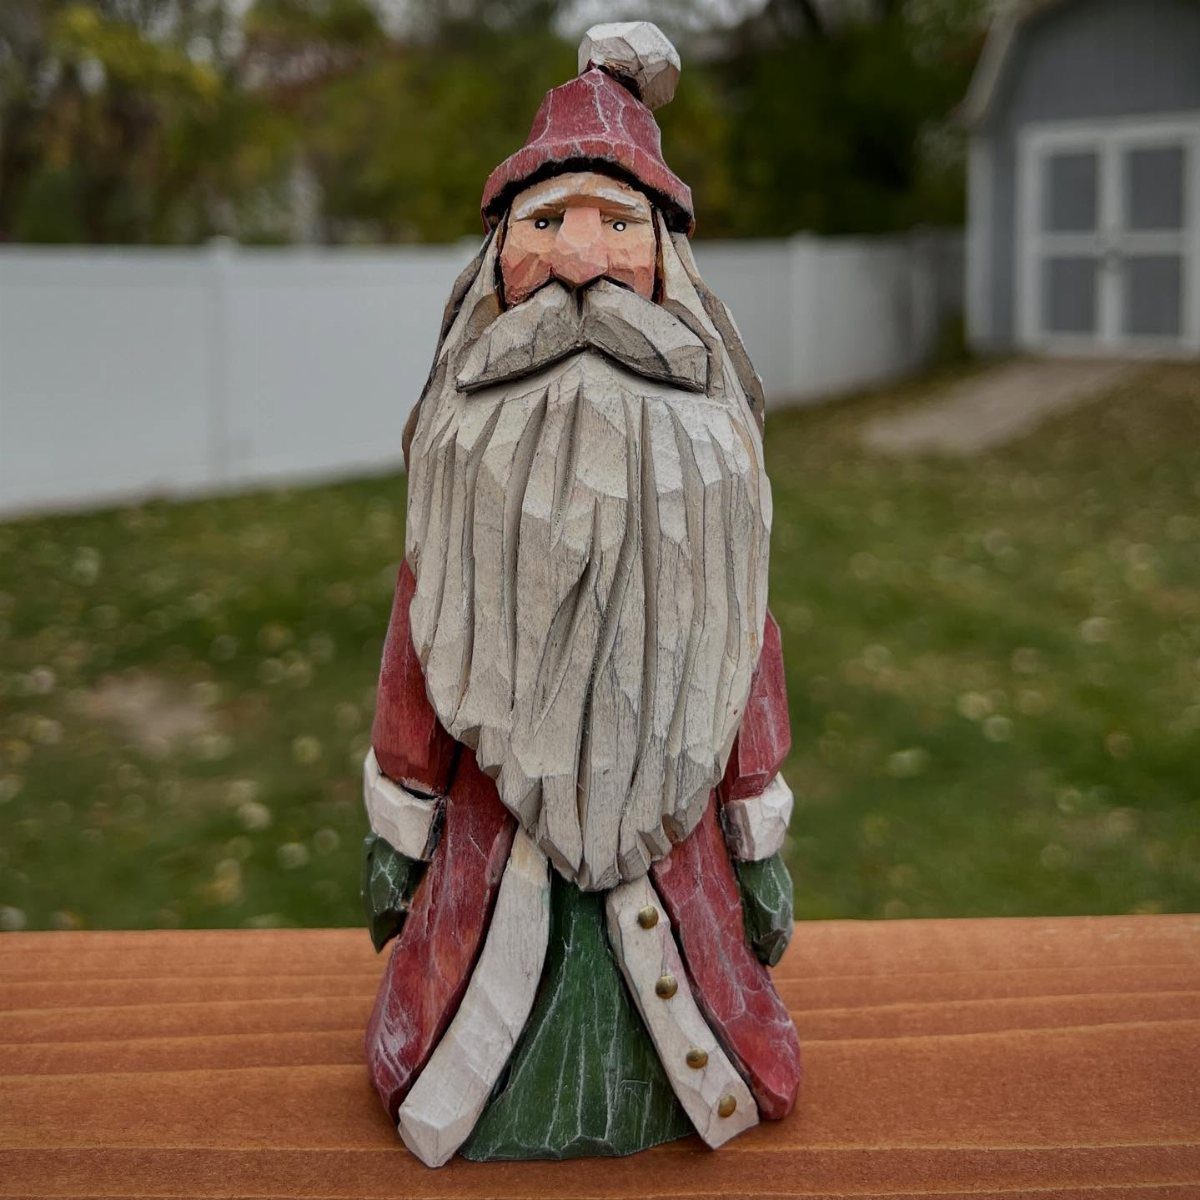
Holiday figures give a beginner a good reason to practice: a Santa or gnome is mostly a tall body, a hat and a beard. Those shapes are forgiving, and nobody expects a gnome’s face to be realistic.
Carve the beard with long, simple cuts, and leave the hat and clothing for paint. Red and white do most of the work.
A small figure like this is quick enough to start in November and still finish before the holiday.
5. Fairy House Wood Carving Project
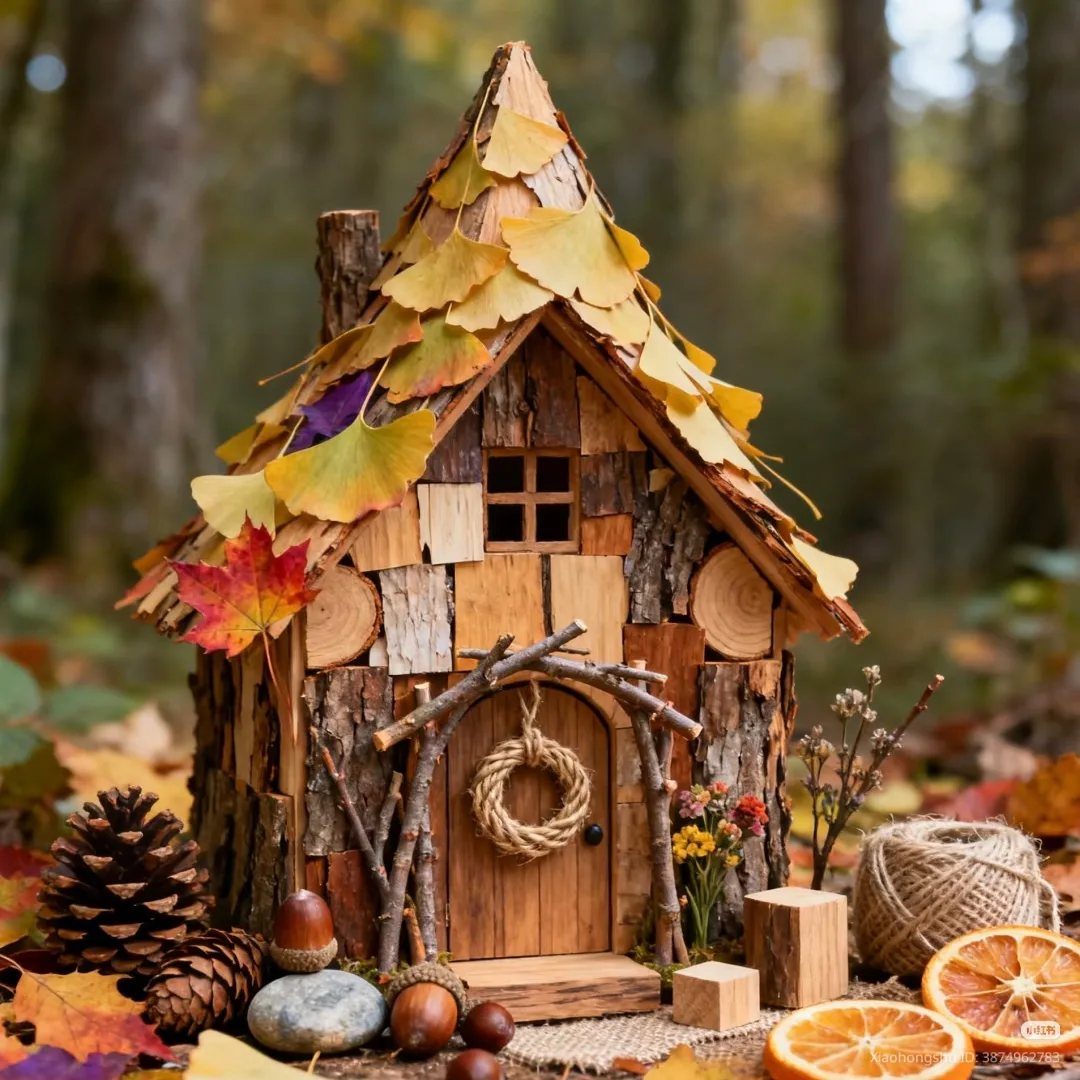
A fairy house is forgiving, since a crooked door or a lopsided roof only adds to its charm, and that makes it a good first carving for beginners.
Bark, small wood pieces and fallen leaves all work, so there’s no strict plan to follow.
Use carving for the door and windows, and let natural materials handle the roof. Rope makes a quick wreath, and acorns, pinecones and dried orange slices fill out the scene around it.
It looks best outdoors, tucked among the same materials you built it from.
Choosing Wood for Carving
Wood choice decides how much of a carving session is pleasure and how much is fighting the blade. Look for dense, straight-grained boards with no knots, because a knot turns a smooth cut into a snag.
Basswood is the one I’d buy first: it’s soft and has a uniform structure, so the knife moves the same way in every direction.
Lime is also popular for detailed work. Butternut and cherry both fit the dense, straight-grained description too.
Wood that’s hard to cut and likely to split will fight you the whole way, and a crack that opens midway through a piece can’t be rescued by cleaner knife work.
Maintaining Carving Tools
A dull blade is the most common reason a carving goes wrong, so sharpening is part of the routine, not a rescue job.
A sharpening stone or a strop loaded with honing compound will keep the edge keen, and I touch up the blade on a schedule instead of waiting for the wood to start tearing.
Different tools need different sharpeners. A flat knife edge and a curved gouge don’t share a stone shape, so match the sharpener to the tool.
When I’m done carving for the day, a quick wipe with a cloth and a thin coat of oil on the steel keeps rust from setting in.
Then store the tools somewhere safe, where edges can’t knock against each other or anything else.
Safety Tips for Beginners
Always cut away from your body. If the blade slips, it should travel into open air, not into your thumb or thigh.
A stable work surface matters just as much. A piece that slides while you cut sends the knife where you didn’t plan, so clamp it down or brace it firmly.
Wear protective gear: a cut-resistant glove on the hand that holds the wood is the obvious choice. Sharp tools are also safer than dull ones, since they need less force and are less likely to skid.
Frequently Asked Questions
What is the easiest thing to carve from wood?
A spoon is the easiest place to begin.
A spoon, a small spreader or a simple butter knife blank can come out of one piece of basswood in an afternoon, and flat, angular facets look intentional even when the knife wanders.
Skip symmetry on the first one, since a lopsided spoon forgives mistakes.
What is the best way to start wood carving as a beginner?
Start with a simple project like spoon carving or whittling, using a sharp knife and a soft, straight-grained wood such as basswood.
Brace the wood against a bench or clamp it down, and point every stroke away from your body, never toward your hand or thigh. Small, forgiving shapes let you learn the knife without ruining a big investment of time.
What do you soak wood in before carving?
Water is what people soak wood in, because it softens the fibers and makes cutting easier. Soaking won’t fix a poor choice of wood, though.






