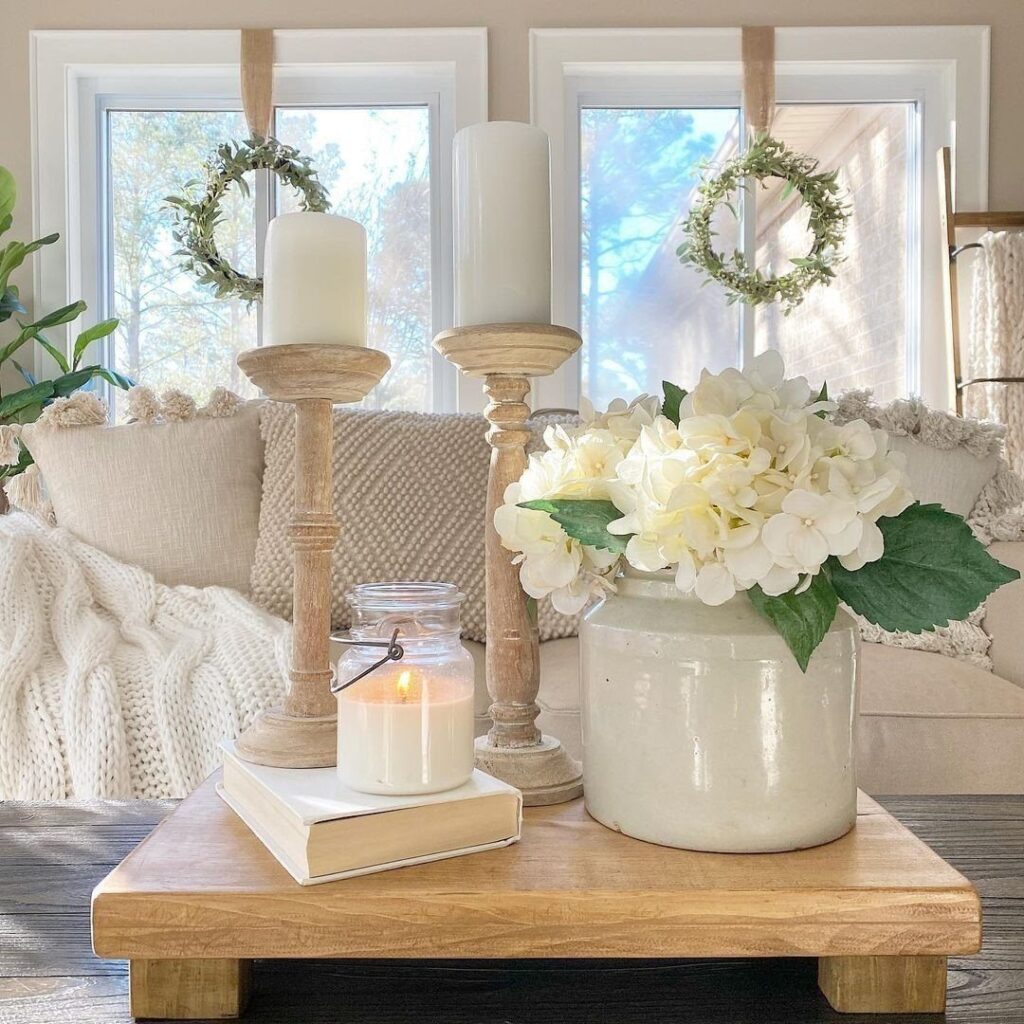
What you set on top decides the build: the Riser for Plants wants a sealed top, the Riser for Kitchen Decor wants a platform sized to your jars, and the Dark Square Pedestal Riser suits a single vase or branch.
The 6 builds run from the DIY Scrap Wood Riser to hand painted detail and turned legs, and the cheapest place to start is the offcuts already in your garage.
A set of 4 store-bought turned legs, or 4 ball knobs at 1-1/2″, keeps the Riser with Turned Legs to an afternoon with tools you likely own.
1. DIY Scrap Wood Riser
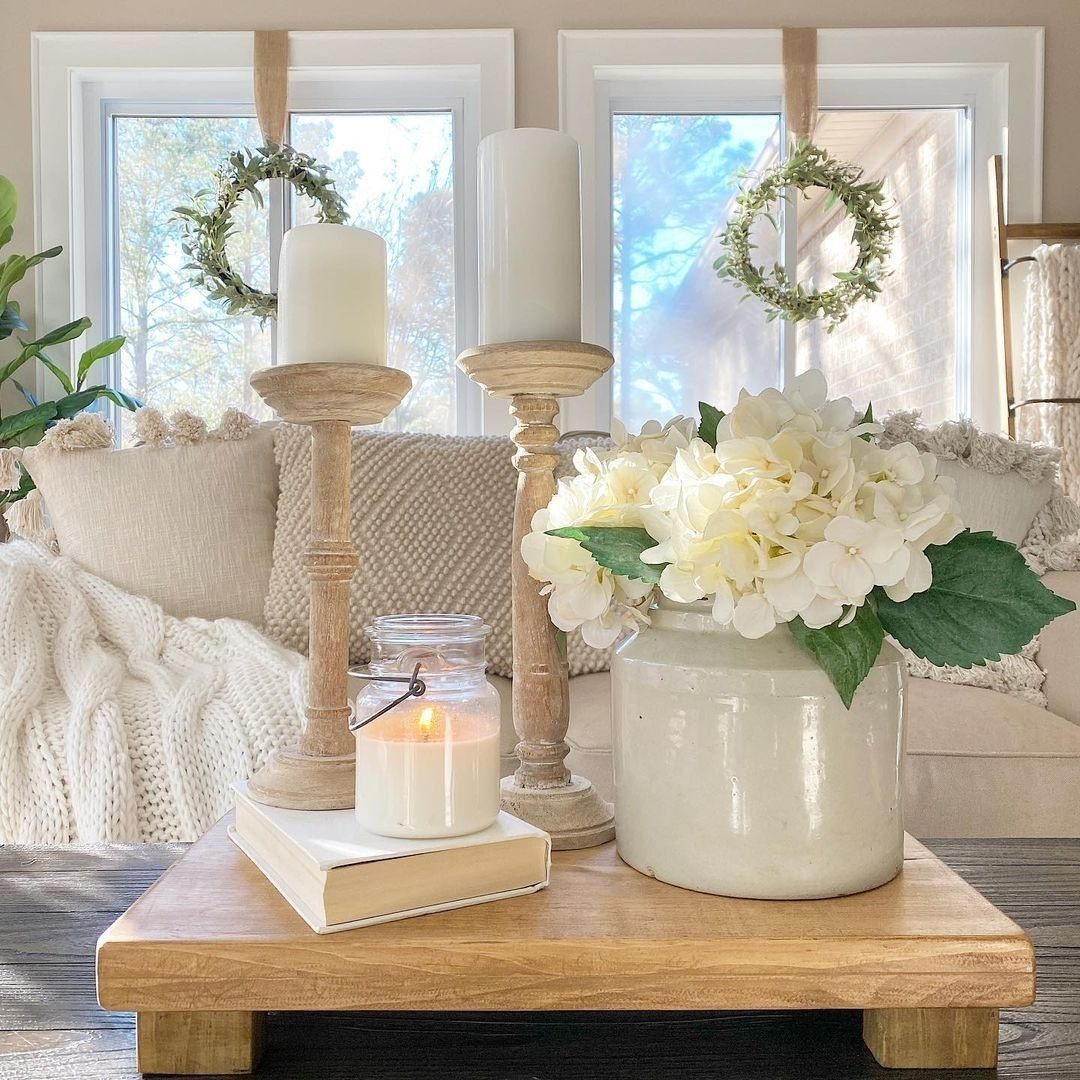
Scrap wood suits a riser better than almost any other project, because a riser only needs a flat top and something steady underneath.
Offcuts from old shelves, pallet boards or leftover project lumber all work, and the cost is close to nothing.
Glue and clamp a few boards edge to edge for the top, then add short blocks or strips underneath as feet. A light finish keeps it simple, so the wood grain stays quiet beside candles and a vase of flowers.
Sand every face before assembly; it’s much easier on loose pieces than on a finished riser.
2. Wood Riser with Hand Painted Detail
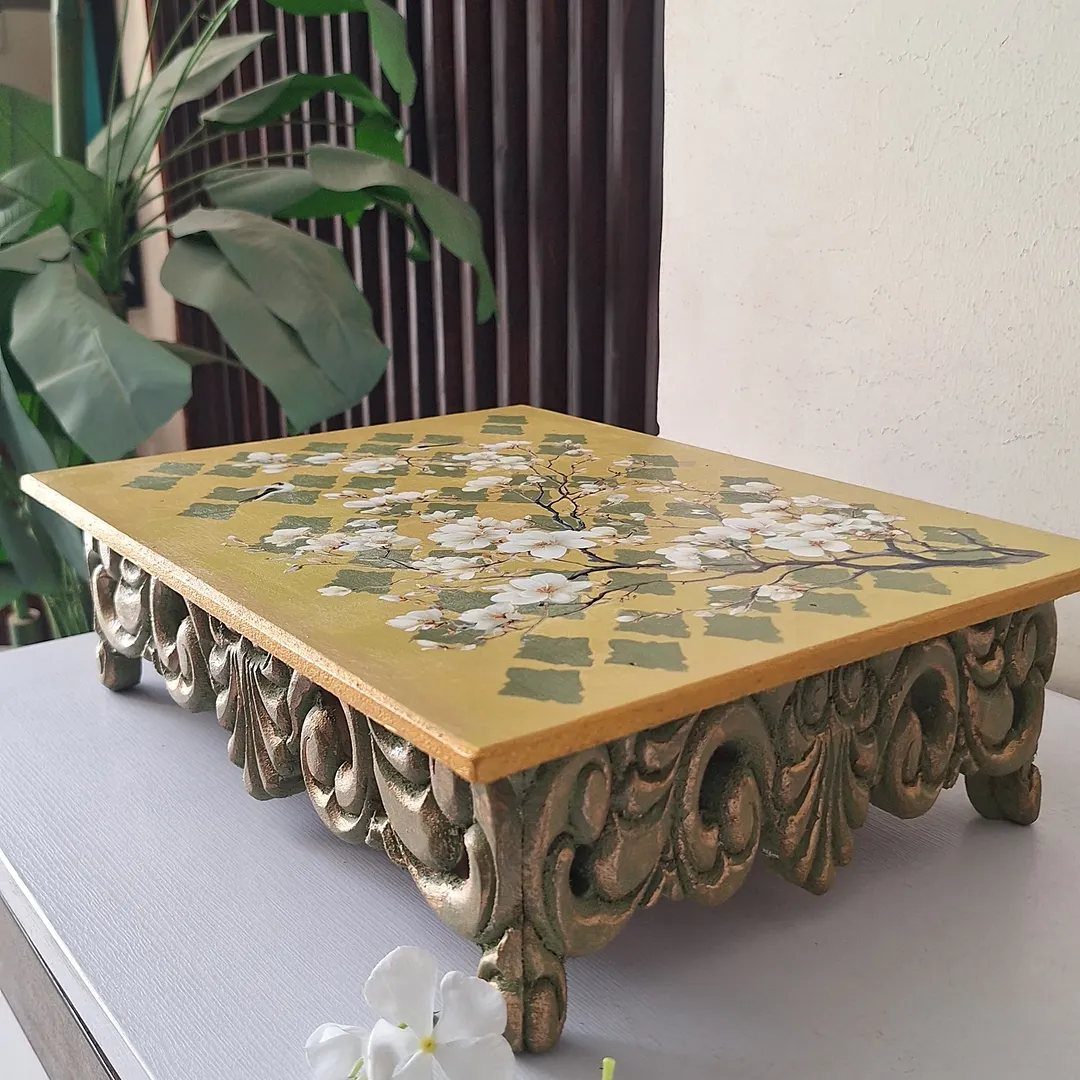
Paint is what turns a plain riser into a keepsake.
Sand the top smooth first, then brush on a solid base coat and let it dry fully before adding any design.
Pencil the flowers lightly, then paint them with a small round brush. Simple five-petal blossoms are far easier than detailed ones.
If your risers come from scrap or thrift finds, paint is also a cheap way to hide mismatched wood. A gold base looks lovely against the painted top, though a plain coat works too.
3. Riser for Plants
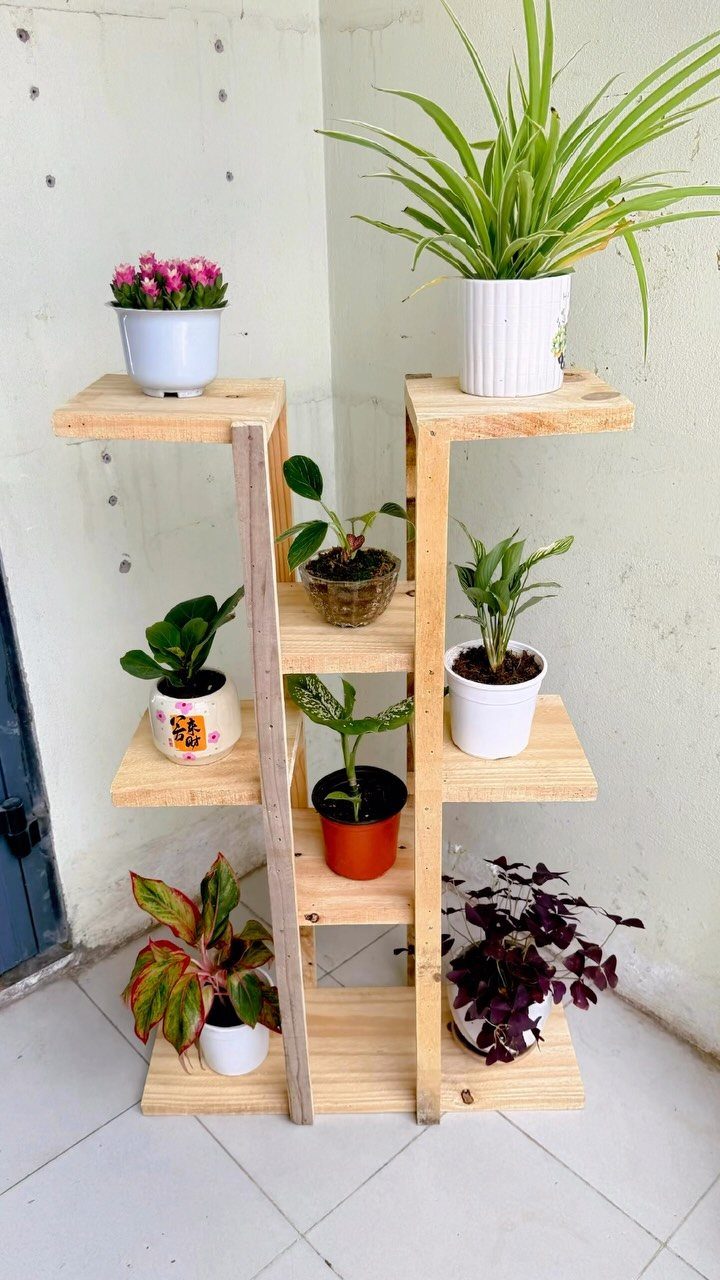
Plants look better at different heights, and a tiered wooden riser gives that without crowding a surface. Stepped levels let each pot get its own space, so trailing and upright plants don’t hide one another.
Build the tiers from scrap boards cut in graduated lengths, with the tallest at the back. A light wood tone keeps attention on the greens and purples, so plants stay the focus of the display.
Set a saucer under each pot. Unfinished wood and drips don’t mix, so seal the surface with a clear coat before the first watering.
4. Riser for Kitchen Decor
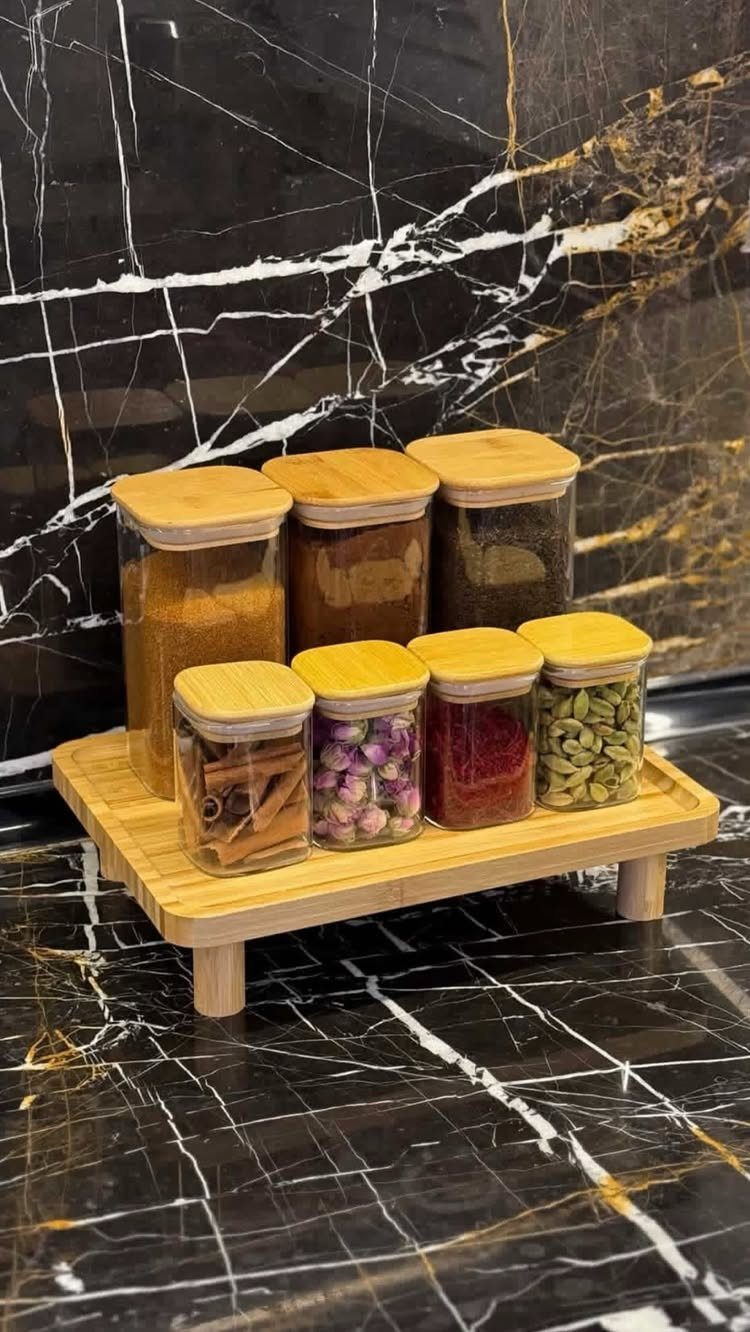
Spice jars crowd a counter fast, and a small riser fixes that by lifting the back row so every label stays in view. Bamboo is a nice match for jars with bamboo lids, and it looks sharp against dark marble.
Size the riser to your jars: measure the footprint of the group, then add a little margin on each side. A low platform keeps things tidy, while a stepped one suits two rows.
Wipe it clean often, since kitchens mean splatters. A coat of food-safe finish makes that easier.
5. Riser with Turned Legs
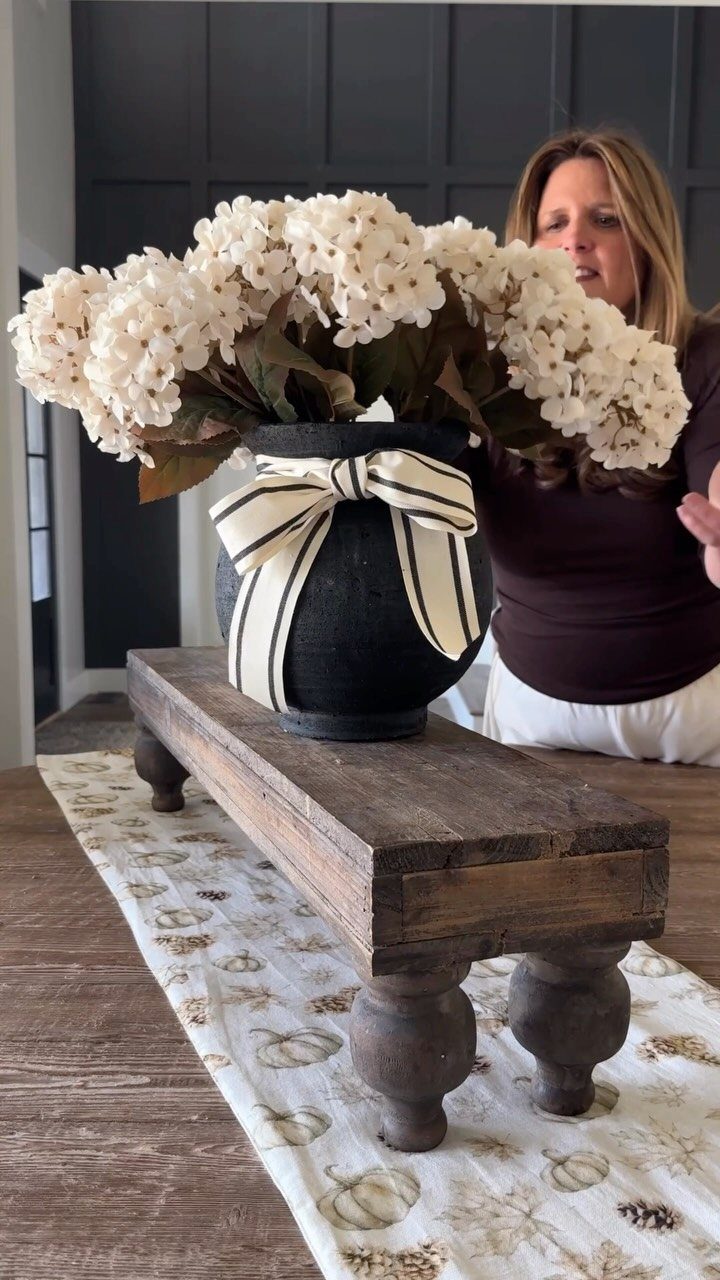
Turned legs give a riser its character. Rounded, tapered legs like these come from a lathe, and with a rustic stain they give a pedestal an heirloom look that suits a dark vase of white flowers.
No lathe?
Buy ready-made turned legs, often sold as furniture or table legs, and attach them to a plain top. That makes the project an afternoon job with basic tools.
I’d pick a stain that lets the grain show, then finish with a wipe-on clear coat. Dark vases look best against a medium tone.
6. Dark Square Pedestal Riser
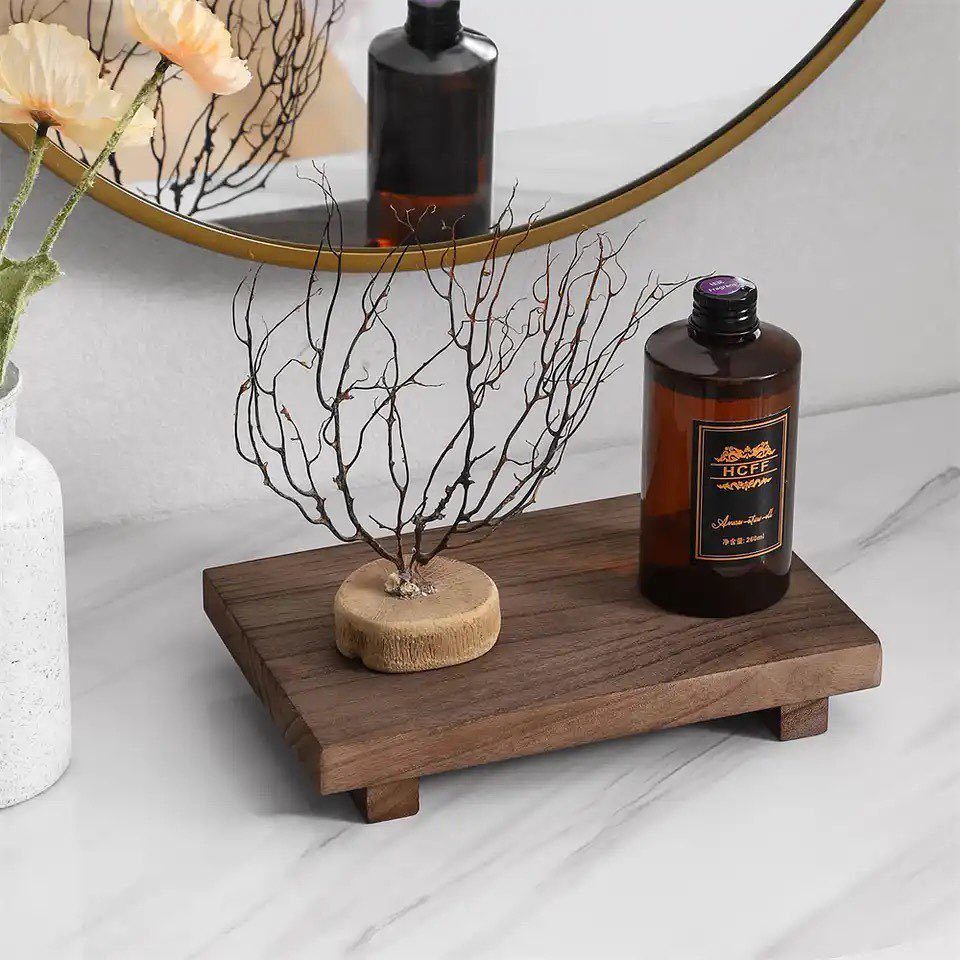
Plain geometry carries this riser: a square top on block feet, stained dark brown. Nothing is carved or turned, so it’s about the easiest riser here to build.
Cut one square for the top and a set of identical blocks for the feet, then glue and screw them on from below. Equal block heights matter most; uneven feet make it wobble.
Dark stain suits a small display like a single branch and a bottle, and it stands out against pale marble. The trade-off: dark finishes show dust, so keep a cloth handy.
Materials Needed
Most risers come down to a short shopping list: wood boards for the top, something for feet, glue, and a finish. Wood glue is the one to buy for joints, and craft glue is fine for small decorative parts.
For feet, 1-1/2″ ball wood knobs are a simple option. Wood plaques in 9×12 and 11×14 make ready-cut tops if you’d rather skip sawing.
Paint, craft brushes and a spray clear coat cover the finish. Painter’s tape is optional, but it gives clean edges on two-tone designs.
Customization Options
Feet are the easiest place to change a riser. Height is easy to change: 1x2s in place of 2x2s give a lower riser, and longer 2x2s cut to length and set upright give a taller one.
Plain boards aren’t the only option for the supports, since wooden balls, furniture feet, dowel lengths and even drawer knobs can hold a riser up just as well.
A cut-out handle on one end of the top adds character. A 1×8 board gives enough width for this.
Size the riser to the spot it will sit in, whether that’s a kitchen island, a shelf or a bathroom counter.
Tools Required
A miter saw does the main work, giving square, repeatable cuts for the top and for feet that must match in height. Set a stop block so every foot comes out the same length.
Clamps hold glued parts while they dry, so have at least 2 on hand. A jig saw is optional, and it’s only needed for curves or a handle shape.
A brad nailer is also optional. It speeds up assembly, but glue and a little patience work fine without it.
Frequently Asked Questions
How do you make your own riser?
A riser is just a flat top and four matching feet: cut them from the same board, glue the feet under each corner, and clamp until the glue sets.
Sand all the pieces before assembly, then finish with stain, paint or a clear coat. One option is cutting cubes from a 2×2 for feet, since a 2×2 is 1-1/2″ square, and gluing them to a scrap 2×8 top.
What can I use instead of furniture risers?
Wooden blocks or a simple homemade riser do the job. A flat top on short feet gives you a stable platform for very little money, and scrap boards cover the cost.
Wooden balls, turned furniture feet, short dowels and even large drawer knobs can hold a piece off the surface just as well.






