Where the bench will sit decides which of these potting bench plans is yours: a spot near a water source can take the built-in sink, a greenhouse or covered porch lets a plain, unfinished table hold up, and an open yard calls for exterior paint or a metal top.
The builds run from a nearly free pallet bench to a roofed version that takes a full weekend, while a basic two-tier table fits in an afternoon.
Nearly all of them need only a drill, a saw and something to measure with.
1. Farmhouse Potting Bench
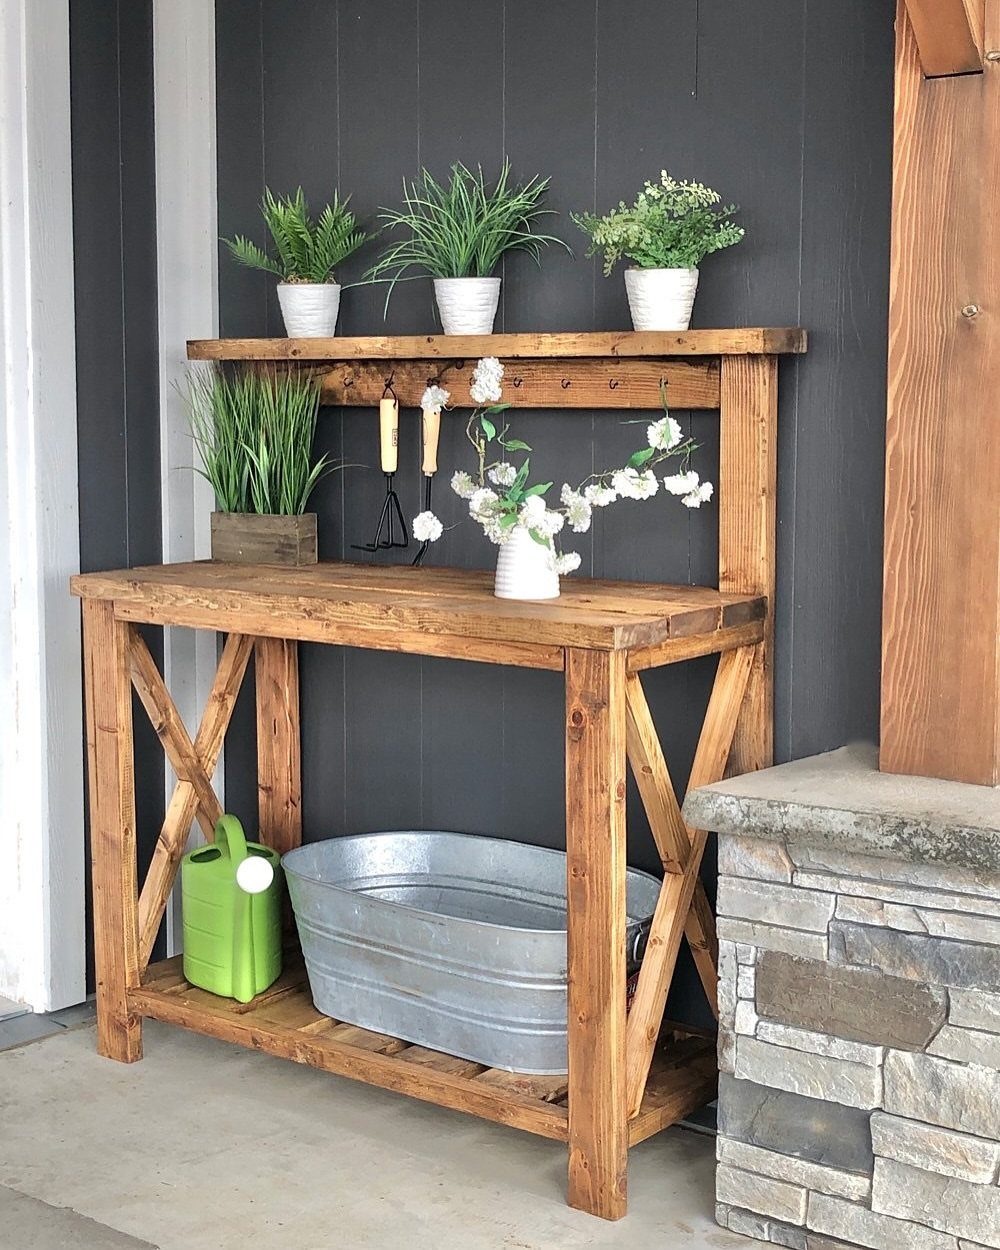
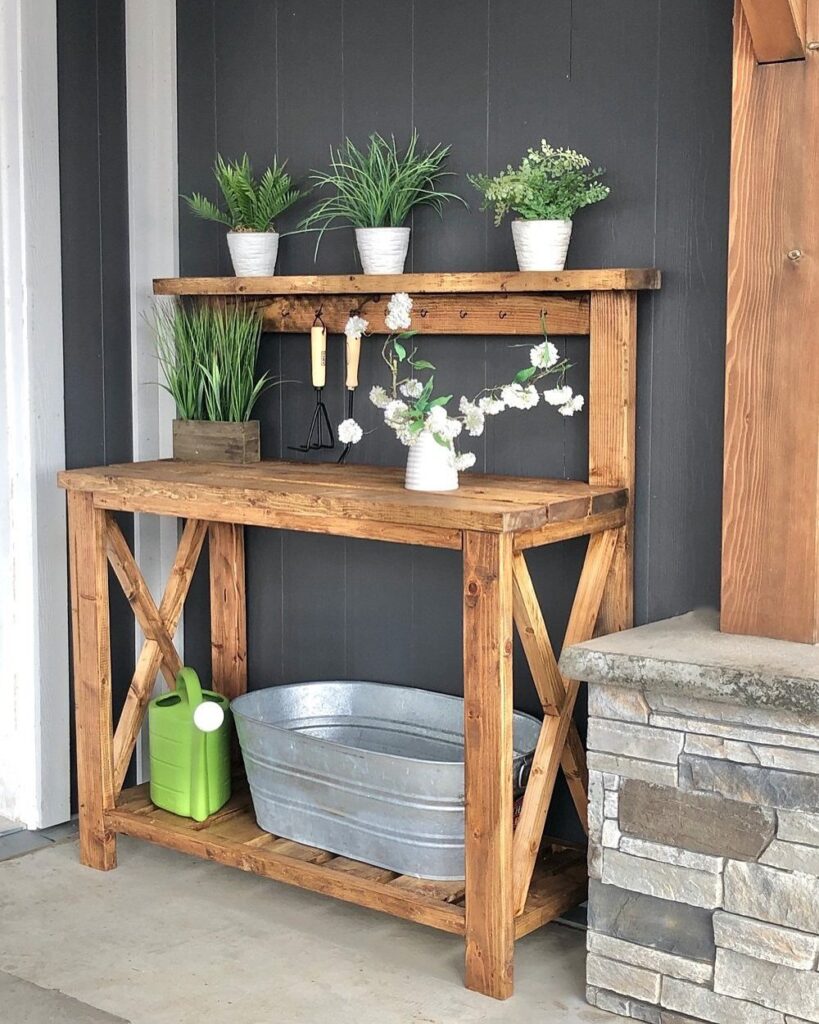
Slats on the bottom shelf are a small detail that does real work: dirt and water fall through instead of pooling, and you can sweep underneath.
For a first build, that shelf is also forgiving, since spacing the boards by eye still looks intentional.
The upper shelf with hooks is where I’d hang a hand trowel, pruners and a watering can, so the work surface stays clear.
A galvanized tub on the shelf holds loose soil or catches cuttings, and the zinc coating shrugs off splashes that would swell a wooden box.
2. Potting Bench with Hutch
Add a hutch and a plain bench gets a spot for every trowel, pot and seed packet.
Seed packets, small pots and hand tools sit above the work surface instead of crowding it, and a hutch is a simple add-on for a beginner with a saw and a drill.
Bags of soil and bigger pots fit on a shelf near the floor, where their weight sits low and steadies the frame.
A basin is optional. I’d build the frame first and decide on a sink after a week of using the bench.
Get your garden growing with this DIY gardening bench that’s perfect for potting plants and more.
3. Potting Bench with Sink
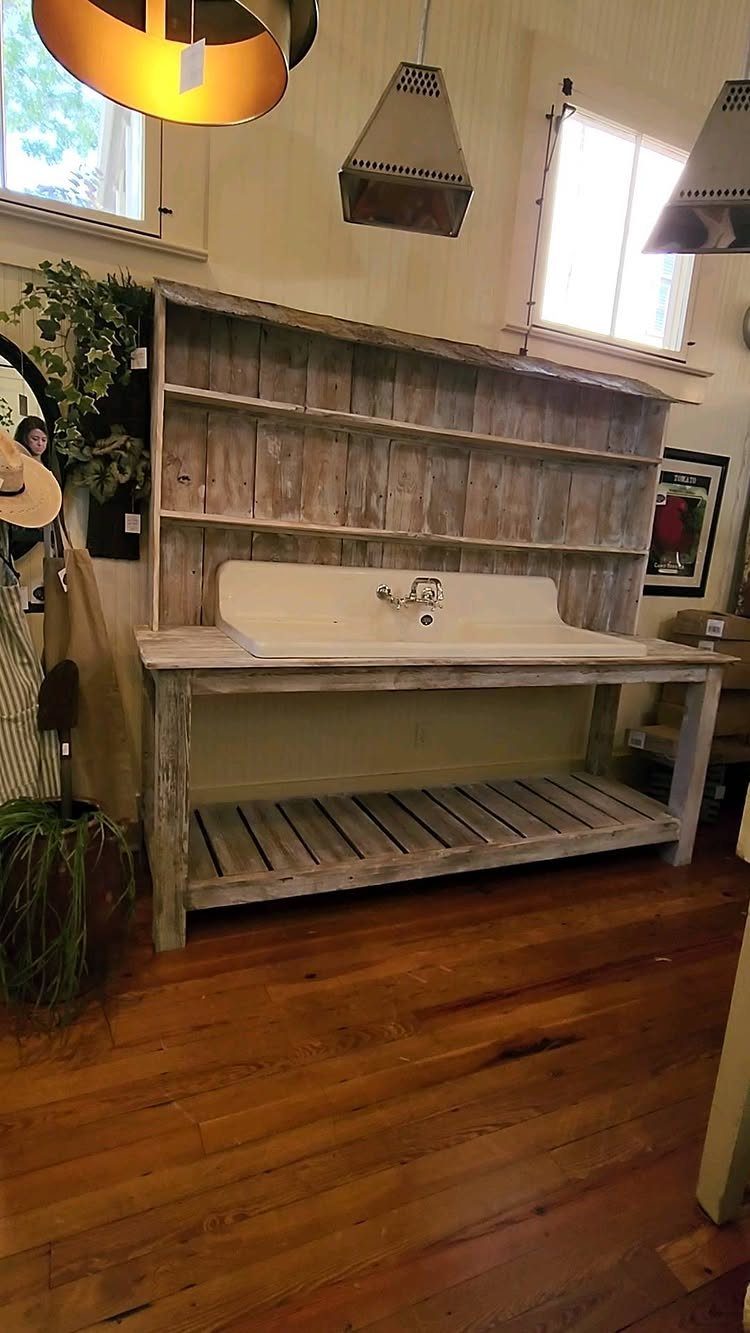
Rinsing pots, washing tools and filling a watering can all happen at the same spot when the bench has a built-in sink.
That saves the trips to the hose, and it’s the feature I’d pick if the bench lives somewhere with a water source nearby.
Cut the countertop opening to fit the sink you’ve chosen, and use the cutout dimensions that come with the sink, since the hole has to be smaller than the rim so the sink has something to rest on.
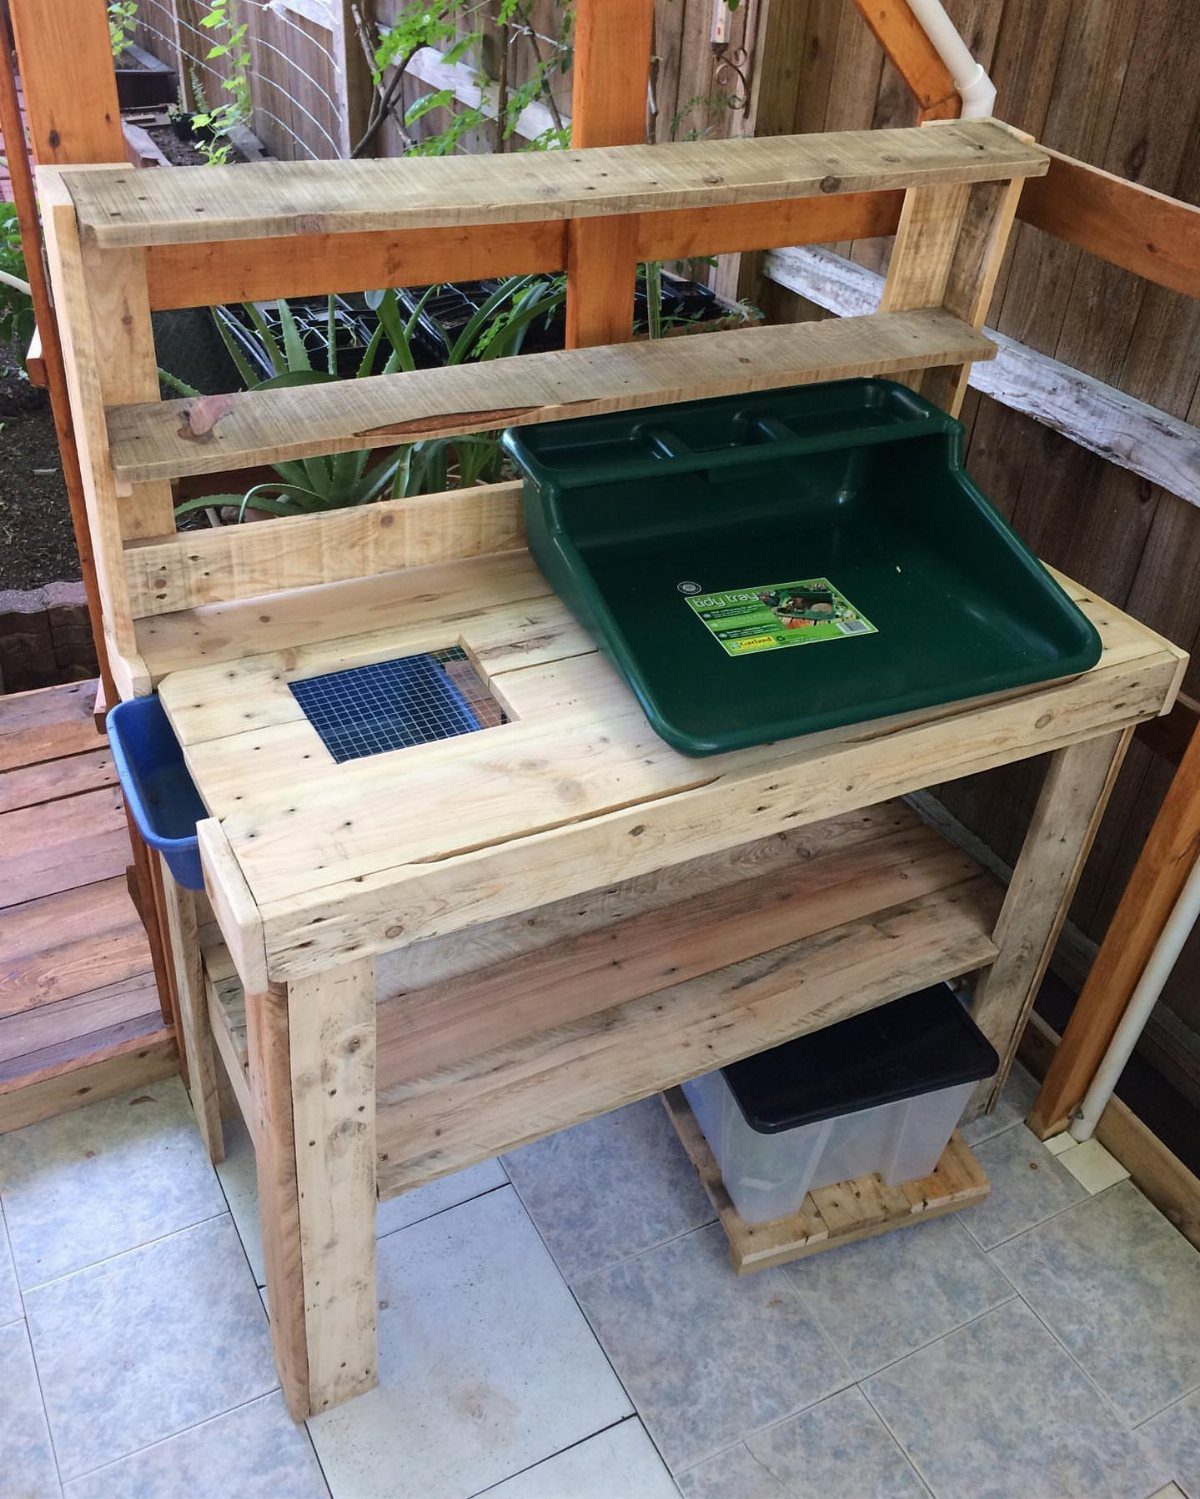
4. Pallet Potting Bench
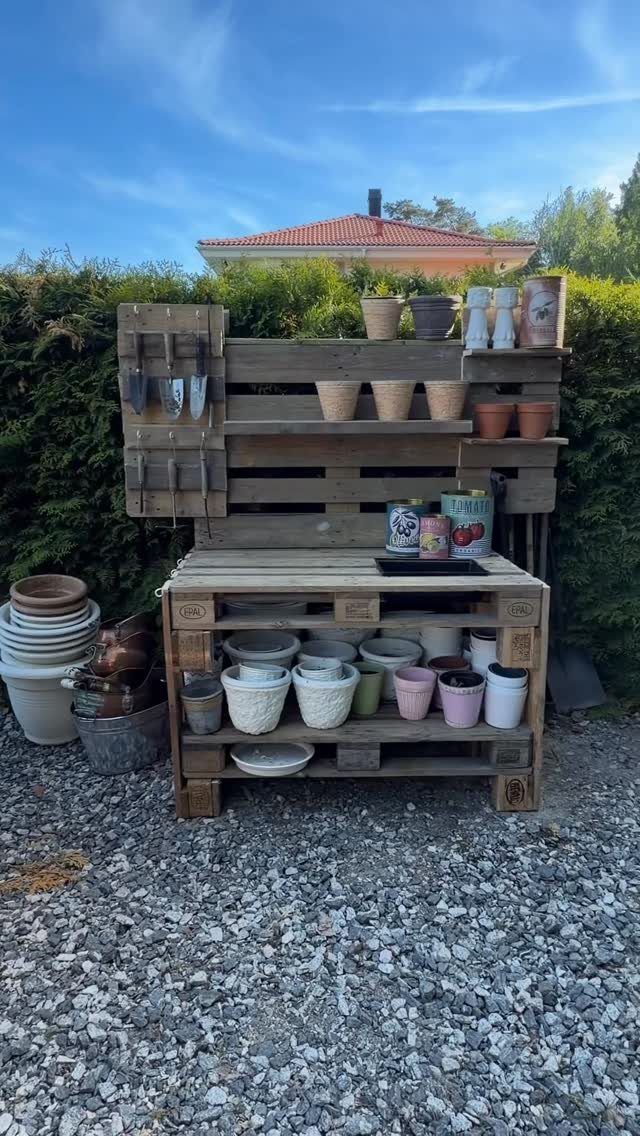
Pallets keep the cost close to nothing, which makes this the easiest bench to start with on a tight budget. The slats already form shelves, so much of the building is just stacking and screwing the pieces together.
Sand every board you’ll touch, because pallet wood splinters. Pull any protruding nails before you set pots on it, and keep the shelves as open as they are here so soil and water drain straight through.
5. Ultimate Home Depot Potting Bench
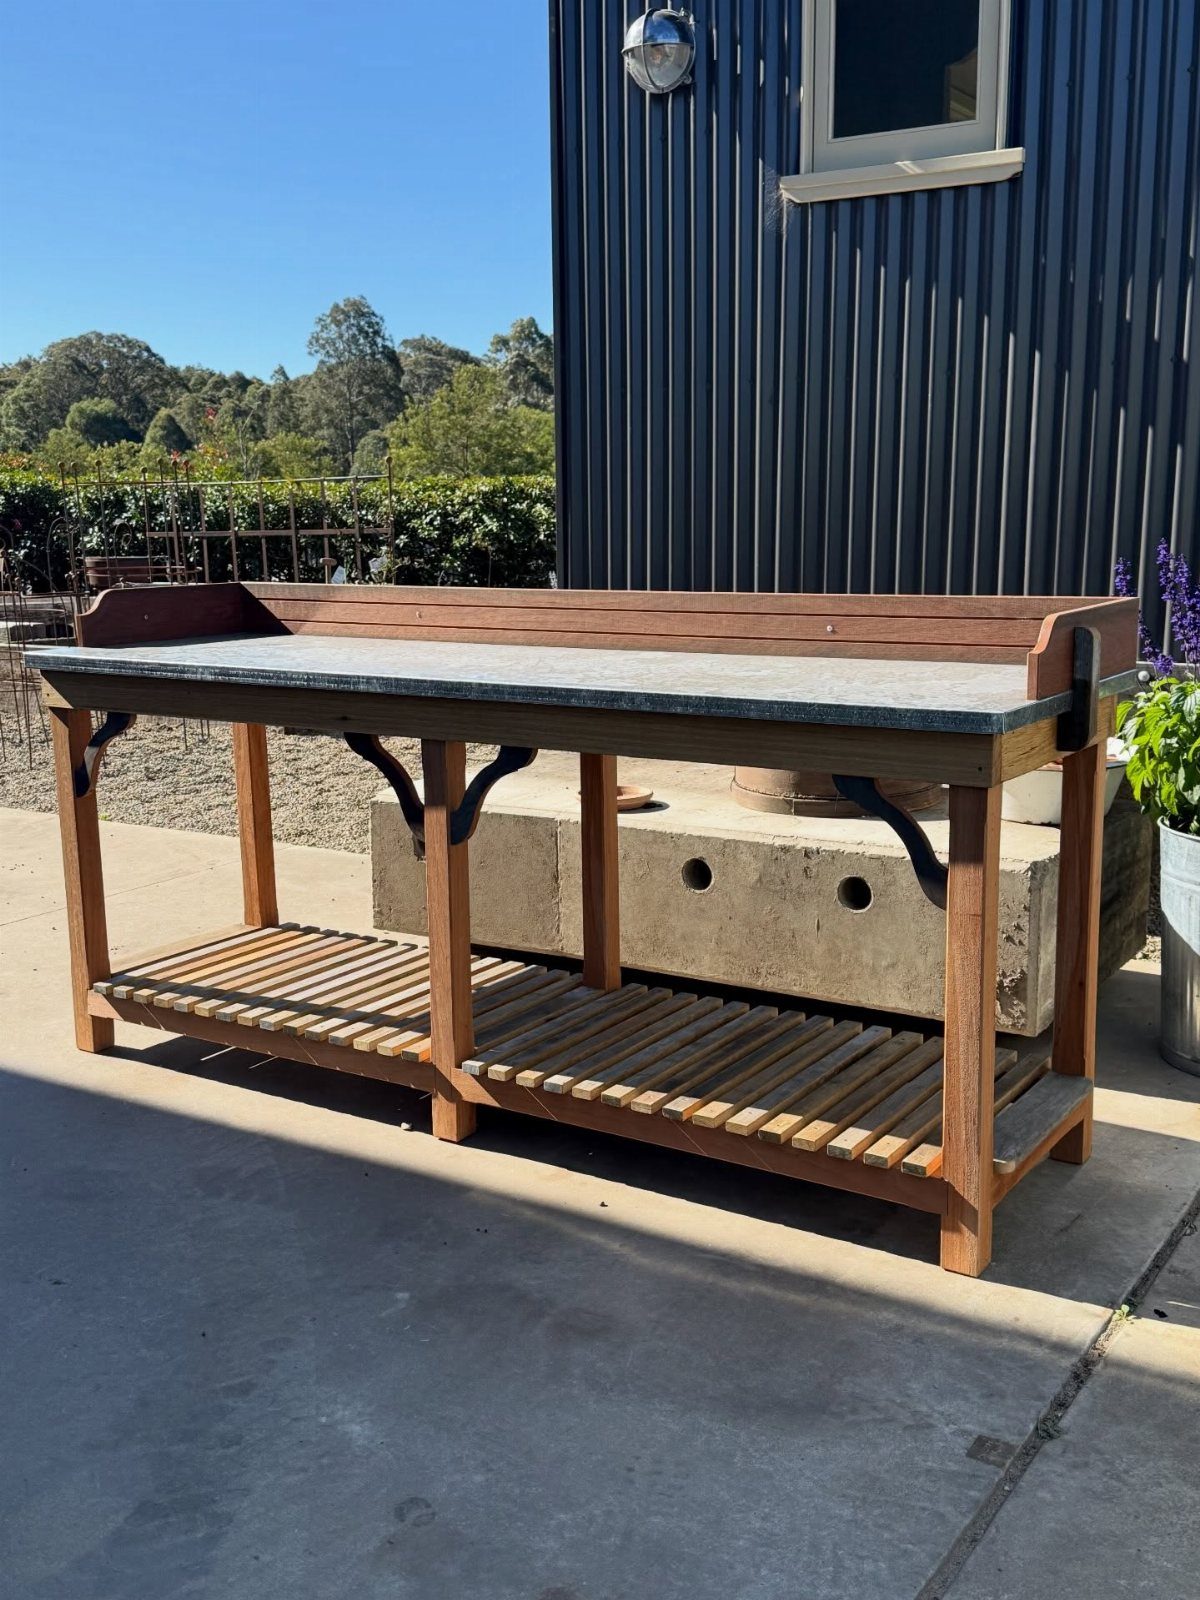
Extra counter space is the reason to build the bigger version: you can pot several plants at once without shoving things aside. A slatted lower shelf adds storage for soil bags and larger containers.
I’d choose it over a basic plank top if repotting is your main use, though it will cost more than plain boards.
6. Potting Bench with Sloped Roof
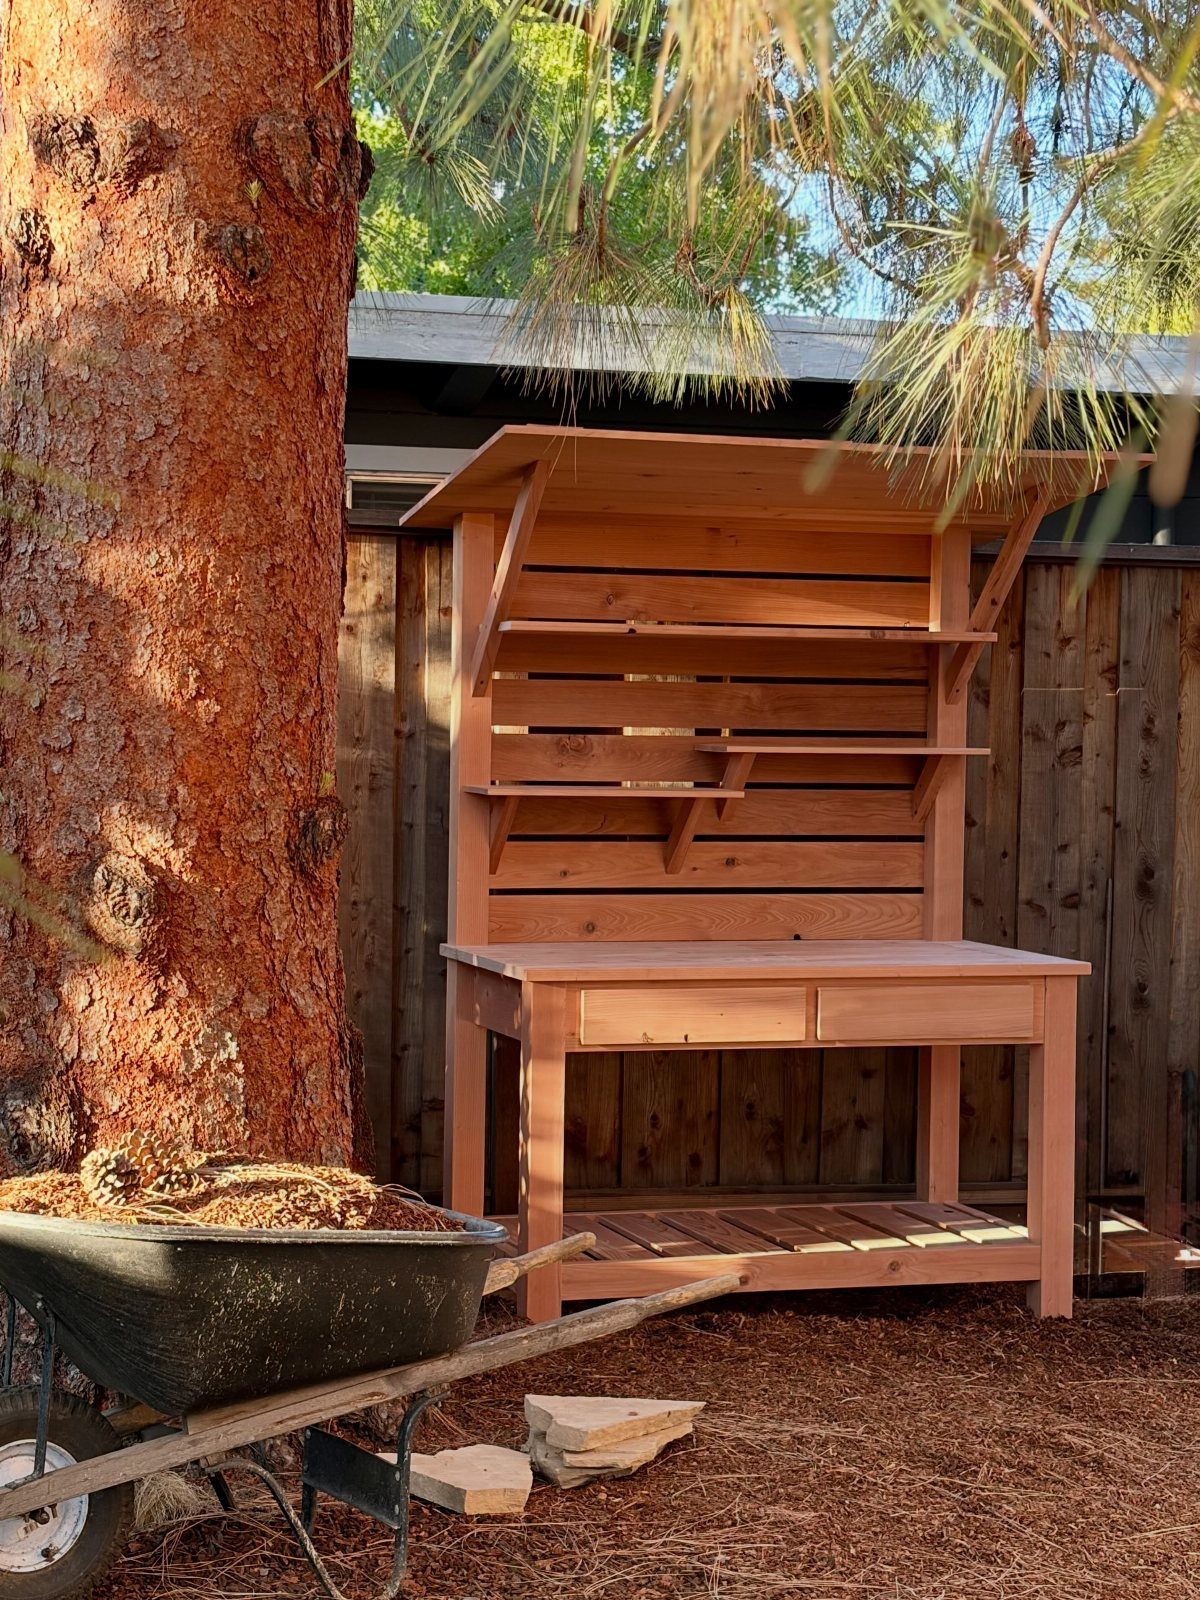
A sloped roof gives the bench a bit of cover, so you can work under it and keep tools and supplies off the open weather.
Upper shelving above the work surface and open storage below make the bench feel like a small outdoor workstation.
The extra framing makes it a bigger build than a flat bench. If you’re newer to building, cut the roof angle on a scrap board first, then match it to the rest.
7. Greenhouse Potting Bench
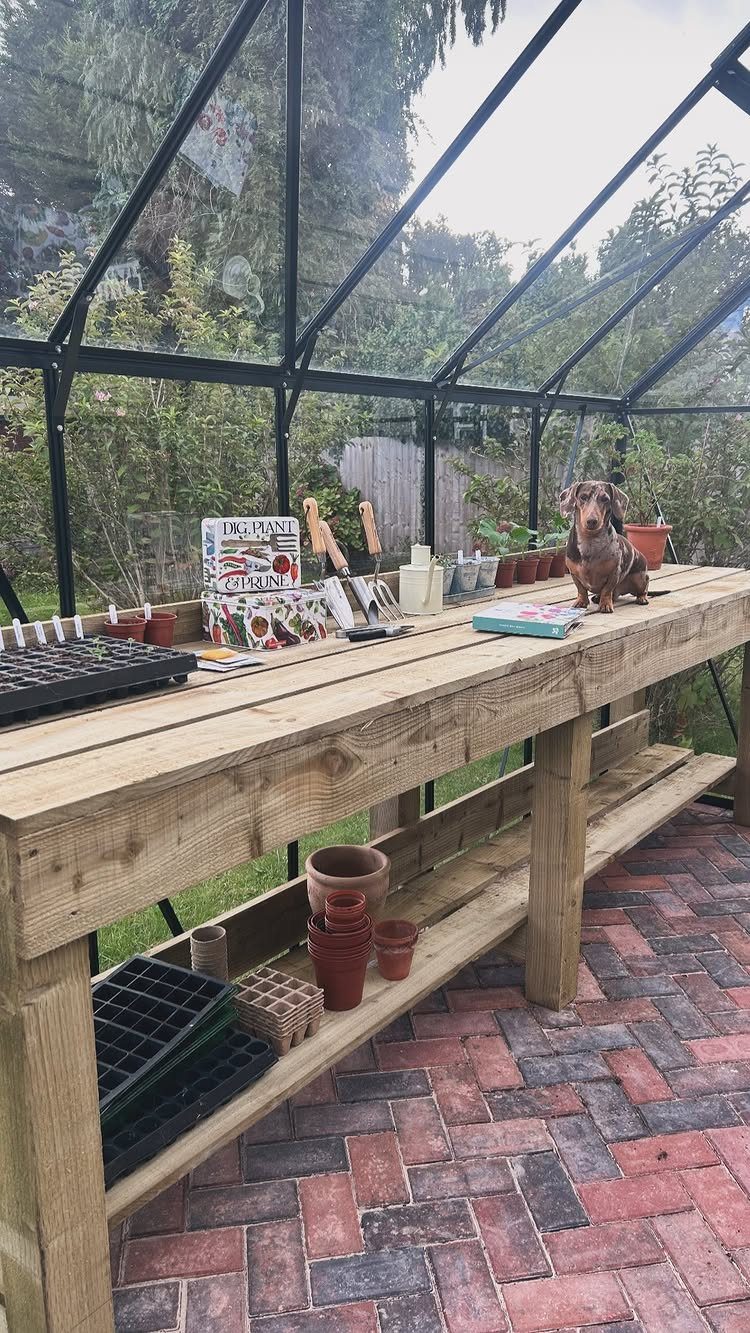
A long table with an open lower shelf suits a greenhouse because the glass keeps rain off the wood, so a plain, unfinished build holds up better here than it would in the yard.
Keep the top clear for potting and let trays and tools sit on the shelf below.
Length matters more than depth in a small space. Measure the aisle first, then cut the table so you can still walk past it with a full tray.
8. Basic Two-Tier Potting Table
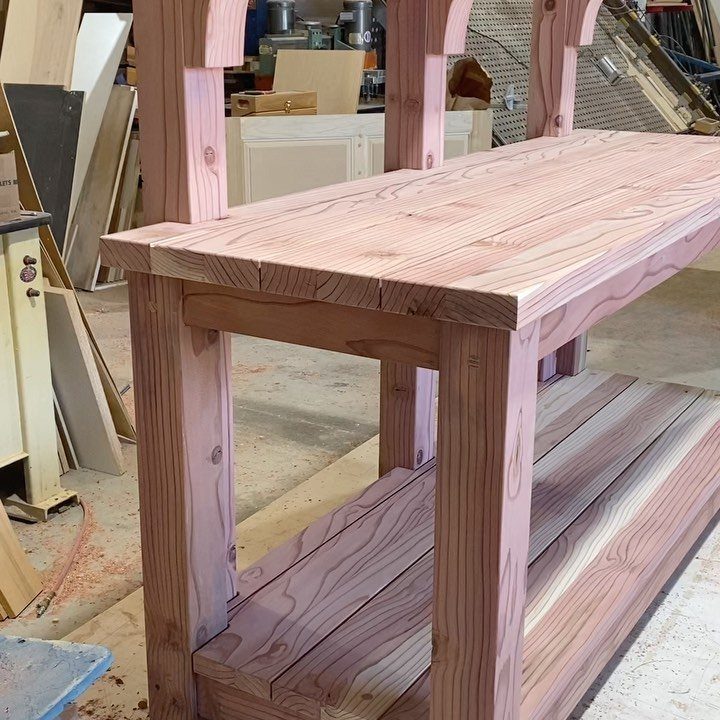
Two levels, a flat top and a slatted shelf below: this is the plainest bench in the list, and the one I’d hand to a first-timer.
Few cuts, few parts, and a drill with a saw covers nearly all of it.
Leave small gaps between the slats so spilled soil and water drop through. Smooth the surface with 120-grit paper, then finish with 220, because that’s where your hands and pots will slide around most.
9. Painted Garden Potting Bench
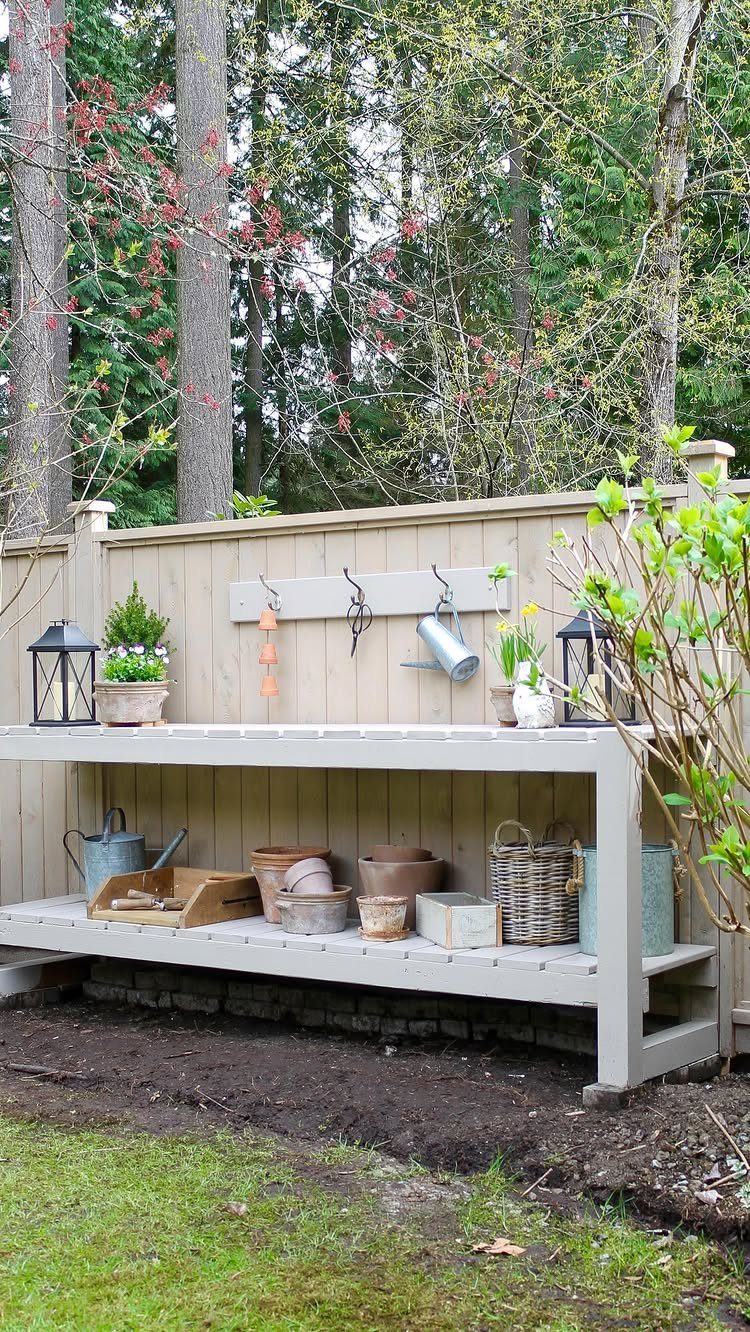
Paint is the cheapest way to make a plain bench look finished, and a light grey shows off clay pots and green leaves well.
Narrow tiers keep pots and tools within reach without making the bench stick out into the path.
Use an exterior paint, and coat the cut ends and the undersides of the shelves too, since those soak up moisture first. Backing the bench against a fence also steadies it.
10. Potting Bench with Cold Frame
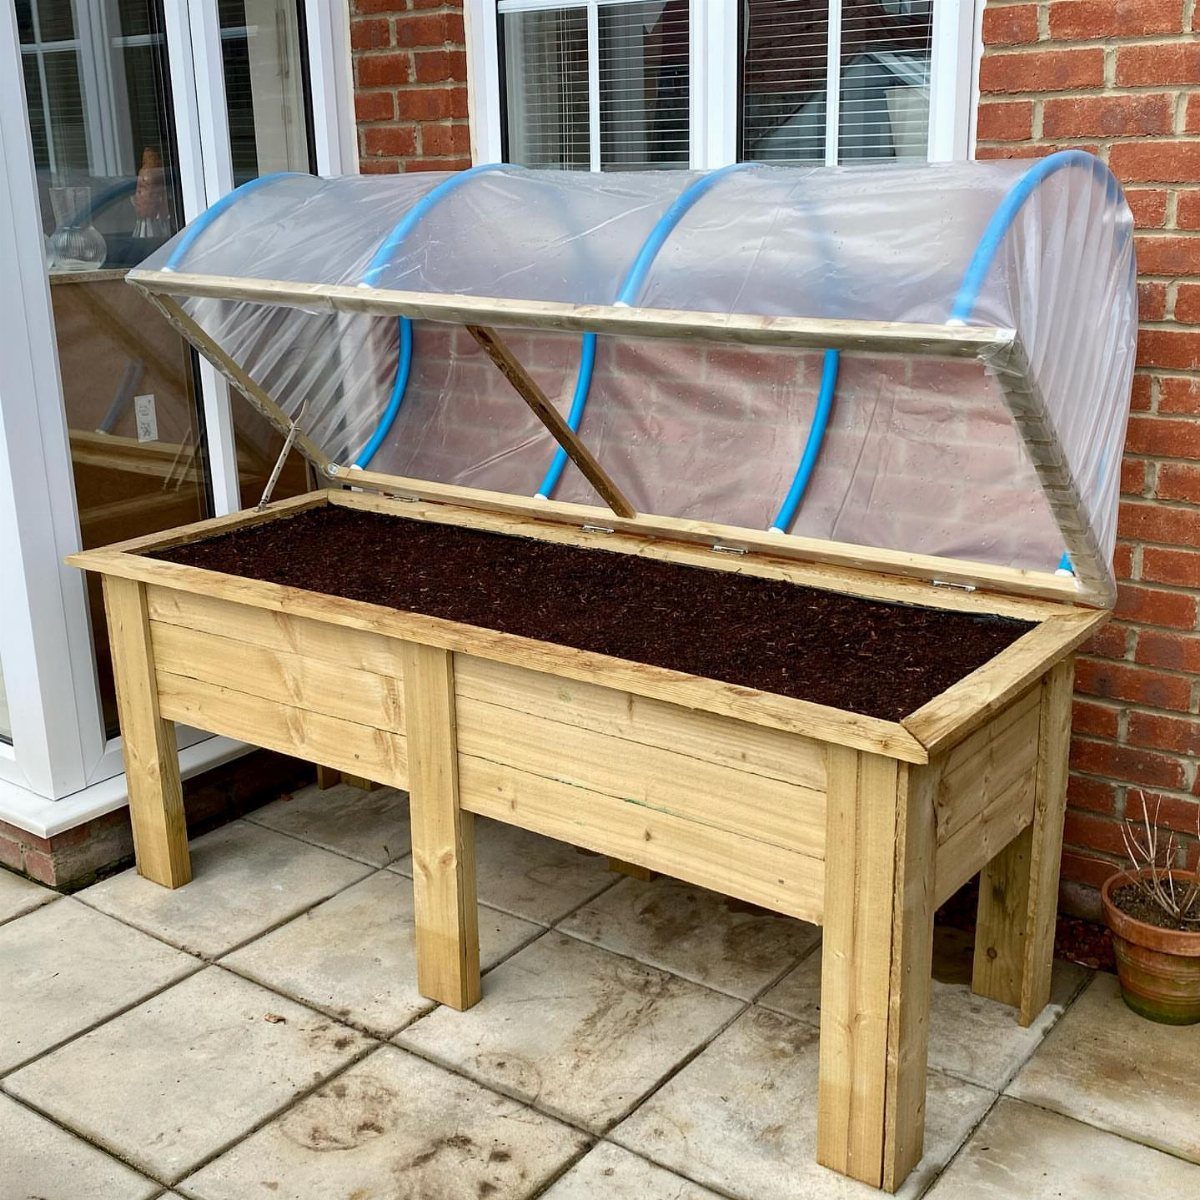
A soil bed with an arched clear cover turns one end of the bench into a mini cold frame for starting seedlings. The cover lets light in and holds warmth around the plants.
I’d build the bed as a simple box and make the cover removable, so you can open it on warm days and reach in easily.
Line the box so the wood isn’t sitting in wet soil, and keep drainage in mind.
11. Potting Bench with Metal Worktop
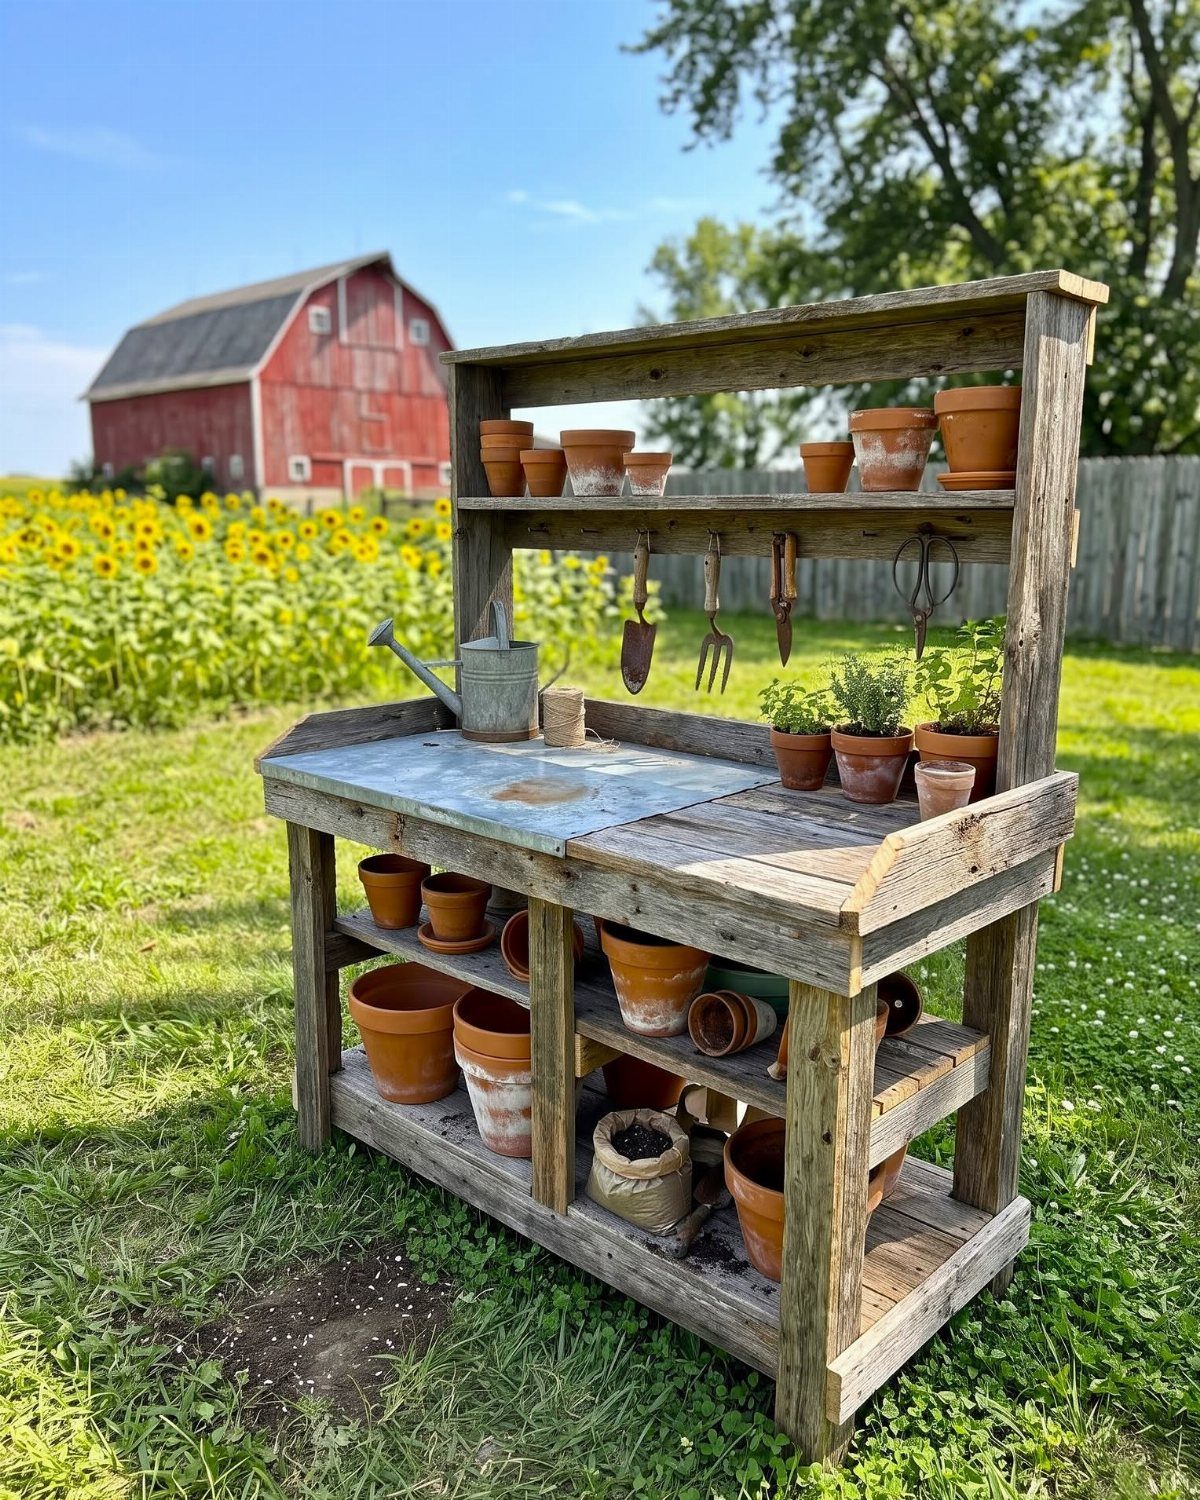
A metal top wipes clean in seconds and takes wet soil and water without swelling the way bare boards do. That’s the reason I’d pick it for a bench that sees daily use.
Fasten the sheet to a solid plywood or plank base, and file or fold any sharp edges before anyone leans on it. Adding a hanging rack for tools keeps the metal surface free for work.
12. Window Frame Backsplash Potting Bench
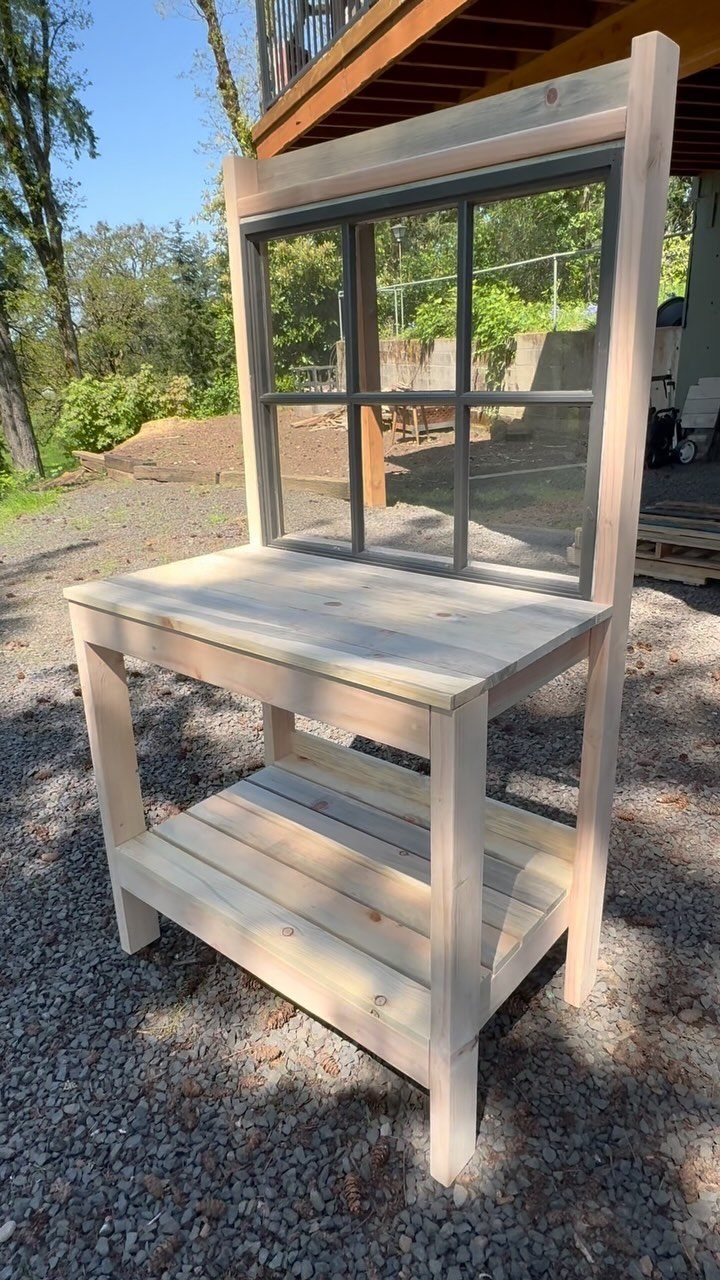
An open window frame across the back gives the bench a rustic backsplash and keeps soil from scattering against the wall or deck. An old frame is the budget route, and a salvaged one saves you from building it.
Screw it to the back legs or a rear rail so it stays upright when you lean on the bench.
An open frame leaves room behind it, so a small pot, a hand trowel or a pair of pruners can tuck back there and stay off the work surface.
Skill Level for Projects
Nearly every plan here suits a beginner. The builds use simple construction and basic tools, so a drill and a saw cover most of the work, plus something to measure with.
Where a plan looks harder, split it into stages.
Build the frame and top first, use it for a few weeks, then add the extras later. A bench that works but isn’t perfect beats one that stalls halfway through.
Test your saw setup on a scrap piece first, then move on to the good lumber. Scrap boards are cheap practice, and a bad cut on one costs you nothing.
Pre-drill your screw holes, especially near board ends, since that’s where wood splits. Check the frame for square before you fasten the top, and clamp pieces together if you have clamps.
Set aside an afternoon for a simple bench and a weekend for anything with a roof or extra framing.
Frequently Asked Questions
What is a good height for a potting bench?
Most guides recommend a work surface 36–48 inches high. Pick the spot in that range where you can stand and pot without hunching or lifting your elbows, since a bench that fits your height is easier on your back.
How do you make a simple potting bench?
Build a sturdy frame, add a flat top, and put a shelf underneath for storage. Two tiers, a handful of cuts, and a drill and saw are enough to get this one built in an afternoon.
Space the lower shelf slats about 1/4 inch apart so water and loose soil drain away, and measure the frame diagonals to confirm it’s square before the top goes on.
What type of wood is best for building an outdoor potting bench?
Cedar is the usual pick because it lasts outdoors and resists rot.
Pressure-treated pine costs less than cedar, and it resists rot well enough for a budget build. Inside a greenhouse, glass keeps the rain off, so bare wood with no finish will last far longer there than it would outdoors.






