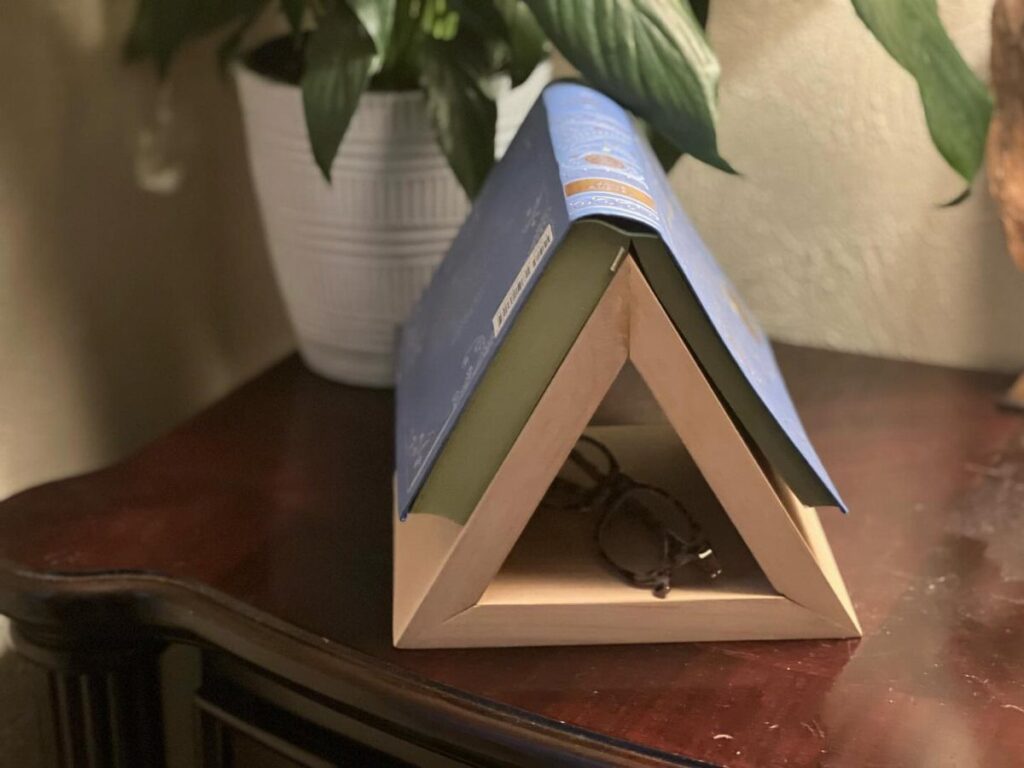
What you plan to do with your hands while the book stays open decides which of these 4 to build.
A thumb page holder is a palm-sized scrap-wood project that holds pages down in one hand, while an angled stand or a triangle leans the book back so both hands are free for typing, notes or chopping vegetables.
1. Triangular Book Holder
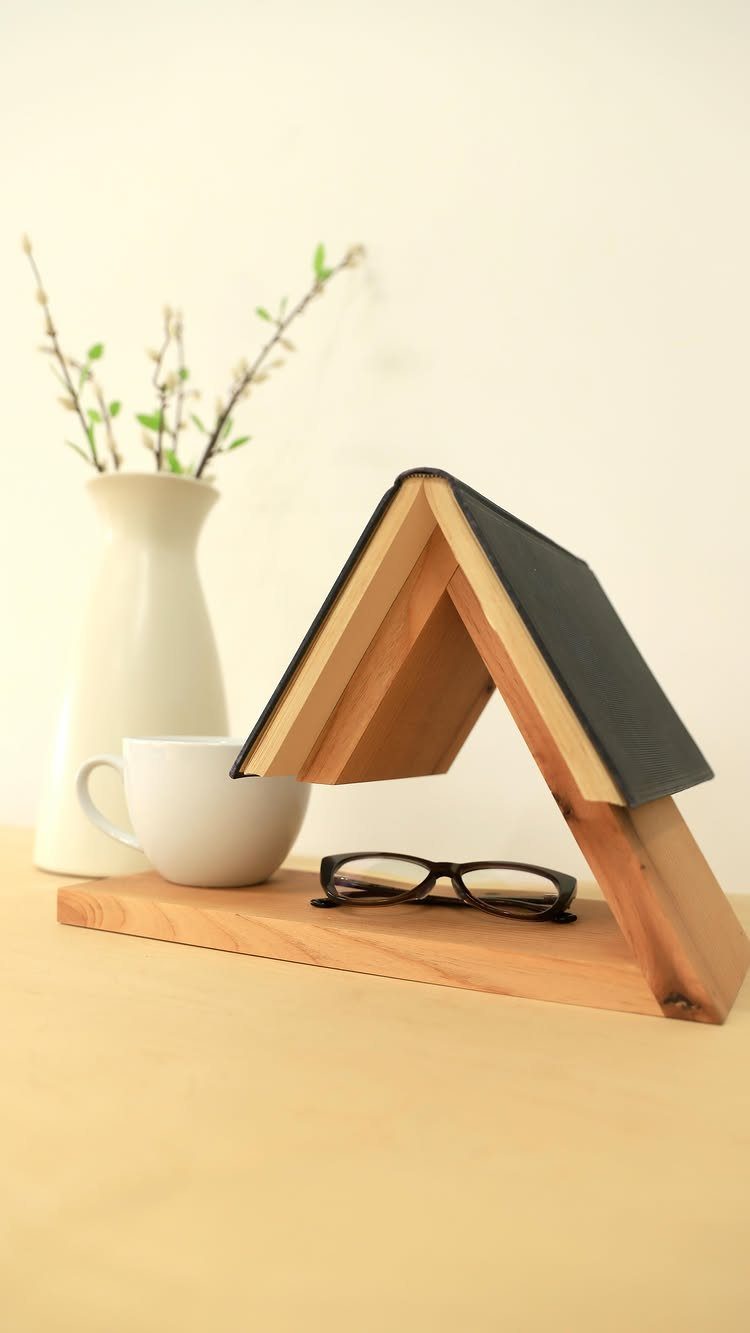
A triangle is about the simplest book holder to build, and it works because the shape does the job: a sloped face leans the book back while a flat base keeps it steady on a shelf or desk.
3 boards cut to size and glued would cover it, and a small lip along the front edge would stop pages from sliding off.
Sand the base smooth if glasses or a mug will sit on it, as they do here. A plain oil or wax finish keeps the grain visible.
2. Wooden Thumb Page Holder
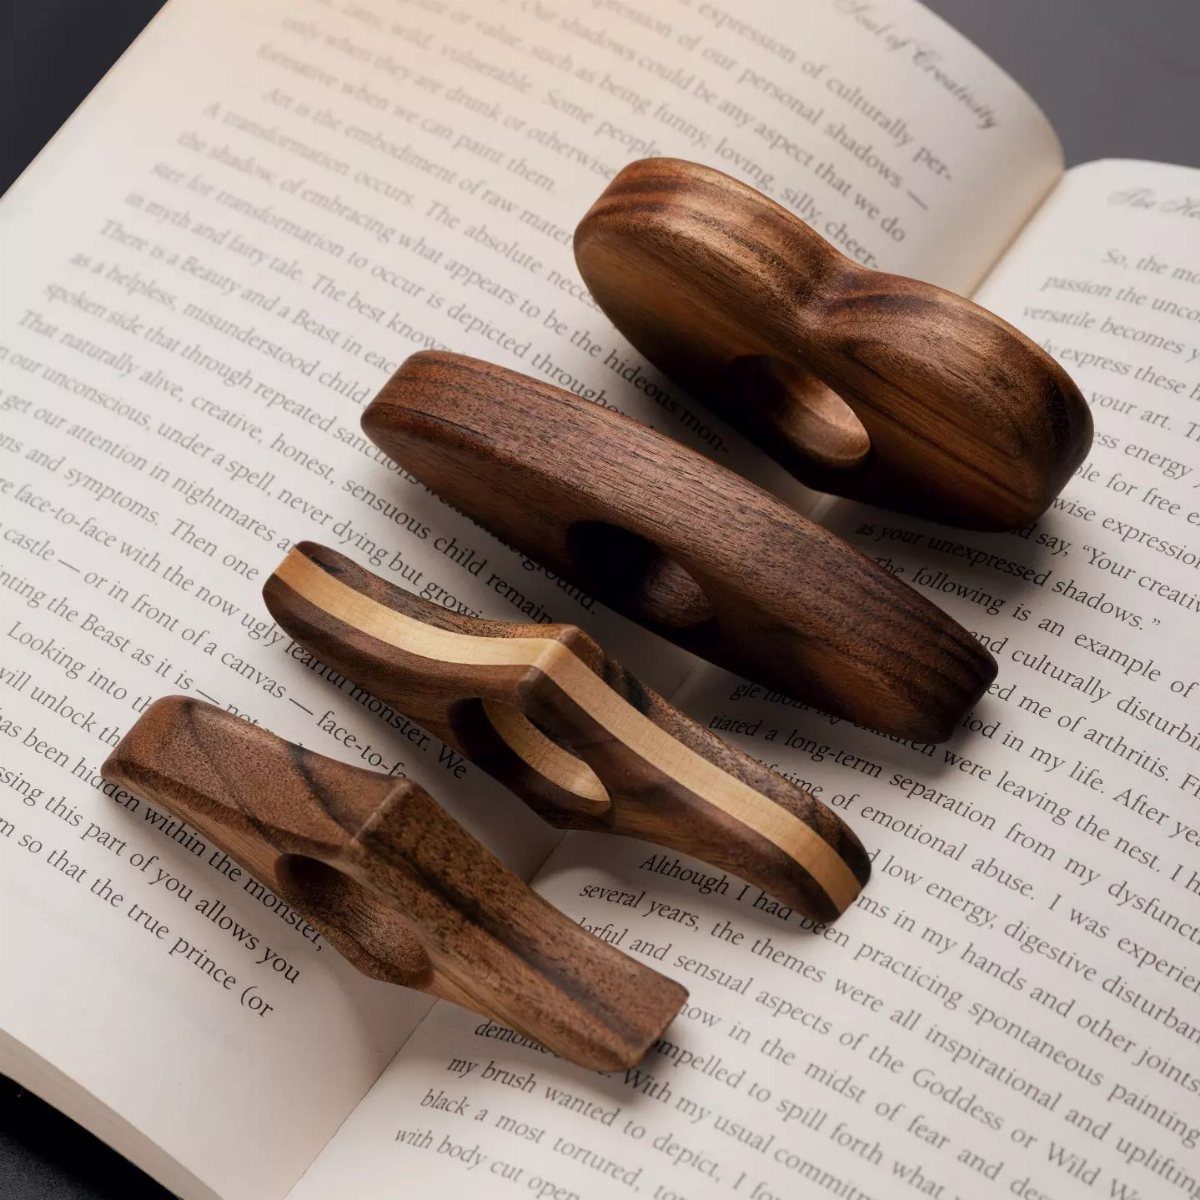
Small enough to fit in a palm, a thumb page holder has a center hole so one hand can hold the book open while the other does something else.
It is a good scrap-wood project, since a pair of them takes very little material.
Drill the hole first, then shape the outside around it. Round every edge by sanding, because the piece rests against your skin and the pages.
3. Angled Wooden Reading Stand
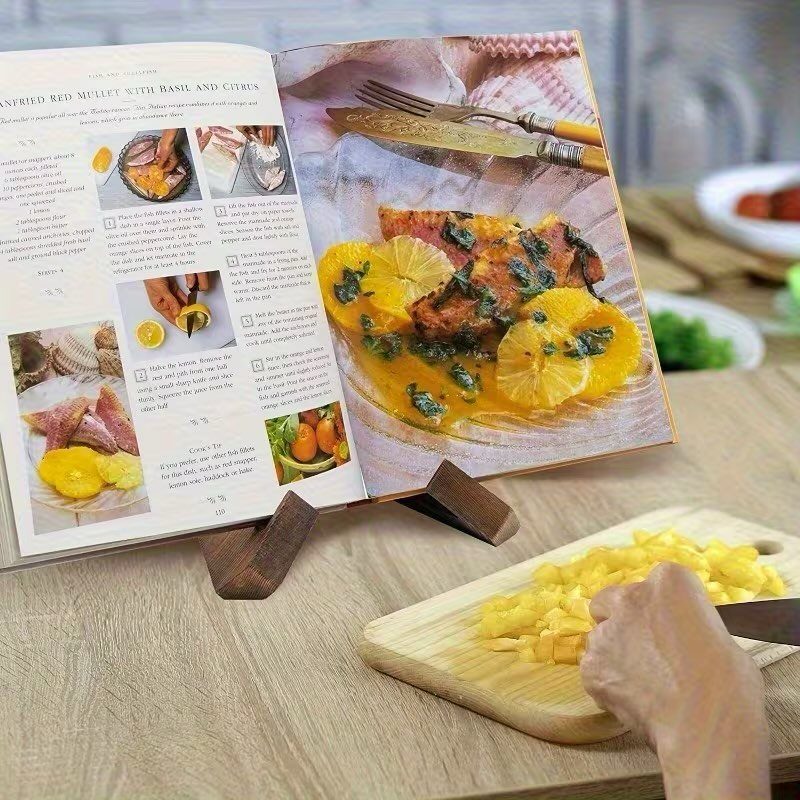
Hands-free reading is the whole appeal of an angled stand: the book stays upright and open while your hands stay busy, whether that means typing, taking notes or chopping vegetables.
A flat back panel, a base and a front ledge will build one with basic tools.
Pick the angle for your eye level, and make the ledge tall enough to catch a heavy cookbook. Sanding the ledge smooth keeps page edges from catching.
4. Countertop Wooden Cookbook Caddy
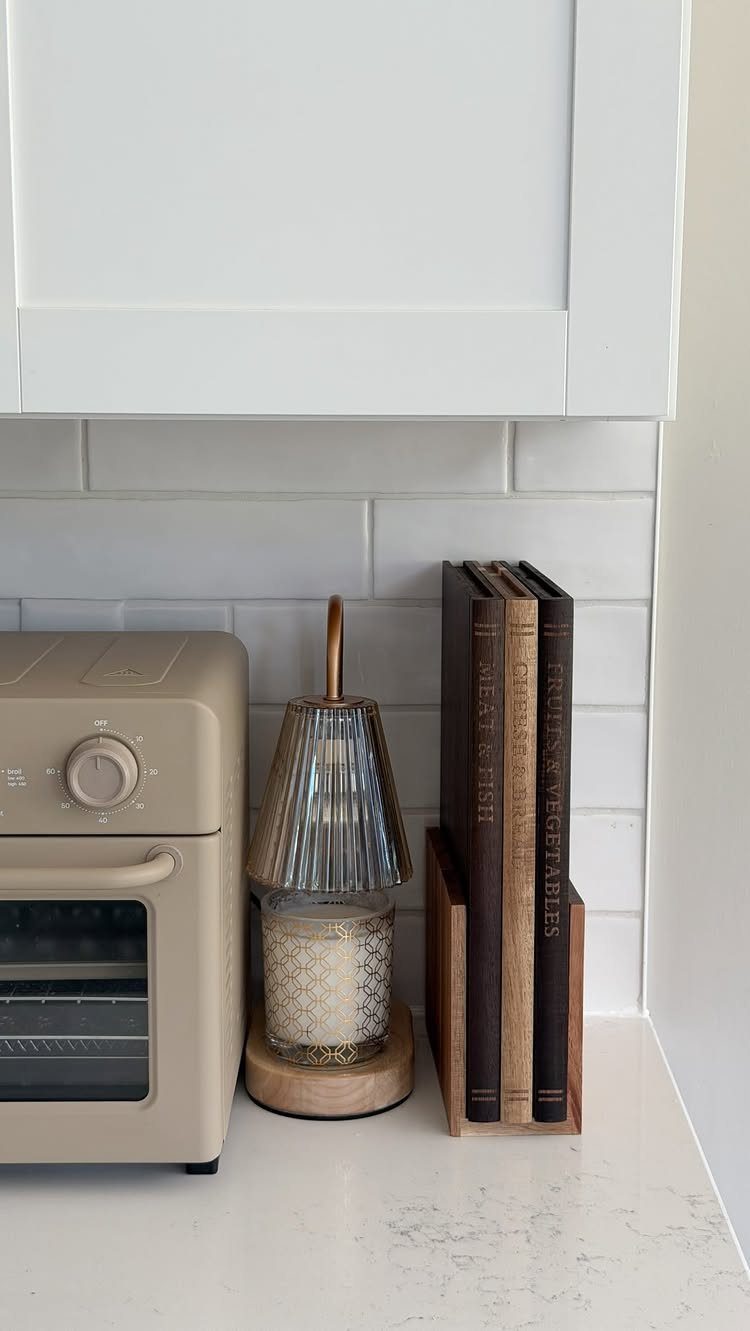
Cookbooks crowd a counter fast, and a small wooden caddy fixes that by standing several upright in one footprint. Build it as an open-top box with low sides, wide enough for the thickest book you own.
Measure your cookbooks before cutting, and leave a little room so they slide in and out easily. I would seal the wood well, since a counter near a toaster oven gets splashes and grease.
Tools for Woodworking
A miter saw gives you the clean, square crosscuts every book holder here depends on, and a speed square confirms your cuts and corners are true square before any glue goes on.
A sander, whether a random orbit or a multi-tool with a sanding attachment, handles the finishing.
For joints, a Kreg pocket hole jig is my pick.
It hides the screws on the underside or back, and it pulls boards tight without much fuss. Clamps hold everything square while the glue sets, so have at least two within reach.
Once the pieces are together, press a paintable, sandable wood filler into any joint gaps and the dings left behind by assembly.
Project Difficulty
This is a beginner project. With basic woodworking skills, you can finish one in a few hours, which fits neatly into an afternoon.
If you’re new to the saw, start with the simplest build and treat it as practice.
Straight cuts and tight, square joints matter more than fancy details, and both come with repetition. Cut a spare piece of scrap first to test your setup before you touch your good boards.
Frequently Asked Questions
What materials do I need for a woodworking book holder?
Select pine, wood glue, and pocket hole screws cover most builds.
Add a sandable wood filler for gaps and dings, plus an oil or wax finish if you want the grain to show. For a cookbook caddy near the stove, seal the wood well against splashes and grease.
What is pocket hole joinery?
It is a way of joining boards with screws driven through angled holes. A pocket hole jig, like a Kreg, drills those holes so the screws sit on the underside or back, out of sight.
The angled screw draws the 2 boards snug against each other, and a clamp keeps the corner square while the glue cures.






