The 5 chairs here run from a modern outdoor lounger to a chunky chaise, a chair with a matching footstool, one with an attached footrest, and a plank armchair, and the right one depends on where it will sit: a chair left in sun and rain needs cedar or pressure-treated pine, while untreated pine only survives under a covered porch.
Lumber cost and build time climb with the bulk, so the chunky chaise takes more than an afternoon, while the plank armchair and the chair with an attached footrest stay closer to a weekend of cuts.
1. Modern Outdoor Lounge Chair
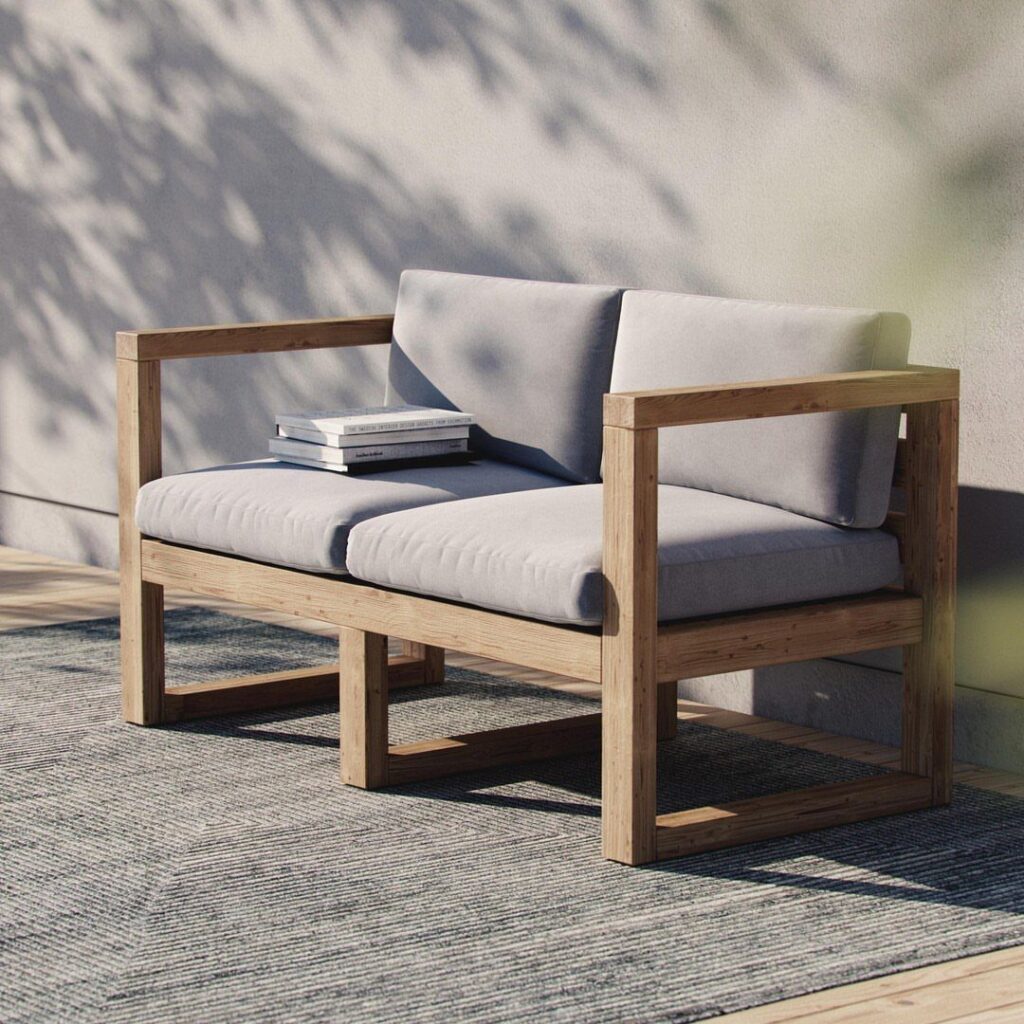
Angled cuts decide whether a modern lounge chair feels relaxed or wobbly, and they are where most first builds go wrong.
A plan or template bundle is worth buying if you want the back and seat angles handled for you, since it saves the trial cuts on scrap.
A plain wooden frame paired with thick light gray cushions keeps the look clean, and it lets the wood and the fabric each do one job.
Cut every matching angle in one session with the same saw setting, so both sides come out identical.
2. Chunky Outdoor Chaise Lounge
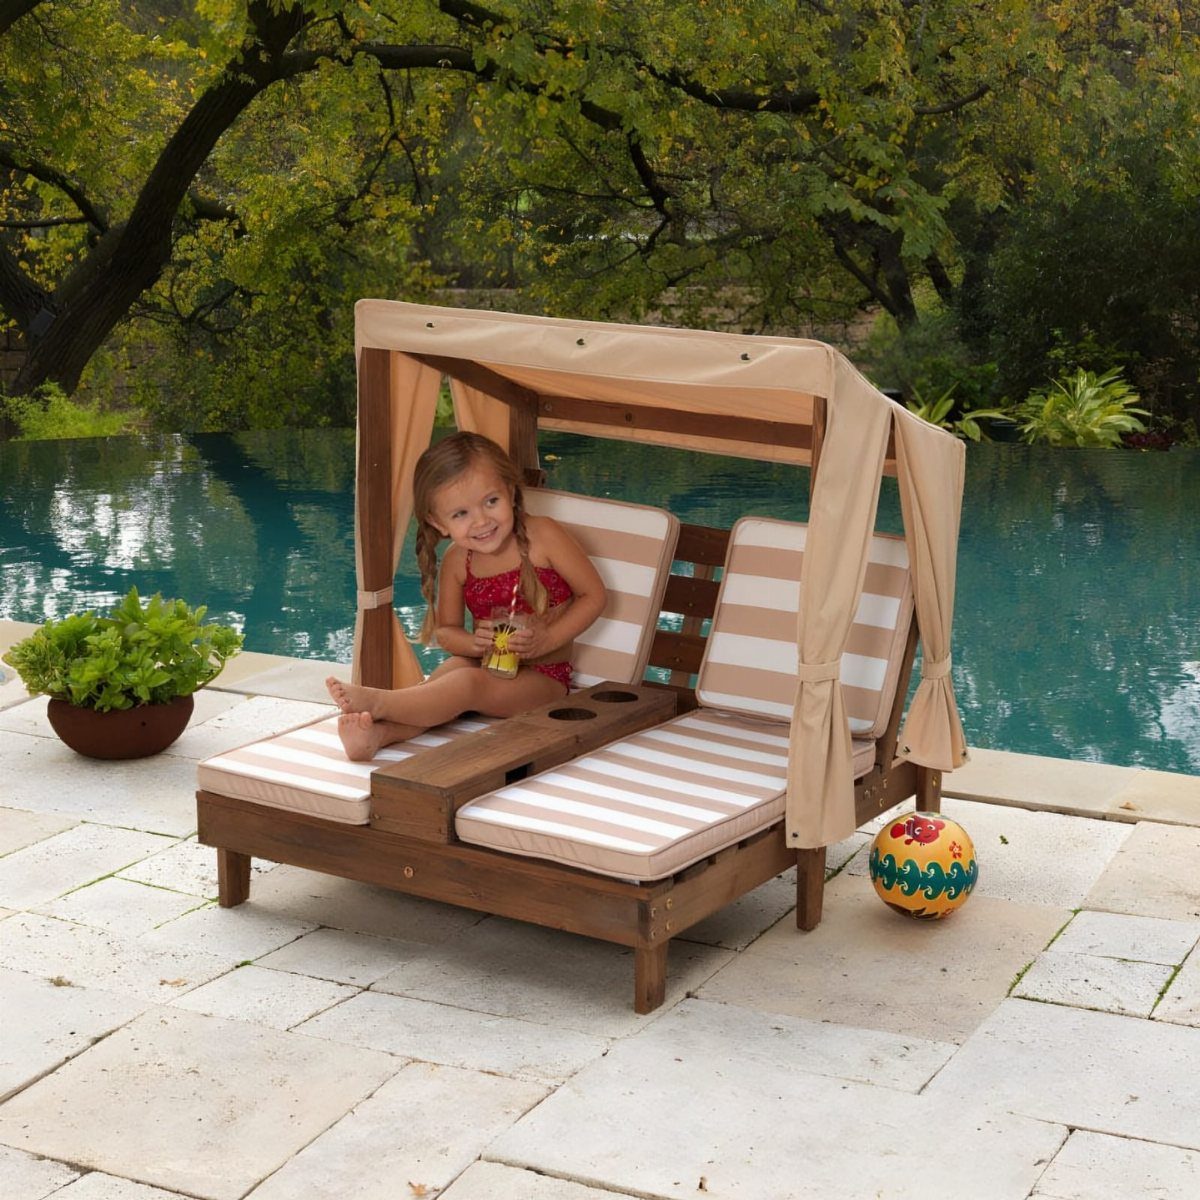
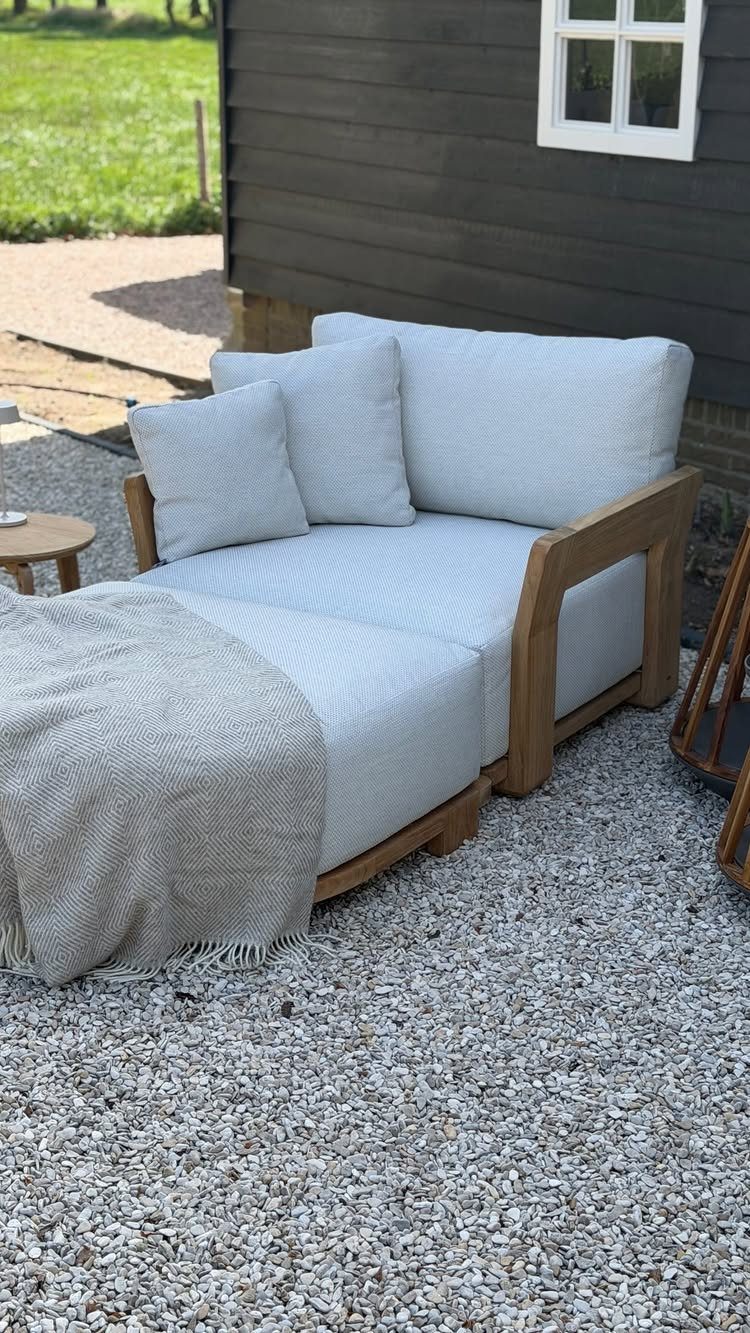
Bulk is the whole personality of a chunky chaise. Thick wood, a wide body and a canopy overhead make it look like a piece of built-in patio furniture rather than a folding lounger.
I like the double width: it leaves room for a stack of striped cushions, or for sharing the seat when someone sits down beside you.
Expect it to cost more in lumber and to take more than an afternoon, and plan on a helper to move it once it’s assembled.
3. Wooden Lounge Chair with Matching Footstool
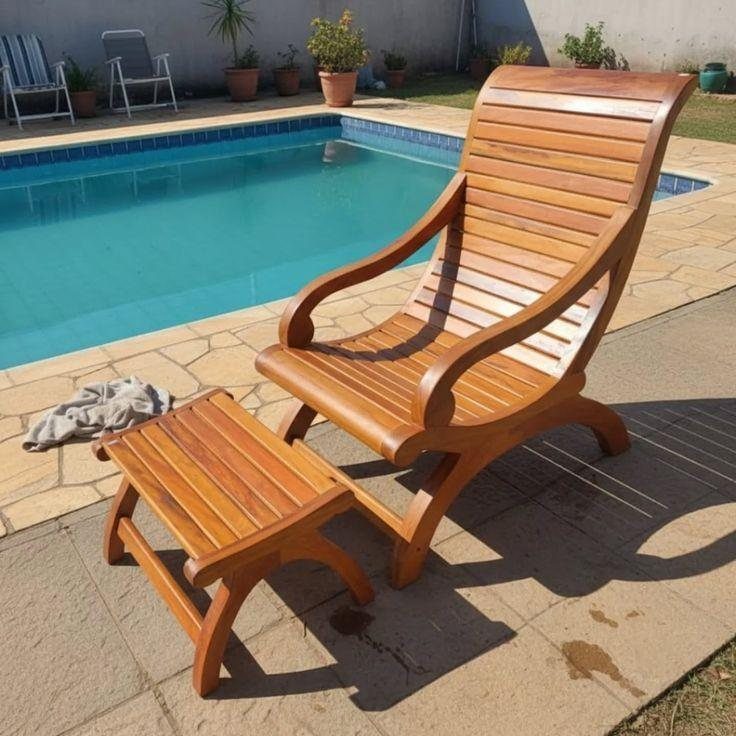
A footstool that stands apart from the chair beats a fixed footrest on flexibility. Pull it close to recline, slide it away when you want to sit upright, or use it as a spare seat at the pool.
Build both from the same slatted stock so the light brown tone matches. Keeping the stool’s slat spacing identical to the chair’s is the detail that makes them read as a set.
4. Lounge Chair with Attached Footrest
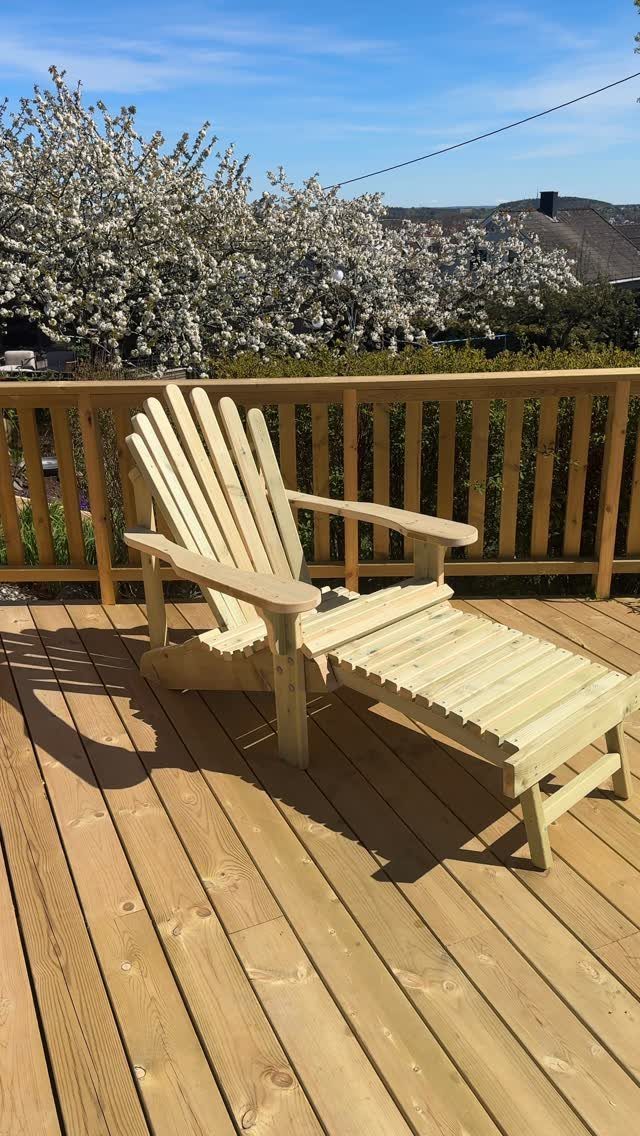
Building the footrest into the frame means one piece to make, one piece to move, and nothing to lose in the garden. The slatted seat simply extends into the leg support.
Because the extension is part of the structure, I would cut the long side rails first and fit the slats to them. A light wood keeps a deck looking bright, and a clear finish lets the grain show.
With some leftover composite decking and basic tools, you can build a comfortable lounge chair perfect for poolside lounging or sunbathing.
5. Plank Armchair Style Lounge Chairs
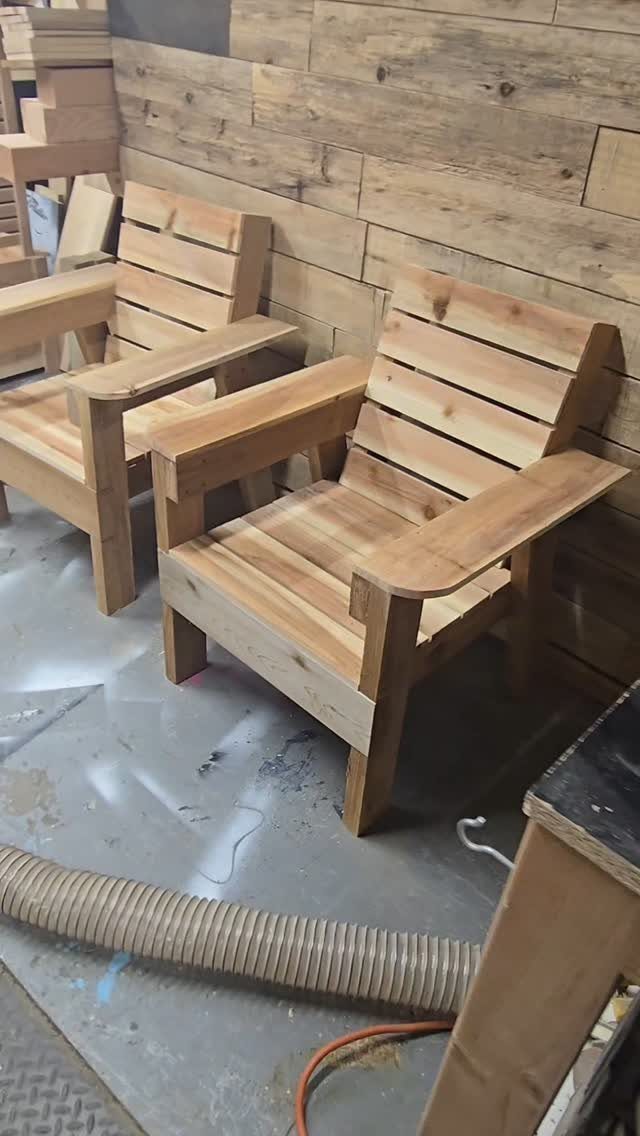
Thick planks and wide, flat armrests make this the sturdiest-looking chair on the list. The armrests do double duty as a table for a drink.
Since the planks carry the design, buy straight boards and check them for warping before you cut. Building two at once lets you reuse every cut setting and gives you a matched pair.
Tools Needed for Building
A miter saw is the tool that matters most for a lounge chair, because every rail and slat needs a clean, square or angled end.
A drill and a pocket hole jig handle the joints, and a sander finishes the job.
Add a combination countersink bit so screw heads sit flush instead of snagging a sleeve. Two clamps at least 5′ long hold long rails steady while you drive screws.
A radial sander is faster, but a plain sanding block works fine on a project this size.
Scrap wood is the place to learn any technique that’s new to you, whether that’s reading lumber sizes, setting a miter saw to cut angles, or adjusting a pocket hole jig.
A little practice on a scrap board costs you nothing and saves a good one from the trash.
Best Materials for Outdoor Furniture
Untreated pine costs the least, but I’d only use it for a chair that stays under a roof, such as on a covered porch. In sun and rain it breaks down fast.
Pressure-treated pine runs a bit higher in price, and it’s made to handle the weather.
Rot has a hard time getting into it, so it often holds up for years even in the open. It is heavy, though, and slow to dry, so let it dry before you finish it.
Cedar, redwood and teak fend off decay and bugs on their own, and they look wonderful doing it.
Price is the drawback, and depending on your area, you may have trouble finding them at all. For a chair that stays outside, I would pick cedar if the budget allows and pressure-treated pine if it doesn’t.
Whichever wood you pick, buy screws, glue and finish labeled for exterior use. Indoor hardware rusts and fails.
Finishing Techniques
Fill every flaw before you paint, and use an exterior-rated filler. Prime all bare wood, then apply exterior paint.
A satin gray is a forgiving choice. Paint goes on far more easily when the slats are off the frame and lying flat.
Staining works in the opposite order. Leave the holes open at first, because wood filler absorbs stain differently and shows as a patch.
Sand along the grain with medium-grit paper, vacuum off the dust, then wipe the boards with a damp cloth that doesn’t shed lint. Let it dry.
Brush or wipe on the stain with a foam applicator, then wipe off the excess.
Keep adding coats until the color suits you, and let each one dry before the next. If you like, patch the screw holes with filler that matches the color, then finish with a clear topcoat to seal it.
Check that the stain and topcoat you buy are rated for exterior use.
Frequently Asked Questions
How can I make an easy DIY chair?
Pocket-hole joinery and standard lumber from the big-box store make the simplest chair build. Because a drill and a jig cut every joint, mortises and dowels never enter the picture.
How do I build a chair from 2×4 lumber?
Build a frame from 2x4s, then add slats for the seat. Start with the long side rails, then fit the slats between them, running glue and screws at each joint.
Drill pilot holes before driving screws so the ends don’t split, and use a miter saw so every rail and slat has a clean end.






